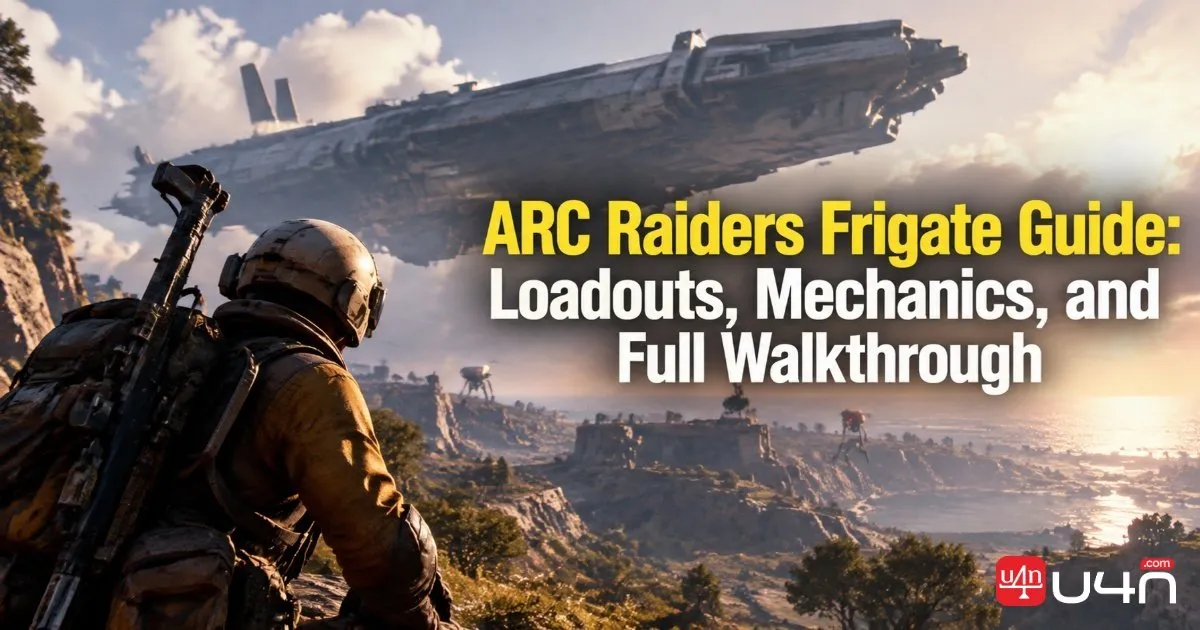
The Frigate is a high-pressure endgame activity in ARC Raiders where preparation, ammunition management, and team coordination matter as much as raw damage. Bringing powerful weapons is only part of the job. We also need enough supplies to survive repeated ARC attacks, understand how the ship's objectives connect, and finish the required mechanisms before time runs out.
In this guide, we break the run into practical stages, from choosing your loadout to activating the final reward drop. Whether you're preparing your next raid or trying to make better use of your existing ARC Raiders Items, our focus is on the decisions that keep a run moving: what to bring, what to destroy, when to split up, and when to cut your losses.
Best Frigate Loadout: Weapons, Ammo, and Survival Gear
The Frigate throws more ARC enemies at your squad than a normal raid encounter. We recommend building your loadout around three priorities: sustained anti-ARC damage, enough ammunition to finish the objectives, and enough utility to keep the team alive while working through the ship.
Primary weapon: Hullcracker vs. Jupiter
Both weapons can work, but they solve different problems. Hullcracker favors burst damage and faster target removal, while Jupiter is more forgiving when ammunition becomes the limiting factor.
| Weapon | Main advantage | Main drawback | Best use |
|---|---|---|---|
| Hullcracker | Serious damage output and rapid pressure on armored ARC | Heavy ammunition consumption | Squads prioritizing fast kills |
| Jupiter | Better ammunition economy over the long run | Lower sustained DPS than a well-upgraded Hullcracker | Players who want to conserve ammunition |
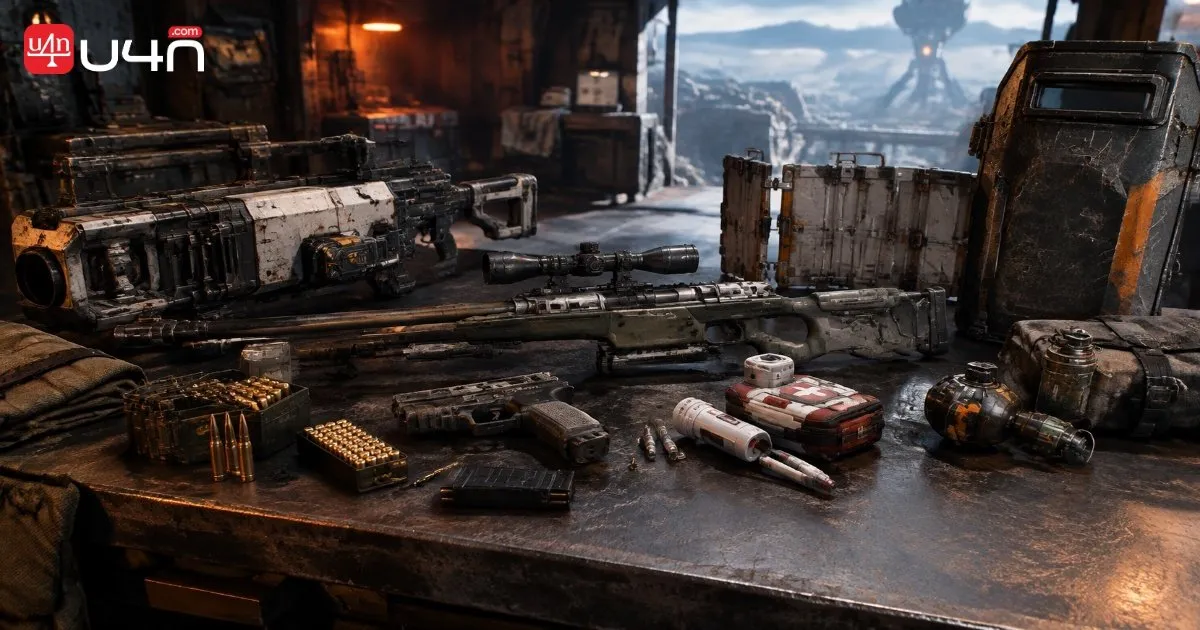
| Venator | Useful for repeatedly shooting exposed coils and buttons | Requires frequent attention to ammunition and reloads | Secondary weapon for objectives |
| Anvil | Strong alternative when available | Smaller magazine and more reload interruptions | Players who prefer a different secondary |
We lean toward Hullcracker when the squad has enough ammunition and can focus fire on dangerous targets. Jupiter makes more sense when your supplies are limited, or your team needs to stretch its reserves across the entire run.
Whichever weapon you choose, coordinate your damage. Spreading fire across several armored ARC gives them more time to attack, while concentrating on one threat can reduce incoming pressure faster.
Secondary weapon: Why Venator is useful
Your primary weapon should handle the heavy fighting. For the secondary slot, we prefer a weapon that can repeatedly hit exposed Power Cores and yellow buttons without forcing you to reload after every short burst.
An upgraded Venator with an extended magazine fits that role well. The Anvil remains a viable alternative, but its smaller magazine can interrupt objective work more often.
Ammunition and essential supplies
The original guide recommends bringing at least 100 Launcher Ammo rounds for Hullcracker users, several stacks of ammunition for Jupiter, and more than 200 rounds for the secondary weapon. Treat these as practical starting points rather than guaranteed requirements: actual consumption depends on your weapon upgrades, squad performance, and how much fighting occurs during the run.
| Item | Why we recommend it |
|---|---|
| Ammunition | Prevents a long objective run from stalling before the final room |
| Defibrillators | Lets teammates recover downed Raiders instead of losing combat strength |
| Two medium shields | Provides a backup when the equipped shield breaks |
| Shield Rechargers and healing | Keeps you fighting through sustained ARC pressure |
| Snap Hook | Speeds up vertical movement and reduces climbing time |
| Barricades | Creates cover against Rocketeers and Vaporizers |
| Wolfpack grenades | Provides an additional way to pressure dangerous ARC |
| Lure Grenades | Draws enemy attention away while your squad works on objectives |
Our priority is ammunition, healing, backup protection, and movement utility first. Damage consumables are useful, but they should not come at the expense of the supplies needed to survive the full route.
Frigate Mechanics: Power Cores and Yellow Buttons
The Frigate's objectives become easier to manage once you understand its two main interaction types. Most of the route revolves around destroying Power Cores, activating machinery, and opening the next section of the ship.
Power Cores: Expose, then destroy
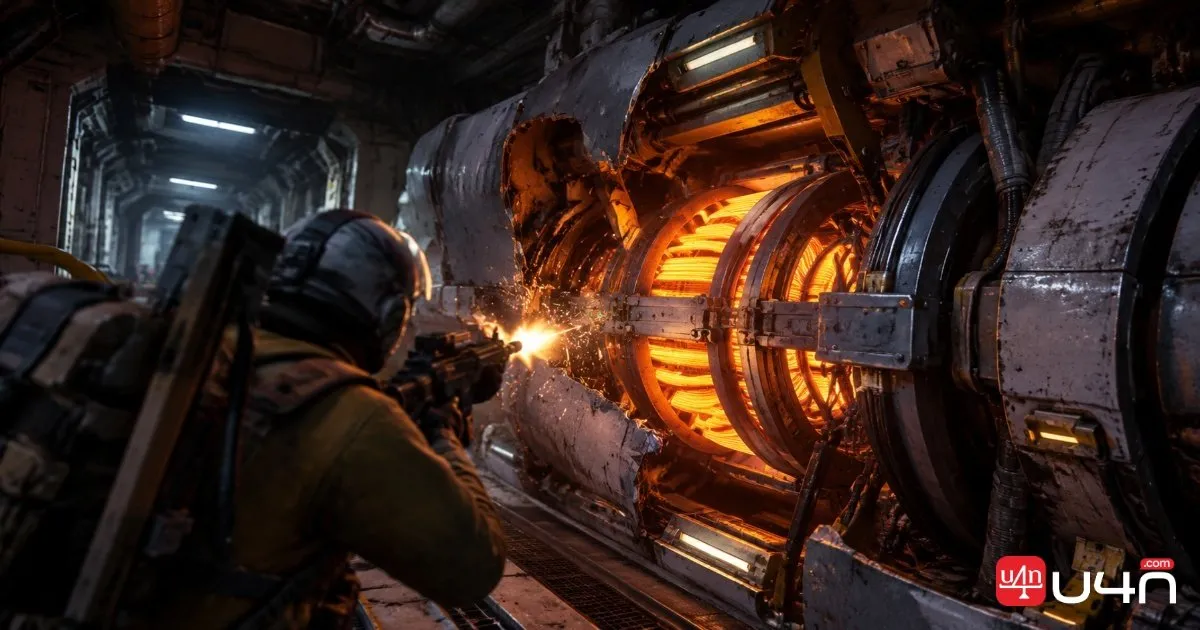
The orange coil-like structures are Power Cores. Some are exposed and can be shot immediately; others are protected by panels that must first be breached with your pickaxe tool.
Follow this sequence:
- Locate the orange Power Core.
- If it is protected, breach the covering panel.
- Shoot the exposed core until it breaks completely.
- Confirm that no glowing sections remain before moving on.
Do not stop firing simply because the core has darkened. The objective is to destroy it, not merely damage it.
Yellow buttons: Activate the ship's mechanisms
Yellow buttons are separate from Power Cores. Shooting them can activate movable structures, open doors, or disable parts of the machinery blocking your route.
There is one important exception: some buttons on the bottom floor only create a small climbing aid. Breaking them can help with traversal, but it is not always necessary if your squad has a Snap Hook.
The practical rule is simple: shoot yellow buttons when they control a required route or objective, but do not waste time on optional shortcuts when the team already has a faster way through.
Manage enemy pressure while completing objectives
Hydras, Rocketeers, and Vaporizers can interrupt your work and force you to spend ammunition before you reach the next stage.
We recommend clearing immediate threats before starting a lengthy interaction, especially when several teammates must hold controls at the same time. Use nearby walls, ledges, and barricades to limit exposure, and deploy Lure Grenades when enemy attention prevents the squad from damaging a core efficiently.
Full Frigate Walkthrough: From Boarding to the Cargo Drop
The route below follows the original guide's progression from the rear boarding platforms through the lower deck, upper deck, reactor area, and final cargo mechanism.
Step 1: Board the Frigate safely
A few minutes after the raid begins, look for the Frigate descending into the map. Head toward the rear of the ship, where the pointed antenna-like structures and moving platforms are located.
- Wait for a floating platform to descend close enough to board.
- Climb onto it and activate Disrupt.
- Ride the platform upward and dismount when you reach the ship.
- Enter the hull through the available passage and slide down either the left or right tunnel to reach the lower exterior deck.
If you are playing duos or trios, watch for hostile Raiders around the boarding platform and the narrow entrance. These are exposed transition points, so rushing onto the ship without checking your surroundings can turn the opening of the run into an unnecessary firefight.
Step 2: Clear the lower deck and raise the giant coil
The lower deck contains two Power Core clusters. Start with the large central structure.
- Use nearby walls for cover and eliminate the two initial Hydras.
- Move to the central floor indentation and locate the three control buttons.
- Have three Raiders activate their respective controls at the same time, holding the interaction until the giant coil rises.
- Expect two additional Hydras to appear when the structure rises. Deal with them before committing the whole squad to the exposed cores.
- Destroy every Power Core on the raised structure, then return to the route you used to enter.
The main challenge here is coordinating the interaction without leaving the squad exposed. One option is to use the rear wall and its pipes as cover; another is to retreat toward the elevator area and engage the newly spawned Hydras from a familiar defensive position.
Once the central structure is cleared, send one player to the second lower-deck cluster while the others begin climbing toward the upper level.
Step 3: Destroy the second lower-deck cluster
From the main metal staircase, look for a smaller opening in the side of the hull. Follow the long exterior walkway toward the front of the ship.
At the end, enter the small dark room and destroy the Power Core cluster inside. Make sure every core is fully broken before returning along the walkway.
This is a useful task to assign to one player while the rest of the squad advances, provided the route remains safe and the team can maintain communication.
Step 4: Climb to the upper deck and clear six coil clusters
The upper deck contains six clusters arranged symmetrically: three on each side of the ship. Once your squad learns one side's layout, the other side becomes easier to navigate.
Clear the initial Hydra
As you reach the upper deck, move toward nearby cover and eliminate the Hydra that appears in the route ahead. Another Hydra may spawn near the fire-vent area.
Breach the cores behind the fire vents
Wait for the flames to stop, enter the affected area, and breach the protected cores. Leave before the next burst, then repeat until the cores are exposed and can be destroyed.

Clear the inner fire room
Drop through the central opening and find the core embedded in the wall. Continue working around the fire cycle until the core breaks. Once the flames stop, the room can provide useful temporary cover.
After clearing the third cluster on one side, use the connecting tunnel to reach the opposite side. Repeat the same sequence rather than climbing all the way back downstairs.
Time-saving option: some of the final upper-deck cores can be targeted from the lower deck if your weapon has enough range and a clear line of sight. Check whether this is practical before making a separate trip; visibility and the angle of attack determine whether the shortcut is worthwhile.
Step 5: Reach the front section and open the reactor corridors
Once the lower-deck clusters and all six upper-deck clusters have been destroyed, listen for the ship's alarm. This indicates that you should move toward the front of the Frigate.
- Approach the large pit near the front of the ship.
- Identify the two Hydras below and eliminate them from range before descending.
- Drop into the room and shoot all six yellow buttons around its walls.
- Enter the newly opened red metal corridors. The two routes lead to matching rooms, so the squad can split if it has enough firepower to handle each room safely.
- Destroy the giant Power Core in each room, then shoot the yellow buttons needed to open the next passage.
Do not split simply to save time if one side cannot handle its ARC enemies independently. A split team can finish parallel objectives faster, but a downed player or stalled room may cost more time than the split saves.
Step 6: Disable the reactor turbines and destroy the central coils
The next passage leads into a cramped reactor section filled with exhaust and moving machinery.
- Enter the tube-shaped area carefully.
- Find and shoot the two yellow buttons on the reactor.
- Confirm that the turbines stop spinning and the toxic fumes clear.
- Move deeper into the tube and destroy the large orange Power Cores at its center.
- Return through the route you used to enter and proceed through the newly accessible exit.
Visibility is poor in this area, so check the surrounding surfaces rather than assuming that the first visible button is the only one. Do not advance into the moving machinery before confirming that the relevant mechanism has stopped.
If the next passage does not open, recheck the objective and surrounding area for a remaining Power Core or interaction. A missed target can halt progression even when the main structure appears cleared.
Step 7: Release the cargo pod
The final room contains four release latches around a central structure. Clear the remaining ARC before attempting the synchronized interactions.
- Locate all four latches, positioned near the corners of the open room.
- Assign two Raiders to each latch and have both players breach it simultaneously.
- After all four latches are released, move to the lower floor and locate the two drum-like controls on opposite sides of the room.
- Have one Raider operate each control repeatedly, coordinating the activations until the central cargo structure begins descending.
- Board the structure and ride it to the ground. Once it lands, dismount and search the available loot containers.
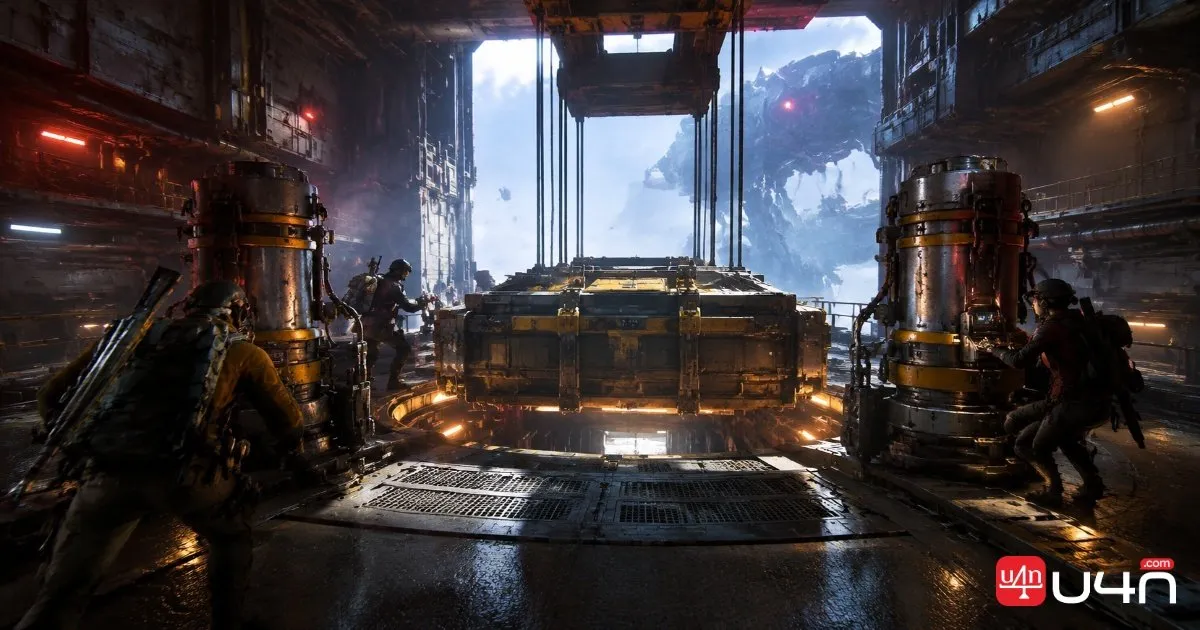
The final sequence is a coordination check rather than a damage race. Keep the area clear, communicate which controls have been completed, and avoid leaving a required interaction unattended while the rest of the squad fights elsewhere.
Team Coordination, Time Management, and When to Extract
The Frigate is a long objective chain, not a standard boss encounter. A squad can win individual fights and still fail the run because it has spent too much ammunition, lost too much time, or left a required interaction unfinished.
Assign roles before the run
| Role | Main responsibility |
|---|---|
| Combat lead | Focus fire on dangerous ARC and call target priorities |
| Objective lead | Track Power Cores, buttons, and completed stages |
| Support player | Revive teammates, deploy cover, and manage enemy distractions |
These roles are flexible. When a stage requires three simultaneous controls or two players to breach a latch together, prioritize the required interaction before assigning anyone to a separate task.
Use time and ammunition together
- Avoid unnecessary fights. Kill threats that block your route or prevent objective work, but do not chase every enemy across the ship.
- Use Lure Grenades strategically. Pulling enemies away from a Power Core can create an opening for the squad to work without constant interruption.
- Save ammunition for later stages. Do not spend your entire reserve on optional targets when several required encounters remain.
- Use cover deliberately. Barricades and the ship's existing structures can reduce incoming fire while you breach cores or revive teammates.
- Track objective progress. Before leaving a section, confirm that all required cores and controls are complete.
When should you abandon the run?
We recommend considering an early exit when the squad has made little objective progress, ammunition is nearly depleted, or the remaining time is clearly insufficient to complete the route.
The decision is about preserving the value of your loadout, not admitting defeat. If the run is no longer realistically recoverable, leaving before the raid expires gives you another chance to attempt the Frigate with a better-prepared squad.
Summary
The Frigate becomes more manageable when we treat it as a sequence of linked objectives rather than one continuous firefight. Bring a weapon suited to sustained anti-ARC combat, carry enough ammunition and healing, learn the difference between Power Cores and yellow-button mechanisms, and keep the squad moving through the ship in a coordinated order.
The most important habit is to balance combat against progress. Clear the threats that prevent you from working, complete each objective fully, and avoid wasting time on optional detours. Once the cargo pod is released, ride it down and search the available containers before planning your next extraction.
For players preparing their next run, a suitable supply of ARC Raiders Loot and a realistic loadout plan can make the difference between reaching the final room and running out of resources just before completion.
FAQ
Which weapon is better for the Frigate: Hullcracker or Jupiter?
Hullcracker is the damage-focused choice, while Jupiter is more ammunition-efficient. Choose based on your available ammunition, weapon upgrades, and squad's ability to focus fire.
How do you destroy the Frigate's Power Cores?
Shoot exposed orange cores until they break completely. If a core is protected by an armored panel, breach the panel first, then attack the exposed core.
Why are some yellow buttons optional?
Some lower-deck buttons create auxiliary climbing structures rather than unlocking a required objective. Other buttons activate machinery or open doors needed for progression. Check the effect of the mechanism and the current objective before spending time on optional shortcuts.
How many players are needed for the full run?
The original guide describes a three-player interaction for raising the giant lower-deck coil and paired interactions for the final latches. A coordinated squad is therefore the practical approach to the full route, although the number of players needed can vary by stage.
What should you do if the final door will not open?
Recheck the current objective and the surrounding area for a remaining Power Core, an unbroken yellow button, or an incomplete interaction. Do not assume that destroying the most visible cores automatically completes every stage.
Should you keep fighting if your squad is running out of time?
Not necessarily. If ammunition is low, the team is struggling to survive, and several objectives remain, an early exit may preserve your equipment for another attempt. Continue only when the remaining route is still achievable.
For further route and objective context, consult the ARC Raiders Frigate walkthrough and the game's official ARC Frigate map-condition page.