The Fallen Emperor is one of the most rewarding destinations introduced in the ARC Raiders Frozen Trail update, but getting inside is only the first challenge. Before our team could explore its interior, we needed to track down the Emperor Gateway Conduit Blueprint, collect three specialized ARC Couplers, and prepare for a series of dangerous encounters and environmental hazards.
This guide covers the full process, from farming the blueprint on Pendola Pass to navigating the ship's rooms and securing valuable rewards. If you are planning your next run for rare ARC Raiders Items, the most important lesson is to prepare for the entire expedition—not just the fight at the entrance.
How to Find the Emperor Gateway Conduit Blueprint
The main repeatable way to obtain the Emperor Gateway Conduit Blueprint is through the Redirection map condition on Pendola Pass. During this event, Damaged Emperor Relays become active, allowing Raiders to collect Emperor Beacons and call down valuable payloads.
The event is time-limited, so check the map condition before entering. The exact schedule can vary, and the blueprint is not guaranteed on every attempt.
Follow the Redirection event
- Enter Pendola Pass while Redirection is active.
- Open your map and look for active Damaged Emperor Relays.
- Travel to an active relay and collect an Emperor Beacon.
- Carry the beacon to an open area and deploy it to call down a payload.
- Move clear of the landing zone, then search the main payload container for the blueprint and ARC Couplers.

Active relays can be identified by their map markers and the red beams visible in the sky. Several relay locations are spread across Pendola Pass, but only a limited number are active at once.
The main standing payload container is the important target. Smaller pieces of debris may contain other materials, but the main container is the one to prioritize when hunting for the blueprint and required couplers. For more detail on the event mechanics, see this Redirection and Emperor Gateway Conduit guide.
What if the blueprint does not drop?
Expect some uncertainty. The blueprint is a random reward, and repeated payload runs may be necessary. Use each attempt to collect the required materials as well, rather than treating the blueprint as the only worthwhile result.
There is also an alternative route: the Frozen Trail Reward Pass has offered a finished Emperor Gateway Conduit at Level 60. This can bypass the blueprint grind for an initial entry, but it does not give you the crafting recipe for making additional conduits.
How to Craft the Emperor Gateway Conduit
Once you have learned the blueprint, you still need three different ARC Couplers. Finding the blueprint alone does not unlock the entrance.
| Required material | Quantity |
|---|---|
| ARC Plated Coupler | 1 |
| ARC Conductive Coupler | 1 |
| ARC Insulated Coupler | 1 |
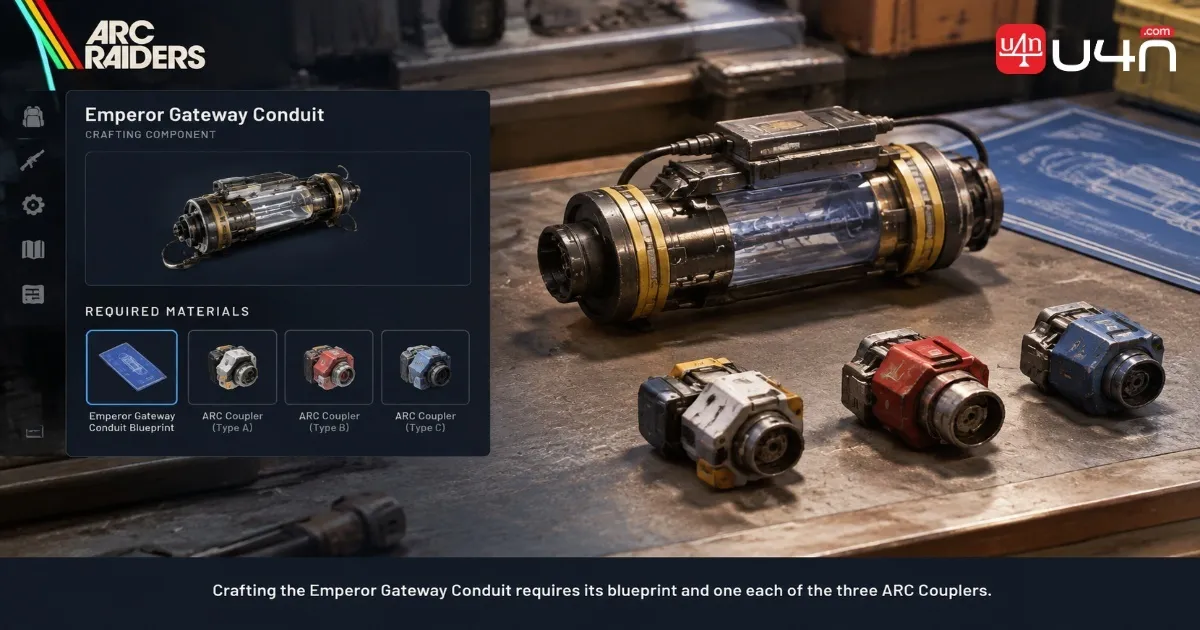
With the blueprint and all three materials secured, craft the Emperor Gateway Conduit at your Workbench. You can gather the couplers across multiple raids, so there is no need to force a risky run simply to collect every component at once.
Before leaving a raid, consider what you have already secured. If you find a rare coupler or the blueprint, extracting safely may be more valuable than attempting another payload with limited supplies.
Where to use the conduit
The Fallen Emperor is located on the western side of Pendola Pass. Travel to the entrance at the base of the fallen machine and use the Emperor Gateway Conduit to open the gateway.
The Fallen Emperor is a multi-stage challenge: obtain the Emperor Gateway Conduit Blueprint, collect the three required ARC Couplers, craft the conduit, and use it to enter the ship. Inside, preparation, puzzle-solving, and safe traversal matter more than opening every container.
You do not need to defeat a boss called the Emperor at the entrance. The challenge begins inside, where ARC enemies, environmental hazards, and traversal puzzles make preparation essential.
What to Bring Before Entering the Fallen Emperor
The ship is not a straightforward loot room. Our team found that mobility tools and a plan for dealing with the Hydra were more important than simply bringing extra ammunition.
| Equipment or preparation | Why it matters |
|---|---|
| Grapple or Snap Hook | Essential for the upper traversal section described in this run |
| Suitable anti-ARC weapons | Helps deal with the Hydra and other hostile machines |
| Ammunition and healing supplies | Gives you more room to handle unexpected fights |
| A coordinated squad | Makes it easier to clear enemies and move through dangerous rooms |
| A clear loot priority | Helps prevent unnecessary delays in a hazardous area |
The original run used weapons such as the Wolfpack and Hullcracker, with the Anvil also mentioned as a possible option. Treat these as loadout suggestions rather than mandatory choices. The right weapon depends on your available equipment, accuracy, ammunition supply, and ability to handle the enemies you encounter.
Do not enter without a Grapple or Snap Hook if you intend to follow the upper route described below. In the recorded run, the lack of a traversal tool stopped progress on the first attempt. Bringing one from the beginning avoids repeating that mistake.
Fallen Emperor Walkthrough: Enemies, Puzzles, and Hazards
The interior combines combat encounters with environmental puzzles. The room sequence and enemy spawns may vary, so focus on understanding each mechanic rather than memorizing every turn as a fixed route.
1. Deal with the first Hydra
The Hydra appears soon after entering the ship. It functions as a turret-like threat with multiple sections that must be dealt with to bring it down.
Use cover where possible and avoid rushing into the fight without a plan. Weapons suited to damaging ARC machinery can help, but your team should prioritize staying alive over dealing damage as quickly as possible.
2. Shoot the yellow buttons and activate the elevator
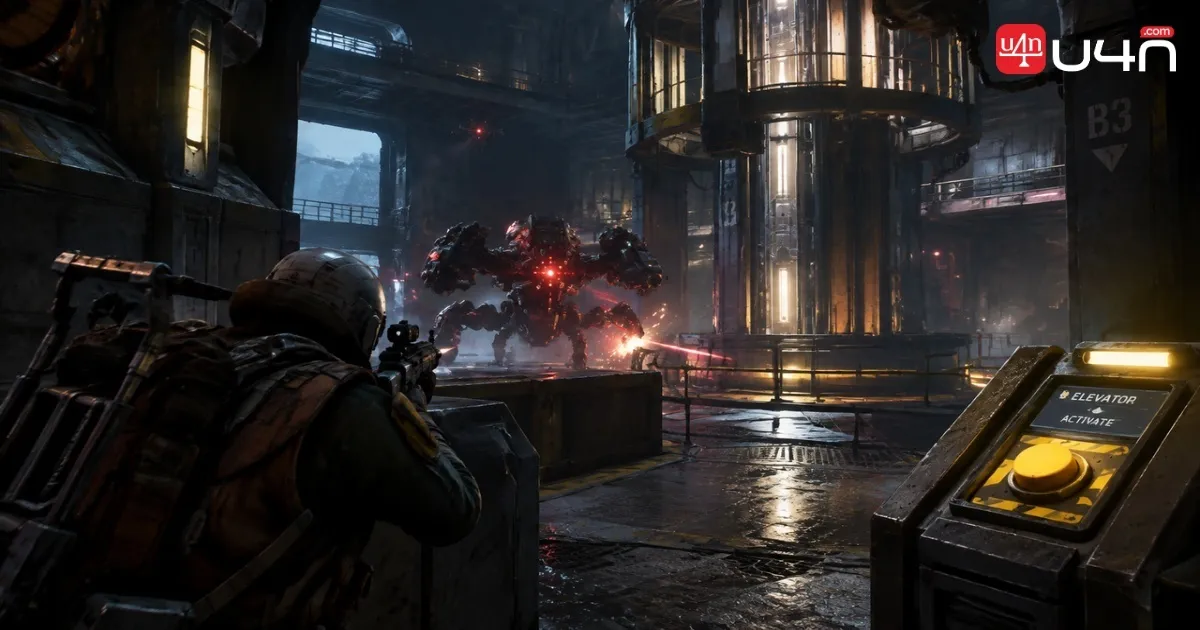
After the initial encounter, you will reach a room containing several yellow buttons and an electrical hazard in the center.
- Avoid touching the electrical field.
- Shoot the yellow buttons around the room.
- Once the mechanism is activated, use the central elevator to reach the next section.
The buttons are a simple puzzle, but the surrounding hazard makes careless movement costly. Clear the immediate threat and identify the safe route before crossing the room.
3. Clear the pillar room
The next large room contains pillars and hostile ARC units, including Shredders. These enemies can become dangerous if they rush the squad while players are spread out.
Stay close enough to support one another, deal with nearby threats, and look for the yellow buttons around the room. Shooting the required buttons opens the next route. One of the pillars then moves, allowing you to climb it and reach the following section.
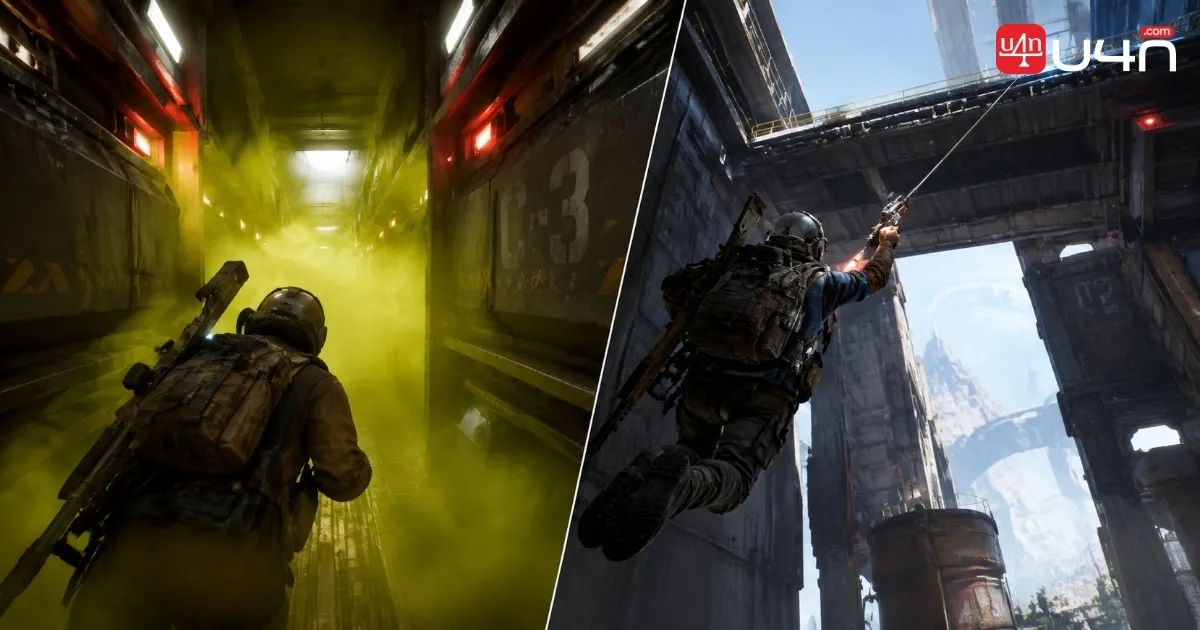
4. Cross the gas chamber before the walls close
This is one of the most dangerous sections of the route. The chamber fills with gas while its walls move inward, leaving little room for hesitation.
Use a Grapple or Snap Hook if your route and positioning allow it. If you need to cross on foot, move immediately toward the exit rather than stopping to explore. The closing walls can crush you and end the run.
After leaving the chamber, you will encounter side corridors on the left and right. The recorded run found that both routes led onward, but the moving walls still made speed essential. Do not waste time searching for optional loot while the hazard is active.
5. Search the Breach containers
The next rooms introduce Breach containers, which provide access to valuable rewards, including Amplification Modules. These modules are associated with the Frozen Trail update's Amplified weapon progression, although the full crafting system was not confirmed in the original footage.
Prioritize Breach containers over ordinary loot when your goal is progression. The ship can contain additional materials, but opening every container is not automatically the best decision when time, health, and ammunition are limited.
6. Use a traversal tool to reach the upper section
The first recorded attempt ended because the player lacked a Grapple or Snap Hook. In the subsequent run, the team used the battery to the left of the entrance as a climbing point, then grappled or snapped to the upper rail.
A Hydra may appear in this room, adding pressure while you work through the traversal sequence. Once you reach the upper section, look for the small opening near the upper-left side. The recorded route found another Breach container there.
From that point, continue through the connected corridors and ladders, checking for additional Breach containers as you move toward the exit. The route eventually returned the team to the ship's entrance, but the original exploration did not establish that every room or possible reward had been found.
Loot Priorities and Mistakes to Avoid
The Fallen Emperor rewards careful movement and selective looting. More containers do not always mean more value, especially when some may be trapped or when a detour exposes the squad to additional danger.
| Situation | Recommended approach |
|---|---|
| Redirection is inactive | Wait for the map condition rather than searching relays that cannot be used. |
| The blueprint has not dropped | Continue farming payloads while collecting couplers along the way. |
| A payload is arriving | Move clear of the impact area before searching. |
| You reach the gas chamber | Keep moving and avoid optional looting. |
| You reach the upper traversal section | Use a Grapple or Snap Hook and identify the route before committing. |
| You find an ordinary weapon crate. | Be cautious; the original run reported that some cylindrical crates exploded and could cause heavy damage. |
| You obtain valuable progression loot | Consider extracting instead of extending the run unnecessarily. |
The warning about weapon crates deserves particular attention. The original footage reported that some cylindrical crates were trapped and that there was no obvious way to distinguish them from normal containers. Until their behavior is reliably understood, skipping them is a reasonable risk-management choice.
For a more complete room-by-room reference, consult this Fallen Emperor dungeon guide. Keep in mind that the original run did not fully map every room, so treat its route as a practical starting point rather than a guarantee of complete coverage.
Summary
The Fallen Emperor is a multi-stage challenge: obtain the Emperor Gateway Conduit Blueprint, collect one ARC Plated Coupler, one ARC Conductive Coupler, and one ARC Insulated Coupler, then craft the conduit and use it to enter the ship on Pendola Pass.
Inside, the key lessons are to prepare for the Hydra, solve the yellow-button mechanisms, move quickly through the gas chamber, and bring a Grapple or Snap Hook for the upper traversal section. Breach containers should be a priority when pursuing Amplification Modules, while suspicious weapon crates and unnecessary detours can expose the squad to avoidable losses.
A successful expedition depends on more than finding valuable ARC Raiders Coins or rare loot. Prepare for the route, understand the hazards, and extract when the value you have secured outweighs the risk of continuing.
FAQ
Do you need to defeat the Emperor to enter the ship?
No. The entrance is opened with an Emperor Gateway Conduit. The major challenges begin inside the Fallen Emperor, where you face ARC enemies and environmental hazards.
What materials are needed to craft the Emperor Gateway Conduit?
You need the blueprint and one each of the ARC Plated Coupler, ARC Conductive Coupler, and ARC Insulated Coupler. The conduit is crafted at the Workbench.
Where does the blueprint drop?
The main repeatable route is to farm Harvester Payloads during the Redirection map condition on Pendola Pass. The blueprint is a random drop, so it may take multiple attempts.
Is a Grapple or Snap Hook necessary?
For the upper traversal route described in this guide, bring one. The original run could not progress past that section without a traversal tool. Do not assume you can complete the same route without one.
Should you open every weapon crate inside the ship?
Not necessarily. The original run encountered cylindrical weapon crates that could explode and deal substantial damage. Until you can reliably identify safe containers, prioritizing Breach containers and avoiding unnecessary risks is the safer approach.
Does this walkthrough cover the entire Fallen Emperor?
No. It covers the rooms and mechanics observed during the recorded runs, but the exploration was not exhaustive. Room order, enemy appearances, and additional loot opportunities should be verified in further runs.