
A good Cleric does more than keep health bars full. In Aion 2, the real challenge is knowing when to heal, when to support teammates, and when it is safe to contribute damage. We approach this class as a flexible support role: one that rewards good timing, awareness, and a clear understanding of how skills work together.
For players exploring different builds or upgrading their equipment with Aion 2 Items, it helps to establish a reliable foundation before chasing higher damage numbers. We recommend building around three priorities: keeping the party alive, maintaining useful combat effects, and taking advantage of safe offensive windows. The right balance depends on your content, equipment, and group composition.

Understanding the Cleric's Role in Group Combat
We see the Cleric as a support class with several responsibilities rather than a healer who simply reacts to incoming damage. Your decisions affect how comfortably the entire group handles difficult encounters.
In practice, we organize those responsibilities into three priorities:
| Priority | What we focus on | When it matters most |
|---|---|---|
| Survival | Healing, protection, and emergency recovery | Heavy incoming damage or a teammate in danger |
| Team support | Useful buffs, debuffs, and recovery tools | Before important mechanics and during coordinated attacks |
| Damage | Offensive skills and damage combinations | When the group is stable and mechanics allow it |
The order is flexible, but survival comes first when a mistake could cost the group an attempt.
For example, imagine that a boss is approaching a dangerous attack phase. Your party is currently healthy, and your offensive skills are available. This may be a good opportunity to contribute damage. However, if one teammate suddenly takes heavy damage, continuing the rotation just to finish a combination is rarely the better decision.
We recommend keeping emergency healing and recovery skills easy to access. A damage rotation should never become a sequence that you feel forced to finish regardless of what happens around you.
Choosing Stigma Builds for PvE and PvP
There is no single Cleric setup that automatically works best in every situation. We prefer choosing Stigmas according to the problems a build needs to solve.
Offensive PvE: Build Around Condemnation
The supplied build places Condemnation at the center of its offensive approach and lists the following Stigmas as candidates:
- Light of Protection
- Earth Punishment
- Noble Aura
- Prayer of Amplification
This combination provides a starting point for testing a more damage-oriented Cleric setup. However, we would not recommend treating the list as a guaranteed best-in-slot build without checking the current effects and specialization requirements.
Before committing to it, consider whether your healing is already sufficient for the content you play. If the group can survive comfortably and your support responsibilities are covered, an offensive setup may be worth exploring.

Progression PvE: Improve Consistency First
For progression content, the supplied material identifies Absolution, Yustiel's Power, Benevolence, and Summon Resurrection as possible defensive or support-oriented options.
Rather than equipping every listed skill automatically, we suggest asking three questions:
- Are teammates dying because incoming damage exceeds your recovery?
- Are harmful effects or missed mechanics causing repeated failures?
- Would additional damage actually shorten the encounter, or would better survival be more valuable?
If your party repeatedly fails during dangerous phases, a more supportive setup may produce better results than an aggressive build. Once those problems are under control, you can gradually shift toward damage.
Group PvP: Prioritize Team Needs
PvP requires a different approach because enemy pressure, positioning, and team composition can change the value of individual skills.
We recommend testing your setup against the situations you encounter most often. A build designed for sustained PvE damage may not provide the same practical value when you need to respond quickly to focused attacks or protect a teammate under pressure.

Skill Progression: Establish the Core Interaction
When developing an offensive Cleric, we prefer completing the skills that make the build function before spreading resources across every available ability.
The supplied material highlights three parts of its Condemnation-focused approach:
| Skill or requirement | Why it matters | What to verify |
|---|---|---|
| Condemnation | The central offensive skill in the proposed setup | Required skill level and specialization effects |
| Earth Punishment | Part of the described supporting damage interaction | Whether the expected critical-hit interaction works as described |
| Chain of Torment | Included in the proposed sequence for repeated offensive opportunities | Its current effect and relationship with Condemnation |
The original setup identifies Condemnation level 12 and a fourth specialization associated with cooldown resets on critical hits as important milestones. These details should be checked against the current game client before you invest heavily in the build.
We would also avoid confusing skill-level requirements with character-level requirements. Reaching a certain character level does not necessarily mean every skill interaction is ready to use.
At the same time, do not neglect Healing Light and Radiant Recovery simply because you are developing an offensive build. If you regularly participate in group content, your healing toolkit needs to remain dependable.
Our rule is straightforward: develop the offensive interaction without weakening the support role that makes the Cleric valuable to the party.

Combat Rotation: Turn Skill Knowledge into Better Decisions
The supplied material presents this offensive sequence:
Debilitating Mark → Chain of Torment → Earth Punishment → Condemnation → Divine Aura → Judgment Thunder
We recommend treating it as a reference for testing rather than a universally optimal rotation. The actual order and effectiveness depend on the current skill effects, available specializations, and encounter conditions.
Instead of memorizing the sequence alone, we break combat into four stages.
- Prepare: Check your buffs, positioning, and the group's condition.
- Establish effects: Apply the required debuffs and supporting skills.
- Use the damage window: Execute the intended Condemnation interaction if its prerequisites are satisfied.
- Reassess: Decide whether to continue attacking, heal, cleanse, or reposition.
What We Check During Practice
When testing a new build, we pay attention to whether the expected effects actually occur.
- Did the intended debuff successfully apply?
- Did the cooldown reset trigger under the expected conditions?
- Were the supporting effects active during the damage window?
- Could we interrupt the sequence to heal without hesitation?
- Did the keybinds or macros behave consistently?
These checks are more useful than judging a rotation by how smooth it looks on paper. A skill animation does not necessarily confirm that every intended effect has landed.

Keep Emergency Actions Independent
We recommend placing essential healing and emergency support skills on direct, accessible keybinds. Offensive macros, where supported, should not make emergency responses slower or harder to control.
Test any macro setup on a safe target before relying on it in group content. Also, do not assume that a particular targeting mode automatically solves mana problems. Resource management should be evaluated through actual gameplay rather than an unverified setting recommendation.
Stats, Equipment, and Progression Priorities
The supplied article proposes the offensive stat direction:
Attack → Critical Hit Chance → Double Attack → Cooldown Reduction
We would treat this as a possible starting point, not a universal ranking for every character or equipment slot. The value of an upgrade depends on your current stats, the relevant skill mechanics, and the content you intend to play.
We recommend evaluating improvements in the following order.
First, Check Survivability
If you regularly die during encounters, adding offensive stats may not address the underlying problem. Positioning, defensive options, and timely healing may be more important.
Second, Check Healing Reliability
Consider whether you can recover the group during demanding phases and whether essential abilities are available when needed.
Third, Improve Offensive Performance
Once your support responsibilities are covered, compare damage-oriented upgrades through practical testing instead of relying exclusively on character-sheet numbers.
Arcana and Daevanion Choices
The supplied material recommends the Vigor Arcana set and emphasizes selected attributes, including combat speed and cooldown reduction. Because the source material contains conflicting recommendations, we would not label Vigor a universal best choice.
Before investing, check the current set bonuses, individual item attributes, skill-level bonuses, and the cost of changing your setup.
For Daevanion progression, strengthening the skills that define your chosen build is a reasonable starting point. However, we would not automatically reject every mana-regeneration option. If resource shortages repeatedly interrupt your rotation or healing, investigate the cause before deciding that sustain-related upgrades have no value.
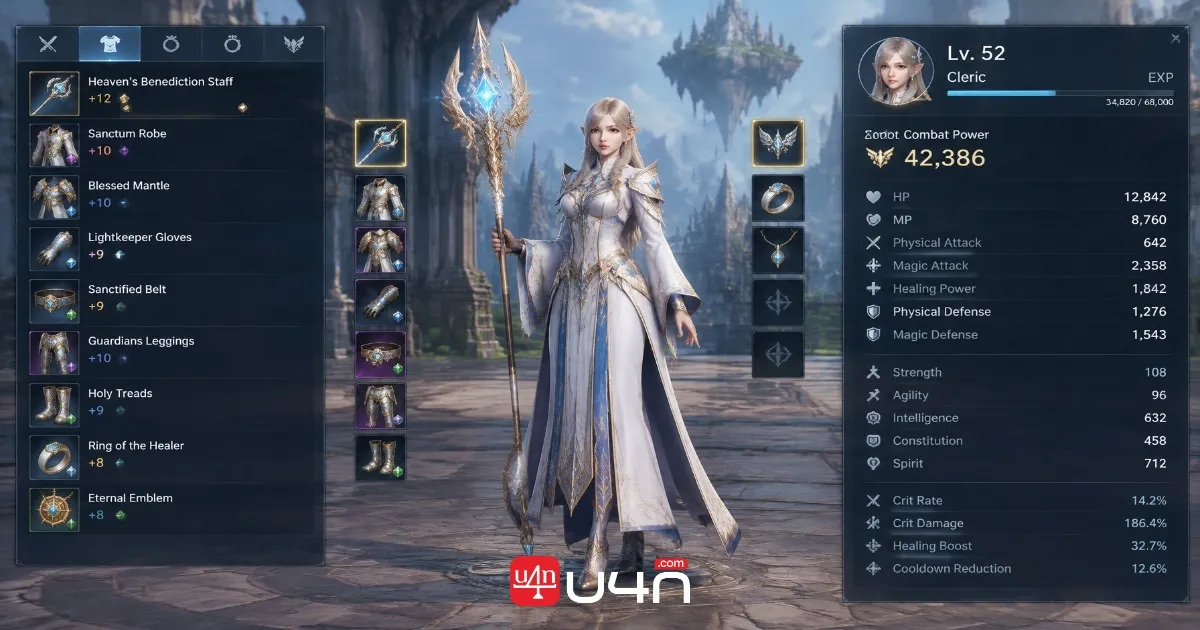
Summary: Build a Cleric That Responds to the Fight
The most important lesson in this Aion 2 Cleric guide is that good performance comes from balancing responsibilities, not maximizing one statistic.
We recommend starting with a dependable healing setup, learning the interactions behind your chosen offensive skills, and adjusting your Stigmas to the content you play. Once the group can survive consistently, you can devote more attention to damage windows and equipment optimization.
When planning your next upgrade, consider whether your current limitation comes from healing, skill timing, resource management, or damage output. Players who choose upgrades based on actual problems usually develop a more reliable build than those who simply copy an endgame setup.
If you are preparing to improve your equipment or considering whether to buy Aion 2 Kinah, establish your priorities first. Focus on the upgrades that address your current weaknesses rather than spending resources on a build you cannot yet use effectively.
Ultimately, we believe the strongest Clerics are not the ones who follow a rotation without interruption. They are the ones who understand when to use it, when to adapt, and when saving a teammate matters more than dealing another hit.
FAQ
Should a Cleric focus on healing or damage?
Healing and team survival should take priority whenever the group is in danger. When teammates are stable and encounter mechanics allow it, offensive skills can contribute meaningful damage.
Is Condemnation the best offensive skill for every Cleric build?
The supplied build uses Condemnation as its central offensive skill. Whether that setup is optimal depends on the current skill mechanics, specializations, equipment, and encounter requirements.
Should I use the same Stigma build for PvE and PvP?
Not necessarily. PvE builds may emphasize sustained damage or recovery, while PvP often demands faster responses to focused pressure and changing team situations. Adjust your setup to the content you play.
Which stats should I prioritize?
Attack, Critical Hit Chance, Double Attack, and Cooldown Reduction are potential offensive priorities from the supplied material. Evaluate them alongside survivability, healing reliability, and the mechanics of your chosen build rather than treating the order as universally correct.
How can I tell whether my Cleric rotation is working?
Check whether the required effects apply, the expected cooldown interactions occur, and your damage skills are used during the intended window. Also verify that you can stop attacking and respond to urgent healing needs immediately.