
The Unbinding of Kith'ix is a single-boss raid encounter in World of Warcraft: Midnight Patch 12.1.5. Although the raid focuses on one major enemy, the fight demands careful add management, coordinated movement, and well-timed damage cooldowns. We recommend learning the encounter's two phases before pulling, because mistakes during the early waves can make the later stages much harder.
For our team, the biggest lesson is that Kith'ix rewards preparation more than reckless damage. Players looking to streamline their progression may also research WoW Forever Gold, but understanding the boss mechanics should come first. Whether you are joining a regular raid group or learning the encounter with unfamiliar teammates, a clear plan for each phase will make the fight much more manageable.
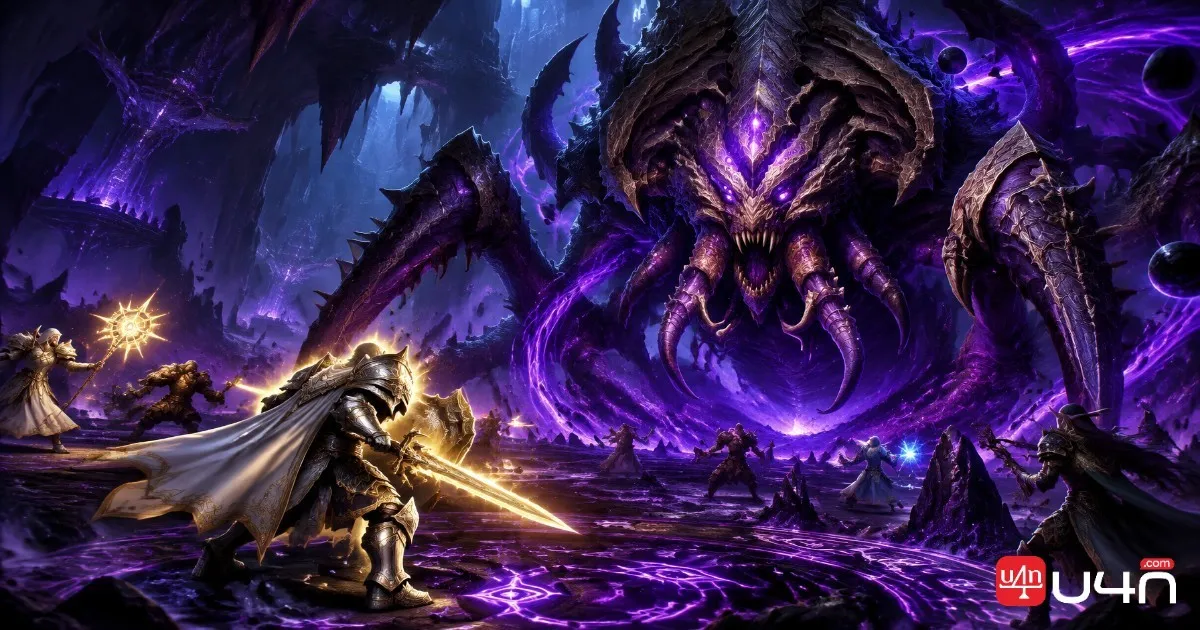
Kith'ix rewards preparation more than reckless damage. A clear plan for each phase will make the fight much more manageable.
Kith'ix Raid Overview: What to Know Before Pulling
Kith'ix is a C'Thraxxi general encountered alongside Lady Liadrin, whose protective abilities play a central role in the fight. The encounter begins with repeated add waves and dangerous darkness phases before transitioning into a final damage race.
According to Blizzard's official Patch 12.1.5 update notes, the raid offers Story Mode, Raid Finder, Normal, Heroic, and Mythic difficulties. The encounter's basic structure remains centered on managing Kith'ix's minions, surviving the darkness, and defeating the boss before his final ritual completes.
Before entering, we recommend assigning responsibilities rather than expecting everyone to react independently.
| Role | Main responsibility |
|---|---|
| Tanks | Separate Kith'ix from adds, manage tank debuffs, and coordinate swaps |
| Healers | Handle healing absorbs, dispels, and incoming raid damage |
| Melee DPS | Follow add priorities and maximize safe cleave damage |
| Ranged DPS | Focus priority targets, control dangerous adds, and maintain positioning |
| Entire raid | Stay coordinated during darkness and avoid hazards in the final phase |
Our experience with progression encounters is that a simple assignment made before the pull is usually more effective than trying to organize the group while several mechanics are happening simultaneously.
Phase One: Control Adds and Manage Threat
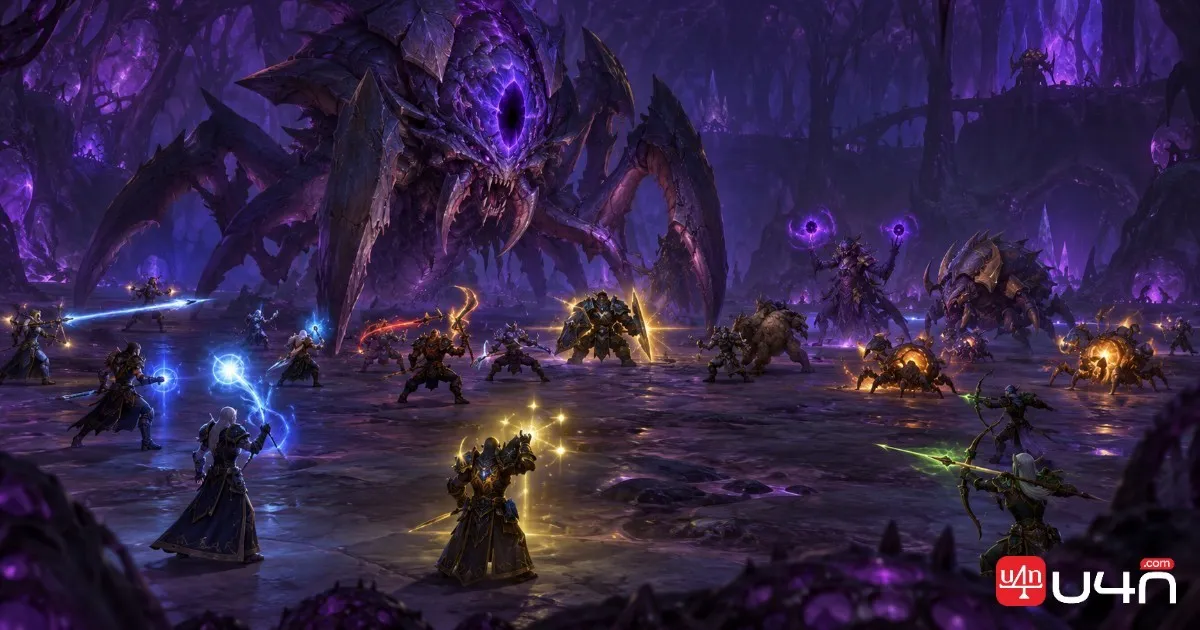
The first phase revolves around Voidswarm, which summons groups of Aqir enemies while Kith'ix continues pressuring the raid. One of the most important mechanics is Commanding Presence, which reduces the damage taken by nearby adds.
Prioritize the Right Enemies
We recommend establishing a clear kill order before combat begins.
- Voidweavers: Prioritize these enemies to reduce their impact on the encounter.
- Venomous Hulk: Position it so the group can cleave it alongside priority targets when practical.
- Bomber Beetles: Coordinate crowd control and trigger their explosions individually to avoid unnecessary overlapping damage.
Tanks should keep the add group separated from Kith'ix whenever possible. If the enemies remain too close to the boss, the damage reduction can slow the entire phase and leave less time to prepare for the next mechanic.
Handle Tank Swaps Carefully
Dark Devastation targets the current tank and applies Devastated, increasing Physical and Shadow damage taken. Tanks should coordinate their swaps around this debuff rather than relying on a fixed timer alone.
We also recommend watching the positioning of nearby players. Moving the tank away from the group reduces the risk of unnecessary damage and makes it easier for healers to manage the encounter.
The main objective is straightforward: control the adds, maintain a clean tank rotation, and prevent avoidable damage from accumulating before the first darkness phase.
Suffocating Darkness: Survive the Intermission
When Kith'ix reaches 100 Energy, he begins Suffocating Darkness. The dangerous area closes around the raid, while Lady Liadrin provides protection through Refulgent Bulwark.
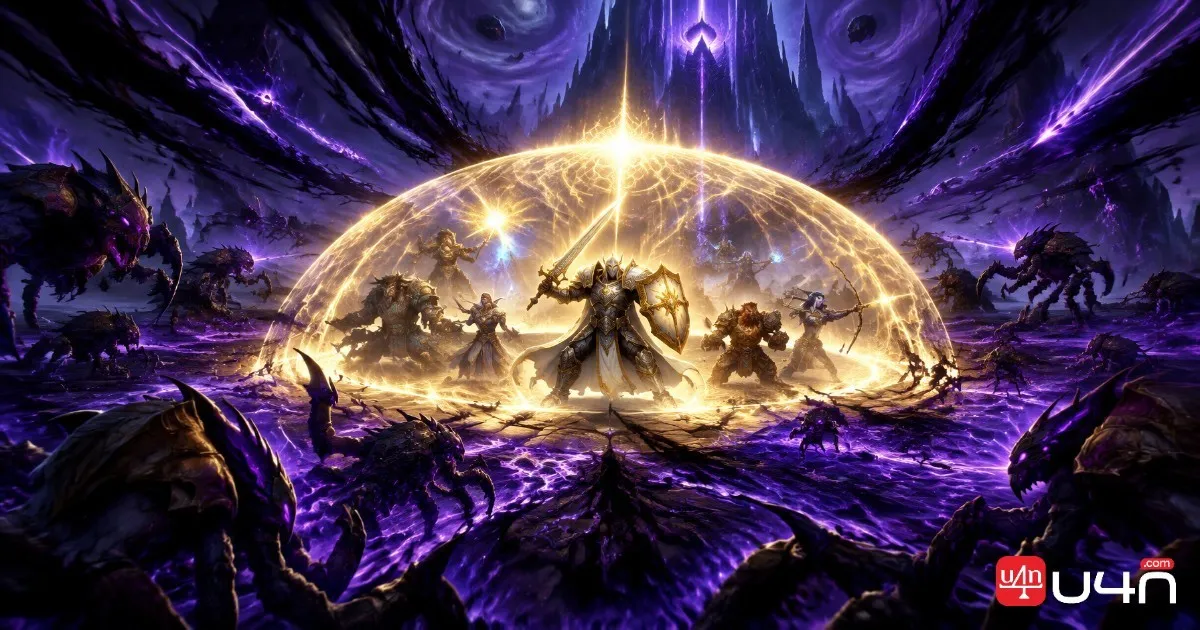
The most important rule is to eliminate all remaining adds before the darkness begins. Enemies that survive become empowered by Dark Frenzy, gaining increased attack and movement speed, crowd-control immunity, and additional danger for the group.
Once the protective area forms, everyone should move inside it while continuing to handle the remaining mechanics.
What Each Role Should Do
Tanks: Keep dangerous attacks positioned safely and avoid dragging the boss or hazardous effects through the raid.
Healers: React quickly to Abyssal Grasp, which applies a healing absorb and pulls affected players toward the darkness. The absorb must be removed within the mechanic's eight-second window to prevent the target from being dragged out of safety.
DPS: Continue attacking appropriate targets, avoid frontal attacks, and respond to fear mechanics without stepping outside the protective area.
When Lady Liadrin reaches 100 Energy, Divine Radiance removes the darkness and stuns Kith'ix for eight seconds. We recommend using this window to deal additional damage while preparing for the next add wave.
However, repeated cycles become increasingly dangerous as Liadrin gains Exhausted stacks, weakening her protection and increasing the damage from subsequent darkness phases. For progression groups, this is a strong reason to improve add-clearing efficiency rather than relying on repeated defensive cycles.

Heroic Difficulty: Intercept Eclipse Fragments
Heroic introduces an additional challenge involving Voidscars and Eclipse Fragments. These fragments travel toward Lady Liadrin during the darkness phase.
Players must intercept them before they reach her, or the raid risks additional damage and a reduction in the protected area. We recommend planning the interception route in advance and coordinating the players responsible for collecting the fragments.
This mechanic reinforces an important principle: positioning is not simply about avoiding damage. Sometimes, a player must deliberately enter a controlled danger zone to prevent a more serious raid-wide problem.
Phase Two: Win the Race Against Eightfold Eclipse
When Kith'ix reaches 25% health, the encounter enters its final phase. Eightfold Eclipse begins a countdown toward a raid wipe, turning the remaining fight into a damage check.
At this point, we recommend using Bloodlust or an equivalent raid haste cooldown alongside major offensive cooldowns, taking advantage of Luminous Grace to maximize damage output.
Do not wait until the boss is nearly defeated to start using essential abilities. The group should enter the final phase with a clear plan and have its strongest available damage tools ready.
Handle Null Gates and Nullshards
Null Gates target players before opening at their locations. These gates create dangerous areas, while Nullshards apply stacking Nullify effects to players they hit.
Our recommended approach is to spread appropriately, place gates away from crowded areas, and avoid crossing through shards while repositioning. Players should also avoid dropping hazards in locations that block the movement of teammates.
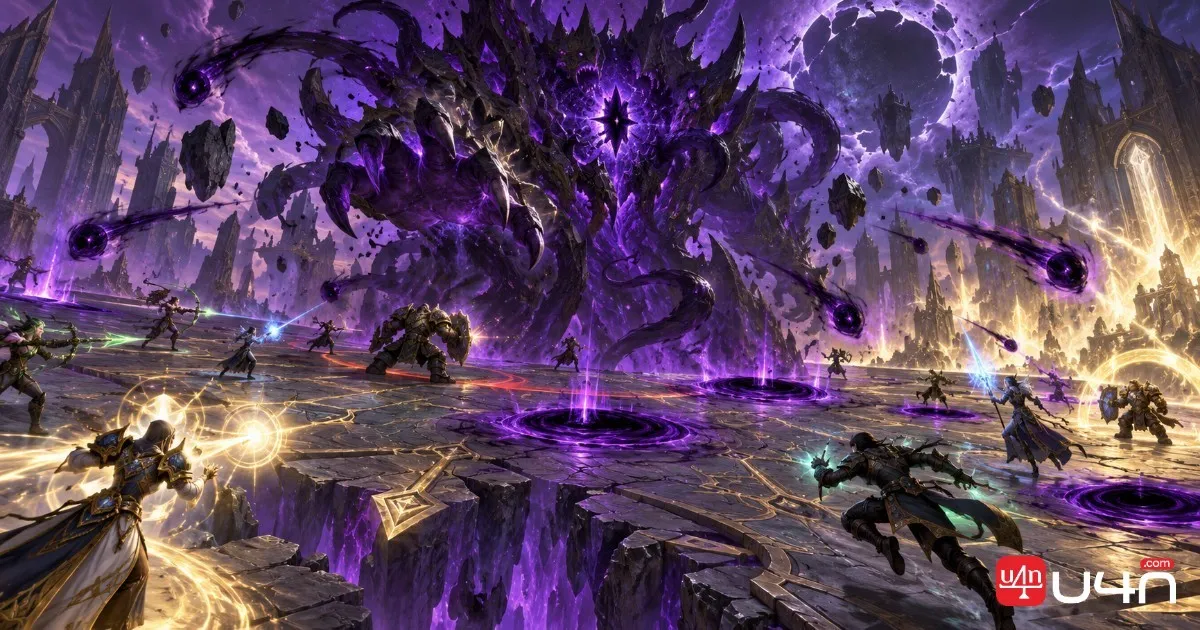
Tanks must pay particular attention to Negation and coordinate the required swaps. The affected tank needs to handle the relevant Null Gate mechanic correctly, while the rest of the raid stays clear of the resulting effects.
| Final-phase priority | Recommended action |
|---|---|
| Damage cooldowns | Coordinate Bloodlust and major offensive abilities |
| Null Gates | Spread and place them away from congested areas |
| Nullshards | Avoid contact and unnecessary movement through hazards |
| Tank mechanics | Coordinate swaps and resolve Negation safely |
| Raid survival | Maintain enough awareness to avoid preventable deaths |
The most common strategic mistake in a final burn is treating damage as the only priority. We would rather see a group maintain consistent damage while handling mechanics correctly than lose several players early and struggle to finish the encounter.
The final phase is a damage race, but survival and mechanic execution remain essential. Consistent damage is more valuable than reckless output that causes preventable deaths.
Loot, Preparation, and Common Mistakes
Defeating Kith'ix provides an opportunity to obtain equipment and progress through the current raid content. The value of each reward depends on your specialization, existing gear, and the difficulty you are completing.
Before the raid, we recommend checking the current loot table and verifying item levels rather than relying on outdated lists. Players considering WoW Forever Items should also understand their character's actual equipment needs and compare available upgrades before making progression decisions.
Common Mistakes to Avoid
- Leaving adds alive before Suffocating Darkness: This can empower surviving enemies and make the intermission significantly more dangerous.
- Keeping adds too close to Kith'ix: Commanding Presence can reduce their damage taken and slow the group's progress.
- Ignoring healing absorbs: Abyssal Grasp requires a fast response from healers.
- Poor tank communication: Uncoordinated swaps can expose tanks to dangerous follow-up damage.
- Wasting final-phase cooldowns: Delaying major offensive abilities can make the Eightfold Eclipse damage check harder to meet.
- Ignoring positioning: Poorly placed gates and careless movement through Nullshards can cause avoidable deaths.
We also recommend reviewing combat logs after unsuccessful attempts. Look for deaths caused by missed mechanics, excessive damage taken, delayed add kills, or cooldowns used at ineffective times. These observations are more useful than simply increasing damage output without identifying the underlying problem.
A Consistent Strategy Makes Kith'ix Easier
The Unbinding of Kith'ix is a compact encounter, but its mechanics demand consistent execution. Our approach is to keep the first phase organized, clear adds before darkness, coordinate tank swaps, and enter the final phase ready to commit offensive cooldowns.
For groups learning the fight, the biggest improvements usually come from better positioning, clearer assignments, and fewer preventable deaths. Once those fundamentals become consistent, players can focus on optimizing damage and shortening the encounter.
We recommend treating every attempt as an opportunity to improve one specific part of the strategy. With a reliable plan, the encounter becomes easier to understand, repeat, and eventually clear across greater difficulties.