


Balaur's Essence is a crafting material tied to Draconic gear, so the useful question is not simply where it drops. We need to know which source fits our group, how much the crafting chain actually consumes, and when it makes sense to stop farming and check the market. That is the practical side of collecting Aion 2 Items for a planned gear upgrade.
The routes below cover high-rate dungeon bosses, level 45 field bosses, and two lower-rate dungeon targets. We use the reported figures as a comparison tool, not as a promise of personal loot. A listed drop chance does not account for your lockout, the time needed to form a party, competition at a field spawn, or how loot is distributed after the kill.
What Balaur's Essence Is Used For
Balaur's Essence is used in crafting materials for Draconic equipment. One documented example is Fine Durable Balaur Horn, a Blacksmithing recipe that calls for two Balaur's Essence and one bound Moonstone Hammer. The database lists the recipe at Blacksmithing proficiency 80 and identifies the horn as a material used in Draconic gear. Its data is drawn from a test-client build, so we recommend checking the live crafting window before collecting a full batch.
That example gives us a reliable starting point for budgeting, but it should not be treated as the whole progression chain. A finished weapon or armor piece can require intermediate components, and those components may have their own recipes. Some third-party listings also associate Balaur's Essence with Enhanced Balaur Scale materials, though recipe details do not always match across databases.
Before committing to a farm, open the item's recipe in game and trace every intermediate step. Count the Essence required at each step, then add the totals together. This avoids a common mistake: farming enough for the first material, only to discover that another craft in the same gear path calls for more.
Reported Boss Sources
A third-party farming guide updated on October 8, 2026, lists the following dungeon bosses as high-probability sources. These are reported rates, not official live-server guarantees. The guide does not establish that every eligible party member receives an Essence on every clear, so treat the numbers as source-level references and confirm the item source in game before planning repeated runs.
| Boss | Location | Reported drop rate |
|---|---|---|
| Transcendent Bakarma | Draupnir: Bakarma's Subspace | 100% |
| Eternal Ludra | Abyssal Forge: Ludra | 100% |
| Phantasmal Lakshmi | Draupnir: Phantasmal Sky | 95.8% |
| Predator Saraswati | Draupnir: Unknown Abyss | 94.8% |

On paper, the first two targets look like clear winners. In practice, a high listed rate is only one part of the calculation. Access requirements, weekly or daily entry rules, party readiness, the time needed to clear, and loot distribution can all change the value of a run. A group that already has a scheduled Ludra clear may find it an easy source to add to its routine. A player who would need to spend a long time assembling a group for that encounter may get more out of a readily available field boss.
We compare routes by expected progress per session, not by the largest percentage in a table. If a boss is difficult for your current group or takes much longer than another option, the extra rate may not compensate for the time investment. The material is valuable, but farming it should not turn into a string of inefficient attempts that blocks the rest of your gear progression.
Field Boss Route in Verteron and Altgard
The same guide lists six level 45 field bosses in Verteron and Altgard, each at approximately 60.7% reported drop chance.
| Boss | Region | Listed location |
|---|---|---|
| Black Tentacle Lawa | Verteron | Altamia Canyon |
| Centurion Demiros | Verteron | Destroyed Temple Site |
| Sentinel K'nash | Verteron | Drana Processing Area |
| Desecrator Newbold | Altgard | Legion Base Ruins |
| Visionary Karuka | Altgard | Black Claw Village |
| Sharp Shylak | Altgard | Impetusium Square |

Field bosses suit players who can keep moving between objectives. We like this route when a character is questing, gathering, or waiting for a dungeon group, because checking a nearby spawn adds little wasted travel. It is also a straightforward option for players who want to stay in the open world rather than organize a specialized run.
The catch is availability. A listed location does not mean the boss is waiting when you arrive. Spawn timing and competition from other players can leave you standing around, and a contested kill may take longer than the drop rate suggests. If your first target is down or surrounded by a large group, check another nearby spawn or move to a dungeon instead of waiting indefinitely.
A practical field-boss loop should have a clear cutoff. Pick two or three reachable targets, check them in sequence, then leave the circuit if none are available. That keeps the route from turning into idle time. If your group is already assembled, a dungeon clear can be a better use of that window.

Fire Temple and Ferocious Horn Den
Two additional dungeon targets are listed at a lower 30% reported drop rate.
| Boss | Dungeon location | Reported drop rate |
|---|---|---|
| Kromede's Desire | Fire Temple: Mirror Altar | 30% |
| Ferocious Horn Nuakum | Ferocious Horn Den: Howling Throne | 30% |
These runs can still be worthwhile when the party wants more than Balaur's Essence. The source guide also lists other Balaur materials, including Durable Balaur Horn, from these encounters. If those materials or equipment rewards matter to your group, a lower Essence rate may be acceptable because the clear supports several goals at once.
If Essence is the only item on your shopping list, compare the entire run rather than looking at the percentage alone. Include travel, matchmaking, boss mechanics, reset or entry limits, and the likelihood that your party can clear consistently. A 30% chance from a short, familiar run can be more useful to your schedule than a higher rate locked behind a lengthy setup. Conversely, if the dungeon requires significant coordination, save it for a session when the group has other reasons to go.
How Much Should You Farm?
Start with the recipe target. If a craft takes two Balaur's Essence and you plan to make ten units, the base requirement is twenty. Then inspect the rest of the gear chain: a second recipe may use the same material, and failed crafts can increase the number of attempts needed.
The Fine Durable Balaur Horn example has a listed proficiency requirement and a reported success chance that varies with proficiency. Treat that as a reason to check your own crafting window, not as a universal guarantee. Your current proficiency and the live recipe determine the relevant numbers.
Use this short checklist before farming:
- Select the exact equipment or intermediate material you plan to craft.
- Record the Essence cost for every recipe in that path.
- Check which materials can be bought, gathered, or crafted.
- Confirm the live success chance and proficiency requirement.
- Decide how much reserve you want for failed attempts or a later recipe change.
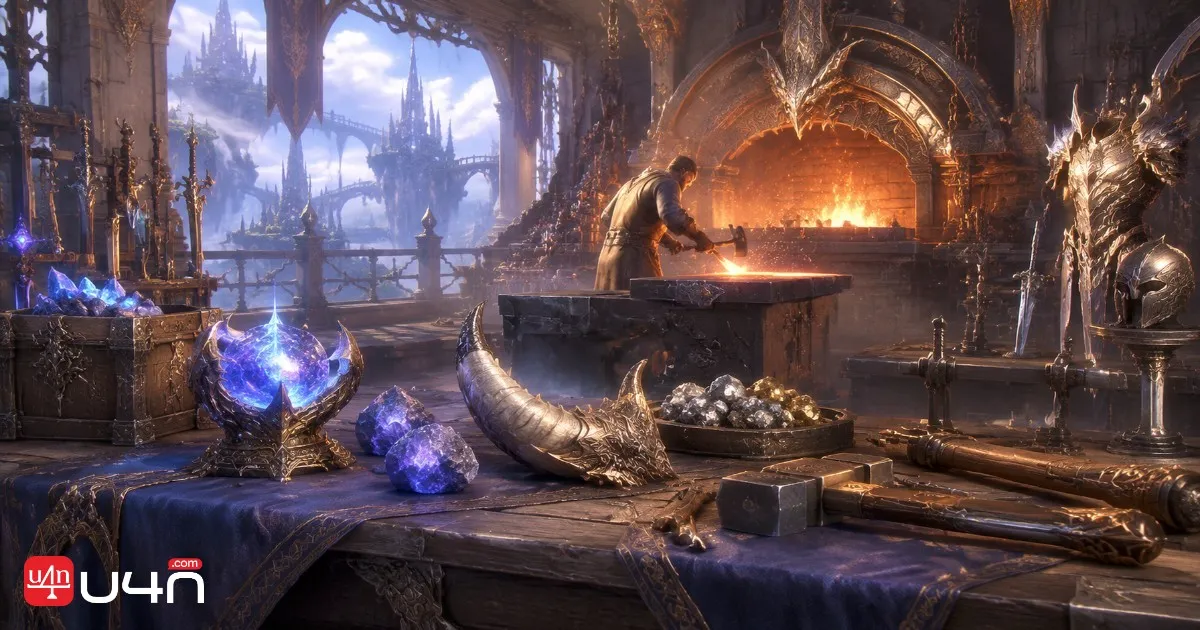
We prefer a small, deliberate reserve over an arbitrary stockpile. If you do not yet know which item you are crafting, keep the plan flexible and avoid tying up time or currency in materials you may not need. Once the recipe chain is confirmed, the required amount becomes much easier to estimate.
Selling or Keeping Extra Essence
Third-party guides describe Balaur's Essence as tradeable, but trade rules can vary by server and item state. Bound materials, market restrictions, and current server rules matter more than a general guide entry. Check the item tooltip and market interface before listing anything.
If you expect to craft soon, keeping the material can save you a later purchase at an unfavorable price. If you have no active crafting plan, compare current listings and recent transactions on your own server where available. Do not assume that a quoted price from another region or an older guide reflects what buyers will pay now.
The same check helps when deciding whether to buy a shortfall instead of farming it. Compare the cost of the missing Essence with the time and group effort needed for another run. Players weighing cheap Aion 2 Kina against a crafting target should also account for the other materials and tools in the recipe, rather than treating Essence as the full cost.
Best Balaur's Essence Farming Routes for Your Group's Goals
Balaur's Essence supports Draconic crafting, and the right farming route depends on the group and the goal behind each run. The reported high-rate dungeon bosses offer strong listed chances, while Verteron and Altgard field bosses provide an open-world alternative. Fire Temple and Ferocious Horn Den make more sense when their other rewards matter to the party.
Use the reported rates to compare options, not to predict guaranteed personal loot. Check the live item source and crafting window, count the full recipe chain, and set a time limit for waiting on field spawns. A focused plan will usually save more time than farming a large reserve without a specific craft in mind.
FAQ
Can gathering nodes produce Balaur's Essence?
The farming source described here lists boss and dungeon drops, not Essence Extraction nodes. The item's name alone is not evidence that ordinary gathering produces it. Check the in-game item source list if a later update adds another acquisition method.
Is a 100% listed drop rate guaranteed for every party member?
No. The percentage is third-party reference data, and it does not explain every server's loot distribution rules or guarantee that each individual player receives the item. Confirm the current source in game and agree on loot rules with the group before a farm.
Should we farm a dungeon or field bosses?
Choose the dungeon when your party can clear it reliably and its other rewards support your progression. Choose field bosses when nearby spawns are available and you can check them without waiting long. If the current target is unavailable, move on rather than letting the session stall.
How do we avoid farming too much?
Calculate the full recipe chain before starting, then include a reasonable reserve for crafting attempts. Recheck the live recipe if the server or patch differs from the data you used. This keeps your target tied to an actual craft instead of an arbitrary inventory number.