

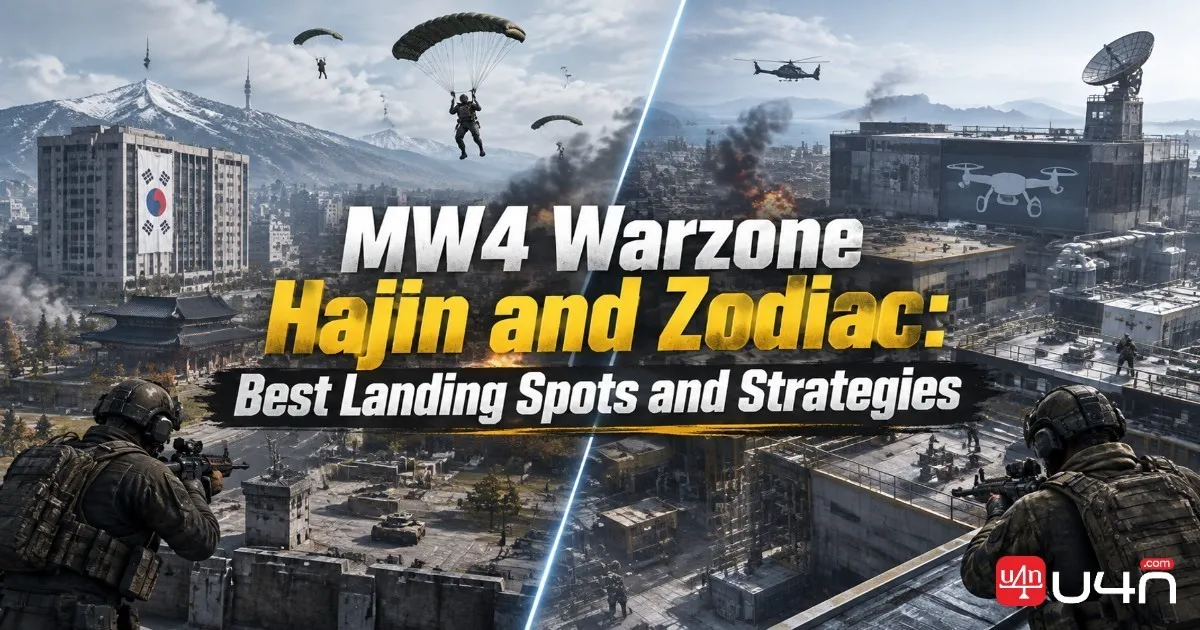
Call of Duty: Modern Warfare 4 is bringing two major maps to Warzone Season 1: Hajin, a large-scale Battle Royale battlefield, and Zodiac, a compact Resurgence map built around a South Korean drone manufacturing facility. Although both maps arrive as part of the same seasonal update, they demand very different approaches to landing, looting, positioning, and squad coordination. Activision's official Warzone Season 1 overview confirms both maps and their respective modes.
For players preparing to enter the new season, understanding each map before deployment can make a noticeable difference. Hajin rewards careful rotations, long-range awareness, and smart use of terrain, while Zodiac places greater emphasis on close-quarters combat, vertical positioning, and fast squad redeployments. Our team has put together this guide to help players understand the major POIs, identify suitable landing areas, and develop practical strategies for both maps. We will also distinguish Warzone map progression from related activities such as earning CoD MW4 DMZ Money, so players can focus on the systems that actually matter in each mode.
Hajin Map Guide: POIs, Terrain, and Key Locations
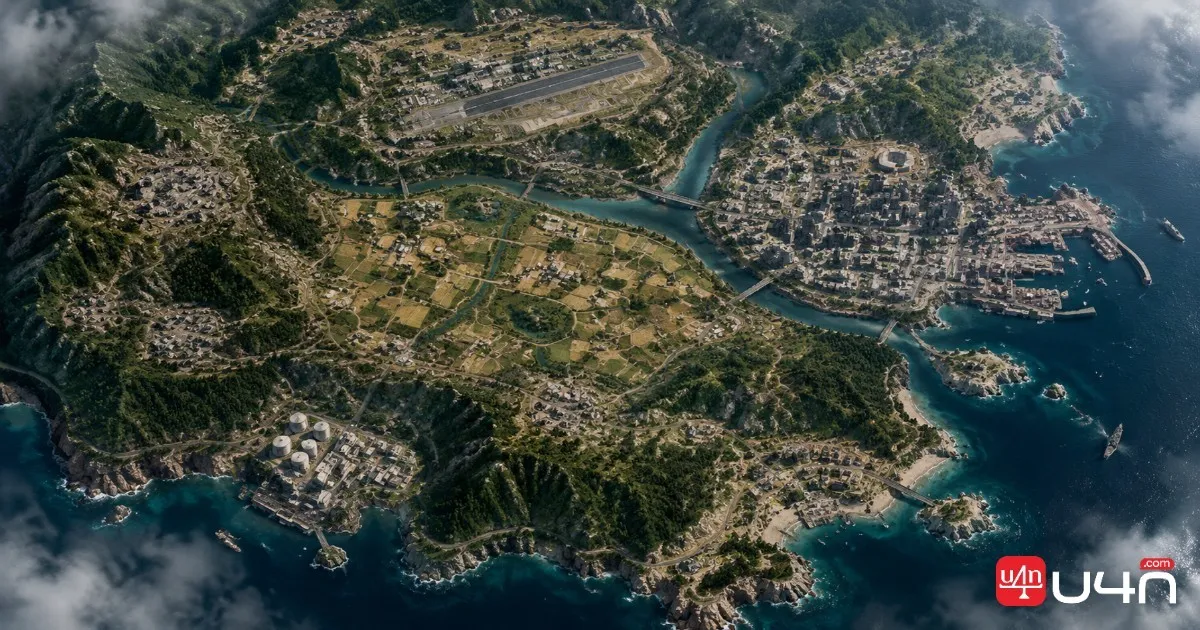
Hajin is the new large-scale Battle Royale map introduced in Warzone Season 1. Set across the Korean Peninsula, it connects the Warzone experience with the broader Modern Warfare 4 campaign setting. Its environment combines dense urban districts, open farmland, winding rivers, abandoned structures, and forested hills. These different terrain types create distinct combat situations, making landing decisions particularly important.
Unlike a compact Resurgence environment, Hajin gives squads more room to reposition and approach objectives from different directions. However, open spaces can leave players exposed, while crowded urban areas create opportunities for ambushes and close-range engagements.
Major POIs on Hajin
The map features 13 major Points of Interest (POIs). Some areas favor coordinated urban combat, while others offer more opportunities for long-range engagements and controlled looting.
| Location | Main Characteristics | Tactical Considerations |
|---|---|---|
| Hajin City | Dense urban buildings and fortified streets | Control rooftops and building entrances |
| Imjin Farmland | Open agricultural terrain | Watch long sightlines and use available cover |
| 14th Political Prison | Military-style compound | Clear buildings carefully |
| Chang-san Air Base | Large military installation | Watch exposed approaches and surrounding structures |
| Deadtown | Abandoned settlement | Check buildings and nearby routes for enemy movement |
These locations should be approached according to your squad's preferred playstyle rather than treated as a fixed ranking of the best landing spots.
How Weather Affects Combat on Hajin
Weather is another defining feature of Hajin. Players can encounter clear skies, fog, wind, rain, and distant storms during deployments. These conditions change the atmosphere of the battlefield and make environmental awareness an important part of positioning.
Our recommendation is to avoid relying on the same engagement distance throughout every match. Keep checking your surroundings, use buildings and natural cover when crossing exposed terrain, and avoid assuming that an enemy's position will remain easy to track.
The map also introduces two versions of the new Gulag. Both feature symmetrical layouts, but their cover arrangements differ. Learning how to mantle obstacles and use the available cover can help players approach these 1v1 encounters more confidently.
Best Landing Spots on Hajin and Early-Game Strategy
Choosing where to land is one of the most important decisions in Battle Royale. A crowded location may provide faster access to weapons and equipment, but it also increases the likelihood of early eliminations. A quieter area can offer a safer start, although players may need to travel farther to find their next engagement.
We recommend choosing a landing area based on your squad's experience, preferred weapons, and willingness to take early fights.
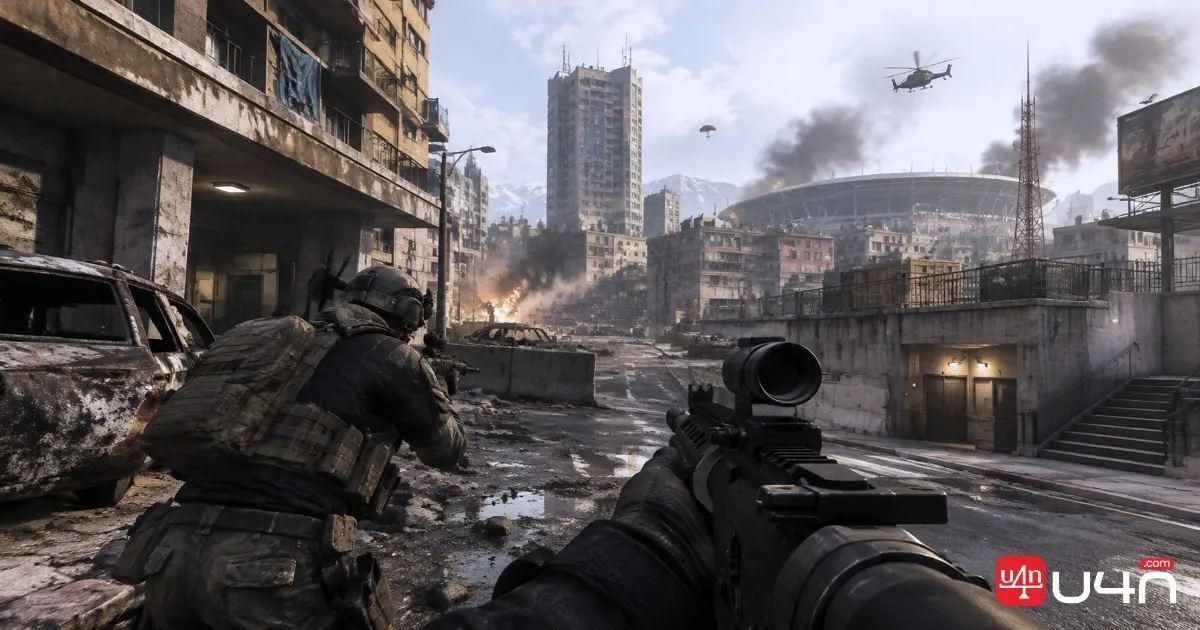
Best Areas for Aggressive Players
Players who enjoy early engagements should prioritize locations with multiple buildings, accessible loot routes, and enough surrounding structures to support repositioning.
Hajin City is a natural area to consider because its dense layout creates opportunities for close- and medium-range fights. However, landing on a rooftop without checking nearby buildings can quickly turn into a disadvantage.
A more consistent approach is to:
- Land near accessible buildings rather than directly on contested rooftops.
- Secure a primary weapon before pushing another squad.
- Check staircases, entrances, and nearby windows before entering buildings.
- Avoid chasing eliminations when your team has not secured enough armor and ammunition.
Safer Landing Strategies for Survival-Focused Squads
Players who prefer a more controlled start should look for areas with accessible buildings, nearby cover, and multiple possible escape routes.
Imjin Farmland offers a different challenge. Its open terrain can make looting and movement more exposed, particularly when other squads have access to elevated positions or long-range weapons. Instead of crossing large fields without a plan, move between available structures and natural cover.
Early-Game Priorities
Regardless of where you land, we recommend following a consistent opening routine:
1. Secure a reliable primary weapon and enough ammunition.
2. Collect armor and essential equipment.
3. Check nearby buildings for enemy movement.
4. Review the first safe-zone position and plan your next rotation.
5. Coordinate with teammates before engaging another squad.
The most common early-game mistake is spending too much time searching for perfect equipment. A functional loadout and a good position are usually more valuable than delaying movement to collect every available item.
Hajin Rotation Tips: Surviving the Battle Royale
Surviving the opening minutes is only the first step. As the match progresses, the ability to rotate safely and maintain a favorable position becomes increasingly important.
Hajin's combination of urban and rural environments means that squads cannot rely on one universal movement strategy. A route that works between city buildings may leave players dangerously exposed when crossing farmland or river areas.
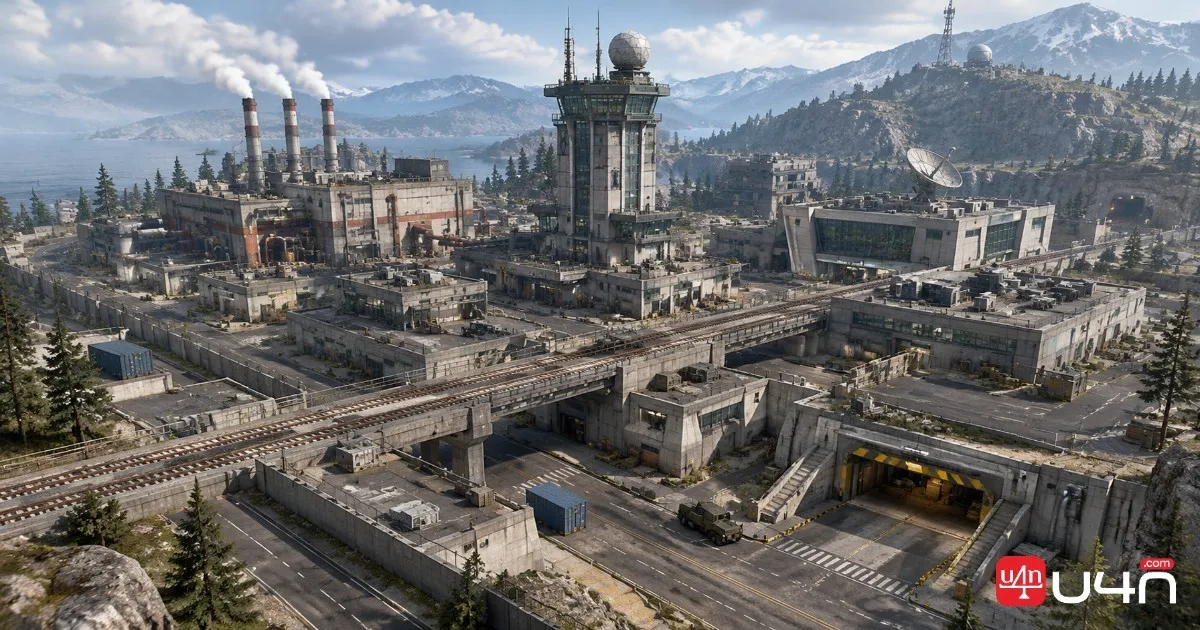
Plan Rotations Before the Gas Closes
One of our strongest recommendations is to start planning your next movement before the gas forces your squad to relocate.
Pay attention to:
- The direction and timing of the next circle.
- Available vehicles and alternative travel routes.
- Buildings or elevated terrain near the next safe-zone position.
- Enemy activity around major roads and open approaches.
Avoid moving directly through exposed terrain when a covered route is available. A slightly longer rotation can be worthwhile if it reduces the chance of being caught between multiple squads.
Use Terrain to Control Engagements
Different parts of Hajin require different positioning decisions.

| Terrain | Recommended Approach | Main Risk |
|---|---|---|
| Urban districts | Clear buildings and control entrances | Close-range ambushes |
| Farmland | Move between cover and avoid unnecessary exposure | Long-range attacks |
| Forested hills | Use terrain to break enemy sightlines | Unexpected flanks |
| River areas | Check crossing points before moving | Limited escape options |
| Military compounds | Coordinate building entries | Multiple enemy angles |
The important thing is to avoid treating high ground as an automatic advantage. A rooftop can provide excellent visibility, but it may also leave your squad with limited escape options when the circle moves.
Winning More Hajin Gulag Fights
The new Gulag features two different symmetrical environments with distinct cover arrangements. Both encourage active movement, including mantling over obstacles.
We recommend learning the available routes instead of remaining behind the first piece of cover you encounter. Pay attention to your opponent's movement, avoid repeating the same peek, and use the arena's obstacles to create opportunities for a better angle.
A successful Gulag return can restore your place in the match, but it should not encourage unnecessary risks once you redeploy. Reconnect with your squad, secure equipment, and reassess the current circle before pushing another fight.
Zodiac Map Guide: All 10 POIs and Combat Opportunities
Zodiac offers a very different experience from Hajin. Built around the DRC Advanced Systems drone assembly and manufacturing headquarters in South Korea, this compact Resurgence map combines industrial buildings, research facilities, elevated rooftops, underground tunnels, and coastal terrain.
Its smaller layout creates more frequent encounters, making movement and squad coordination especially important. Players who spend too long looting one building may quickly find themselves surrounded by opponents approaching from multiple directions.
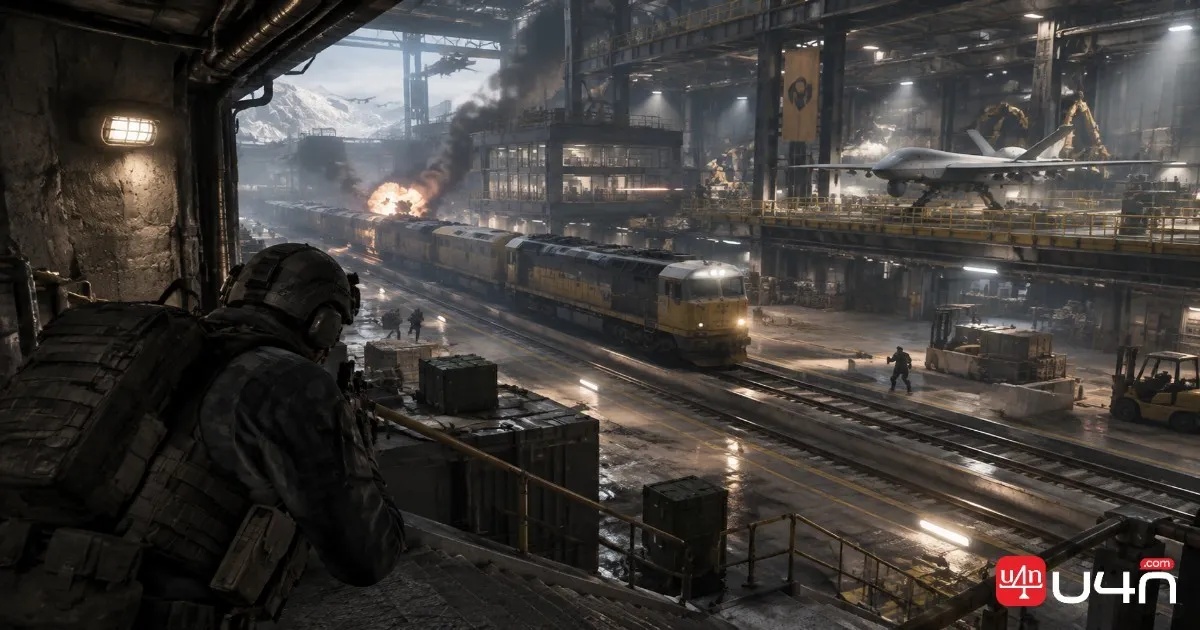
All 10 Zodiac POIs
| POI | Main Features | Tactical Value |
|---|---|---|
| Admin | Central administrative tower | Vertical positioning and building control |
| Trackline | Double railway and moving trains | Rotations and environmental opportunities |
| Furnace | Heavy industrial machinery | Close-range combat and interior clearing |
| Solar | Solar energy facilities | Positioning and movement |
| Old Mines | Underground areas | Flanking and alternative routes |
| Dispatch | Industrial facility | Looting and squad movement |
| Depot | Storage and industrial structures | Defensive positioning |
| Sentinel | Facility with surrounding structures | Area control |
| Cooling | Industrial infrastructure | Building-to-building movement |
| R&D | Research and development facilities | Interior engagements and tactical positioning |
Understanding Zodiac's Vertical Layout
Zodiac's layered design is one of its most important gameplay characteristics.
Admin provides opportunities to fight across multiple building levels, while Furnace and R&D offer more enclosed environments. Rooftops create additional angles, but players who remain exposed for too long can become easy targets.
Underground routes are particularly important because they provide alternative ways to move through the map. Instead of repeatedly pushing through the same entrances, squads can use connected passages to approach enemies from unexpected directions.
Trackline and Moving Train Mechanics
Trackline introduces a double railway system with moving trains running through the facility. These trains add another environmental element to engagements and can influence how squads approach nearby areas.
Before moving across the railway, check for opponents controlling nearby buildings and elevated positions. Do not assume that the train itself provides complete protection.
The environment also includes interactive features such as moving solar panels, furnace conveyor belts, and explosive fuel barrels. Learning where these elements are located can create additional opportunities during fights.
Best Zodiac Landing Spots and Resurgence Strategies
Because Zodiac is designed around Resurgence, its landing strategy differs from Hajin's Battle Royale approach. Players can return to the match through the Resurgence system when the relevant conditions are met, so maintaining squad pressure and managing the countdown are essential.
However, repeated redeployments do not mean that every fight is worth taking. A squad that loses its position and spends the entire match returning from unfavorable engagements will struggle to build momentum.
Landing Strategies for Aggressive Squads
Players who prefer frequent fights should consider areas with multiple connected buildings and opportunities to move between different elevations.
Admin and Furnace are particularly interesting choices because their structures create varied engagement distances. Admin rewards players who understand vertical movement, while Furnace offers more opportunities for close-range encounters around industrial equipment.
When landing in these areas:
- Secure weapons before entering contested buildings.
- Check upper floors and nearby rooftops.
- Avoid pushing through narrow entrances without teammate support.
- Keep an alternative escape route available.
- Reposition after securing an elimination instead of remaining in the same room.
Resurgence Survival and Squad Redeployment
Resurgence rewards squads that can balance aggression with survival.
Keep an eye on the countdown and communicate with teammates before taking fights that could eliminate the entire squad. When a teammate is waiting to redeploy, preserving the remaining squad members can be more valuable than attempting another risky engagement.
Season 1 also introduces Drop Kits specifically for Resurgence. These provide different bonuses on the next redeployment:
| Drop Kit | Redeployment Bonus |
|---|---|
| Insured | Faster redeployment with all cash |
| Loadout | Return with your current Loadout |
| Armored | Full armor, bonus Perks, and a Self-Revive |
| Radar | Active Radar Ping and supply sweep |
Choosing the appropriate Drop Kit can help your squad recover from a difficult fight. For example, the Loadout option is useful when retaining your selected weapons is a priority, while Armored provides additional defensive resources.
Use Underground Tunnels to Break Enemy Pressure
One of Zodiac's most useful tactical features is its underground network. These passages allow squads to move beneath parts of the facility and approach opponents from alternative directions.
Rather than repeatedly attacking an enemy squad from the same rooftop or entrance, consider using underground routes to change your approach. This can create opportunities to flank opponents or escape an unfavorable fight.
The key is to maintain communication. Splitting up without a clear regrouping plan can leave individual teammates vulnerable.
Best Weapons and Tactical Equipment for Hajin and Zodiac
The two maps favor different engagement distances, so using the same weapon combination everywhere may not be the most efficient approach.
Our recommendation is to build your loadout around the environment rather than simply choosing the weapons with the highest popularity.
Recommended Weapon Types
| Weapon Category | Hajin | Zodiac |
|---|---|---|
| Assault Rifles | Strong general-purpose choice | Useful for medium-range engagements |
| SMGs | Effective in urban buildings | Excellent for close-quarters fights |
| Sniper Rifles | Useful across open terrain | More situational due to shorter sightlines |
| Shotguns | Situational for building clearing | Useful in confined interior spaces |
For Hajin, an assault rifle paired with a sniper rifle or SMG provides flexibility across different environments. For Zodiac, an assault rifle and SMG combination is a practical starting point for squads that frequently move between indoor and outdoor engagements.
These are weapon-category recommendations rather than fixed meta builds. Actual performance will depend on weapon balancing, attachment availability, and your preferred engagement distance after Season 1 launches.
New Equipment Worth Learning
Season 1 introduces additional tools that can influence movement and team survival.
- Zipline Launcher: Provides another way to navigate vertical spaces and reposition.
- Grabber Drone: Adds utility for interacting with downed teammates and dangerous situations.
- Moveable Fuel Barrels: Create environmental opportunities and additional hazards.
- Pushable Cover: Offers new possibilities for controlling exposed areas.
We suggest experimenting with these tools in less competitive situations before relying on them during important matches.
Players also working on their overall account progression may encounter searches for buy CoD MW4 Leveling Boosting, but character progression and map knowledge solve different problems. Improving your rotations, weapon handling, and team communication remains essential if you want to perform consistently on Hajin and Zodiac.
Which Map Should You Master First?
Hajin and Zodiac offer two different approaches to Warzone combat. Hajin is better suited to players who enjoy large-scale Battle Royale matches, careful positioning, and longer rotations. Zodiac is designed for faster Resurgence encounters, where movement, building control, and squad redeployment can determine the outcome of a match.
Our team recommends learning Hajin first if you prefer methodical gameplay and want to improve your overall Battle Royale awareness. If you enjoy aggressive fights and frequent opportunities to return to combat, Zodiac is an excellent place to develop your close-range skills.
The biggest advantage will come from understanding how each map works rather than relying on a single landing spot or weapon combination. Learn the POIs, pay attention to the environment, and adjust your strategy as the match develops.
FAQ: Hajin and Zodiac in MW4 Warzone
When do Hajin and Zodiac release in MW4 Warzone?
Both maps are scheduled to arrive with Warzone Season 1 on November 6, 2026.
Is Hajin a Battle Royale or Resurgence map?
Hajin is the new large-scale Battle Royale map. Season 1 also features Massive Resurgence on Hajin as a separate limited-time mode.
Is Zodiac a Battle Royale map?
No. Zodiac is primarily the new Resurgence map, featuring a smaller combat environment and faster redeployment-focused gameplay.
How many POIs are on Hajin and Zodiac?
Hajin features 13 major POIs, while Zodiac contains 10 distinct POIs.
What is the best landing spot on Hajin?
There is no universally best landing spot. Hajin City is worth considering for aggressive players who prefer urban combat, while less congested areas may suit squads prioritizing a safer opening.
What is the best landing spot on Zodiac?
Admin and Furnace are interesting options for players who enjoy frequent engagements and complex building layouts. The best choice depends on your squad's preferred combat distance and experience.
Are the Hajin DMZ and Battle Royale maps identical?
They share the same broader region, but the two versions have important gameplay differences, including gas behavior, vehicles, interactive objects, and loot distribution. DMZ-specific map information should not automatically be applied to Battle Royale.