

Phantom Blade Zero is built around fast swordplay, precise defense, and the ability to punish enemies at the right moment. On Hellwalker Difficulty, those fundamentals become much more important. Ordinary enemies take longer to defeat, blocking drains more Sha-Chi, and certain bosses introduce tougher attack variations that can catch even experienced players off guard.
What makes Hellwalker challenging is not simply the amount of damage enemies deal. In fact, their attack damage remains the same as on Pathbreaker. The real difficulty comes from managing defensive resources, recognizing dangerous attack patterns, and knowing when to stop attacking.
Our team believes that players who approach Hellwalker as a test of timing rather than a damage race will have a much better experience. In this guide, we break down the actual difficulty changes, explain how to improve your defensive consistency, and share practical strategies for handling its toughest encounters.
What Changes in Phantom Blade Zero Hellwalker Difficulty?
Hellwalker is the hardest standard difficulty available from the beginning of Phantom Blade Zero. It is designed for players who already understand the combat system and want enemies to demand more careful decisions.
However, there is an important distinction between making enemies stronger and making combat less forgiving. Hellwalker does both in specific ways, but it does not simply increase every enemy statistic.
The biggest changes involve ordinary enemy health, Sha-Chi consumption, and selected boss attack patterns.
Hellwalker vs Pathbreaker: Difficulty Differences
Here is how the two difficulties compare:
| Combat Mechanic | Pathbreaker | Hellwalker |
|---|---|---|
| Ordinary enemy health | 0.8x | 1.0x |
| Elite and boss health | Unchanged | Unchanged |
| Enemy attack damage | 1.0x | 1.0x |
| Sha-Chi damage from blocking | 0.66x | 1.0x |
| Perfect deflect window | 8 frames | 8 frames |
| Player stagger after guard break | 3 seconds | 3 seconds |
| Selected boss attacks | Standard | Harder variations |
The most noticeable difference is defensive resource consumption. Blocking the same attack costs approximately 1.5 times as much Sha-Chi on Hellwalker as it does on Pathbreaker.
Ordinary enemies also have 25% more health compared with Pathbreaker. This means encounters take longer, giving enemies more opportunities to pressure you.
One detail players should remember is that elite and boss health remains unchanged. Hellwalker makes these fights more demanding through combat behavior rather than simply giving every boss a larger health bar.
Does Hellwalker Make Perfect Parries Harder?
Not in terms of the actual timing window.
Both Pathbreaker and Hellwalker use an eight-frame perfect deflect window. Players who have already learned the defensive rhythm on Pathbreaker do not need to completely relearn their timing.
However, there is less room for careless blocking. Repeatedly holding your guard can quickly drain Sha-Chi and leave you vulnerable to a guard break.
This is why Hellwalker rewards precision more than defensive button-mashing.
The biggest difference between Pathbreaker and Hellwalker is not the perfect deflect window. It is the cost of poor defensive decisions. Master your timing, manage Sha-Chi, and avoid relying on continuous blocking.
Master Sha-Chi Management and Perfect Deflects
If we had to identify one mechanic that determines whether a player can survive Hellwalker consistently, it would be Sha-Chi management.
Many players initially approach difficult encounters by blocking everything and waiting for an opportunity to attack. That strategy becomes unreliable when every blocked hit consumes your defensive resources at the full rate.
Stop Holding Guard Against Every Attack
Blocking is useful, but it should not be your default response to every enemy movement.
Instead, we recommend building your defense around three habits:
- Use timed deflects against attacks that can be parried.
- Dodge attacks that cannot be blocked.
- Create distance when your Sha-Chi becomes dangerously low.
A successful deflect helps you maintain defensive control without relying on prolonged blocking. It also creates opportunities to reposition and prepare a counterattack.
The key is to watch the enemy's weapon movement and attack rhythm rather than repeatedly pressing the defense button.
Understand Blue and Red Attack Indicators
Phantom Blade Zero gives players visual signals that help distinguish between different defensive responses.
| Attack Signal | What It Means | Best Response |
|---|---|---|
| Blue flash | Deflectable attack | Time your deflect |
| Red flash | Unblockable attack | Dodge |
| Heavy unblockable strike | Dangerous committed attack | Evade and reposition |
One mistake we frequently see in difficult action games is players trying to use the same defensive input against every attack.
That habit is particularly costly here. A red-flash attack requires a different response from a blue-flash attack, and attempting to block the wrong move can interrupt your entire defensive rhythm.
Avoid Repeated Deflect Inputs
Another important detail is input timing.
Repeatedly pressing the block button too quickly can reduce the effective deflect window. Rather than spamming the button throughout an enemy combo, wait for the next attack to approach and react deliberately.
Our recommendation is to practice against individual enemies before attempting complicated group encounters. Learning the rhythm of one opponent makes it much easier to recognize similar attack patterns later.
How to Prepare for Hellwalker Boss Fights
Boss encounters are where the difference between Pathbreaker and Hellwalker becomes particularly noticeable.
Some bosses use harder attack variations on Hellwalker instead of simply repeating the movesets players may have learned on lower difficulties.
This means that memorizing a boss's previous attack sequence is not always enough. You need to recognize the actual movement and timing of the attack in front of you.
Learn Which Bosses Have Harder Attack Variations
Several important encounters feature more demanding attacks on Hellwalker, including:
| Boss | What Players Should Watch |
|---|---|
| The Hunt | Changes to familiar attack sequences and aerial pressure |
| Peng Meng | Heavy weapon attacks and dangerous follow-ups |
| Bai Chilian | Attack timing and multi-hit pressure |
| Chang Hong | Unfamiliar attack variations |
| Wan Jun | Changes to established combat patterns |
The important lesson is that not every boss becomes harder in exactly the same way.
Some encounters demand better reactions, while others punish players who rely too heavily on previously memorized defensive sequences.
Study the Boss Before Committing to Damage
During your first attempt, do not focus entirely on reducing the boss's health.
Instead, use the opening part of the encounter to identify:
- Which attacks can be deflected.
- Which attacks require a dodge.
- How many hits are included in each combo.
- When the boss becomes vulnerable.
- How much time you have for a counterattack.
Once you understand these patterns, you can begin increasing your offensive pressure.
We have found that this approach is much more reliable than trying to force damage during every short opening. A successful counterattack is valuable, but surviving the next sequence is what allows you to keep making progress.
The Hunt and Other Dangerous Encounters: Combat Strategies
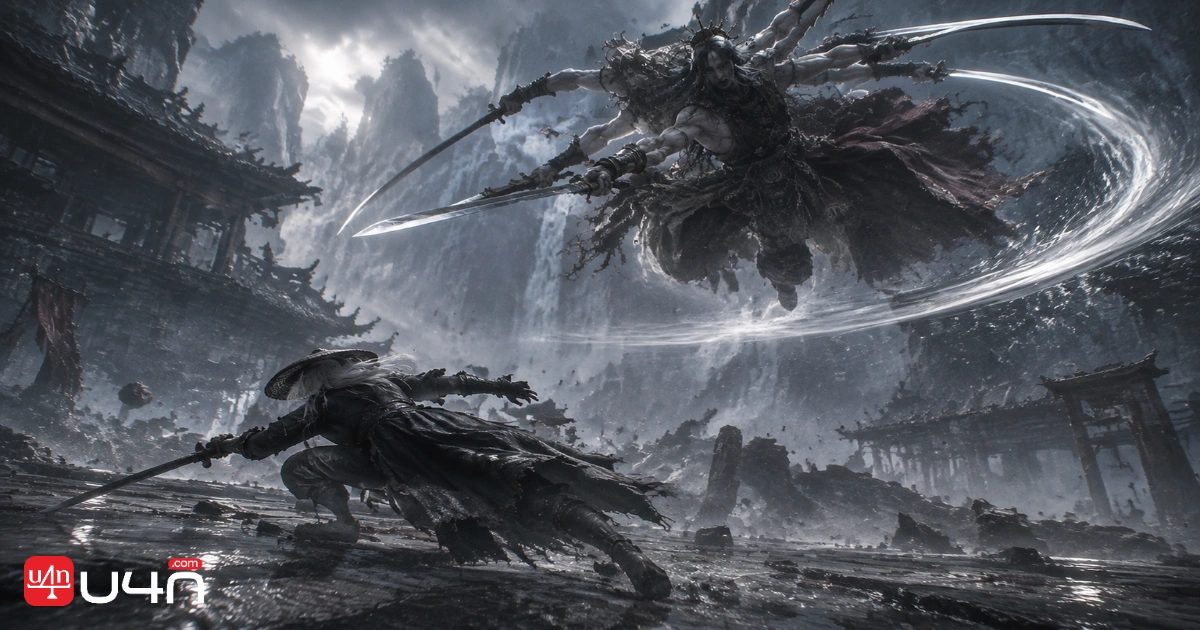
The Hunt is a useful example of why Hellwalker demands more than basic defensive reactions.
Its aerial attacks and multi-stage sequences can quickly punish players who commit to long attack animations at the wrong time.
How to Handle The Hunt's Aerial Attacks
When The Hunt enters an aerial sequence, pay attention to its initial movement. The important thing is to recognize that the attack is beginning rather than waiting until the first strike is already approaching.
Our recommended approach is:
- Stop committing to long ground combos when the boss prepares to move into the air.
- Watch the initial launch and prepare for the incoming attack.
- Focus on surviving the sequence before attempting a counterattack.
- Use the recovery window after the attack to restore offensive pressure.
The biggest mistake is treating each hit as an isolated attack. A multi-hit sequence should be read as one complete pattern.
If you miss the opening defensive response, trying to force a counterattack can make the situation even worse.
Handle Group Encounters Differently
Hellwalker also makes ordinary group encounters more demanding.
When several enemies attack simultaneously, focusing on one opponent can leave you exposed to attacks from outside your field of view.
We recommend maintaining enough distance to track enemy movement and avoiding long attack animations when multiple opponents are preparing to engage.
In these situations, positioning can be just as important as perfect deflect timing.
A controlled fight against two enemies is often easier than an aggressive fight against several enemies surrounding Soul.
Best Equipment and Preparation for Hellwalker
A good equipment setup cannot replace mechanical skill, but it can make Hellwalker much more manageable.
Since blocking consumes more Sha-Chi, defensive resources and healing become particularly valuable. Players should prioritize equipment that supports consistent survival instead of focusing exclusively on maximum damage.
Prioritize Sha-Chi and Healing
Before entering difficult encounters, consider equipment and abilities that improve:
- Maximum Sha-Chi capacity.
- Health and healing efficiency.
- Defensive consistency.
- Recovery opportunities after defeating enemies.
- Damage during safe counterattack windows.
Some useful preparation options include:
| Equipment or Ability | Main Benefit |
|---|---|
| Sha-Chi Amber | Permanently increases maximum Sha-Chi |
| Resonance Talisman | Increases Sha-Chi capacity |
| Jewel's Knot | Increases HP |
| Longevity Tonic | Restores HP |
| Healing Art | Provides an additional Medicine use |
| Endless Renewal | Allows assassinations and executions to restore HP and Sha-Chi |
These options are especially useful when you are still learning difficult encounters and cannot consistently avoid every attack.
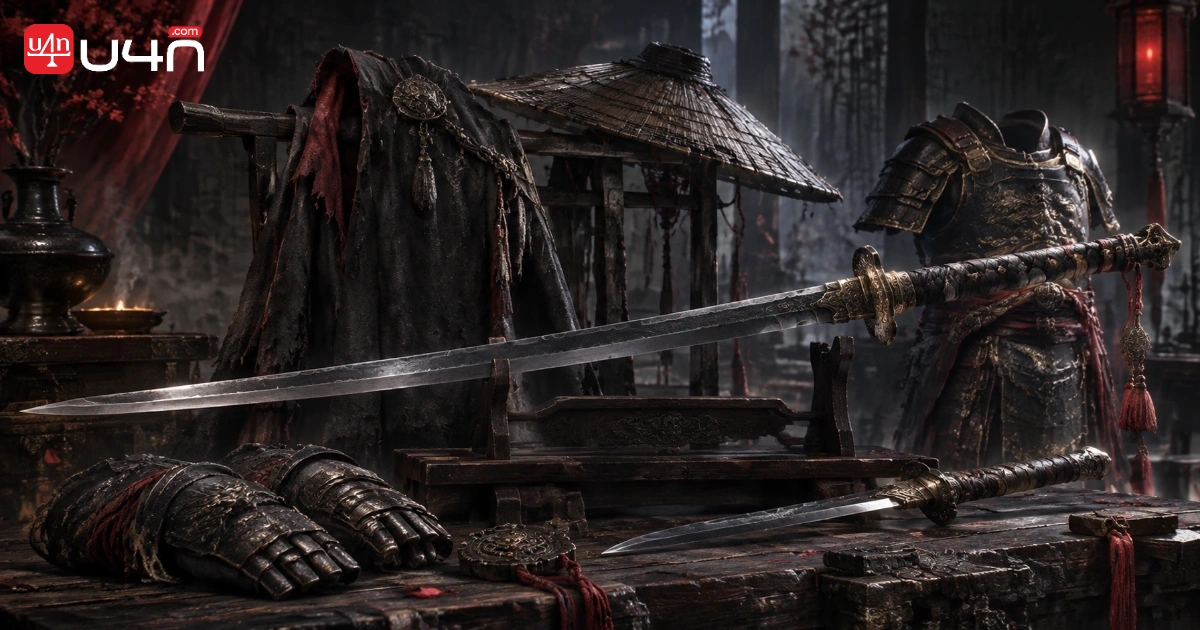
Choose Weapons Based on Your Combat Rhythm
There is no single weapon setup that automatically makes Hellwalker easy.
Fast weapons can help maintain pressure between enemy attacks, while heavier weapons may reward players who are comfortable identifying longer recovery windows.
Our advice is to choose a weapon combination that matches your defensive habits.
If you frequently struggle to recover after attacking, consider a faster option that allows you to disengage more comfortably. If you already understand boss openings, a heavier setup may help you take better advantage of those opportunities.
You can also explore available buy Phantom Blade Zero Items options when planning your equipment progression.
The important thing is to build around a consistent combat style rather than changing everything after every failed attempt.
Common Hellwalker Mistakes That Make Fights Harder
Many players struggle with Hellwalker because they continue using habits that were effective on lower difficulties.
The following mistakes are worth correcting before moving into more difficult boss encounters.
| Mistake | Why It Causes Problems | Better Approach |
|---|---|---|
| Holding guard continuously | Sha-Chi drains quickly | Use timed deflects |
| Spamming the deflect button | Reduces timing consistency | React to individual attacks |
| Ignoring red-flash indicators | Leads to failed defensive responses | Dodge unblockable attacks |
| Attacking during every opening | Exposes Soul to follow-up attacks | Punish safe recovery windows |
| Reusing lower-difficulty strategies | Some boss moves have changed | Learn the new attack patterns |
| Ignoring enemy positioning | Group attacks become harder to track | Maintain mobility and spacing |
| Using an unbalanced setup | Defensive mistakes become more costly | Prioritize survival and recovery |
One mistake deserves special attention: attacking before an enemy has finished its sequence.
A boss may appear vulnerable after a single strike, but that does not necessarily mean the entire combo has ended. Waiting a fraction longer can prevent unnecessary damage and give you a much safer opportunity to counterattack.
Hellwalker rewards players who recognize the difference between a temporary pause and a genuine recovery window.
Do not confuse a short pause with a safe opening. On Hellwalker, recognizing when an enemy has truly finished its attack sequence can be the difference between a successful counterattack and an unnecessary guard break.
Hellwalker vs 66 Days: Which Challenge Should You Choose?
Players looking for an even greater challenge may eventually turn their attention to 66 Days.
However, these two modes serve slightly different purposes.
Hellwalker is the hardest standard difficulty available from the beginning. It tests your ability to manage resources, recognize enemy patterns, and survive more demanding boss encounters.
66 Days is a post-completion challenge that unlocks after finishing the game on another difficulty. It uses Hellwalker-level enemy difficulty but introduces a strict limit of 66 deaths.
There is also an important defensive difference: the perfect deflect window drops from eight frames on Hellwalker to six frames on 66 Days.
| Feature | Hellwalker | 66 Days |
|---|---|---|
| Availability | From the beginning | After one completed run |
| Enemy difficulty | Highest standard difficulty | Hellwalker-level |
| Perfect deflect window | 8 frames | 6 frames |
| Sha-Chi blocking damage | Full | Full |
| Death restriction | No fixed 66-death limit | 66 deaths |
| Main challenge | Master difficult combat | Maintain consistency under a death limit |
For most players, we recommend completing Hellwalker before attempting 66 Days.
A successful Hellwalker run gives you more opportunities to understand difficult encounters, improve your defensive timing, and identify which equipment combinations suit your playstyle.
When you eventually enter 66 Days, those lessons become much more valuable because every mistake carries additional consequences.
Is Hellwalker Worth Playing?
Phantom Blade Zero Hellwalker Difficulty is a rewarding challenge for players who want to get more out of its combat system.
Its difficulty does not come from simply increasing enemy damage or giving every boss an enormous health pool. Instead, it changes how players must approach defense, resource management, and familiar encounters.
Our biggest recommendation is to stop relying on constant blocking. Learn the eight-frame deflect window, recognize blue and red attack indicators, and pay attention to the moments when enemies are genuinely vulnerable.
Most importantly, do not treat every encounter as a race to deal damage.
Once you understand how to control Sha-Chi, manage your positioning, and respond to harder boss variations, Hellwalker becomes less about surviving through luck and more about mastering the combat system.
That is what makes this difficulty worth the effort.
Master your deflect timing, protect your Sha-Chi, and attack only when the opening is real. Hellwalker rewards control, not reckless aggression.