

Choosing the right Perks in Call of Duty: Modern Warfare 4 can make a noticeable difference in Multiplayer, especially when gunfights become more frequent and every movement matters. A good setup should complement your weapon, support your preferred playstyle, and give you an advantage in different combat situations. Whether you prefer aggressive pushes or careful flanking, understanding how each Perk works is essential. Players focused on faster progression through MW4 Boosting should also consider building a consistent loadout rather than switching Perks randomly.
MW4 uses three Perk slots, with each slot offering different tactical advantages. Ghost, Fast Hands, and Battle Hardened form a reliable starting combination for many Multiplayer players, but they are not automatically the right choice for every situation. Our team breaks down the strongest options in each slot, compares useful alternatives, and recommends practical Perk builds to help you get more value from your loadout.
How the Perk System Works in MW4
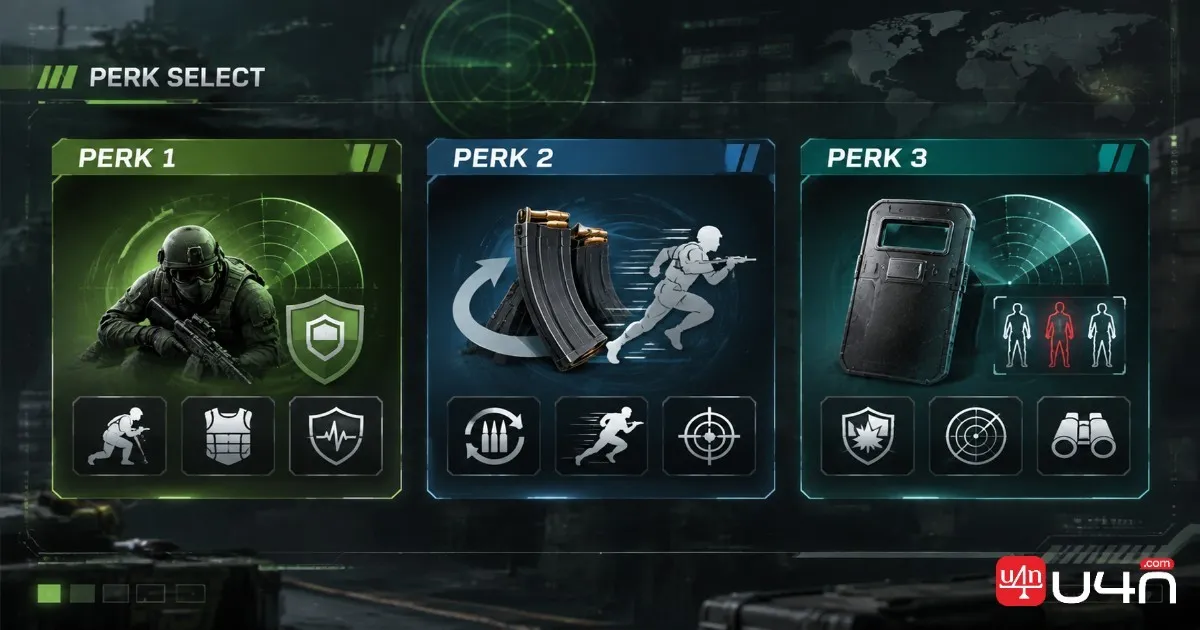
MW4 uses a three-slot Perk system. Every loadout allows you to equip one Perk from each category: Perk 1, Perk 2, and Perk 3. This means your setup needs to balance different benefits instead of stacking several abilities from the same category.
Create-a-Class becomes available at Player Level 4, and additional Perks unlock as you progress. The launch lineup includes 18 Perks, with six options in each slot. Some useful choices are available early, while others require more time to unlock. Call of Duty's official Multiplayer launch guide lists all 18 Perks, their categories, and unlock requirements.
The key is to understand what each slot contributes to your overall performance:
| Perk Slot | Main Focus | What It Improves |
|---|---|---|
| Perk 1 | Stealth and survivability | Enemy detection protection, health recovery, equipment replenishment, and weapon flexibility |
| Perk 2 | Weapon handling and mobility | Reloading, weapon swapping, Tactical Sprint, Killstreak costs, and minimap information |
| Perk 3 | Tactical resistance and battlefield awareness | Protection against enemy equipment, tracking, ammunition, and equipment detection |
We recommend choosing Perks that complement each other. For example, a player who frequently pushes enemy positions may benefit more from health recovery and faster handling than from a setup focused entirely on stealth.
Best Perks for Each Slot in MW4
Best Perk 1: Ghost
Ghost is our preferred Perk 1 choice for many Multiplayer loadouts. It makes you undetectable by enemy callouts, UAVs, Portable Radars, and Heartbeat Sensors. This makes it particularly useful when rotating between objectives or approaching opponents from unexpected angles.
However, Ghost is not the only worthwhile option. The full Perk 1 category also includes Resupply, which can provide additional equipment and improve Field Upgrade recharge.
| Perk | Unlock Level | Main Effect | Best For |
|---|---|---|---|
| Ghost | 24 | Avoids enemy callouts, UAVs, Portable Radars, and Heartbeat Sensors | Stealth and general Multiplayer |
| Quick Fix | 4 | Killing players or capturing and holding objectives triggers health regeneration | Aggressive players |
| High Alert | 8 | Vision pulses when an enemy outside your view spots you | Anti-flank awareness |
| Overkill | 4 | Allows you to carry two primary weapons | Flexible weapon combinations |
| Kill Chain | 48 | Killstreak kills award half streak points | Killstreak-focused players |
| Resupply | 31 | Equipment recharges over time, maximum capacity increases by one, and Field Upgrades recharge faster | Equipment-focused players |
Quick Fix is particularly useful for players who constantly move between engagements. Killing an opponent or capturing or holding an objective triggers health regeneration. However, taking damage interrupts that regeneration, following the October 28 fix. It is therefore a recovery tool between engagements rather than protection that lets you keep healing while under fire. The official MW4 patch notes confirm that damage now properly interrupts Quick Fix regeneration.
High Alert is another useful defensive choice. Its visual warning can help you react when an opponent spots you outside your field of view. Meanwhile, Overkill makes it easier to carry weapons suited to different engagement ranges.
Resupply is worth considering if you frequently use Tactical or Lethal equipment. Its additional equipment capacity and faster Field Upgrade recharge can provide more utility over the course of a match.
Our recommendation is straightforward: use Ghost when avoiding enemy detection matters most, and switch to Quick Fix when you want stronger support for aggressive engagements. Resupply is a useful alternative for players who rely heavily on equipment.
Best Perk 2: Fast Hands
Fast Hands is our recommended Perk 2 for general combat efficiency because it improves several actions that directly affect your performance. Faster reloading, equipment usage, and weapon swapping can all help you respond more quickly when a fight becomes unpredictable.
For players using SMGs or frequently switching between weapons, these improvements can be especially valuable. A faster weapon swap may be enough to finish an opponent when reloading your primary weapon would leave you exposed.
Other options are worth considering depending on your approach:
| Perk | Unlock Level | Main Effect | Best For |
|---|---|---|---|
| Fast Hands | 20 | Reloads, equipment use, and weapon swapping are faster | Most weapon classes |
| Ninja | 30 | Makes footsteps quieter and significantly reduces their audible range | Stealth flankers |
| Hardline | 4 | Reduces Killstreak costs by one | Killstreak progression |
| Bomb Squad | 16 | Reduces damage from non-Killstreak explosives, resets live grenade fuse timers when picked up, and prevents knockdown | Objective players |
| Blood Rush | 4 | Enables Tactical Sprint, with kills replenishing stamina | Aggressive and mobile players |
| Birdseye | 40 | Provides a zoomed-out minimap and reveals enemy direction through UAV and Radar pings | Map awareness and team support |

Ninja is a strong alternative when sound discipline matters more than weapon handling. It helps players approach enemy positions without giving away their location as easily.
Hardline is more specialized. If you consistently earn Killstreaks and want to reach them more frequently, reducing their cost can support that strategy. Blood Rush is particularly valuable for players who want access to Tactical Sprint, which is tied to this Perk in MW4.
Bomb Squad is useful when opponents rely heavily on explosive equipment. Birdseye offers a different advantage by improving minimap information and revealing the direction enemies are facing when detected by UAV and Radar pings.
For a balanced loadout, we generally recommend Fast Hands. However, players who prioritize stealth, mobility, or map awareness should not overlook Ninja, Blood Rush, and Birdseye.
Best Perk 3: Battle Hardened
Battle Hardened is our preferred Perk 3 for general Multiplayer use. It reduces the effects of enemy Tactical equipment, including Flashbangs, Concussion Grenades, and Screamer Mines. This is particularly useful when pushing contested positions, defending objectives, or entering areas where opponents frequently use tactical grenades.
Its relatively early availability also makes it a practical choice while leveling up. The launch tuning improved its ability to negate the effects of most enemy Tactical grenades.
| Perk | Unlock Level | Main Effect | Best For |
|---|---|---|---|
| Battle Hardened | 12 | Reduces the effects of enemy Tacticals | General Multiplayer |
| Cold-Blooded | 36 | Avoids AI targeting systems, Thermal Optics, Recon Drones, Spotter Scopes, Snapshot Grenades, and High Alert | Stealth-focused players |
| Tracker | 32 | Reveals enemy footprints and death markers while hiding your own kill markers | Pursuit and flanking |
| Scavenger | 28 | Allows ammunition recovery from eliminated enemies, excluding launcher ammo | Extended engagements |
| Combat Grid | 4 | Reveals enemy equipment, Field Upgrades, Killstreaks, and vehicles through walls; also highlights friendly players | Objective-focused players |
| Lethal Reach | 4 | Allows equipment to be thrown farther with a visible trajectory and automatically uses your dedicated melee attack when performing a weapon butt | Equipment and melee-focused players |
Cold-Blooded is useful when opponents rely heavily on detection equipment. It provides protection against several targeting and detection systems, including Thermal Optics and High Alert.
Tracker offers a different advantage by helping you follow enemy movements and identify recent combat activity. Scavenger is a practical option for players who survive multiple engagements without returning to a resupply point.
Combat Grid is especially interesting in objective modes because identifying enemy equipment, Field Upgrades, and Killstreaks through walls can help your team respond to threats. Lethal Reach is more specialized, but its extended equipment throws and dedicated melee interaction can suit players who frequently use equipment and close-range attacks.
We recommend Battle Hardened as the dependable default, but Tracker and Combat Grid can provide more value when your strategy depends on information rather than direct resistance.
Best MW4 Perk Builds for Different Playstyles
Choosing strong individual Perks is only part of the process. The real advantage comes from combining them into a setup that supports your preferred way of playing.
Our team recommends the following five configurations as starting points. You can adjust individual slots depending on the map, opposing team, and game mode.
| Playstyle | Perk 1 | Perk 2 | Perk 3 |
|---|---|---|---|
| Aggressive Slayer | Quick Fix | Fast Hands | Battle Hardened |
| Stealth Flanker | Ghost | Ninja | Tracker |
| Objective Player | Quick Fix | Bomb Squad | Scavenger |
| Killstreak Focus | Kill Chain | Hardline | Scavenger |
| Two-Primary Loadout | Overkill | Fast Hands | Battle Hardened |
Aggressive Slayer Build
Quick Fix + Fast Hands + Battle Hardened
This setup is designed for players who prefer taking the initiative. Quick Fix supports health recovery after kills and objective actions, Fast Hands improves weapon handling, and Battle Hardened reduces the impact of enemy Tactical equipment.
We particularly like this combination for players who frequently challenge opponents and move between engagements. It does not make you invincible, and incoming damage interrupts Quick Fix regeneration, but it gives you several useful advantages when fights happen back-to-back.
Stealth Flanker Build
Ghost + Ninja + Tracker
This configuration focuses on approaching enemies without exposing your position too easily. Ghost helps avoid enemy detection, Ninja reduces the audible range of your footsteps, and Tracker provides information about enemy movement.
It works well when you prefer attacking from the side or behind rather than challenging opponents from the front. However, it offers less direct support for sustained firefights, so positioning remains important.
Objective Player Build
Quick Fix + Bomb Squad + Scavenger
Objective-based modes often involve repeated engagements around the same locations. Quick Fix supports recovery after kills and objective actions, Bomb Squad helps against explosive pressure, and Scavenger provides ammunition from eliminated enemies.
This setup is useful when your role involves repeatedly contesting or defending important areas. If enemy teams rely heavily on tactical equipment such as Flashbangs and Concussion Grenades rather than explosives, consider switching the third-slot choice to Battle Hardened.
Killstreak Build
Kill Chain + Hardline + Scavenger
This setup prioritizes Killstreak progression and ammunition management. Kill Chain allows Killstreak kills to award half streak points, while Hardline reduces the cost of earning streak rewards.
Scavenger helps maintain your ammunition supply during longer runs. We recommend this combination for players who can consistently stay alive and convert their Killstreaks into additional pressure.
Two-Primary Weapon Build
Overkill + Fast Hands + Battle Hardened
Overkill allows you to carry two primary weapons, giving you more flexibility when engagement distances change. Fast Hands helps you switch between weapons more efficiently, while Battle Hardened provides protection against enemy Tactical equipment.
This is a useful option if your primary weapon struggles outside its preferred range. For example, carrying a close-range weapon alongside a longer-range option can help you respond to different combat situations without relying entirely on your secondary weapon.
Best Perks for Beginners and Leveling Up
New players do not need to wait until every Perk is unlocked before building a useful loadout. Some early options already provide a strong balance of survivability, handling, and tactical resistance.
We recommend starting with:
- Perk 1: Quick Fix (Level 4) – Supports health recovery after kills and objective actions.
- Perk 2: Fast Hands (Level 20) – Improves reload speed, equipment use, and weapon swapping.
- Perk 3: Battle Hardened (Level 12) – Reduces the effects of enemy Tactical equipment.
This combination is easy to understand and works across several common Multiplayer situations. It also avoids relying on specialized abilities that may not match a beginner's developing playstyle.
As you unlock more options, consider making the following adjustments:
| Progression Goal | Perk to Consider | Unlock Level | Reason |
|---|---|---|---|
| Improve stealth | Ghost | 24 | Reduces exposure to enemy detection |
| Move more quietly | Ninja | 30 | Supports quieter approaches |
| Carry two primary weapons | Overkill | 4 | Adds weapon flexibility |
| Earn Killstreaks more efficiently | Kill Chain or Hardline | 48 / 4 | Supports streak-focused play |
| Follow enemy movement | Tracker | 32 | Provides additional tracking information |
| Improve minimap awareness | Birdseye | 40 | Reveals enemy direction through UAV and Radar pings |
Ghost unlocks at Player Level 24, while Kill Chain becomes available at Level 48. Until then, Quick Fix remains a practical Perk 1 option for players who prefer aggressive combat.
As your experience grows, avoid copying a complete setup without considering your weapon and role. A player who spends most of a match defending objectives has different priorities from someone constantly searching for isolated opponents.
Summary
The best MW4 Perks are the ones that support your combat style without leaving important weaknesses in your loadout. Ghost, Fast Hands, and Battle Hardened provide a dependable starting point for general Multiplayer, while Quick Fix, Ninja, Overkill, and other alternatives become valuable in more specialized situations.
Our team recommends starting with a balanced setup, learning how each Perk affects your engagements, and then adjusting your choices based on the map and game mode. Consistent loadout decisions usually provide more practical value than changing every slot after a single difficult match. Players exploring other progression options, including ways to buy Modern Warfare 4 DMZ Items, should also keep Multiplayer and DMZ equipment requirements separate rather than assuming the same setup works equally well in both modes.
MW4 Perks FAQ
What Are the Best Perks in MW4?
Ghost, Fast Hands, and Battle Hardened are strong general-purpose choices. However, Quick Fix, Ninja, and Tracker can be more useful depending on your playstyle and preferred game mode.
How Many Perks Can You Equip in MW4?
You can equip three Perks in total, with one selected from each of the three available slots. There are 18 Multiplayer Perks at launch, with six choices in each category.
What Level Do You Unlock Ghost in MW4?
Ghost unlocks at Player Level 24. Until then, Quick Fix is a practical alternative for players who prefer aggressive engagements.
Is Overkill Worth Using in MW4?
Yes. Overkill is useful if you want to carry two primary weapons and cover different engagement distances. It is particularly suitable for players who prefer a flexible weapon combination.
Is Fast Hands Better Than Ninja?
Neither is universally better. Fast Hands improves weapon handling and equipment use, while Ninja supports quieter movement and stealth approaches. Choose Fast Hands for general combat efficiency and Ninja when flanking is central to your strategy.
What Is the Best Perk Build for Objective Modes?
Quick Fix, Bomb Squad, and Scavenger provide a useful starting combination for objective-focused players. If enemy teams rely more on Flashbangs and Concussion Grenades, Battle Hardened is another option worth considering.