

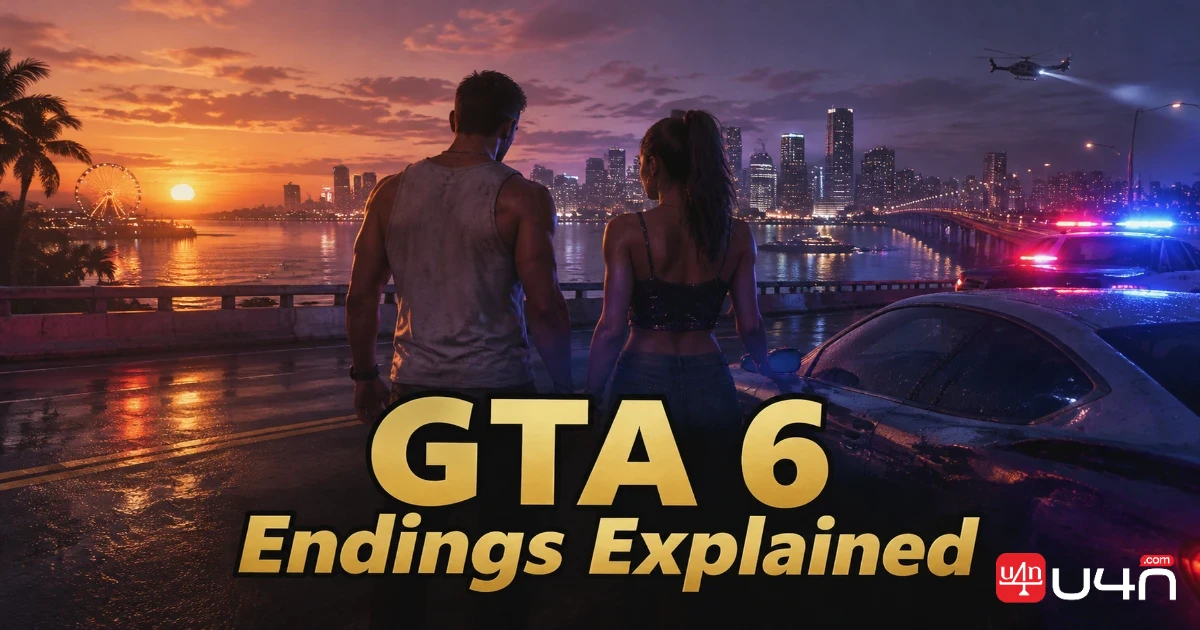
The screen drains to grey on the bridge, two prompts sit on screen, and nothing in the 60 to 90 hours before it warns you that this is the moment. That scene is why "GTA 6 ending explained" has been everywhere since the game landed on PS5 and Xbox Series X|S on November 19.
Spoilers from here on. Nine endings are on video so far, counting two versions of the credits. The story only splits in two places, and the ending most people call good has no button of its own. It hangs on Family Savings, which is why GTA6 Money talk has stopped being about what you can buy and started being about one account in the pause menu.
Rockstar told Game8 the campaign has "a lot more than two" endings and that the team doesn't think any of them is bad. We still sort them into good, bad, and secret below, because that's how players talk about them. The labels come from what happens to Jason and Lucia.
All Nine GTA 6 Endings and Where Each One Splits
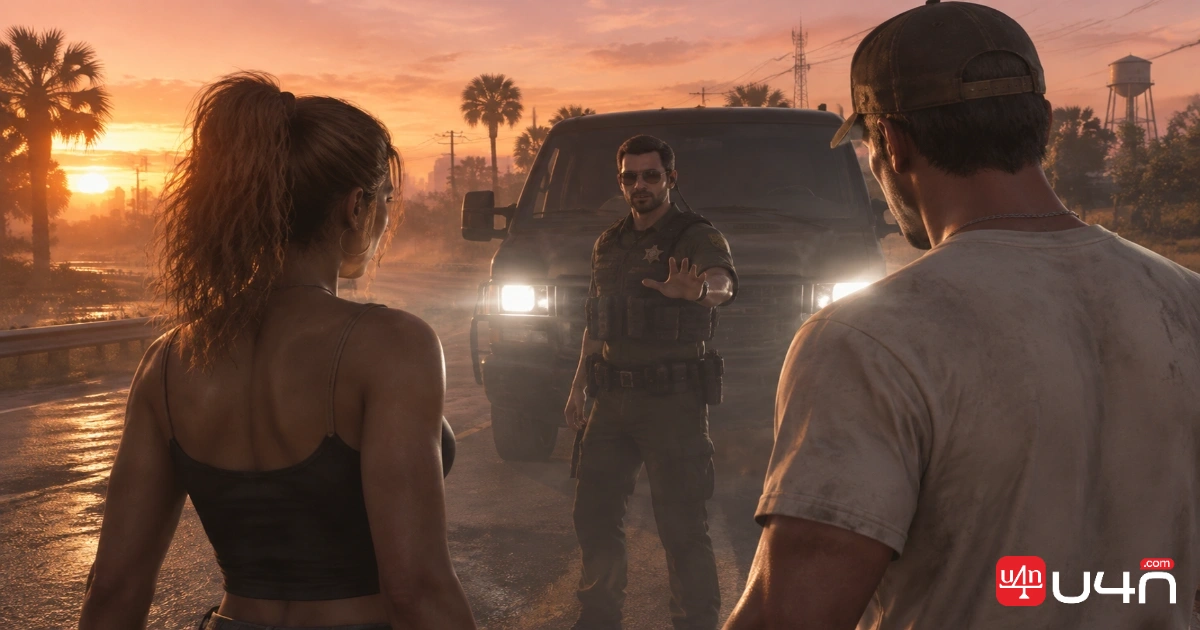
Two decisions do the branching. The first is the truck standoff right after Lucia breaks Jason out of the precinct, where you either shoot the task force officer or take his deal. The second is the bridge in the final mission. Everything else that changes the ending comes from numbers you build up for dozens of hours: savings, relationship level, and each character's criminal profile.
| Ending | Where it splits | PS5 prompt | What you see |
|---|---|---|---|
| No Surrender | Bridge | R2 | Slow-motion shootout, both die in the car |
| Swim For It | Bridge | Triangle | Lucia escapes, Jason is pinned and jailed |
| Swim For It with the pistol | Bridge | Triangle | Jason steps out armed, both are shot |
| Happily Ever After | Bridge, then savings | Triangle | Two years later a $2,500,000 payment frees Jason |
| Swamp ending | Truck standoff | Cross (Take Deal) | Two skulls beside an alligator |
| Stay Down | Construction tower | Square | Jason dies, Lucia goes to her mother in Liberty |
| Defend Jason | Construction tower | R2 | Short shootout, both die on the roof |
| No Surrender + Two Years Later | Bridge, then savings and relationship | R2 | Family signs papers and moves into a new house |
| Pistol Swim For It + Two Years Later | Bridge, then savings and relationship | Triangle | Same new-house scene after both die |
Some of these only change a line of dialogue or the last two minutes. The three Take Deal endings never reach the bridge at all, and that's the reason so many first runs see only one side of the story.
The Secret Ending Starts When You Don't Shoot
At the truck standoff, the only prompt on screen is Shoot. Years of GTA habit say press it, and that habit is exactly what hides this route.
Wait instead. Take Deal shows up once the officer finishes his pitch, somewhere between 15 and 60 seconds in, and you accept it with Cross. Recorded waits vary that much from run to run, so put the controller down rather than counting.
The secret ending has no hidden collectible and no code. The trigger is not pressing Shoot, and Take Deal only appears after the officer stops talking.
What follows is a different last act. The task force kits you out, sends you after a hard drive in Giorgio Gallo's 40th-floor office, and then puts the pair in cuffs "for the optics." The dawn drive after that ends in the swamp, and the final shot is two skulls lying next to an alligator.
It's the bleakest finish in the game, and it comes from the one choice where Jason and Lucia trust the cops instead of each other. We think that's the point of hiding it behind patience.
The Construction Tower Split
The Take Deal route can also break at a construction tower, with one more prompt. Square is Stay Down: Jason dies, while Lucia lives and goes to her mother in Liberty. R2 is Defend Jason, which drops you into a short playable shootout that ends with both of them dead on the roof.
Swim For It or No Surrender, and the Line That Gives It Away
On the bridge, the PS5 prompts are Triangle for Swim For It and R2 for No Surrender. No Surrender is the simple one. You get a slow-motion shootout, and both of them die in the car.
Swim For It has two outcomes, and there is no second prompt to steer between them. Listen to Jason's first line after you press Triangle.
- If he says "Don't draw your weapon," Lucia makes the jump and Jason is pinned and taken to prison.
- If he opens with "Don't do anything stupid" or "If we can get into the water, we swim for it," he steps out of the car with a pistol in his hand and both of them are shot.
That line is decided long before the bridge. In the runs we've gone through, a Professional criminal profile got the survival line and a Psycho profile got the pistol line. So the work happens in the hours before the finale, in how cleanly you play jobs.
For the result people mean when they search "GTA 6 ending both survive," the bridge has to go the survival way first. After that, savings take over.
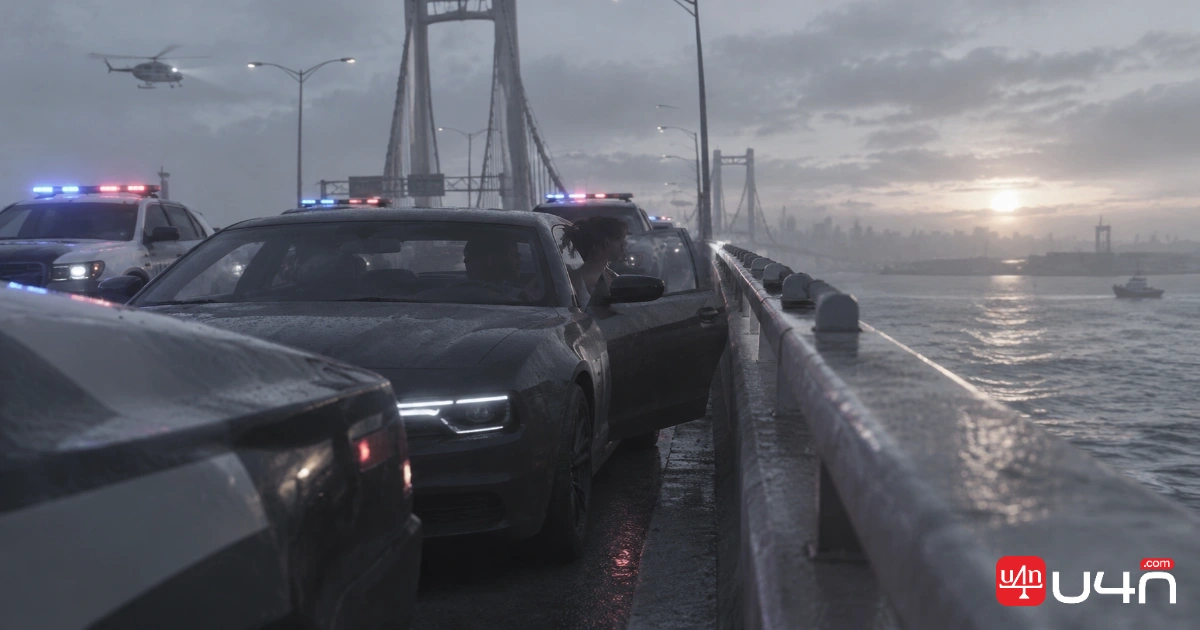
GTA 6 Good Ending Requirements: The $2 Million Savings Rule
Happily Ever After plays the bridge exactly like the survival Swim For It. Lucia jumps, Jason is taken, and for a minute it looks like the normal ending. The change comes after the "Two years later" card, when Lucia meets Abe, a $2,500,000 payment goes out, Jason walks out of prison and the three of them drive off.
The run that got it had these settings:
- A 4/4 relationship between Jason and Lucia
- $2,000,000 in Family Savings
- A Professional criminal profile on both characters
- The officer shot at the truck standoff
- Swim For It with Jason unarmed
Of those five, the money has the strongest proof. One player got the ordinary Swim For It ending, topped Family Savings up to $2 million, replayed the finale and got Happily Ever After instead. Abe even tells the pair to hit the savings limit before they sign. Four hearts with less than $2 million still gets you the survival ending, just without the reunion.
There is no good-ending button. On the bridge it plays the same as the normal Swim For It, and the $2 million in Family Savings decides what you see after the "Two years later" card.
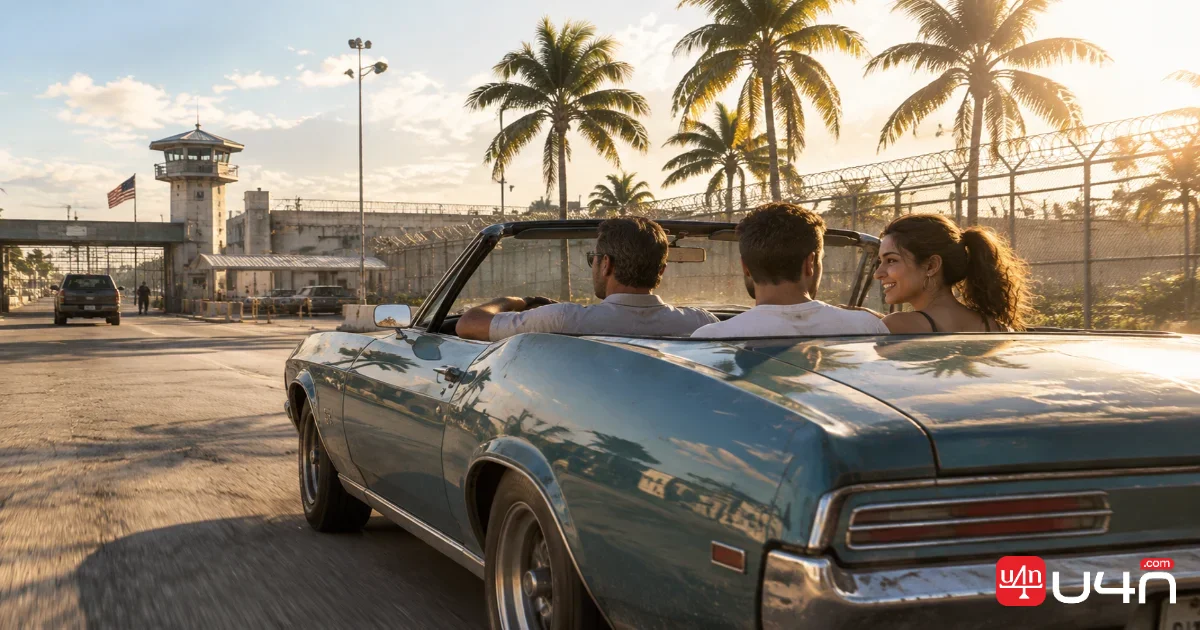
When to Pay Into Family Savings
Money only goes into this account. It never comes back out. The cap rises with the story: $5,000 in Chapter 1, $15,000 in Chapter 2, $100,000 later on and $2,000,000 by the finale, when the account is labeled Offshore Investment.
Fill the cap before it rises, and BuckMe adds an interest boost. Most people miss this part. Holding everything back for one big deposit before the last mission skips every one of those boosts, so in our view topping it up at each chapter is the smarter habit.
Both Dead, Still Paid: The Two Years Later Scene
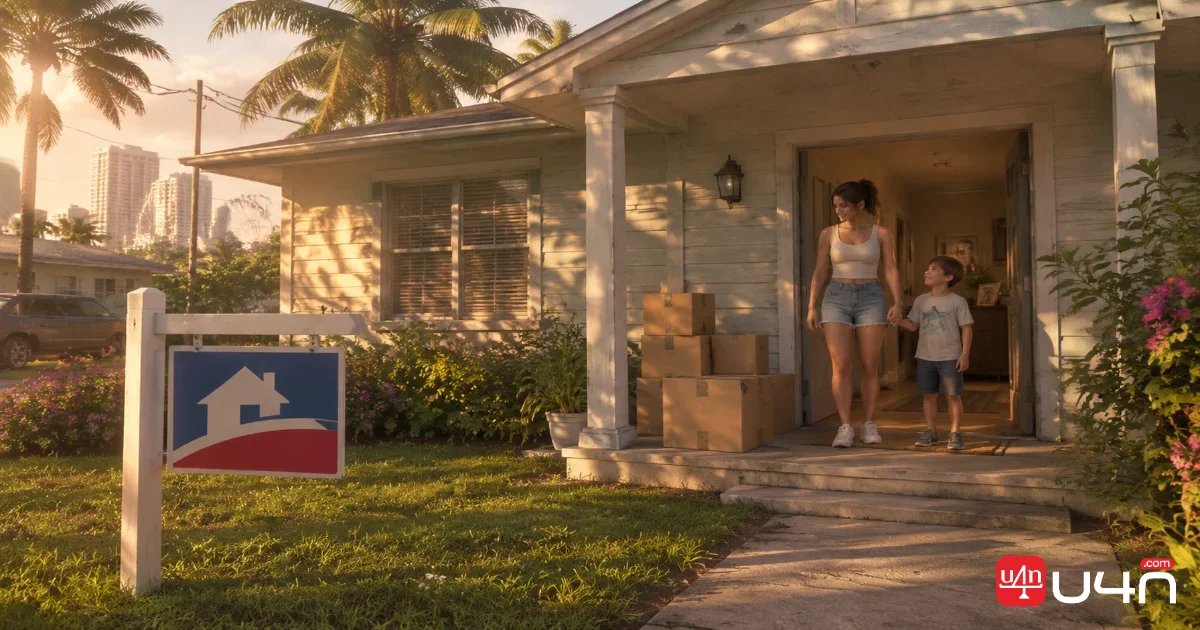
Endings eight and nine are where saving pays off even when the bridge goes wrong. After No Surrender or the pistol version of Swim For It, saves with $2 million can get an extra Two Years Later section. A man in a suit brings papers, a family raising a boy named Tommy signs them, they move into a house with a SOLD sign out front, and the shot settles on a framed photo of Jason and Lucia.
Money alone didn't do it in the comparison we found most useful. Of three No Surrender saves, the one with $2 million and a 4/4 relationship got the scene. The save with $2 million at 3/4 didn't, and neither did the 4/4 save without the money.
Picking No Surrender doesn't waste your savings. With $2 million banked and a maxed relationship, the credits still give that family a new house.
Early Story Choices That Feed the Finale
The relationship meter has four levels. It moves with time spent together, dates, conversation picks, and the way you pull off crimes. The pair can't break up and nobody cheats, so the worst you can end on is "partners."
Each character's criminal profile sits in the pause menu, and clean jobs with less violence push it toward Professional. A few early calls are already confirmed to move something:
- Let Arnold go in Hey Arnold, and Jason's profile reads Restrained. Shoot him, and it reads Hardened.
- In Island Dreams, harpooning the shark to save Dobbs adds a Saved bonus.
- The jet ski ride with Jason in Day Release raises the relationship.
- Mandy's sink scene looks like a choice, but Provoke and Defuse change nothing, so don't reload over it.
If you're still early in the story, Hey Arnold is the one we'd slow down for. It writes a word straight into Jason's profile, and it's easy to play through it without ever checking that menu.
Replaying the Finale Without Another 80-Hour Run
Finishing the game once doesn't lock you out of the other bridge endings. After the credits, you're sent back to the "are you ready" question before the finale, the marker stays on the map, and the bridge choice can be played again.
Finished missions can't be replayed, there are only 15 save slots, and there are no difficulty settings, so one manual save matters more than the rest. Make it just before Lucia breaks Jason out of the precinct, since that file covers both the truck standoff and the bridge. We'd keep that playthrough on one of your GTA6 Accounts that nobody else touches, because 15 slots fill up fast on a shared console.
Expect your completion number to drop after the credits. During the story, it only rises with main missions. Once the finale is done, the full completion menu opens up, one save fell to 66%, and post-game cheats start unlocking around the same point.
Every ending shares one last scene. Cal sits on the dock decrypting Giorgio's drive, reads the files, swears, and the screen cuts to black. The game never tells you what he saw.