


Our team would start a GTA 6 session with a short settings check before settling into missions. A camera that feels too busy, an unfamiliar control layout, or aiming that moves faster than we expect can keep pulling our attention away from the game. We would rather spend a few minutes checking those details early.
We would put camera comfort, navigation, and aiming ahead of smaller display preferences. Before planning how to spend GTA 6 money, we want ordinary actions to feel comfortable: following a turn, tracking a target, and reading information without stopping to translate it in our heads.
Our Starting Settings at a Glance
We would organize the initial setup around ten settings. The first six deserve most of our attention because they address how we view, navigate, and control the game. The remaining four help us read measurements and time in a familiar format.
| Setting | Our suggested starting point | What we would check |
|---|---|---|
| Camera Shake | Off | Camera comfort during movement |
| Motion Blur | 0, then compare with 3 | Visibility while turning |
| Street Names | On | Reading intersections and locations |
| Control Layout | Try Classic | Whether common actions feel natural |
| Aim Sensitivity | Test 9, then 10 if available | Tracking and small corrections |
| Grenade Trajectory | On | Understanding the displayed throw path |
| Distance Format | Familiar units | Reading travel distances quickly |
| Weight Format | Familiar units | Understanding weight information |
| Temperature Format | Fahrenheit or Celsius | Reading temperatures without conversion |
| Time Format | 12-hour or 24-hour | Recognizing the time immediately |

We would keep the current values written down before making changes. A quick phone photo of the menu is enough. It gives us a reliable way back if several adjustments leave the game feeling worse.
We would also separate comfort settings from skill settings. There is little value in forcing ourselves to tolerate a camera effect we dislike. Aiming deserves a more patient approach because an unfamiliar sensitivity may need a fair test before we can judge it.
Turn Off Camera Shake and Compare Motion Blur
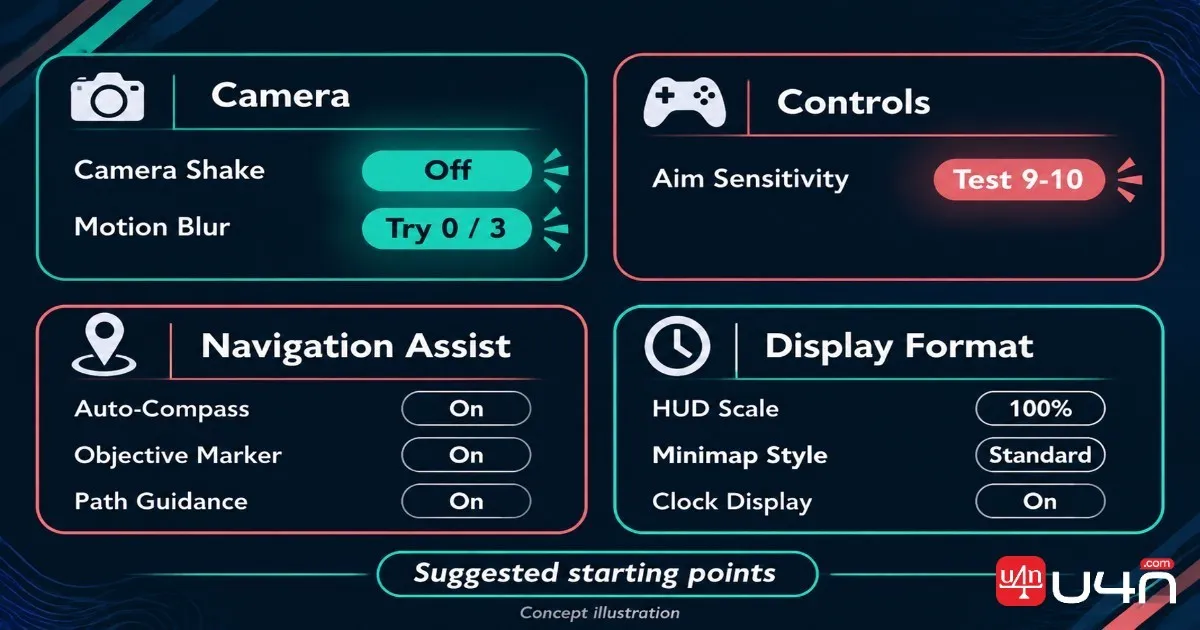
Camera Shake is the first option we would switch off. Our preference is a steady view, especially when we are already moving the camera ourselves. If the effect adds more distraction than atmosphere for you, leaving it disabled is a reasonable starting decision.
We would judge that choice during ordinary movement rather than a dramatic sequence. Walk around, turn the camera, and take a short drive if the game allows it. Ask a practical question: can we follow what we intend to look at comfortably?
Some players may enjoy the added movement. We would still begin with it off, establish a baseline, and then enable it briefly for comparison. That makes the decision easier than trying to remember how a different scene felt several minutes earlier.
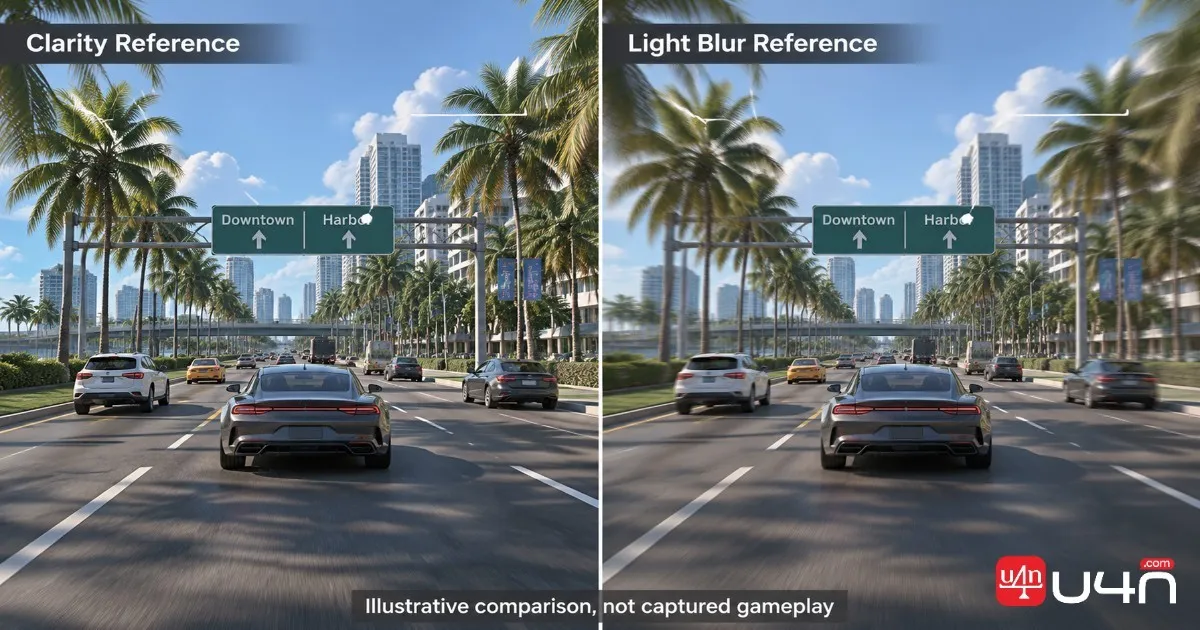
For Motion Blur, the supplied recommendation gives two values: 0 or 3. We would try 0 first, then compare 3 using the same stretch of road or the same camera movement, provided those values are available on the slider.
During that comparison, we would watch a fixed reference point, such as a sign or building edge, while turning. We want to know which setting makes the scene easier for us to follow. We would not choose solely from a paused image, since the question concerns how the picture feels in motion.
We would also avoid promising a frame rate improvement from this adjustment. Without measurements from the relevant version and hardware, our recommendation concerns visual preference and comfort. Keep the value that makes movement easier to read, then move on.
Enable Street Names and Give Classic Controls a Fair Test
We would enable Street Names early. Our aim would be to connect the route we are following with the place we are actually looking at. A name gives us another reference when several intersections appear similar.
We would assess the setting on a short, manageable route. At each turn, check whether the displayed name helps us confirm our position without lingering on the interface. If it does, we would keep it enabled while learning the area.
Our team would also use street names when discussing routes with friends. We would rather describe a named intersection than rely on "the turn after that building." The setting earns its space when it makes those directions easier to explain and follow.
Classic controls deserve a separate test. The supplied roundup recommends trying them, but we would not assume the label guarantees familiar button assignments. We would open the control diagram and check the actions we expect to use most often.
We would review movement, interaction, aiming, firing, entering vehicles, and any other actions shown in the available layout. Then we would try those actions somewhere forgiving. A familiar name on a menu matters less to us than reaching for the correct button without hesitation.
We would keep the layout consistent during the rest of the setup process. Changing controls and sensitivity together makes our own feedback harder to interpret. Once the buttons feel settled, we can give aiming our full attention.
Treat Aim Sensitivity 9-10 as a Trial Range
The proposed Aim Sensitivity of 9-10 is a useful candidate to test, but our team would not present it as a universal target. Until the slider range and exact option are confirmed, those numbers tell us where the source suggests beginning, rather than how the setting compares across every version.
If 9 is available, we would begin there. We would aim at a small stationary object, move away from it, and return several times. We are looking for controlled stops, not impressive speed.
We would pay particular attention to the final correction. If we repeatedly pass the object and pull back, we would try a lower value. If reaching it requires more stick movement than feels comfortable, we would test the next value up.
Only after that would we compare 10. We would repeat the same movement rather than choose a new target or distance. Keeping the exercise consistent gives us a clearer basis for deciding which value we prefer.
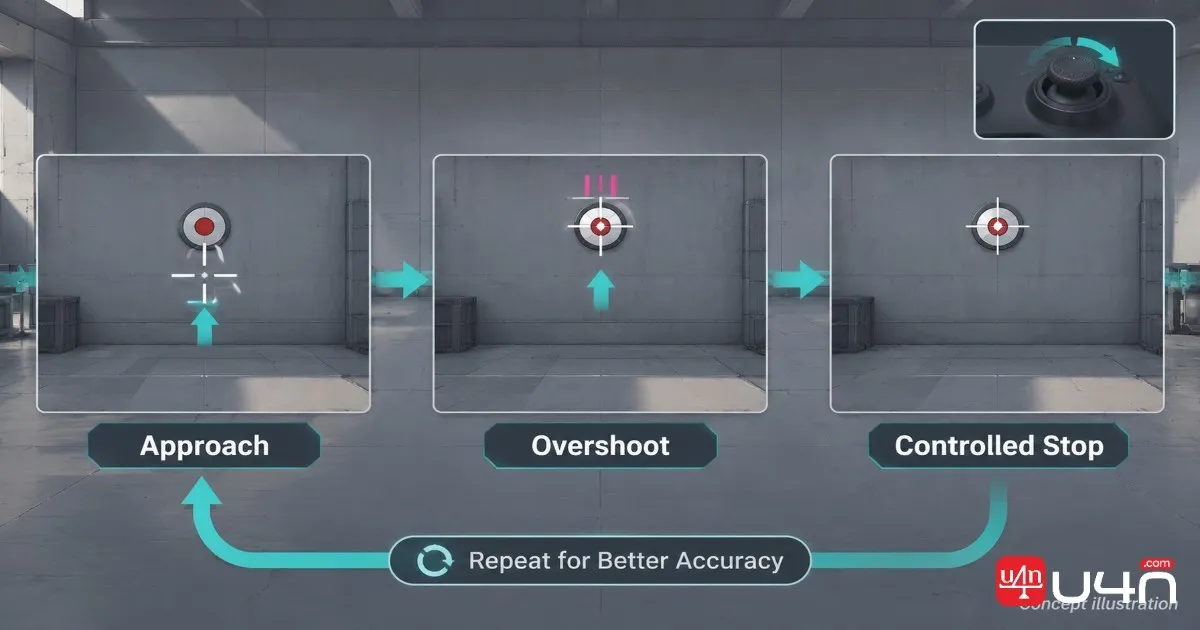
We would follow with a tracking check using a suitable moving reference, if one is available. Our question would be whether we can follow it without repeatedly losing our intended position. We would give both candidate values several attempts before deciding.
We would also check the full label of the option being adjusted. If the menu offers separate settings for looking around, aiming, or different views, we would tune them separately. A value that suits one action should earn its place in another.
Our preference is to stop adjusting once small corrections feel predictable. We do not need the highest number we can manage. We want to know roughly where the aim will stop when we release the input.
Enable Grenade Trajectory and Learn Its Limits
We would enable Grenade Trajectory if the option described in the source is available. Our reason is straightforward: we want to understand the throw information the game presents before relying on a guess.
We would begin with a clear area and a simple intended landing point. Before throwing, study the displayed path and decide what it appears to predict. Afterward, compare that expectation with the result.
Our next tests would introduce one change at a time, such as a different distance or a nearby obstacle. We would avoid assuming the display accounts for every detail until we have checked how it behaves.
That distinction matters in the article's wording. We would describe this setting as an aid to judging throws, rather than a guarantee of accuracy. The source does not explain its full behavior, and we would not invent details about bounces, timing, or moving targets.
We would spend enough time with the guide to understand what information it offers. Once it becomes familiar, the decision to keep it visible can be based on its usefulness during ordinary play.
Set Distance, Weight, Temperature, and Time Once
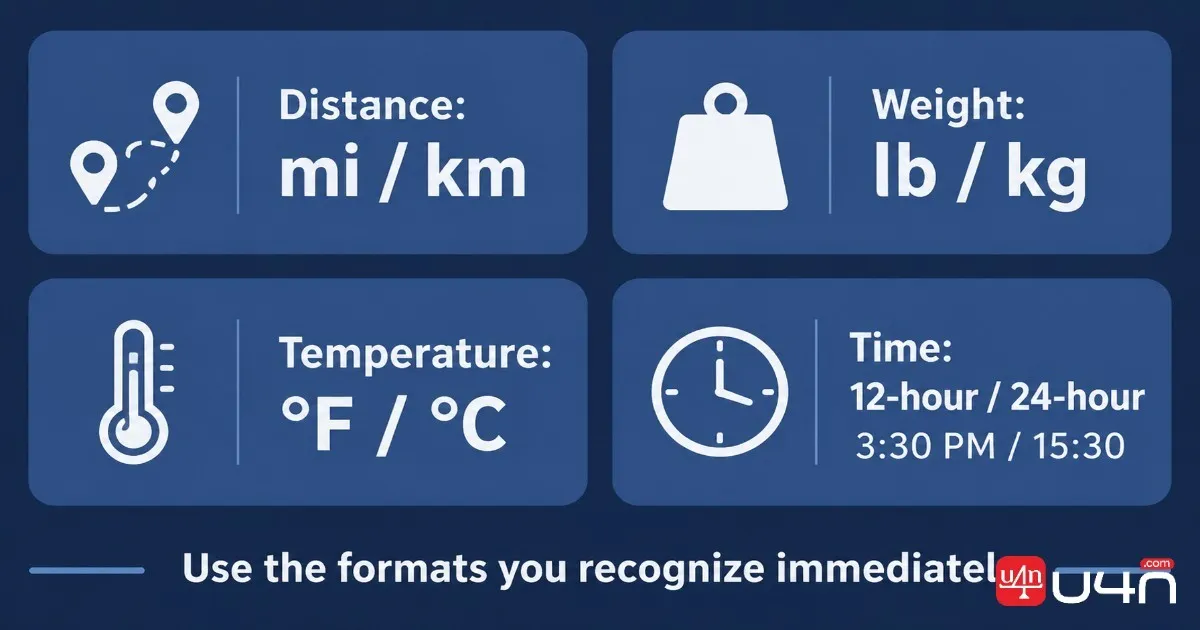
These four settings need less experimentation, but we would still change them early. Our approach is simple: choose the formats we already read comfortably and keep them consistent.
For Distance Format, we would select the units we use most naturally. Many US readers may prefer miles, while others will be more comfortable with kilometers. We would avoid choosing unfamiliar units merely to match the setting of the game.
The useful test is whether a displayed distance gives us an immediate sense of scale. If we keep mentally converting it, we would change the format. We want to understand the number while continuing with the task in front of us.
Weight Format follows the same principle. We would choose pounds or kilograms according to familiarity. We would not claim that selecting either format changes carrying capacity, item behavior, or any other mechanic without evidence.
For Temperature Format, our team would use Fahrenheit or Celsius according to the reader's preference. There is no need to turn this into a technical optimization. Pick the scale that makes a displayed temperature meaningful at a glance.
We would approach Time Format just as directly. Use a 12-hour clock if AM and PM feel immediate, or a 24-hour clock if that is how you normally read time. We would check a few examples, including an afternoon time, before leaving the menu.
These settings belong near the end of the setup process because the decisions are quick. We would set them once, confirm that the interface reads naturally, and return our attention to the controls.
Run One Short Check Before Keeping the Changes
We would finish with a compact sequence that brings the main adjustments together. Start with camera movement, follow with a short route, and then test aiming. If a suitable opportunity is available, check the trajectory display as well.
We would use a route with a few clear turns rather than choose somewhere complicated. The purpose is to notice the settings, so we want familiar conditions and room to repeat an action. There is no prize for making the test difficult.
If something feels wrong, we would return to that specific setting. For example, repeated aiming overshoots would send us back to sensitivity, while an uncomfortable moving picture would send us back to camera effects. We would leave unrelated values alone while checking the change.
We would keep this routine short enough that it does not become another task list. Once the camera feels comfortable and the buttons respond as expected, we want to start playing. Further adjustments can follow a clear problem rather than a vague feeling that every slider needs attention.
As we begin sorting through GTA6 Items and other on-screen information, we would check that our chosen formats remain easy to read. If we repeatedly pause to interpret a measurement or time, we would correct that format when convenient.
We would keep one brief note of the values we chose and why we chose them. That gives us a useful reference if an update, a reset, or an experimental change sends us back into the settings menu.