It's easy to finish an evening in Embervale with more Enshrouded Items, a bigger house, and no clear idea of what to tackle next. Our team's advice is to measure early progress differently: focus on the unlocks and habits that make the next expedition easier, rather than collecting for the sake of collecting.
In this Enshrouded beginner guide, we'll lay out what to do first, what can wait, and what to check when progress slows down. We recommend a flexible route, not a stopwatch-driven checklist, so there's still room to investigate that suspicious ruin along the way.
Give the Opening a Clear Priority Order
Our recommended opening revolves around three goals: establish a working base, follow useful progression objectives, and prepare for short expeditions.
We wouldn't spend the first few sessions trying to solve everything at once. Instead, we'd use this priority framework:
| Priority | Our Recommended Focus | Ready to Move On When… |
|---|---|---|
| Establish a foothold | Follow the opening base objectives | We have somewhere practical to prepare |
| Make the basics convenient | Organize crafting, storage, and repairs | Getting ready no longer involves constant searching |
| Pursue useful unlocks | Review survivor and traversal objectives | We know which requirement to work toward |
| Take a focused expedition | Choose one main destination or resource target | We can explain what the trip should accomplish |
| Review the result | Use the supplies or investigate the setback | We know what changes before the next departure |
Our rule: gather toward a decision, not instead of making one.
Before chopping another stand of trees or filling another chest, we recommend checking the next relevant recipe or objective. "We need these materials for this upgrade" is a much stronger plan than "we'll probably need them eventually."
That doesn't mean ignoring everything unexpected. We simply give each trip a main purpose, then treat nearby discoveries as optional stops.
Build a Useful Base, Not a Finished One
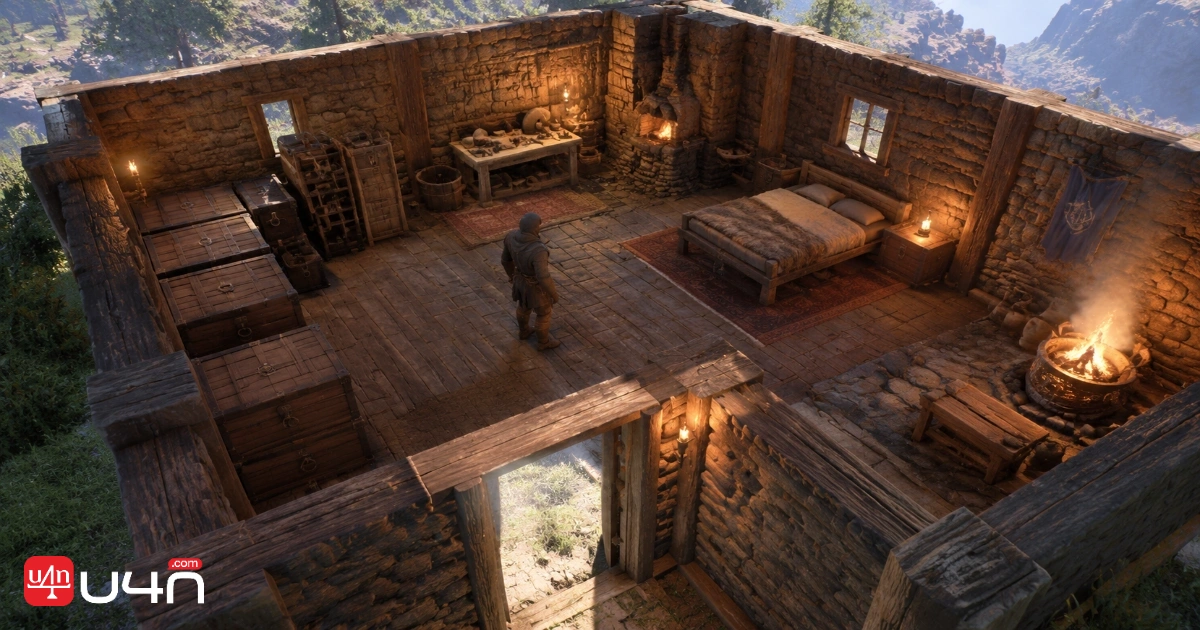
We recommend treating the first base as an expedition hub. A modest layout that supports preparation is enough; the dream fortress can remain a separate project.
Our preferred design brief is practical:
- Keep frequently used crafting areas close together.
- Give common supplies predictable storage locations.
- Make the rest area easy to reach.
- Leave space for additional crafting facilities.
- Keep the main route through the building clear.
Design Around the Departure Routine
We suggest arranging the base around a simple sequence:
Unload → repair → prepare → leave.
If preparation means opening every chest or running between distant rooms, we'd fix that friction before adding another floor.
For storage, we recommend broad categories first: building materials, crafting supplies, food, and spare equipment. Elaborate sorting can wait until those categories stop being useful.
Know When Building Can Wait
Our stopping point is functional, not decorative. Once the base supports the next objective comfortably, we recommend heading out.
Of course, an evening spent building isn't wasted if building is the goal. We just separate "we want a better-looking home" from "we need this addition before we can progress." That distinction keeps optional construction from becoming an accidental prerequisite.
Prioritize Unlocks That Change the Journey
Our first recommendation is to follow the early survivor objectives, with the Blacksmith high on the list. We'd then review the available crafting and movement objectives before committing to a long gathering session.
The underlying systems explain that priority: rescued crafting survivors provide additional recipes and production options; the Glider enables aerial travel while consuming stamina; and the Grappling Hook works with designated grapple anchors rather than attaching freely to any surface. These are different capabilities, not interchangeable shortcuts.
Think Beyond the Next Weapon
We recommend judging an objective by the problem it solves:
- Does it expand our crafting options?
- Does it make a route more manageable?
- Does it address the reason the last expedition failed?
- Does it support the next meaningful progression step?
This approach gives movement and crafting objectives proper attention without declaring every detour essential.
For the first Glider and Grappling Hook, we suggest checking the journal and currently available recipes instead of collecting materials from memory. Our goal is to work from the requirements in front of us, not build a shopping list around an outdated screenshot.
Reassess the Route After an Unlock
Once a new tool is available, we recommend revisiting the map before automatically repeating the old journey.
We'd ask: Can we approach the objective differently now? Where will we land? How will we get back?
That last question matters. We wouldn't choose a dramatic shortcut without considering whether it leaves a sensible return journey.
Prepare for the Shroud, and Plan the Exit
Before discussing routes, we keep two mechanics in view: time inside the Shroud is limited, and strengthening the Flame increases resistance to it. Rested, meanwhile, improves maximum stamina and stamina regeneration, with comfort helping extend the bonus's duration. Our planning should account for both the Shroud limit and our preparation—not assume every departure starts under identical conditions.
Our pre-expedition checklist stays short:
- Check equipment condition.
- Review active food benefits.
- Prepare healing and relevant combat supplies.
- Refresh Rested.
- Clear unnecessary inventory clutter.
- Choose an objective and identify the way back.
Set a Turnaround Rule Before Looting
We recommend treating the displayed Shroud time as a total expedition budget, not a target to exhaust.
Before entering, we'd identify the last clear landmark and decide what would trigger a retreat: uncertainty about the exit, dwindling supplies, or insufficient time for the route back.
A familiar path allows a different margin from an unfamiliar ruin. We wouldn't prescribe a universal number of seconds; we'd preserve enough room for a wrong turn.
Our priority is returning with the objective completed, not proving we can reach one more chest.
Separate Reconnaissance From Completion
For an unfamiliar destination, we suggest allowing the first trip to be reconnaissance.
Locate the entrance. Observe the approach. Identify what needs better preparation. Then return if necessary.
That's a useful result, provided we turn the information into a better second attempt. Repeating the same uncertain route without changing anything is what we want to avoid.
Choose a Playstyle We Can Support Now
Our team recommends starting with a combat style we can manage consistently, not a build whose appeal depends on equipment several progression steps away.
We'd compare options through practical questions:
| Approach | What We Recommend Practicing | What We Check Before Committing |
|---|---|---|
| Melee | Positioning, defensive timing, and controlled aggression | Can we defend after attacking? |
| Ranged | Maintaining space and choosing a clear retreat | Have we prepared the supplies our weapon needs? |
| Magic | Learning the chosen weapon's behavior and resource demands | Does our preparation support how we actually fight? |
Make Early Choices Work Together
We recommend choosing a main weapon approach, then reviewing whether our skills, equipment, and preparation support it.
We wouldn't rebuild the character after one bad encounter. First, we'd separate three possibilities:
- Execution: Did we misjudge an opening or lose track of another enemy?
- Preparation: Did we arrive without the supplies or active benefits we intended?
- Progression: Are we overlooking an available upgrade or pursuing the wrong objective?
Those questions lead to different fixes. A new weapon won't necessarily solve an unclear retreat route.
Our beginner-build standard is simple: we can explain how it works with the tools available now.
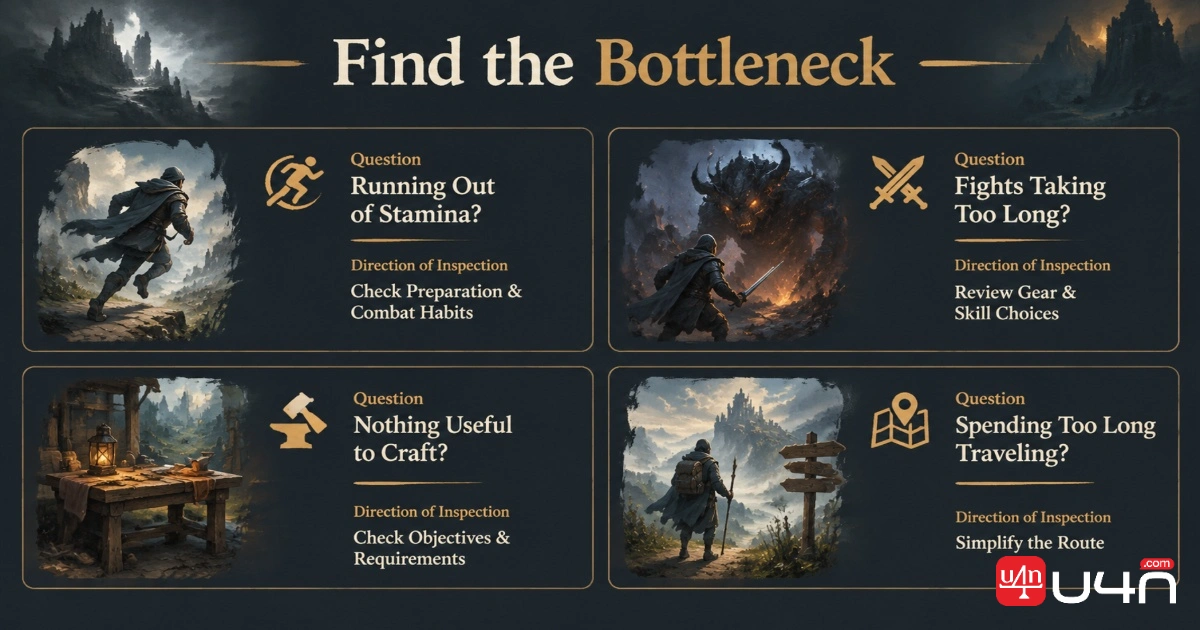
Fix the Bottleneck Before Grinding
When progress feels slow, we recommend naming the problem before collecting more resources.
| What's Going Wrong | Our First Check | What We'd Avoid |
|---|---|---|
| We keep running out of stamina | Preparation, movement habits, and attack discipline | Spending every opening on another attack |
| Fights feel unreasonably long | Equipment, available upgrades, and skill alignment | Assuming more damage is the only missing piece |
| We have supplies but nothing useful to craft | Current objectives and unmet recipe requirements | Gathering another random stockpile |
| Every session becomes a long commute | Route planning and available traversal options | Combining unrelated errands into one sprawling trip |
| The same expedition keeps failing | The specific point where control breaks down | Repeating it unchanged |
Watch for Productive-Looking Detours
Our warning signs include expanding storage without reviewing its contents, rebuilding the base after every setback, and collecting materials without a target.
These activities can be enjoyable. We only question them when they replace the progression we actually want.
For example, imagine returning with a full backpack but still lacking the ingredient needed for the next crafting step. We'd make the next trip narrower: identify that ingredient, plan the route, collect it, and come home.
Change One Relevant Factor
After a failed expedition, we suggest choosing one clear adjustment: a different approach, better preparation, an available equipment improvement, or a smaller objective.
Changing everything at once makes the result harder to interpret. We want the next attempt to teach us something, even if it doesn't finish the job.
Adjust the Plan for Solo or Co-op
Our recommended priorities stay similar, but we'd organize the work differently.
Solo: Keep the Objective Self-Contained
For solo play, we recommend trips that are manageable from departure to return without depending on backup.
We'd favor a clear route, a focused objective, and enough preparation to handle an unexpected complication. If an area feels overwhelming, we'd reduce the scope of the trip before turning it into a repeated recovery exercise.
Co-op: Coordinate Before Leaving
For a group, we recommend agreeing on the main objective and assigning preparation tasks.
One player can review crafting requirements while another organizes supplies. Before splitting up, we'd also check the current quest information rather than assume everyone has identical progress.
Our simplest co-op agreement is this: everyone knows what we're trying to accomplish, what we need, and when we plan to return.
That keeps a shared expedition from becoming several unrelated errands.
Enshrouded Beginner FAQ
What Should We Do First in Enshrouded?
We recommend establishing a functional base, following the early survivor objectives, and reviewing available movement-tool recipes. After that, we'd choose a short expedition with a specific purpose rather than trying to clear every nearby marker.
How Much Should We Build Before Exploring?
We suggest stopping once crafting, storage, rest, and departure feel convenient. Anything beyond that can remain a creative project rather than something we must finish before progressing.
Do We Need a Build Guide Immediately?
We wouldn't treat one as mandatory. Our starting point is a comfortable weapon approach and choices that support it. If we consult a detailed build, we'd check whether its equipment and requirements are relevant to our current stage.
What Should We Check Before Another Shroud Attempt?
We'd review the route, preparation, supplies, and exact reason the previous attempt ended. Our next trip should include a deliberate adjustment, not just another run toward the same destination.
What Should We Aim for Next Session?
We recommend one useful unlock and one focused trip that supports it. If we decide to buy Enshrouded Items, we'd first identify the specific shortage we want to address rather than purchase around an endgame setup we aren't ready to use.
Our bigger goal is to keep discovery enjoyable. We don't need a perfect base, a finished build, or a warehouse full of supplies before exploring Embervale. We need a workable plan, a sensible return route, and a clear reason for heading out.