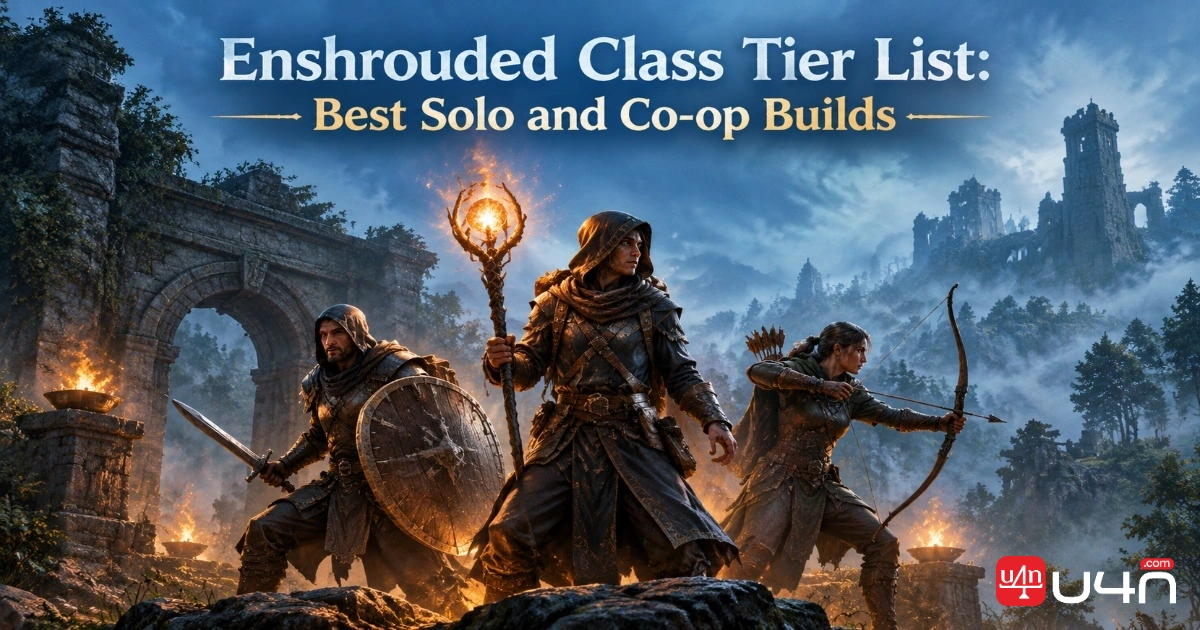
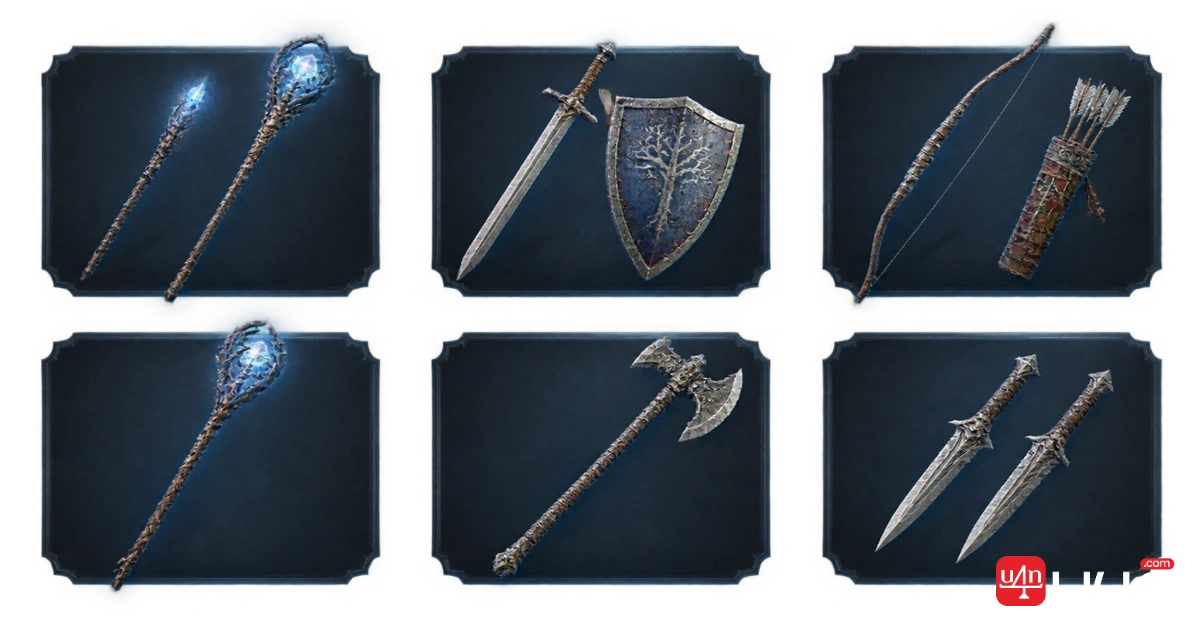
The best class in Enshrouded should do more than produce an impressive damage number. It needs to survive a messy pull, handle an awkward enemy, and keep working throughout an expedition. Our team's shortlist starts with a wand-and-staff hybrid for flexibility, sword-and-shield melee for a safer learning curve, and a bow-focused ranger for players who enjoy controlling distance.
This Enshrouded class tier list ranks complete combat setups, not isolated skill labels. We also account for progression: your available Enshrouded Items should support your build, rather than force you into a playstyle because one weapon looks strong. Below, we explain where each recommendation earns its place, what holds it back, and when we would choose something else.
Enshrouded Class Tier List at a Glance
Our rankings prioritize general progression, manageable resource demands, and room for mistakes. They are editorial recommendations informed by documented mechanics, not a claim that we have benchmarked every build's damage.
We use familiar class names to describe each setup's direction. "Battlemage," for example, means our wand-led magic setup; it does not mean taking every skill associated with that label.
| Class or build | Overall tier | Solo | Co-op | Setup demands | Our verdict |
|---|---|---|---|---|---|
| Battlemage–Wizard hybrid | S | S | A | Medium | Our strongest recommendation for adaptable magic combat |
| Warrior–Tank sword and shield | A | A | A | Low–medium | Our beginner pick for deliberate, defensive play |
| Ranger bow build | A | A | A | Medium | A strong choice for accurate, positioning-focused players |
| Wizard staff specialist | A | A | A | Medium–high | Worth choosing when spellcasting is the main attraction |
| Barbarian two-handed melee | B | B | A | Medium | Better suited to players comfortable committing to attack windows |
| Assassin dagger build | B | B | A | Medium | An execution-focused alternative, not our default beginner pick |
| Healer–caster hybrid | B | B | A | Medium | More compelling when regular teammates benefit from its support |
| Utility-first explorer | C for combat | C | B | Variable | We would establish a damage foundation before specializing here |
| Summon-focused caster | Unranked | , | , | Under evaluation | Too uncertain for a confident placement in this guide |
S tier is our best general recommendation. A tier offers strong alternatives with clearer preferences or trade-offs. B tier is more situational or demanding. C tier identifies a weak combat foundation, not useless skills.
The important distinction is recommendation strength versus damage ceiling. A build can rank lower here and still be the better choice for an experienced player who enjoys its demands.
How We Rank Builds, and What Changed for 1.0
We judge a setup by four questions:
- Damage uptime: How often can you attack safely, rather than how hard can one ideal hit land?
- Recovery: What is your plan after losing position or spending too many resources?
- Investment: Does the build work before every supporting piece is available?
- Independence: Can it function alone, or does its value depend on teammates?
Version context matters, particularly for magic. Keen Games' 1.0 combat overview documents piercing wand heavy attacks, additional control and summon spells, and Blast and Cast, which rewards a wand critical hit with increased base damage on the next staff attack within its activation window. It also describes revised spell costs and casting times, plus upgradeable Eternal spells and arrows. Those are reasons to reassess older recommendations, not proof that every mage build automatically belongs in S tier.
The Skill Interactions Behind Our Recommendations
Enshrouded uses a shared skill tree rather than a permanent class selection. The following mechanics are useful anchors for understanding our builds; they are not a point-by-point leveling route.
| Skill or combination | Relevant interaction |
|---|---|
| Unity | Wand damage can restore mana |
| Quick Charge | Reduces spell casting time |
| Vigorous Deflection + Merciless Attack | Parries can restore stamina and help create opportunities against overpowered enemies |
| Marksman + Skill Shot | Supports bow damage and weak-point hits |
| Heavy Hitter | Improves two-handed melee attack speed |
| Dagger Mastery + Expose Weakness | Supports dagger damage and rewards dagger critical hits |
| Water Aura + Waters Of Life | Provides nearby healing, with an upgrade to that healing |
| Blast and Cast | Connects wand critical hits to a stronger follow-up staff attack |
These interactions come from published skill descriptions and the official combat overview. We deliberately avoid treating older skill coordinates, upgrade costs, or incomplete descriptions as a verified current leveling blueprint.
Best Classes and Builds Explained
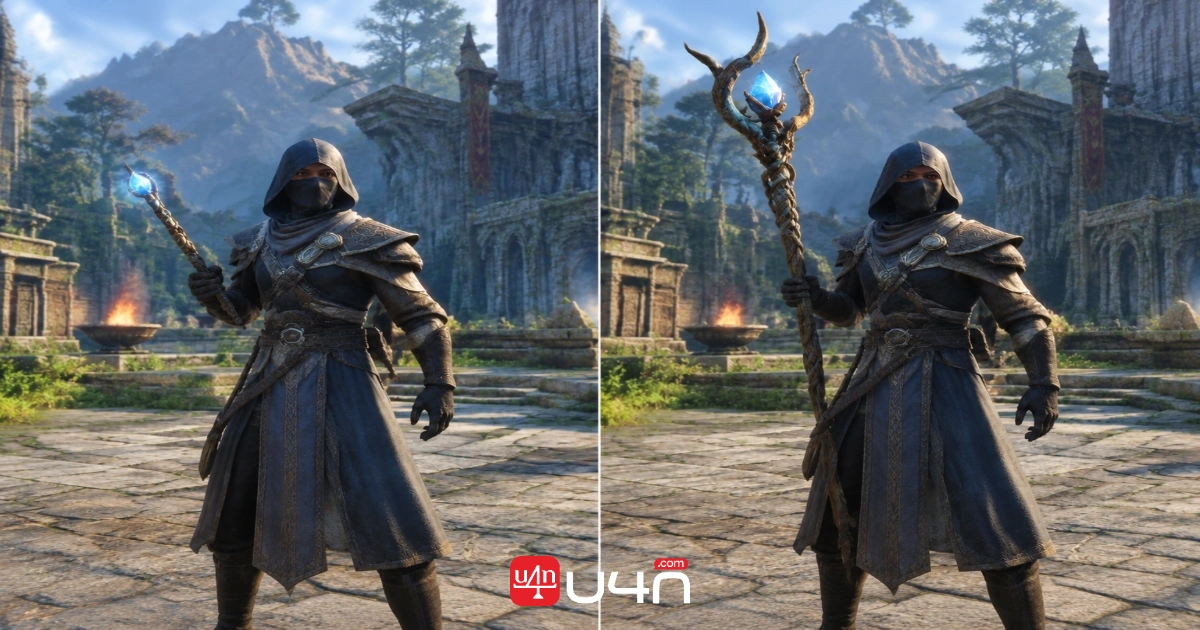
S Tier: Battlemage–Wizard Hybrid
Best for: players who want magic with a flexible default plan.
Our reason for placing this setup first is not "mages deal the most damage." It is that the wand and staff have a meaningful reason to share a build.
We would make the wand the comfortable foundation, then add staff casting for selected opportunities. Unity and Blast and Cast give that transition a purpose: the secondary weapon is part of the plan, not something carried for emergencies and forgotten.
Our suggested combat rhythm: establish space, attack with the wand, look for a favorable staff opportunity, then reposition. Don't chase a combination when the enemy is already forcing you to move.
Investment priorities:
- A dependable wand foundation.
- Enough health and resource comfort for your current encounters.
- Staff support and a small, purposeful spell selection.
- Additional specialization once weapon switching feels natural.
Why not specialize immediately? We would rather finish one reliable attack plan than split early investment between two underdeveloped ones.
Where we would choose something else: players who dislike weapon switching may find sword-and-shield melee or a focused bow build more comfortable.
A Tier: Warrior–Tank Sword and Shield
Best for: beginners who prefer learning encounters up close.
This is our safest starting recommendation, not because a shield excuses mistakes, but because we favor its deliberate approach: defend, recognize an opening, and respond.
Build around useful offense as well as protection. Vigorous Deflection and Merciless Attack offer a concrete direction for players who enjoy parry-led combat, while the one-handed specialization route keeps the weapon itself central.
Our suggested combat rhythm: draw a manageable encounter, defend selectively, punish the opening, and reset before getting surrounded.
Investment priorities: one-handed damage, survivability, then the stamina support needed to maintain that rhythm.
Why A rather than S? Our overall ranking rewards flexibility across distances. We would not make close-range commitment the default recommendation for every player.
The mistake to avoid: spending so heavily on defense that routine encounters become drawn-out endurance tests. If survival already feels comfortable, the next useful investment may be offense.
A Tier: Ranger Bow Build
Best for: players who enjoy aiming, movement, and planning their next position.
We recommend a bow build when shooting is something you enjoy, not simply because distance sounds safer.
Marksman and Skill Shot provide a clear offensive direction. Our preference is to strengthen that foundation before adding more elaborate combinations. Landing the intended shot consistently matters more to our recommendation than owning a spectacular setup you rarely use well.
Our suggested combat rhythm: open from a useful position, prioritize a clear target, move before your space disappears, and keep a close-range contingency ready.
Investment priorities: reliable bow damage, comfortable stamina management, and equipment that supports the attacks you actually use.
Why not S? We place more responsibility on the player's aim and movement here. That is an enjoyable challenge for some players, but not our universal recommendation.
Practical check: before changing the build, review your last difficult fight. Were you missing damage, or repeatedly losing a safe firing position?
A Tier: Wizard Staff Specialist
Best for: players who want spell selection to define each encounter.
We would choose the staff specialist over the hybrid when the appeal is deliberate casting rather than alternating weapons.
Quick Charge is a useful planning anchor, but we would still build around realistic opportunities to cast. A faster spell is not automatically a safe spell when you are standing in the wrong place.
Keep the spell selection purposeful:
- One option you are comfortable using regularly.
- One answer to groups.
- One option for a tougher target or a specific problem.
Investment priorities: reliable casting, resource comfort, then more specialized damage.
Why below the hybrid? We favor having a simpler fallback during uncertain encounters. That is a recommendation about adaptability, not a measured claim that staff specialization has a lower damage ceiling.
Where it appeals most: players who enjoy preparing their toolkit and choosing the right spell rather than repeating one attack.
B Tier: Barbarian Two-Handed Melee
Best for: players who enjoy commitment, timing, and decisive attacks.
Our two-handed recommendation starts with a practical question: do you enjoy waiting for a good opening, or do you tend to attack whenever possible?
We would prioritize a coherent two-handed route, including consideration of Heavy Hitter, before branching into unrelated damage types.
Our suggested combat rhythm: read the attack, take the opening, and stop before the next swing becomes a gamble.
Why B? Our list favors comfortable general progression. We are more cautious about recommending a commitment-heavy melee style to someone still learning enemy behavior.
Why choose it anyway? If deliberate aggression is your preferred rhythm, this may be more satisfying than our higher-ranked alternatives. We would choose enjoyable execution over forcing a supposedly safer build that feels dull.
B Tier: Assassin Daggers
Best for: players who enjoy staying close and managing their angles.
We would build the Assassin around daggers first, using Dagger Mastery and critical-hit interactions such as Expose Weakness as a direction, not scatter investment across every stealth or ranged option.
Our suggested combat rhythm: approach with a clear opening, attack in controlled bursts, and reposition instead of turning every exchange into a damage race.
Why B? We would not recommend close-range execution as the easiest route for an unfamiliar encounter. This placement reflects our preference for forgiveness, not a declaration that daggers are weak.
The mistake to avoid: building entirely for an ideal opening while neglecting the rest of the fight.
B Solo / A Co-op: Healer–Caster Hybrid
Best for: regular groups with a clear use for support.
Our preferred support setup retains a workable damage option. Water Aura and Waters of Life offer a healing direction, but we would not invest as though teammates will always be online.
Before committing, agree on what your group needs. Are repeated retreats the problem? Are players spreading too far apart? Would better positioning solve more than another support investment?
Why the split ranking? We value independence in solo play and shared benefit in co-op. A support-oriented choice becomes more attractive when several players can use what it contributes.
What About Trickster, Athlete, Survivor, and Beastmaster?
We would evaluate these as supporting directions rather than force each familiar label into a standalone damage ranking.
The question is whether an investment solves a real problem: movement, exploration comfort, defensive recovery, or a particular playstyle preference. We would establish a primary combat plan first, then add utility intentionally.
Likewise, summon-focused magic remains unranked here. We would rather leave a clear evaluation gap than assign a confident tier without sufficient comparison.
Best Enshrouded Builds for Solo and Co-op
Solo: Favor Independence Over a Perfect Opening
Our best solo recommendation is the magic hybrid for players comfortable managing weapons, or sword and shield for a more cautious start.
Before committing, ask:
- Can I recover when my preferred opening disappears?
- Do I have an answer to pressure at an uncomfortable distance?
- Does the build remain pleasant across several encounters?
- Am I depending on equipment I do not yet have?
We would judge solo performance across the expedition, not just the easiest fight to showcase.
Co-op: Solve Your Group's Recurring Problem
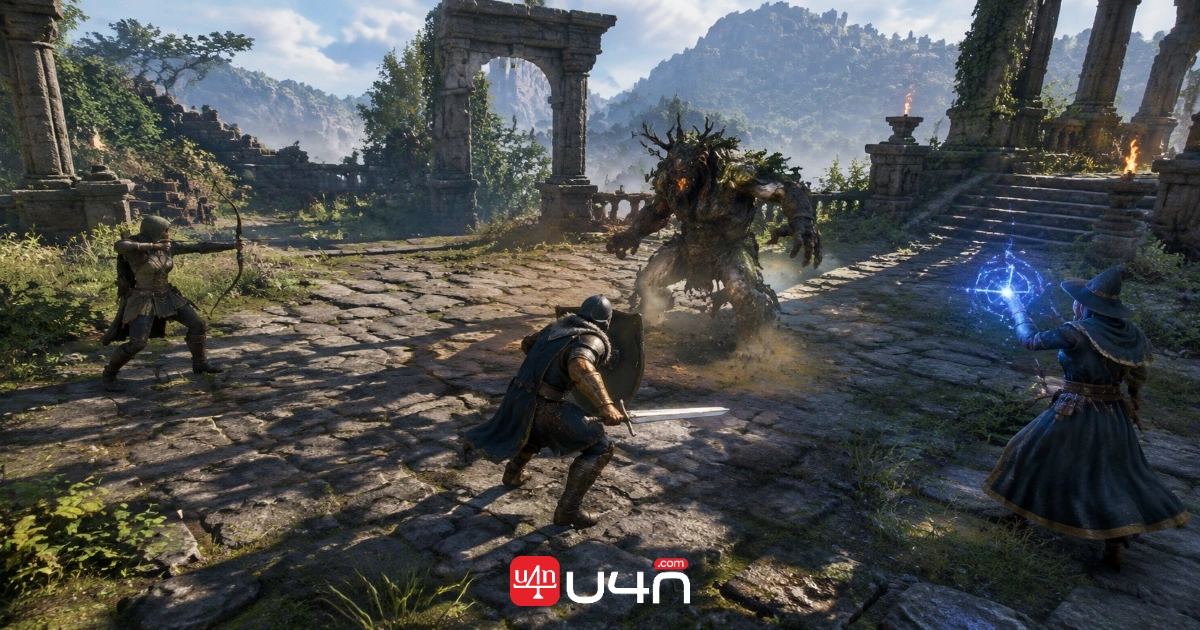
For a duo, our preferred starting point is contrasting combat preferences: one player comfortable near the action and another who prefers range.
For larger groups, consider a support-oriented character when that role addresses something the team actually struggles with.
We would avoid treating a party like a checklist that must contain a tank, healer, and damage dealer. Start with the players' preferences, then adjust around the problems that keep interrupting the session.
Early-Game, Midgame, and Endgame Priorities
A finished build is a destination, not necessarily a sensible opening route.
| Stage | Our priority | What we would postpone |
|---|---|---|
| Early game | One dependable weapon plan and basic survivability | Combinations that need several missing pieces |
| Midgame | Core synergy and a comfortable resource loop | A second, unrelated damage specialization |
| Endgame | Refinement for your preferred encounters and group | Sacrificing usability for theoretical output |
Early Game: Build Around What Works Now
We would choose the weapon style we can use confidently with current equipment. One useful upgrade should improve the plan, not send every skill point in a new direction.
Midgame: Fix the Bottleneck
Identify what actually ends difficult fights. If it is resource pressure, address that. If it is overcommitting, reconsider the combat rhythm before spending more points.
Endgame: Specialize Deliberately
Decide what "better" means for your character. Faster clears, safer exploration, and stronger team support are different goals. We would not expect one configuration to maximize all three.
Common Tier-List Mistakes to Avoid
- Comparing unequal equipment. We would not dismiss a playstyle after comparing a well-supported weapon against a neglected alternative.
- Copying every skill without identifying the core. Find the interaction that makes the setup coherent. Supporting investments should have a reason to exist.
- Treating more damage as the universal fix. If you rarely get a comfortable chance to attack, reconsider your position and defensive plan.
- Assuming low tier means unusable. Our rankings favor broad recommendation value. A demanding build can still fit your preferences better.
- Following an old route without checking the current tree. Use older guides for ideas, not as an unquestionable sequence of clicks.
Enshrouded Class Tier List FAQ
What Is the Best Class in Enshrouded?
Our overall pick is a Battlemage–Wizard hybrid for its connected wand-and-staff plan. For a cautious beginner, we would recommend Warrior–Tank sword and shield instead.
Which Build Is Easiest for Beginners?
Sword and shield is our first recommendation for players who prefer a deliberate combat rhythm. If aiming and keeping distance feel more natural, we would consider Ranger instead.
Is Mage Better Than Ranger or Melee?
Not universally. We rank the magic hybrid highly for adaptability, but we would choose a coherent melee or bow setup over a caster build whose rhythm you dislike.
Is a Dedicated Healer Necessary?
We would not make one mandatory. Consider support when regular teammates benefit from it, and retain enough offense for the time you spend alone.
Should I Change My Build While Leveling?
We would change direction when the core playstyle feels wrong, not after every difficult encounter. First check equipment, investment priorities, and how you are approaching the fight.
Final Verdict: Pick a Build That Fits Your Run
Our shortlist is simple: magic hybrid for flexibility, sword and shield for a cautious start, and Ranger for aim-focused play. Keep upgrades tied to that choice. When comparing cheap Enshrouded Items, we would prioritize a relevant weapon or missing support piece over a collection of impressive-looking gear that does not improve the setup.
Use this Enshrouded class tier list to narrow your options, not replace your judgment. Establish reliable damage, fix the weakness that repeatedly disrupts your fights, and specialize once the foundation feels good. The right build is one you understand well enough to adapt, not merely one carrying an S beside its name.