


Completing all five challenges in ARC Raiders Season 6 Week 6 doesn't have to take several matches. With the right weapons, a little preparation, and a sensible route through Stella Montis, we can make steady progress on multiple trials at once. Our team recommends focusing on large ARC enemies first, then using smaller targets and nearby containers to finish the remaining objectives.
This week's challenges combine weapon damage, melee combat, looting, and wreck inspection. The key is bringing equipment that covers different objectives without filling your backpack with unnecessary gear. Whether you're preparing your usual ARC Raiders Items loadout or simply want a faster way to earn all three-star rewards, the following strategy will help you organize the entire run.
All Five Week 6 Trial Challenges
Before entering a raid, we should understand what each challenge requires. Although the objectives are different, several can be completed during the same encounter.
| Challenge | Main Objective | Recommended Approach |
|---|---|---|
| Hull Cracker Damage | Deal damage to ARC enemies with the Hull Cracker | Prioritize large ARC targets |
| Total ARC Damage | Deal a specified amount of damage to ARC enemies | Use the Hull Cracker and Armor Piercer |
| Container Search | Open containers around the map | Loot every available crate along the route |
| Melee Damage | Damage ARC enemies with melee attacks | Use a pickaxe against suitable targets |
| Destroyed Machine Inspection | Inspect wreckage left by destroyed ARC enemies | Search ARC wrecks after combat |
One important detail concerns the destroyed machine objective. Not every piece of wreckage found around the map counts. We need to inspect machines left behind after ARC enemies have been destroyed during the raid. Pre-existing environmental wrecks should not be treated as reliable progress sources.
We also recommend checking the challenge tracker before leaving the raid. This prevents unnecessary fighting when a particular objective has already reached its required progress.
The key to completing all five Week 6 trials efficiently is to make each encounter count. Prioritize targets that advance multiple challenges instead of treating every objective as a separate activity.
Best Loadout for Completing All Five Trials
We don't need an expensive or complicated setup for this week's challenges. A balanced loadout is enough, provided each weapon has a clear purpose.
| Equipment | Priority | Purpose |
|---|---|---|
| Hull Cracker | Essential | Complete the dedicated Hull Cracker damage objective |
| Anvil | Recommended | Deal with Poppers and Fireballs more comfortably |
| Adrenaline | Highly recommended | Support repeated melee attacks |
| Armor Piercer | Recommended | Finish remaining ARC damage requirements |
| Cloak | Optional | Escape when multiple ARC enemies become aggressive |
| Grappling Hook | Optional | Improve movement and repositioning |
Why the Hull Cracker Matters
The Hull Cracker should be our first priority because it directly contributes to one of the week's dedicated damage challenges.
However, we shouldn't waste ammunition firing at every small ARC enemy we encounter. Large targets such as Bastions are better candidates for this weapon. Their larger bodies provide more opportunities to deal meaningful damage, making each encounter more useful for challenge progress.
Vaporizers can also serve as alternative targets when a Bastion isn't available.
Why Bring an Anvil?
The Anvil provides a practical secondary weapon for handling smaller ARC enemies, especially Poppers and Fireballs.
Rather than spending valuable Hull Cracker ammunition on every target, we can use the Anvil to deal with these enemies while keeping our main weapon focused on the larger threats.
Adrenaline for Melee Damage
Melee combat consumes stamina quickly, particularly when repeatedly attacking tougher ARC enemies.
We recommend bringing around four stacks of Adrenaline for this run. This gives us more flexibility when working toward the melee damage objective without having to interrupt the fight too frequently.
Cloak and the Grappling Hook are useful additions, but neither is mandatory. If you are comfortable managing enemy aggression and moving between cover, you can leave them behind.

Best ARC Enemies to Target
Choosing the right enemies is one of the biggest factors affecting completion speed. We want targets that provide useful damage progress without creating unnecessary risks.
Bastion: The Main Hull Cracker Target
Bastions should be near the top of our priority list.
Their large size makes them suitable for Hull Cracker damage, and destroying one can also provide substantial progress toward the wreck inspection objective.
When fighting a Bastion, focus your Hull Cracker shots on its upper armor section. After the fight, inspect and loot the resulting wreckage carefully.
This is particularly efficient because a single encounter can contribute to more than one challenge.
Vaporizer: A Useful Alternative
If the Loading Hangar doesn't have a Bastion, look for a Vaporizer instead.
It can provide another opportunity to advance the Hull Cracker challenge. The exact amount of progress depends on the damage dealt, so keep checking the tracker rather than assuming one encounter will be enough.

Shredder: Best for Pickaxe Practice
Shredders are useful targets for the melee damage objective.
Instead of relying entirely on gunfire, we can use the pickaxe to deal the required damage. Since Shredders can be dangerous at close range, avoid standing in the open while attacking.
Smaller targets such as Fireballs and Poppers can also help supplement melee progress when the opportunity is safe.
Target Priority
| ARC Enemy | Main Purpose | Suggested Approach |
|---|---|---|
| Bastion | Hull Cracker damage and wreck inspection | Prioritize |
| Vaporizer | Hull Cracker damage | Use as an alternative |
| Shredder | Melee damage | Attack with a pickaxe |
| Fireball | Supplementary damage and melee progress | Handle when convenient |
| Popper | Supplementary damage and melee progress | Avoid unnecessary exposure |
The general rule is simple: prioritize targets that advance multiple challenges, then use smaller enemies to fill any remaining gaps.
How to Complete All Five Trials in One Match
Stella Montis is a convenient choice for this strategy because the route can combine large ARC encounters, melee opportunities, and container searches.
We recommend following this order rather than treating every challenge as a separate activity.
Step 1: Start at the Loading Hangar
Head toward the Loading Hangar and look for a Bastion or Vaporizer.
Use the Hull Cracker to advance its dedicated damage objective. If you encounter a Bastion, make sure to inspect its wreck after the fight.
This is one of the most valuable early encounters because it can contribute to both Hull Cracker damage and destroyed machine inspection.
Step 2: Work on Melee Damage
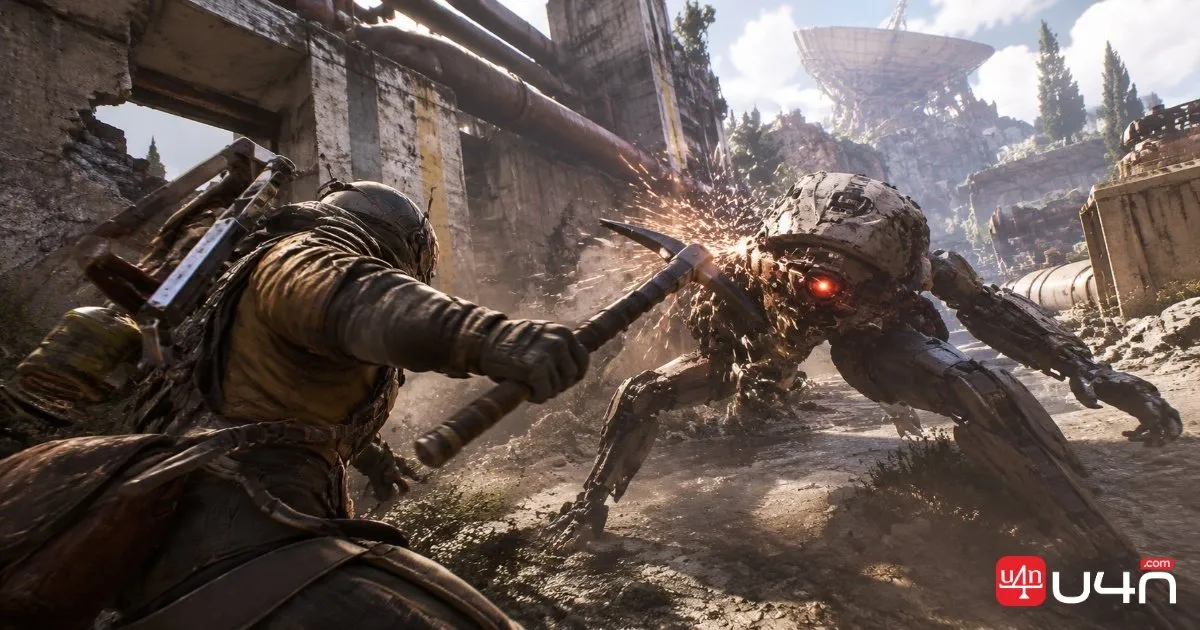
Once the main ARC encounter is handled, look for Shredders or other suitable targets.
Use your pickaxe and pay attention to stamina consumption. The right mouse button is the recommended attack input in the demonstrated strategy because it deals more melee damage.
A practical combat rhythm looks like this:
- Approach the target when it is safe.
- Use Adrenaline to support your stamina.
- Attack with the pickaxe.
- Retreat behind cover when necessary.
- Recover and repeat until the objective is complete.
Don't remain exposed just to finish a few additional hits. Staying alive is more important than saving a small amount of time.
Step 3: Loot Containers Along the Route
Container searches are easy to overlook when most of our attention is on combat.
The best approach is to open every useful container we encounter rather than saving the entire objective for the end of the raid.
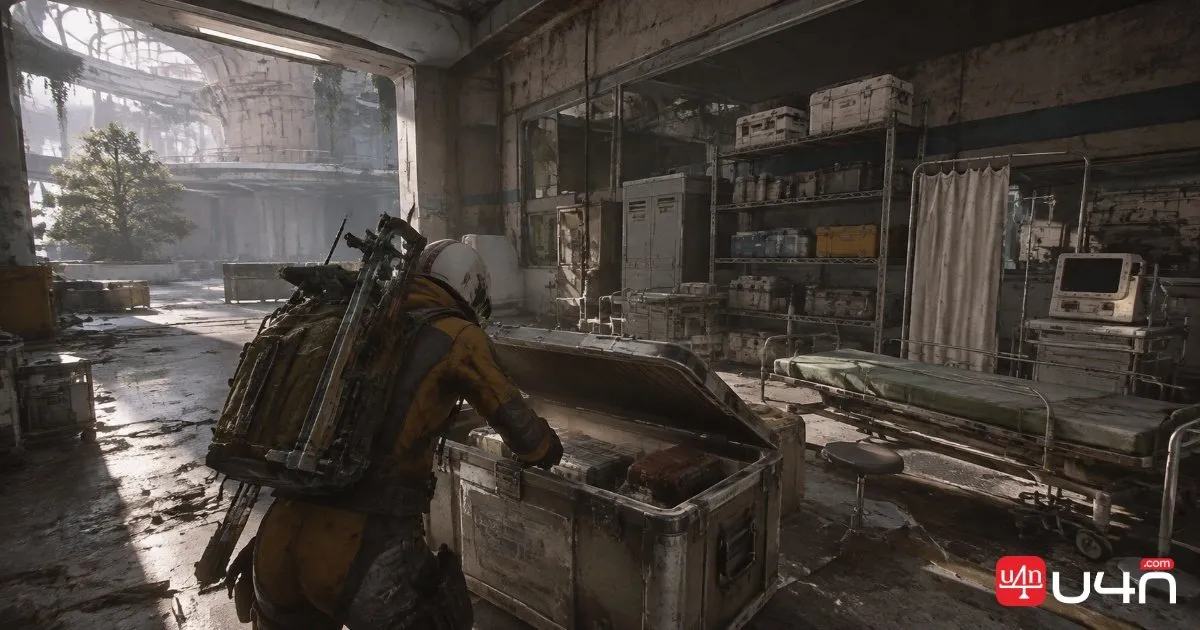
If the container challenge is falling behind, move toward areas with more available crates. The medical area is one location worth checking during the run.
Remember to monitor the challenge tracker. Opening containers without checking progress can lead to unnecessary detours.
Step 4: Finish Remaining ARC Damage
After the Hull Cracker objective is complete, switch to the Armor Piercer if the general ARC damage challenge still needs progress.
There is little reason to continue spending Hull Cracker ammunition once its dedicated objective has been satisfied.
Use available ARC encounters to reach the remaining damage requirement. Avoid chasing distant enemies if the tracker is already close to completion.
Step 5: Check Every Objective Before Leaving
Before extracting, review all five challenge trackers.
| Objective | Final Check |
|---|---|
| Hull Cracker Damage | Confirm the required damage has been reached |
| Total ARC Damage | Check remaining damage |
| Container Search | Confirm enough containers have been opened |
| Melee Damage | Verify pickaxe damage progress |
| Destroyed Machine Inspection | Confirm the required wreck inspections |
This final check is important. A raid can feel successful while one small objective remains incomplete.
Combat Tips and Common Mistakes
Even with a good loadout, a few mistakes can slow down the entire run.
- Don't use the Hull Cracker on every enemy. Its main purpose here is to complete the dedicated damage challenge. Save it for suitable targets and use your secondary weapon for smaller ARC enemies.
- Manage stamina during melee combat. Repeated pickaxe attacks can leave you vulnerable. Use Adrenaline and nearby cover to maintain a safer attack rhythm.
- Don't confuse environmental wrecks with destroyed ARC machines. Only inspect wreckage that meets the challenge's actual tracking conditions.
- Avoid unnecessary fights. Once a challenge is complete, stop spending time on it. Move toward the next unfinished objective instead.
- Don't ignore containers. Opening crates along the way is much more efficient than completing every combat objective first and then searching the entire map again.
What If the Expected ARC Enemy Doesn't Spawn?
A fixed route won't work perfectly in every raid. If a Bastion isn't available, a Vaporizer can provide another Hull Cracker opportunity. If there aren't enough Shredders nearby, use other suitable ARC enemies to supplement melee progress where possible.
The important thing is to adapt to the enemies that actually spawn rather than wasting time searching for one specific target.
Summary
ARC Raiders Season 6 Week 6 is a relatively straightforward set of trials when we approach it with a coordinated loadout and a sensible route.
Our recommended strategy is to start at the Loading Hangar, use the Hull Cracker against large ARC enemies, inspect their wrecks, and then work on melee damage with a pickaxe. At the same time, open containers along the way and use the Armor Piercer to finish any remaining general ARC damage requirements.
Completed the main run in approximately 18 minutes, although actual completion times will vary depending on enemy spawns, container locations, and combat conditions.
The biggest time-saving tip is to make every encounter count. Instead of completing five objectives separately, combine damage, wreck inspection, melee combat, and looting whenever possible. If you also need to prepare your inventory or replenish supplies before another raid, you can check ARC Coins for sale and plan your next run with the equipment you need.
FAQ
Can You Complete All Five Week 6 Trials in One Match?
Yes. The demonstrated strategy completes all five objectives in one Stella Montis run by combining combat, wreck inspection, melee attacks, and container searches.
What Is the Best Weapon for Hull Cracker Damage?
The Hull Cracker is the required weapon for its dedicated damage objective. Large ARC enemies such as Bastions are preferred targets, while Vaporizers can serve as alternatives.
Which ARC Enemy Is Best for Melee Damage?
Shredders are recommended because they provide useful opportunities to deal pickaxe damage. Always manage stamina and use cover to avoid taking unnecessary damage.
Do Pre-Existing ARC Wrecks Count Toward Destroyed Machine Inspection?
No. The demonstrated strategy specifically distinguishes newly destroyed ARC wreckage from environmental wrecks already present on the map. Focus on machines destroyed during your raid.
How Long Does It Take to Complete All Five Trials?
Approximately 18 minutes. Your time may vary depending on enemy availability, map conditions, and how efficiently you complete each objective.
Do Three-Star Trials Automatically Guarantee Pro Rewards?
No. A separate ranking requirement for Pro rewards: players need to place within the top 1,000 by points. Completing the objectives and qualifying for leaderboard rewards are separate conditions.