

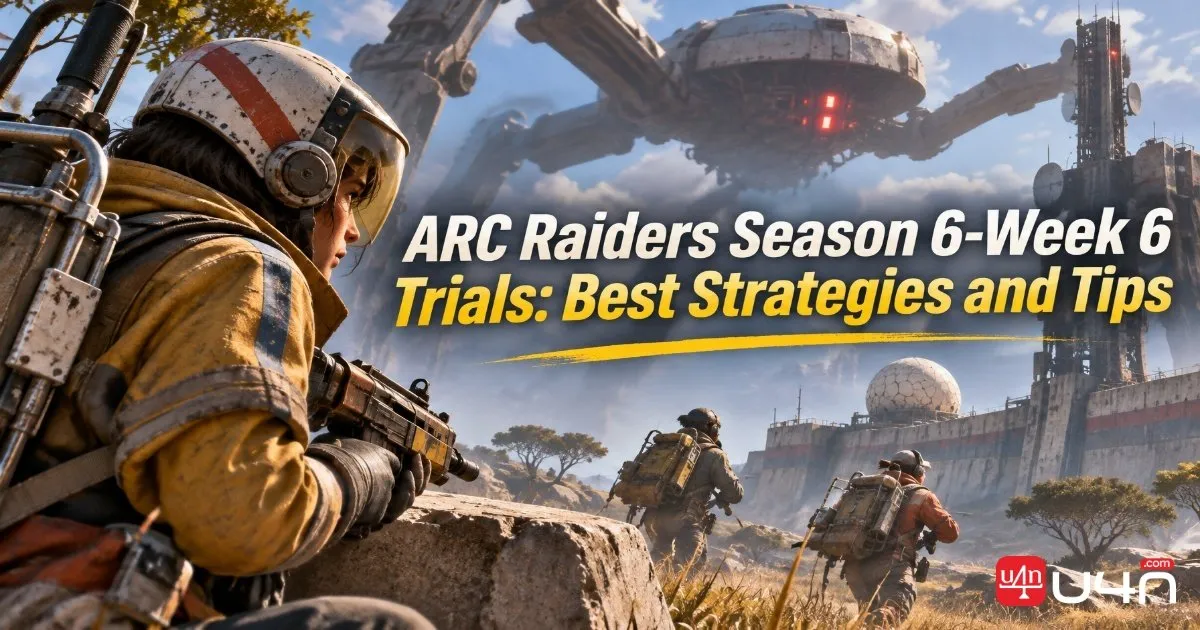
ARC Raiders Season 6 Week 6 Trials bring five challenges that reward careful weapon selection, efficient looting, and smart ARC encounters. Some objectives can overlap naturally, but trying to complete everything in one raid may cost more time than it saves. Our team recommends planning each run around its main objective, then taking advantage of secondary progress whenever the opportunity appears. Having the right ARC Raiders Items ready before deployment can also make a noticeable difference, especially when a challenge requires sustained combat.
This week's most interesting changes involve destroyed ARC searches and melee damage. Previous strategies relied on skill tree perks and Snitch Scanner setups that are no longer available in the same form. That means players need to reconsider which large ARC enemies to target and how to approach longer fights. Below, we break down all five Week 6 Trials, compare the available strategies, and explain which approaches are worth testing.
ARC Raiders Week 6 Trials Overview
Week 6 features five objectives, covering weapon damage, general ARC damage, container searches, destroyed ARC searches, and melee damage against ARC enemies. Each challenge requires a different approach, so choosing the right map and loadout matters more than simply entering a raid and looking for targets.
| Week 6 Trial | Main Requirement | Key Consideration |
|---|---|---|
| Hullcracker Damage | Damage ARC enemies with the Hullcracker | Target selection and sustained ARC encounters |
| ARC Damage | Deal damage to ARC enemies | Weapon flexibility and encounter density |
| Search Containers | Search containers across the map | Loot density and travel distance |
| Search Destroyed ARC | Search destroyed ARC units | Number of searchable sections per enemy |
| Melee ARC Damage | Deal melee damage to ARC enemies | Target control and the removal of old skill perks |
One important distinction is that the first two challenges can progress in similar locations, but they do not necessarily benefit from the same equipment. We recommend treating them as separate objectives when planning a serious scoring run. Natural overlap is useful, but forcing both into one strategy can reduce your overall efficiency.
Hullcracker and ARC Damage Strategies
Using the Hullcracker Against ARC Enemies
The Hullcracker challenge offers several possible approaches. Players can focus on the Matriarch and farm the ARC enemies that appear during the encounter, visit the 10-minute Hidden Bunker, or use Snitch Scanners while waiting for flying ARC units to spawn naturally.
These options have different advantages:
- Matriarch encounters: A concentrated source of ARC combat, particularly when the encounter provides multiple targets.
- Hidden Bunker: A potential opportunity to fight Bombardiers and Bastions during a limited encounter window.
- Snitch Scanners: Useful for attracting ARC attention and creating additional combat opportunities.
- Naturally spawning flying ARC units: A more opportunistic approach that can reduce the need to force specific encounters.
There is no universally best option. Lobby competition, encounter timing, and how quickly other players eliminate targets can all affect the final score. Our preference would be to choose a route with reliable ARC activity rather than spend too much time waiting for one specific enemy.
Completing the General ARC Damage Challenge
The general ARC damage challenge overlaps naturally with Hullcracker damage because both require players to fight ARC enemies. However, the best weapon choice may differ.
If we enter a raid specifically for the Hullcracker objective, we would prioritize using it against available ARC targets. For general ARC damage, Wolfpack rockets or other suitable weapons may provide better flexibility.
The key is to prepare the backpack around the primary objective. A loadout designed for sustained Hullcracker damage does not necessarily offer the best performance when the goal is simply to accumulate ARC damage.
We also recommend avoiding unnecessary attempts to force both challenges into a single encounter. If a natural opportunity allows you to progress both, take it. Otherwise, a focused run is usually easier to manage.

Best Maps and Routes for Searching Containers
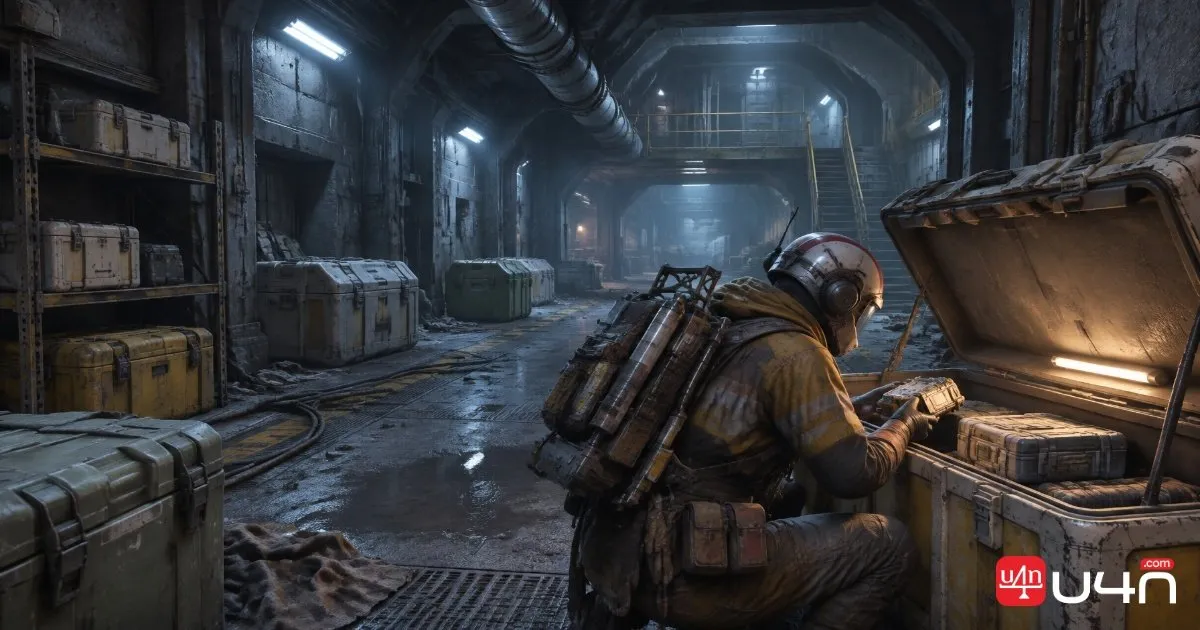
Searching containers sounds straightforward, but the real challenge is finding enough searchable objects without wasting time moving between locations.
Stella is one of the interesting options mentioned. In a friendly lobby, players may have more freedom to search throughout a raid, potentially turning the entire match into a looting route rather than a combat-focused run.
Embargo offers another possibility. Its 10-minute map variant provides additional time, which could help compensate for longer distances between searchable locations. However, extra time does not automatically mean better efficiency. The number of containers available and the distance between them still matter.
The Hidden Bunker at Spaceport is also worth considering because it provides an additional 10-minute window. Locked doors and concentrated search areas may offer useful opportunities, particularly for players familiar with the surrounding routes.
| Location or Condition | Potential Advantage | What to Watch |
|---|---|---|
| Stella with a friendly lobby | More freedom to search throughout the raid | Depends heavily on lobby behavior |
| Embargo | Additional time for looting | Longer travel distances may offset the time bonus |
| Spaceport Hidden Bunker | Extended search opportunity | Search locations may be spread out |
| Locked areas | Potentially concentrated searchable objects | Access time and route planning |
Our recommendation is to prioritize searchable-object density over the size of the map. A compact route with several containers close together can outperform a larger map with more total loot if the travel time is significantly lower.
Searching Destroyed ARC: Targets and Searchable Parts
The destroyed ARC challenge is more technical than ordinary container looting. Not every ARC unit provides the same number of searchable opportunities, and understanding this difference can save a considerable amount of time.
For example, a Wasp provides one searchable point after it is destroyed. A Bastion has multiple searchable sections, including its legs, and each eligible section can count separately. The same principle applies to the searchable components of a destroyed Matriarch.
This means that larger or more complex ARC units may offer several opportunities from a single encounter.

Why Close Scrutiny Could Be Important
One of the strongest approaches from the previous rotation was the Close Scrutiny event in Buried City. The event involves a Surveyor and its surrounding ARC units, creating multiple potential searchable targets.
The Surveyor itself is relatively manageable compared with more dangerous ARC enemies, especially for players carrying a suitable weapon such as the Jupiter. The accompanying units are also worth considering because they can provide additional searchable parts.
Vaporizer escorts are particularly interesting. Each one offers multiple searchable sections, making the encounter potentially valuable for this challenge.
Close Scrutiny's availability in the Week 6 rotation has not been confirmed in the original discussion. Players should treat it as a promising strategy rather than a guaranteed route.
However, there is one important limitation: Close Scrutiny's availability in the Week 6 rotation has not been confirmed in the original discussion. Players should treat it as a promising strategy rather than a guaranteed route.
Which ARC Enemies Should You Prioritize?
| ARC Target | Search Opportunity | Strategic Value |
|---|---|---|
| Wasp | One searchable point | Easy to understand, but limited progress per kill |
| Bastion | Multiple searchable sections | Potentially high value from one encounter |
| Matriarch | Multiple searchable sections | Large opportunity when the encounter is available |
| Surveyor encounter | Multiple potential targets | Strong option if Close Scrutiny is active |
| Vaporizer escorts | Multiple searchable sections reported | Worth checking during the relevant event |
The most efficient approach is to look for encounters that provide several searchable sections without requiring excessive ammunition or fighting time. Instead of chasing individual Wasps across the map, we would prioritize multi-part ARC targets whenever the encounter is manageable.

Melee ARC Damage: Why Old Strategies No Longer Work
Melee damage is likely to be one of the most demanding Week 6 objectives because the previous high-efficiency approach relied on two skill tree perks that have since been removed: Fly Swatter and Effortless Swing.
Previously, solo players could target the Matriarch, use Snitch Scanners to attract Wasps, and repeatedly deal melee damage while benefiting from those perks. Under the old setup, a fully controlled Matriarch encounter could reportedly be worth around 170,000 points.
That strategy is no longer as practical. Without the previous perks, dealing with repeated Wasp encounters takes more time and creates additional risks. Fireflies may be manageable, but Hornets can make the situation much more difficult. Trying to force repeated scanner spawns can quickly become an inefficient use of raid time.
We would not recommend relying on the old Snitch Scanner method as the main Week 6 strategy. The removal of Fly Swatter and Effortless Swing changes the efficiency of the previous melee farming setup.
Why Queen May Be a Better Alternative
The Queen is worth considering because her scoring potential is believed to be close to the Matriarch's, while her presence creates a different set of opportunities.
The main difference is how other large ARC enemies appear:
- Matriarch: Large ARC encounters are primarily tied to the enemies she summons.
- Queen: Other large ARC enemies can also spawn naturally while she is present.
This distinction could make the Queen more useful for a sustained melee damage run. After dealing with the main target, players may have additional opportunities to engage Bombardiers, Reapers, and potentially Bastions.
Recommended Target Priority
The following order is worth testing:
- Queen: Prioritize the main target because of her high scoring potential.
- Bombardier: Consider using a barricade to restrict its movement and make the encounter easier to control.
- Reaper: Lure it toward a doorway and use the environment to manage the fight.
- Bastion: Approach carefully, as it may be the most difficult of these three additional targets to handle.
This is a proposed strategy rather than a confirmed optimal route. The actual results will depend on enemy behavior, available equipment, and how safely players can maintain melee contact.
The important lesson is to stop treating the Matriarch and Snitch Scanner combination as the default solution. With the old skill perks gone, a more flexible encounter built around the Queen and naturally spawning ARC enemies may offer better opportunities.

Summary
ARC Raiders Week 6 Trials reward players who understand encounter mechanics rather than simply rushing toward the nearest objective. Hullcracker and general ARC damage can share combat opportunities, while container searches require efficient routes and favorable lobby conditions. Destroyed ARC searches reward players who understand which enemies have multiple searchable sections.
Melee damage deserves the most preparation. The removal of Fly Swatter and Effortless Swing changes the value of the old Snitch Scanner strategy, making the Queen an interesting alternative to the Matriarch. We recommend testing this approach before committing to a full scoring run.
For players preparing their loadouts, having the right equipment and enough resources can reduce unnecessary farming between attempts. If you need to complete your setup before the next raid, buying ARC Coins can be another way to prepare your in-game resources.
Ultimately, the best Week 6 strategy will depend on the active map rotation, lobby competition, and the actual scoring results. Focus on reliable encounters, avoid forcing multiple objectives into an unsuitable run, and adjust your approach as the week develops.
FAQ
What Are the Five ARC Raiders Week 6 Trials?
The five challenges cover Hullcracker damage, general ARC damage, container searches, destroyed ARC searches, and melee damage against ARC enemies.
Can You Complete Hullcracker Damage and ARC Damage Together?
Yes. Both objectives involve damaging ARC enemies, so progress can overlap naturally. However, the best weapon and loadout may differ depending on which challenge is your main priority.
Which ARC Enemies Are Best for Destroyed ARC Searches?
Bastions and Matriarchs can provide multiple searchable sections. Wasps offer only one searchable point, so encounters with larger ARC units may provide more progress per kill.
Is Close Scrutiny the Best Destroyed ARC Strategy?
It was one of the strongest approaches during the previous rotation because the Surveyor encounter and its accompanying ARC units offered multiple search opportunities. However, its inclusion in Week 6 needs to be confirmed.
Is the Snitch Scanner Strategy Still Effective for Melee Damage?
It is no longer recommended as the primary method. The removal of Fly Swatter and Effortless Swing makes the previous setup less efficient, particularly when dealing with repeated Wasp and Hornet encounters.
Is Queen Better Than Matriarch for Melee Damage?
Queen is a promising alternative because she offers comparable scoring potential according to the original player's assessment, while also allowing other large ARC enemies to spawn naturally. Actual efficiency still needs to be tested during Week 6.