

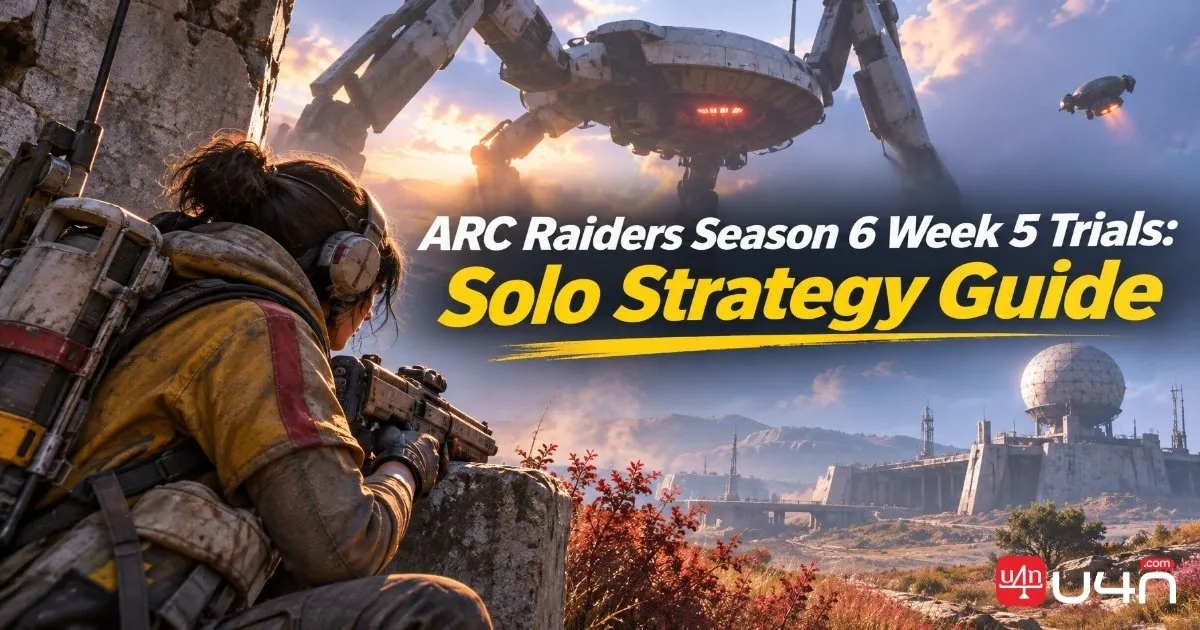
Season 6, Week 5 brings five different Trials to ARC Raiders: Damage ARC Turbines, Search ARC Couriers, Damage Comets, Damage Queens or Matriarchs, and Search Husks. Each challenge rewards a different approach, so choosing the right map, loadout, and route matters just as much as your combat skill.
Our team recommends treating these Trials as two different challenges: earning a reliable score without wasting your gear, or pushing for the highest score possible. You don't need an expensive loadout for every task, but having the right equipment ready can make a major difference. If you're still preparing your inventory, check your available ARC Raiders Items before committing to a high-cost run.
Damage ARC Turbines: Plan Your Route Before Attacking
Best maps: Buried City Night or Blue Gate Night for high-score attempts
ARC Turbines are among the more frustrating Trials this week because their spawns are delayed and other players can take away your potential damage points. Each turbine can award up to 4,800 points, and the maximum score across three targets is 14,400.
High-score strategy
If you're aiming for the maximum, mark your final extraction point as soon as you enter the raid. The turbines can begin spawning with roughly 17 minutes remaining, and the latest reported spawns occur around 12.5 minutes. If none have appeared by the 12-minute mark, consider resetting.
Once they spawn, identify their positions and prioritize the turbine farthest from your final extraction. Leave the closest one for last so you don't have to cross the map unnecessarily at the end.
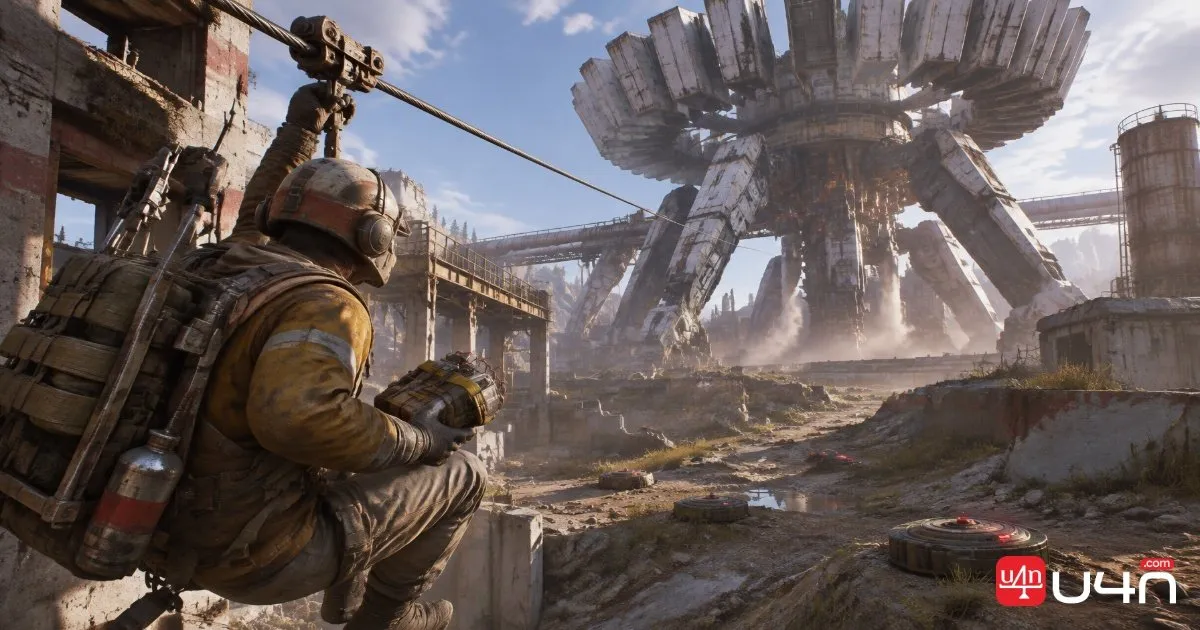
A two-part Zipline route is useful for approaching each turbine. Clear nearby mines with a preferably silenced weapon, then watch the turbine's indicator lights:
| Light color | Meaning | Recommended response |
|---|---|---|
| Blue | Not detecting a nearby threat | Continue preparing your approach |
| Yellow | Alerted to a nearby player | Take cover and wait for it to return to blue |
| Red | Aggroed and preparing to fly away | Avoid rushing into an exposed approach |
Before getting close, prepare your Photocloak, two Deadlines, and at least one Wolfpack in quick-use slots. Ride the Zipline toward the turbine, activate your cloak, and place two Deadlines on the lower main body. You don't need to risk attaching them to the spinning yellow canisters for this damage-focused Trial.
As the turbine starts moving, use the Zipline to retreat and throw a Wolfpack toward it. Keep your Photocloak ready while escaping. Its lightning attacks have an approximate range of 160 meters, so move beyond that distance before stopping to deal with the target.
If the Wolfpack doesn't finish the job, use a Jupiter to shoot the middle section. Its armor-piercing damage makes it a useful backup. Remember that the mines left behind can take around 20–30 seconds to disappear after the turbine is destroyed, so don't immediately run through the same area.
Recommended loadout and scoring
| Equipment | Suggested amount | Purpose |
|---|---|---|
| Deadline | 6 | Main damage source |
| Wolfpack | 6–8 | Additional damage and finishing power |
| Jupiter | 1 | Armor-piercing backup |
| Energy Ammo | 2 stacks | Jupiter ammunition |
| Zipline | 6, plus optional extras | Approach and repositioning |
| Photocloak | 1 | Safer approach and retreat |
| Snap Hook | 1–2 | Movement and emergency escape |
| Meds | More than a normal raid | Recover from lightning damage |
The recommended high-score setup is expensive, and extra Ziplines are useful insurance because deployed ones cannot simply be recovered if something goes wrong.
For a more manageable solo attempt, you don't need to chase all three turbines. Night mode improves your chances of finding them, and a smaller map can make targets easier to reach, although it may also mean more competition. Aim for more than 5,000 points by focusing on one turbine and then damaging a second if time allows.
The scoring rate is 1.2 points per damage dealt. Each turbine is worth up to 4,800 points, but damage dealt by unrelated players reduces the points available to you. This is a zero-sum Trial, so getting to a target first matters.
Search ARC Couriers: Use Pendola Pass and Keep Moving
Recommended map: Pendola Pass
Searching ARC Couriers is more straightforward than the damage Trials, but it rewards efficient movement. Pendola Pass is the required map for this version of the challenge, and the main objective is to search as many Courier locations as possible before extraction.
There are 12 potential search locations. Each Courier searched awards 500 points, giving you a potential maximum of 6,000 points if all 12 are available and you reach them.
High-score strategy
The most efficient approach is to leave the central clusters until later. Pendola Pass has relatively central extraction locations, so you can search the outer locations first and finish closer to extraction.
Use a map showing the potential Courier locations before starting. Once in the raid, move quickly between search areas rather than spending time looting unrelated containers.
A light shield is useful because it improves movement speed. Snap Hooks also help with Pendola Pass's uneven terrain, where repeatedly running between locations can cost valuable time.
Recommended loadout
| Equipment | Suggested setup | Purpose |
|---|---|---|
| Shield | Light shield | Faster movement |
| Snap Hook | 2–3 | Traverse uneven terrain |
| Stims | Several stacks | Maintain movement |
| Seeker Grenades | Optional | Handle unwanted threats |
| Wolfpack | Optional | Deal with enemies without stopping |
Both experienced and casual solo players can use essentially the same route. The main difference is how efficiently they move and how many locations they manage to search.
Couriers did not appear in pairs at each search area during a normal daytime raid. Some other maps, such as DAM, have shown paired spawns in different circumstances, but this should not be treated as a guaranteed rule for Pendola Pass.
Score target: 6,000 points is the theoretical maximum based on 12 searches. If you can consistently reach all available locations, this is one of the more accessible Trials for solo players to maximize.

Damage Comets: Build a Zipline Network Around Their Spawns
High-score maps: Blue Gate EMS or Spaceport EMS
Comets are mobile targets, which makes positioning and visibility especially important. For experienced players, Blue Gate EMS and Spaceport EMS are strong options.
The scoring rate is 4 points per damage, with each Comet worth approximately 600 points if you deal all its damage. A solo score of around 20,000 is possible, but it requires a large number of targets and efficient movement.
High-score strategy
Start by finding an elevated position where you can observe the surrounding area. On Blue Gate, the Overlooked Air Shaft is a useful starting point for checking which Comet locations are active in your raid.
From there, build a Zipline network connecting the major spawn areas. One recommended route runs from the Overlooked Air Shaft toward the Gate Control Room, across the outer gates, and toward the Cliffside Air Shaft.
A more extensive setup can continue toward the Forest Air Shaft and back to the starting point, creating a large loop. However, this expanded route can require around 30 Ziplines. A more conservative setup may use approximately 13–15, while carrying 21–30 gives you room for mistakes and replacements.
Comets can move far from their original spawn locations, so don't rely on static map markers alone. Observe the actual raid, identify active areas, and use your Zipline network to move between them.
A Juke is the preferred weapon for this approach, supported by five stacks of Energy Ammo. Carry Wolfpacks as well: they can help clear multiple Comets if you unexpectedly trigger a double or triple encounter, and they are useful when time is running out.
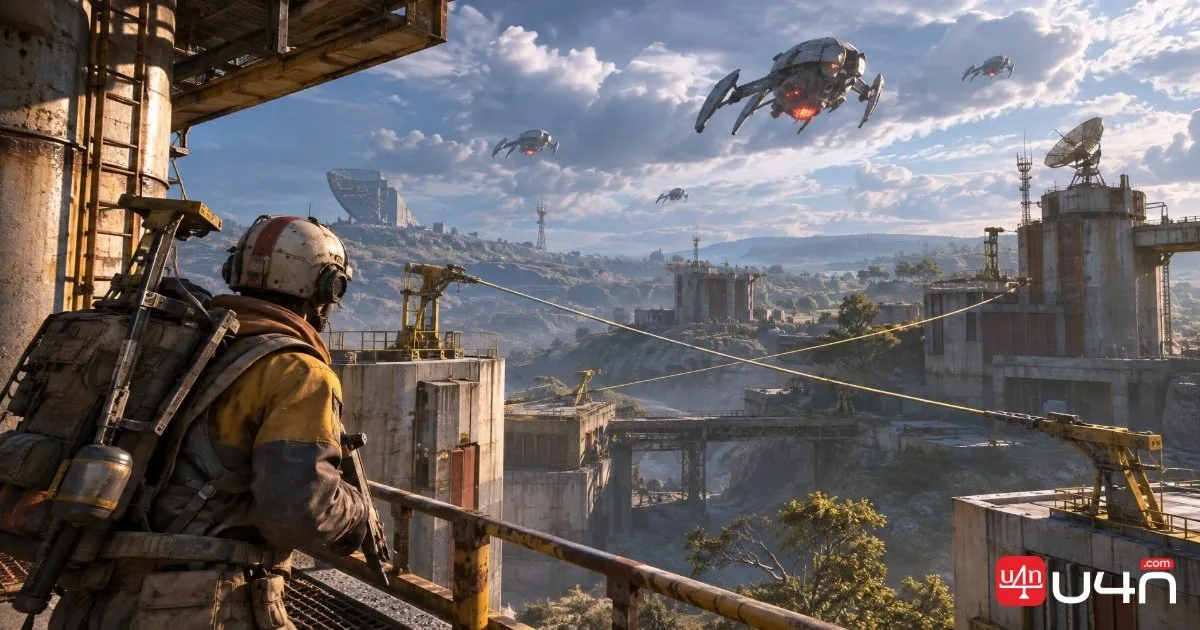
A more manageable solo route
If you're not interested in building a large Zipline network, Spaceport Hidden Bunker is a practical alternative when available.
Try to use the central or west elevators as your final extraction. The east extraction can make the route less effective, while the south option may still work with some adjustments.
Build a shorter Zipline route from the small buildings southwest of the Departure Building, across its roof, and toward the central elevator. This generally requires around eight to nine Ziplines and provides useful sight lines over several common Comet spawn areas.
Prioritize the Comets behind the Departure Building, then ride the route back and forth as targets become available.
| Player type | Recommended approach | Score target |
|---|---|---|
| High-score players | EMS map, extensive Zipline network, Juke and Wolfpacks | Around 20,000 |
| Regular solo players | Spaceport Hidden Bunker, shorter Zipline route | Around 9,000 |
For regular solo players, approximately 9,000 points is a strong target. That is roughly 15 Comets if you deal all the damage to each one. You don't need to destroy every target, however: the Trial rewards damage, so keep shooting whenever you have a safe opportunity.
Damage Queens or Matriarchs: Choose Between Safe Damage and Quick Kills
High-score maps: Spaceport Harvester or DAM Matriarch
This Trial is difficult because Queens and Matriarchs attract attention from multiple players. Since the scoring is based on damage dealt rather than the final blow, every shot from another unrelated player reduces the points you can earn.
Both targets have approximately 23,000 health, and the Trial awards 0.7 points per damage. A perfect score is therefore around 16,100, but getting an entire target to yourself is uncommon.
High-score strategy: Deadline quick kill
The traditional quick-kill method uses Snap Hooks and Deadlines. The basic sequence is:
- Use a Snap Hook to get onto the Queen or Matriarch.
- Place one Deadline on the armored upper section.
- Drop away and wait for the explosion.
- Snap back onto the target and place two Deadlines on the exposed core.
- Repeat the process until you've used the required Deadlines.
The rapid damage can stun the target. Two Deadlines detonating together can leave it down for approximately 10 seconds, creating a window to reposition and place the next explosives.
Matriarch Grapple Hook method
The sequence requires careful positioning:
- Climb onto the Matriarch and place one Deadline near the rear edge of the armored core section.
- Move toward the front and attach the Grapple Hook near the nose, rather than at its very tip.
- Jump off and hang from the Grapple Hook while the Deadline detonates.
- Climb back onto the Matriarch and place two more Deadlines on the exposed core.
- Reattach the Grapple Hook near the nose, hang safely below the target, and repeat.
The full strategy uses seven Deadlines: one on the armored section and six on the core. The goal is to keep your feet off the ground while the explosives detonate, reducing exposure to the enemies surrounding the Matriarch.
This is a more demanding technique than ordinary Deadline placement. We recommend practicing the attachment and climbing sequence before risking a valuable loadout.

Regular solo strategy
If you don't want to attempt a quick kill, use a Jupiter. The weapon can pierce the target's armor, allowing you to deal damage even when the core is still covered.
We recommend firing at the core area and maintaining a safe distance. Each shot can deal roughly 175 damage on average, making consistent hits more important than rushing into close range.
| Player type | Recommended approach | Score target |
|---|---|---|
| High-score players | Deadline quick kill, Snap Hook or Grapple Hook | Close to 16,100 |
| Regular solo players | Jupiter armor-piercing damage | Around 3,000 |
For a regular solo attempt, around 3,000 points is a respectable target. Reaching that score requires roughly 4,300 damage, which can be difficult when other players are attacking the same target.
Recommended equipment
For the Deadline strategy, prepare eight Deadlines, a Snap Hook, Photocloak, Lure Grenades, and extra medical supplies. Lure Grenades can redirect nearby enemies while you work, while Photocloak is useful if you end up on the ground.
For the Jupiter approach, bring one Jupiter, six or seven stacks of Energy Ammo, Photocloak, and meds. Avoid reloading the Jupiter before its magazine reaches zero: energy weapons lose the remaining shots in the magazine when manually reloaded early.
Search Husks: Prioritize Movement Over Complete Map Coverage
Recommended maps: DAM Battlegrounds, Spaceport, or Pendola Pass
Search Husks is map-agnostic, but the main restriction is time. Large maps such as DAM Battlegrounds and Spaceport contain plenty of potential Husk locations, yet visiting every possible spawn is unrealistic within one raid.
Buried City is a poor choice for this Trial because it has relatively few Husks. Instead, choose a map you're comfortable moving through and use its available conditions to improve your route.
High-score strategy
For DAM or Spaceport, look for Electromagnetic Storm or Husk Graveyard when either condition is available. Redirection can also be useful because it avoids frozen areas that might slow your movement.
Mark your final extraction point at the beginning of the raid. Start by searching the locations farthest from extraction, then gradually work back toward it.
The key is to keep moving. This is a touch-and-go Trial, not a conventional looting run. Use Snap Hooks whenever available and avoid spending time searching unrelated containers.
Rocketeer Husks take longer to breach, so other players opening them before you arrive can save time. However, don't rely on other players to prepare every location.
Watch out for electrified Husks
Normal Husks, Wasps, and Rocketeers generally trigger an automatic search after breaching. Electrified Husks behave differently.
If a Husk is surrounded by electrical effects during an EMS condition, breaching it does not automatically complete the search. You need to:
- Breach the Husk.
- Step away from it.
- Wait for the electricity to stop.
- Return and physically search its contents.
- Check your score or in-match logbook to confirm the points were awarded.
Leaving immediately after breaching an electrified Husk can cost you the search points. This is an easy mistake to make when you're rushing between locations.
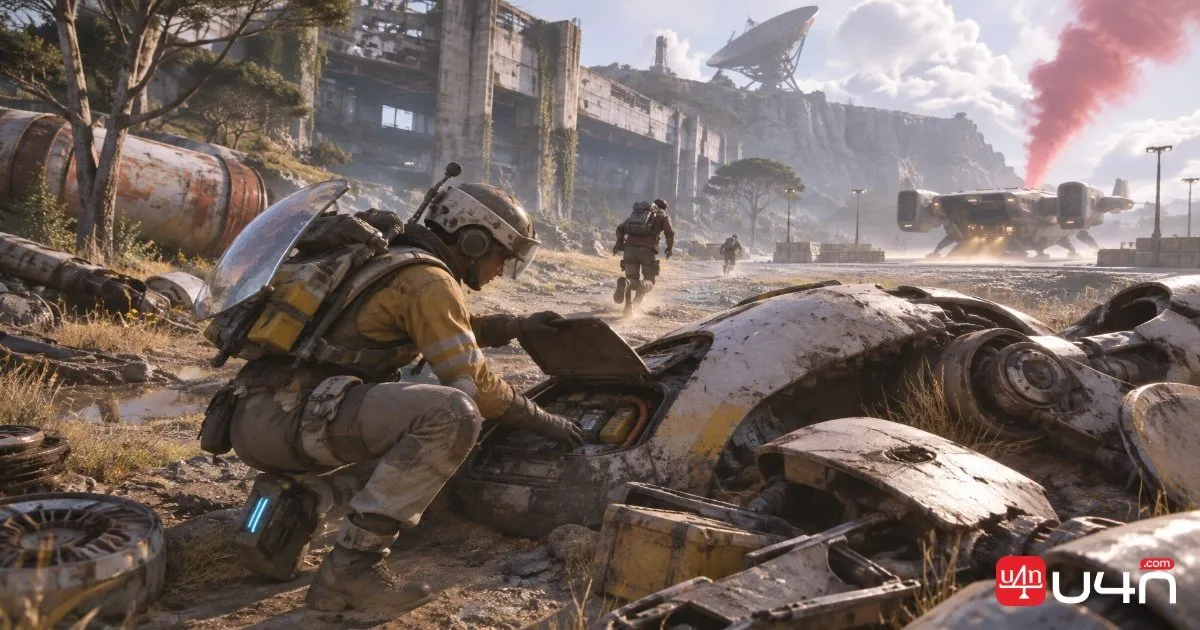
Recommended loadout and score targets
| Equipment | High-score setup | Regular solo setup |
|---|---|---|
| Snap Hook | 3–4 | 2 |
| Stims | Around 6 stacks | Several stacks |
| Wolfpack | 3–4 | Optional |
| Photocloak | 1 | 1 |
| Shield | Light | Preferred, but flexible |
| Weapon | Jupiter or Hullcracker | Comfortable regular loadout |
Each Husk search awards 400 points. Experienced solo players can aim for approximately 30,000 points, which requires around 75–80 searches. For a more manageable run, around 10,000 points is a good target, equivalent to roughly 25 searches.
If you want to squeeze out a few extra searches, leave some Husks near your final extraction. After activating extraction, you can use the additional 72 seconds mentioned in the original strategy to search a couple more before leaving.
Summary
Season 6, Week 5 rewards players who plan around each Trial instead of relying on one general-purpose loadout. ARC Turbines and Comets demand careful positioning, Queens and Matriarchs reward precise damage timing, while ARC Couriers and Husks are primarily tests of movement and route efficiency.
Our recommendation is to start with the search Trials if you're still learning the weekly objectives, then move on to the damage challenges once your loadout and movement routes are ready. Don't spend expensive equipment chasing a theoretical maximum if a stable score already meets your goal. Keep your supplies organized, including the ARC Coins you may want to manage alongside your other in-game resources, and remember that the clock is your biggest opponent in every one of these runs.
FAQ
Which Week 5 Trial is easiest for solo players?
Search ARC Couriers is one of the more straightforward options. It has a defined map, a limited set of search locations, and a clear maximum score of 6,000 points. Search Husks is also accessible if you're comfortable with fast movement and route planning.
Do I need to get the final hit on a Comet or ARC Turbine?
No. These Trials reward damage dealt, not simply the final blow. However, damage from unrelated players reduces the points available to you, so reaching targets early can make a significant difference.
Is the Grapple Hook method better than Snap Hook for Matriarchs?
The Grapple Hook method offers a way to stay above the ground while Deadlines detonate, reducing exposure to nearby enemies. However, it requires accurate attachment and climbing. The traditional Snap Hook method remains an alternative for players who are more comfortable with it.
Should I reset a raid if the required targets don't spawn?
It depends on your score goal. High-score attempts may justify resetting when key targets fail to appear, especially for ARC Turbines. Regular players should generally avoid excessive resets and focus on earning a reliable score from the targets that do spawn.