


Quick Answer: For Season 6 Week 4, Search Our Carriers is the easiest Trial to finish, while Search and Destroy offers the strongest solo scoring potential. Damage ARC Turbines rewards careful weapon choice and positioning, Damage Queens or Matriarchs requires a more expensive explosive setup, and Damage Comets depends heavily on map conditions and fast movement.
Our team recommends approaching this week's five Trials differently instead of using the same loadout for every run. Some challenges are mainly about following a known route; others demand specific map conditions, enough ammunition, or efficient target rotations. If you're preparing your gear before heading out, check your ARC Raiders Items options and focus on the equipment that supports your chosen Trial.
Quick Overview: Which Week 4 Trials Are Worth Your Time?
The five challenges have very different preparation requirements. A high maximum score does not automatically make a Trial the best use of your time. We would also consider how reliably you can find the targets, how expensive the required equipment is, and how much time you spend moving between objectives.
| Trial | Recommended Map or Condition | Suggested Equipment | Main Focus |
|---|---|---|---|
| Search Our Carriers | Pendola Pass | Around 20–25 Stems | Find and search all carriers |
| Damage ARC Turbines | Night Raid | Amplified Jupiter, Energy Ammo | Safe damage from the right distance |
| Damage Queens or Matriarchs | Queen or Matriarch condition | Equalizer, Deadlines, Snap Hook | Expose the core and deal enough damage |
| Damage Comets | Blue Gate Electromagnetic Storm | Hullcracker or Jupiter, Ziplines | Maximize damage and move between spawns |
| Search and Destroy | Dam Battlegrounds or Spaceport Electromagnetic Storm | Stems, Snap Hook | Search as many Husk targets as possible |
Our recommended priority depends on your goal:
- Quick completion: Start with Search Our Carriers.
- A more controlled damage challenge: Try Damage ARC Turbines with an Amplified Jupiter.
- A prepared explosive run: Choose Damage Queens or Matriarchs.
- A movement-focused damage challenge: Prioritize Damage Comets.
- Leaderboard attempts: Spend the most practice time on Search and Destroy.
Search Our Carriers: The Easiest 4,500-Point Trial.
Search Our Carriers is the most straightforward challenge this week, but it has one important restriction: you must complete it on Pendola Pass. Each carrier is worth 500 points, and searching all nine reaches the 4,500-point maximum.
The main challenge is not combat. It's route efficiency.

Follow carrier clusters instead of searching randomly
Before entering the raid, open a community map such as Metaforge or ARC Raiders Maps and mark the carrier locations. Focus on moving from one carrier cluster to the next rather than repeatedly checking the same area.
Each cluster described in contains one carrier. Once you've found and searched it, move on. Spending extra time checking an already-cleared cluster is unlikely to improve your score.
Look for smoke rising from a carrier's location. It gives you a useful visual reference when navigating the map and helps you avoid wasting time searching the wrong structures.
Recommended preparation
- Bring around 20–25 Stems to support long-distance movement.
- Check the carrier map before deploying.
- Search each identified carrier once, then continue to the next cluster.
- Avoid unnecessary fights if they pull you away from the objective.
There is still some randomness involved, so finding all nine carriers may not be equally easy in every raid. Even so, this is the Trial we'd recommend completing early if you want a relatively simple score without preparing an expensive loadout.
Damage ARC Turbines: Jupiter or Deadlines?
Damage ARC Turbines offers a more demanding challenge. The maximum score is 14,400 points, and it recommends destroying three Turbines to reach it.
There are two main approaches: placing Deadlines directly on the target or attacking from a safer distance with an Amplified Jupiter. We prefer the Jupiter method for most players because it is less dependent on precise explosive placement.
Option 1: Use two Deadlines per Turbine
If you place two Deadlines correctly on the Turbine or its yellow cores, they should be enough to destroy it. The problem is that placement matters considerably.
A poorly positioned explosive may leave the Turbine alive, forcing you to finish it with another weapon. That can expose you to additional danger and make the run less consistent.
Option 2: Use an Amplified Jupiter
The Jupiter approach is easier to control when you can maintain the right distance.
| Factor | Recommendation |
|---|---|
| Weapon | Amplified Jupiter |
| Target distance | Around 150–180 meters |
| Ammunition | Approximately four stacks of Energy Ammo |
| Main objective | Destroy three Turbines in one raid |
| Preferred condition | Night Raid, based on community observations |

At around 150 meters, the Turbine will not attack you, giving you room to deal damage. Avoid moving beyond roughly 180 meters, where Jupiter damage begins to fall off.
Timing is another important part of this Trial. Turbines begin appearing when the raid timer reaches approximately 16 minutes. That leaves a limited window to locate and destroy them before the raid ends.
We recommend watching for targets between the 16-minute and 12-minute marks. If all three have not appeared and your only goal is the maximum score, restarting may be more efficient than spending the rest of the raid searching without a clear result.
One caveat: the higher chance of finding all three Turbines during Night Raids comes from community observations, not a confirmed spawn guarantee.
Damage Queens and Matriarchs: Prepare for the Deadline Changes
Damage Queens or Matriarchs is less dependent on a particular named map. What matters is entering a raid with the appropriate Queen or Matriarch map condition.
The maximum score is 16,169 points. Both bosses have the same health for this Trial, so the maximum score is the same whichever one you encounter.
The biggest issue is the explosive setup.

The updated explosive setup
Previously, the recommended method used one Deadline to remove the armor and expose the core, followed by six more on the exposed core. The updated approach requires eight Deadlines on the exposed core itself.
That gives you two practical choices:
- Equalizer plus eight Deadlines: Use the Equalizer to expose the core, then place eight Deadlines directly on it.
- Nine Deadlines: Use one Deadline to expose the core, followed by eight more on the exposed core.
You'll also need a Snap Hook to reach the boss and position yourself for the explosives.
Our recommendation: Use the Equalizer method if you have the required equipment. It saves one Deadline compared with the alternative setup and gives you a clear sequence to follow.
An Amplified Jupiter is another option if you want to avoid relying on a large explosive setup. It is generally a slower approach, however, and taking longer to deal damage gives other Raiders more opportunity to attack the boss. That can make the highest score harder to secure.
This is a good example of why preparation matters. If you already have the explosives and mobility equipment, the Trial is relatively direct. If not, the cost of assembling the loadout may outweigh the benefit of attempting it immediately.
Damage Comets: Best Maps, Weapons, and Movement
Damage Comets is more dependent on map conditions than some of the other Trials this week. Ranks the available options as follows:
- Blue Gate Electromagnetic Storm
- Blue Gate Hurricane
- Blue Gate during the Log Gate event
Other options include Buried City during a Hurricane and Spaceport during an Electromagnetic Storm or Hurricane.
For a high-score attempt, we'd start with Blue Gate Electromagnetic Storm. It is the guide's preferred combination, although the actual number of Comets you encounter can still vary.
Damage matters more than simply finding targets
The key scoring detail is that every point of damage dealt to a Comet awards four points. This makes it important to finish dealing damage before the Comet explodes.
If a Comet detonates before you finish attacking it, you may lose the chance to earn additional damage points. Don't rush into a fight without considering whether your weapon can finish the target.
Recommends two main weapons:
- Hullcracker: A strong option for dealing with Comets.
- Jupiter: Another effective choice, depending on your preferred setup.
Bring enough Ziplines to cover the map.
Comets appear at intervals of around four to five minutes. That moves into spawn areas, a major part of the challenge.
We recommend preparing around 12–15 Ziplines for a serious high-score attempt. The goal is to spend more time attacking targets and less time running across the map.

A practical route should connect likely spawn areas rather than sending you back and forth across the same ground. If you know where you want to go next, place mobility tools in advance and keep moving as soon as a target is dealt with.
The exact spawn interval and map-condition advantages should be treated as observations from , not guaranteed rules for every raid.
Search and Destroy: The Strongest Solo High-Score Opportunity
Search and Destroy is the Trial we'd spend the most time practicing this week. reports solo scores around 36,800 points, making it the most interesting challenge for players who want to push their leaderboard position.
The recommended map choices are Dam Battlegrounds during an Electromagnetic Storm and Spaceport during an Electromagnetic Storm.
One detail makes this Trial easier to plan: all three Husk types count.
- Barren Husks
- Wasp Husks
- Rocketeer Husks
Don't limit your route to a single type. The more useful Husk interactions you can fit into the raid, the better your scoring opportunity.
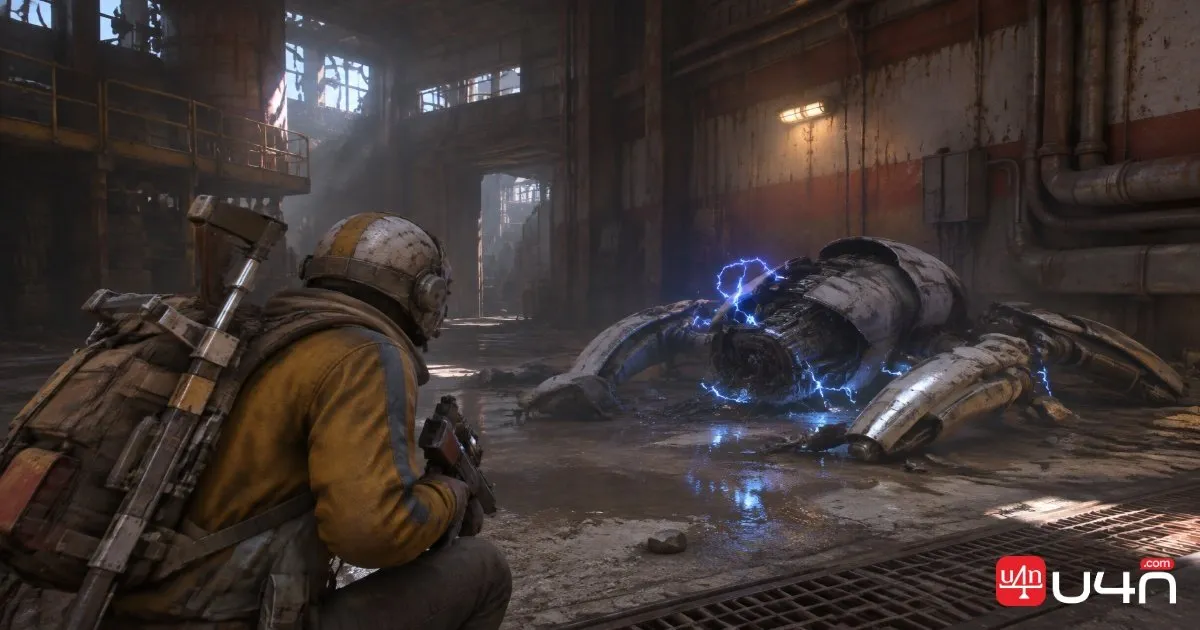
Build your loadout around movement.
Speed is the main priority. We recommend at least 25 Stems, with around 30 or more for players making a serious leaderboard attempt. Bring at least one Snap Hook to move between Husk locations quickly.
Your goal is not to collect every item inside every Husk. It is to maximize the number of valid searches before the raid timer runs out.
Avoid wasting time on electrically charged Husks
After breaching a Husk, you may see small electrical sparks coming from it. This indicates that the Husk is electrically charged.
Trying to search it immediately can electrocute you and interrupt your movement. Instead, step away for approximately one to two seconds and let the electrical effect disappear. A quick dodge roll is an easy way to create that distance.
Once the sparks are gone, interact with the Husk and continue.
Start the search, then move to the next target
You do not need to wait for the entire looting animation to finish. Once the search animation has started, you can move on to the next Husk.
That changes how you should approach the Trial. Instead of treating every Husk as a container you need to loot completely, think of each one as an objective interaction. Start the search, then use your Snap Hook and Stems to reach the next target.
Use Hatches to plan your route
A Wasp Husk can be found near each Hatch. This makes Hatches useful navigation landmarks.
When you spot one on the map, check the surrounding area for the nearby Husk and include it in your route. This is a practical way to combine objectives without making unnecessary detours.
For solo runs, we would prioritize:
- A route that connects multiple Husk locations.
- Enough Stems to maintain movement throughout the raid.
- Snap Hook use whenever it saves meaningful travel time.
- Quick searches rather than full looting.
- Avoiding unnecessary combat and inventory management.
36,800-point result is an ambitious benchmark, not a guaranteed outcome. Your final score will depend on the route, available targets, raid conditions, and how consistently you keep moving.
How to Prioritize Week 4 Trials
Each Trial rewards a different approach. Search Our Carriers is a good starting point for a quick completion, while the Turbine and Queen/Matriarch challenges are more dependent on having the right weapons and explosives ready.
Damage Comets rewards efficient movement and sustained damage. Search and Destroy offers the strongest solo scoring potential, so it deserves the most practice if leaderboard placement is your main goal.
Before deploying, check your equipment and decide which challenge you actually want to complete. If you need to prepare additional gear, compare your available ARC Raiders Coins for sale options with the equipment requirements rather than spending resources on a loadout you may not use.
Our overall recommendation is simple: finish the easier carrier challenge first, prepare carefully for the damage Trials, and reserve your most focused practice runs for Search and Destroy.
FAQ
Which Trial is easiest to complete this week?
Search Our Carriers is the most straightforward. It takes place on Pendola Pass, and the main task is locating and searching all nine carriers.
Which Trial has the highest solo score?
Search and Destroy has the strongest solo result, with a run reaching around 36,800 points. This is a benchmark rather than a guaranteed score.
What is the best weapon for Damage ARC Turbines?
Recommends an Amplified Jupiter for a safer and more consistent approach. Maintain a distance of around 150–180 meters and bring enough Energy Ammo to destroy the targets.
How many Deadlines are needed for Queens or Matriarchs?
The updated strategy requires eight Deadlines on the exposed core. You can use an Equalizer to expose the core first, or use one Deadline for that step and then deploy the remaining eight.
Which map is best for Damage Comets?
Blue Gate during an Electromagnetic Storm is the first choice. Blue Gate Hurricane and the Blue Gate Log Gate event are other options worth considering.
Do all Husk types count for Search and Destroy?
Yes. The guide identifies Barren Husks, Wasp Husks, and Rocketeer Husks as valid targets. Searching all three types gives you more opportunities to build your score.