

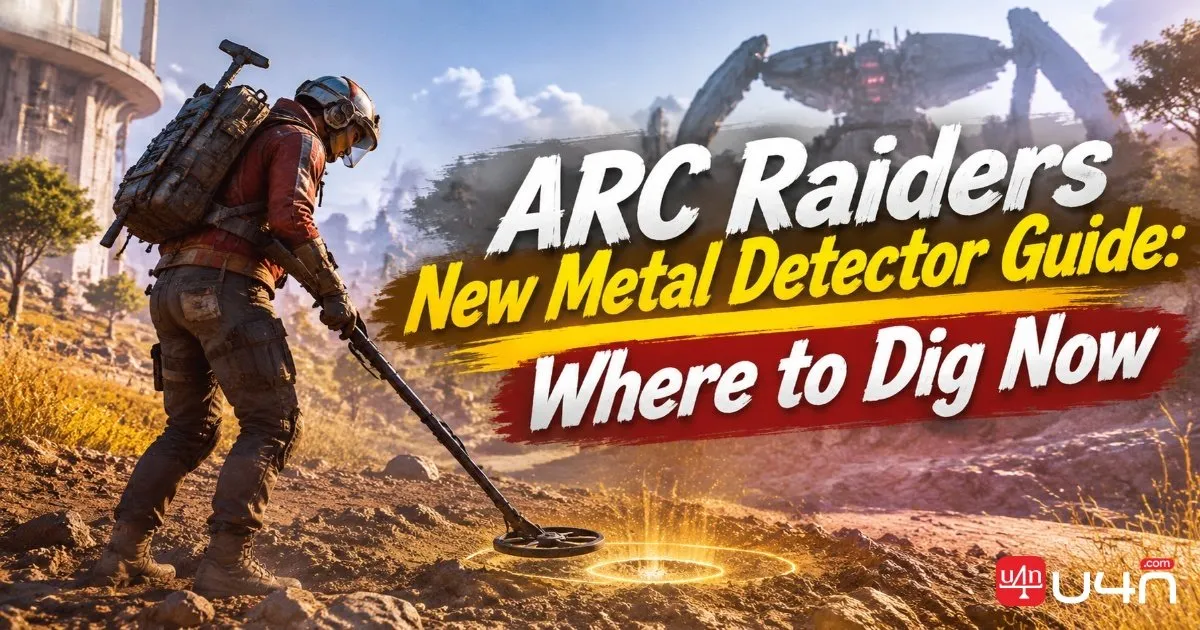
The metal detector update gives us a reason to search the ground between familiar loot stops instead of sprinting straight past them. A quiet riverbank or muddy stretch outside a major landmark can now deserve a closer look. The catch is that broader detector support does not mean every map offers an equally productive digging route.
For our team, the useful question is how buried loot fits into a normal raid. We want a route that produces worthwhile ARC Raiders Items without turning a short detour into an exposed, map-wide treasure hunt. A spectacular container is exciting. Finding several containers along a sensible extraction route is much more useful.
Our recommendations below draw on the supplied field rather than claiming a separate set of team playtests. That distinction matters: it contains promising discoveries, unsuccessful searches, and one particularly profitable Dam Battlegrounds run, but it does not establish guaranteed spawns or reliable average earnings.
What the Metal Detector Update Actually Changed
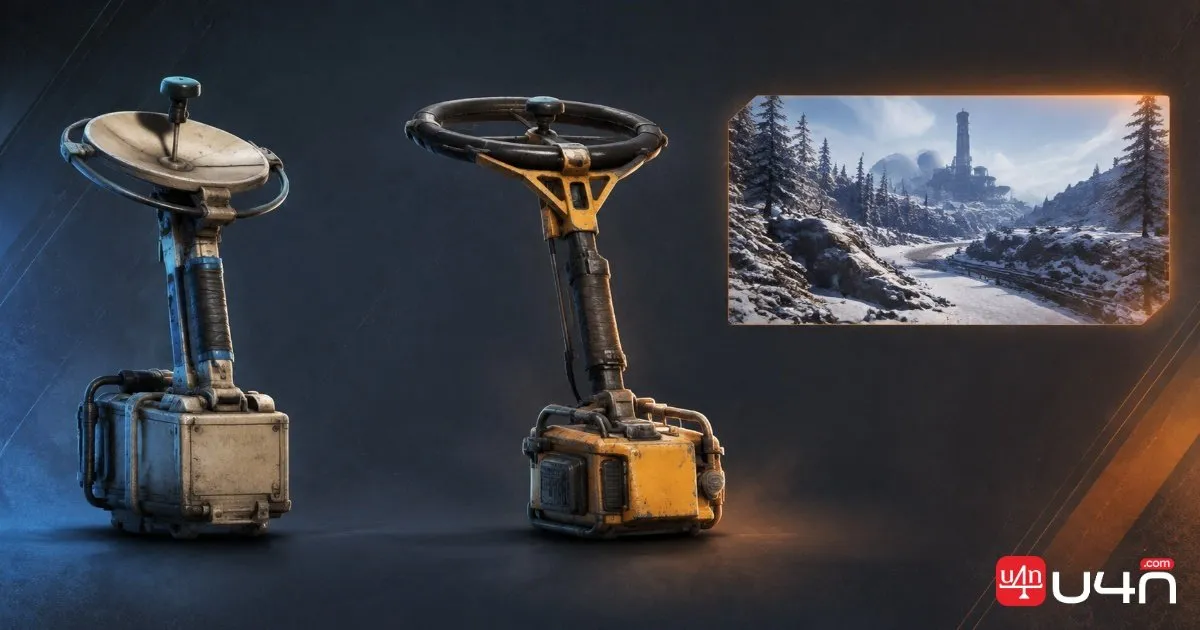
Embark's Live Update 2.6.0, released on November 17, 2026, removed the Beachcombing Minor Map Condition from Riven Tides and expanded buried-item searching across the maps. The Dockmaster's Detector now finds buried items everywhere except Pendola Pass, which still requires the Mountaineer's Detector. This is a compatibility change, not a promise of equal loot density across every location.
That gives us a straightforward loadout check:
| Destination | Detector to prepare | Planning note |
|---|---|---|
| Dam Battlegrounds | Dockmaster's Detector | Prioritize the promising areas described in the field |
| The Blue Gate | Dockmaster's Detector | Build a focused river search rather than a broad swamp sweep |
| Buried City | Dockmaster's Detector | Treat digging as a localized detour |
| Spaceport | Dockmaster's Detector | Search selected sections instead of the entire perimeter |
| Stella Montis | Dockmaster's Detector | Compatibility does not confirm a productive route |
| Riven Tides | Dockmaster's Detector | Buried-item searching is no longer tied to Beachcombing |
| Pendola Pass | Mountaineer's Detector | Check the detector before deploying |
The table separates two things that are easy to confuse: where a detector works and where we would spend time using it.
We would not rebuild every raid around digging just because the gadget has wider coverage. Our preferred approach is to identify a compact search area, connect it to an existing objective, and keep an extraction option available. If the ground stays quiet, we continue the raid rather than trying to force the mechanic to pay.
Which Maps Deserve Our Search Time?
The supplied data supports a provisional ranking, not a permanent tier list. Dam Battlegrounds produced the strongest individual result. The Blue Gate offered a more encouraging search than Buried City or Spaceport. Stella Montis produced no discoveries during the sweep.
Here is how we would translate those observations into practical priorities:
| Map | search result | Our recommended use |
|---|---|---|
| Dam Battlegrounds | Several discoveries around swampy ground and the Red Lakes shoreline; strongest haul | Main candidate for a dedicated detector route |
| The Blue Gate | Better results along the river and farther north than in the initial swamp search | Secondary route to investigate |
| Buried City | Limited discoveries, concentrated around the central park and some north-central ground | Short detour while passing nearby |
| Spaceport | Roughly five or six containers, with discoveries concentrated in the south | Targeted searches during normal movement |
| Stella Montis | No buried loot found in the search | Low priority until a reproducible route emerges |
Our main caution is sample size. One route can look excellent because it crosses several active discoveries. Another can look empty because the search misses a productive pocket. Without repeated runs under comparable conditions, "better in this " is the defensible claim.
We would rather offer a narrow recommendation that players can test than a confident map ranking built around one lucky backpack.
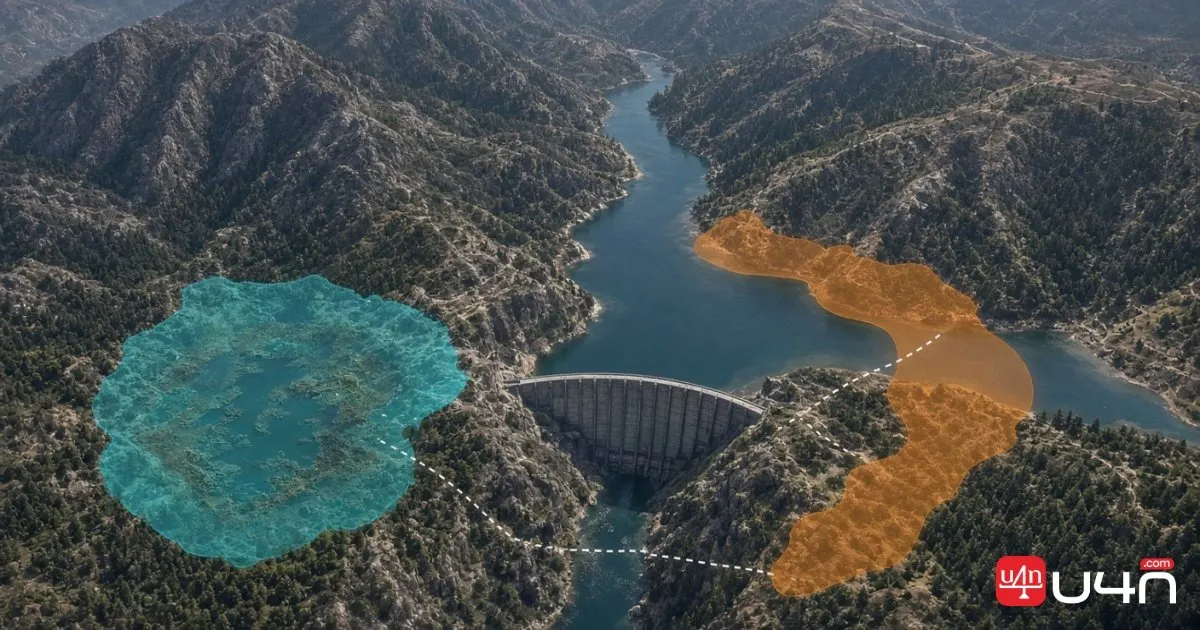
Dam Battlegrounds: Start With the Swamp and Shoreline
Dam Battlegrounds is where we would begin route development. The search became productive around muddy ground near old ARC wreckage, then found further success along the Red Lakes shoreline. By contrast, the higher ground toward the radio tower and the scrapyard search did not produce discoveries.
That contrast gives us a useful starting route, even without exact coordinates.
Build Around the Productive Pockets
Our proposed sequence is:
- Approach the swamp-side ground from a convenient spawn or existing objective.
- Search a compact section near the wreckage.
- Extend the sweep into neighboring ground when a discovery gives us a reason to stay.
- Move toward the Red Lakes shoreline if the crossing remains sensible.
- Reassess the backpack and extraction route before adding another search section.
The 's wreckage is a landmark, not proof of a loot-generation rule. We should not assume every broken ARC machine marks buried treasure. Likewise, the shoreline result does not establish that every beach has comparable density.
What matters is that these areas produced several discoveries within the outing. They give us somewhere specific to investigate instead of wandering across the whole map.

Treat the Big Haul as a Standout Result
Leaving with approximately 54,000 coins after around 20 minutes, including several valuable collectibles. That is an individual outcome, not an expected payout.
For our planning, the strongest detail is the cluster of nearby discoveries. Short travel between containers is the part worth testing again.
Once a promising pocket stops producing signals, we would move on. Searching the same mud repeatedly because it paid once is an easy way to waste the rest of a raid.
The Blue Gate: Follow the River, Not the Assumption
The Blue Gate offers the clearest example of why terrain alone is not enough to predict a productive search.
The initial swamp sweep looked promising to the source because of its low ground, water, and fallen machinery. It produced nothing. The search improved after moving north toward the village and following the river, with further discoveries near Pilgrim's Peak.
Our route recommendation stays narrow: investigate the river corridor before committing time to a broad swamp search.
Search in Connected Segments
We would divide the river route into sections bounded by recognizable landmarks. Search one section, record the result, then decide whether the next section fits the raid.
This is more useful than drifting along the water with no stopping rule. It also makes later comparisons possible. If one stretch repeatedly produces nothing while another yields discoveries, we can shorten the route without discarding the entire map.
In a squad, we would assign the search and security jobs separately where practical. One player investigates the detector response while another watches likely approaches. That is our tactical recommendation, not a claim that the route requires a particular team size.
The Blue Gate ahead of Buried City and Spaceport for that outing. We would use it as our second investigation priority, while keeping the distinction between an encouraging first result and a proven farming circuit.
Buried City, Spaceport, and Stella Montis
These maps need different expectations. The results do not justify treating them as interchangeable detector destinations.
Buried City: Keep the Detour Local
Buried City produced relatively few discoveries despite a broad search. The central park was the clearest productive area, with some additional finds farther north.
Our approach is to check that ground when it already lies close to the team's route. We would not cross the city solely because one container held a valuable item.
The difference is route cost. A nearby park sweep can be a reasonable experiment. A long journey through several districts needs stronger evidence than a single good pull.
If the localized search stays quiet, we return to the raid's original objective.
Spaceport: Open Ground Is Not Enough
Spaceport looked promising because of its wide, open outskirts. The actual outing was less impressive, with roughly five or six containers and discoveries concentrated in the south.
We would start with a selected southern section rather than treating every flat stretch as equally likely to pay. The size of the map makes an unrestricted search difficult to evaluate: too much travel can hide whether the detector route itself was useful.
A short sweep between planned stops gives us a cleaner test. Did it add worthwhile loot without delaying extraction? If not, we adjust the section instead of extending the search indefinitely.
Stella Montis: No Finds Does Mean No Spawns
The Stella Montis sweep found nothing despite checking apparently suitable ground. That supports a low search priority, not a definitive claim that buried loot cannot appear there.
We would avoid a dedicated detector expedition until there is a reproducible location to investigate. Carrying a detector for an incidental check is a different decision from spending most of a raid searching speculative soil patches.
This is a point where a guide should be comfortable saying that the route is not established yet.
How We Would Scan Without Wasting the Raid
The source recommends moving roughly ten steps between detector checks. We would treat that as a simple coverage habit, not a measured detection radius or a guaranteed way to locate every buried object.
The useful principle is controlled coverage. Search deliberately enough to avoid walking past unchecked strips, but do not spend the whole raid repeatedly inspecting the same ground.
Use a Clear Search Pattern
Our preferred pattern is a set of parallel passes between visible landmarks. On reaching the end of one pass, shift sideways and return along the next.
Once a signal appears, stop the broad sweep and investigate locally. After resolving the discovery, resume from the last checked section rather than wandering away at random.
We would use this sequence:
- Pick a small search area with a clear exit.
- Scan along a recognizable line.
- Narrow the search when the detector responds.
- Check the immediate surroundings before interacting.
- Review the loot without lingering.
- Continue from the edge of the area already covered.
This is a coverage recommendation, not a claim about exact scan distances.
Separate Gadget Checks From Route Planning
Before deploying, we would inspect the detector's condition and current in-game usage information. We would not automatically treat every loss of scanning time as a repair problem, or assume that carrying batteries solves every limitation. Preparation should follow the gadget's current interface rather than a loose reference to "charge" in a spoken transcript.
We would apply the same restraint to consumables. Taking a large supply of stamina support. We would size that supply to the planned trip instead of copying the quantity without considering inventory space or route length.
The detector also needs to stop being the center of attention when the surroundings become unsafe. A promising response is not a reason to ignore nearby movement. Put the gadget away, establish what is happening, and return only if the position still makes sense.
Turn Discoveries Into a Route We Can Trust
A useful detector route needs more than screenshots of expensive loot. We need to know how long the search took, how often it produced containers, what it cost to run, and whether the team extracted.
We would keep a small record for each attempt:
| Record | What we would write down |
|---|---|
| Search section | Recognizable start and end landmarks |
| Search time | Time spent scanning and digging |
| Discoveries | Containers found within that section |
| Loot result | Approximate value and useful retained items |
| Interruption | Combat, forced movement, or abandoned searches |
| Extraction | Whether the loot actually left the raid |
The record does not need to be elaborate. A few comparable runs can already show whether an apparent hotspot deserves another attempt. They can also reveal a route that produces attractive loot but repeatedly demands too much exposed travel.
Our working rule is to shorten before expanding. Keep the productive section, remove the quiet detour, and test again. Add new ground only when there is a clear reason to investigate it.
For readers arriving from searches for cheap ARC Coins, we would keep this route discussion focused on earned, extracted loot. A valuable container only becomes a useful result when the team brings it home, and no single haul should be presented as a guaranteed income method.
Our current starting plan is Dam Battlegrounds first, with a compact swamp search and a possible continuation toward the Red Lakes shoreline. The Blue Gate's river corridor is the next route we would test. Buried City and Spaceport remain opportunistic detours, while Stella Montis needs a confirmed search area before we would dedicate a raid to it.
Before deployment, choose the detector, mark the first search section, and identify where the team will leave. At the end of that section, check the backpack and the time remaining. Continue because the route is producing, not because the last container may be one patch of mud away.