

Odylium Repository is one of the more unusual solo activities in Aion 2. The dungeon is not built around a single boss encounter. It asks us to move through the Balaur storage facility, destroy unstable Odylium targets, activate scattered devices, and leave with the highest score we can secure before the run ends.
For players who are building their Aion 2 Items stockpile, the dungeon is worth learning properly. The highest listed reward tier requires 10,000 points, and reaching that number relies on route discipline more than raw gear. A strong character can still lose a large amount of score by crossing empty corridors, chasing low-value objects, or delaying the first gemstone kill.
Know the Entry Rules Before Spending an Attempt
Odylium Repository requires level 30 and supports solo entry. Its attempt resource is shared with Daeva Bio-Research Base, so every run should begin with a quick decision about which activity offers the more useful reward at that moment.
The current values listed in the source data are shown below.
| Entry rule | Current value |
|---|---|
| Required character level | 30 |
| Party size | 1 player |
| Stored entries | Up to 14 |
| Weekly recharge | 14 entries |
| Maximum extra entries | 30 through charge items |
| Instant clear cost | 1 Daily Dungeon Instant Clear Ticket |
| Maximum instant clears | 50 |
The level requirement only tells us when the dungeon becomes available. It does not tell us when the run becomes efficient. A freshly leveled character can enter, but slow movement, weak burst damage, and limited survival tools can reduce the final score. Players who are still developing their character should treat the first few attempts as route practice rather than expecting the top reward immediately.
The shared entry count deserves more attention than the level requirement. If Bio-Research Base currently offers a reward that your character needs more urgently, spending the attempt in Odylium Repository can delay that progression. If your main goal is Odylium crystal income, Repository remains the more direct activity.
Build Your Score Around the Gemstone
The scoring system has two parts: large point rewards from Unstable Odylium Gemstones and smaller rewards from environmental objects.
| Action | Points |
|---|---|
| Defeat an Unstable Odylium Gemstone | 3,000 |
| Activate a low-value object | 70 |
| Activate a medium-value object | 150 |
| Activate a high-value object | 350 |
The gemstone should shape the entire route. One kill provides 3,000 points, which is worth far more than a long chain of low-value activations. A player who ignores the gemstone and interacts with every nearby object can remain far below the upper reward tiers even after spending the full run inside the dungeon.
Our preferred priority is simple:
- Locate the nearest Unstable Odylium Gemstone.
- Defeat it without unnecessary preparation time.
- Collect nearby 350-point objects.
- Add 150-point objects that sit along the route.
- Take 70-point objects only when they require almost no movement.
- Continue toward the next major target or the exit route.
A 350-point object is worth five 70-point objects, but distance still matters. If a high-value object requires a long detour through empty halls, the smaller target beside your current path can produce a better score per minute. The correct decision changes according to your location, remaining time, and next objective.
The practical rule is to ask one question before every interaction: Will this object keep us moving toward the next valuable target? If the answer is no, the object needs to offer a large enough reward to justify the detour.

Use the Reward Tiers as Milestones
The reward table increases in 500-point steps. The highest listed tier is 10,000 points and grants 50 Odylium Repository Crystal Chests.
| Score | Crystal chests |
|---|---|
| 500 | 12 |
| 1,000 | 14 |
| 2,000 | 18 |
| 3,000 | 22 |
| 4,000 | 26 |
| 5,000 | 30 |
| 6,000 | 34 |
| 7,000 | 38 |
| 8,000 | 42 |
| 9,000 | 46 |
| 10,000 | 50 |
The complete progression still follows the 500-point pattern, but these milestone values are easier to use during route planning. A single gemstone already places the run at 3,000 points. From there, the player needs another 2,000 points to reach the practical 5,000-point target, then a further 5,000 points to reach the top tier.
A useful way to review performance is to separate the run into three stages:
- Below 3,000 points: Find and defeat the first gemstone.
- Between 3,000 and 5,000 points: Collect nearby high-value objects and remove unnecessary walking.
- Between 5,000 and 10,000 points: Complete the wider route without losing time to backtracking or low-value detours.
The difference between 9,500 and 10,000 points is only two chests, but the route decisions that create that final 500 points usually begin much earlier. Players should not wait until the final corridor to think about efficiency.

Plan a Route for 5,000 and 10,000 Points
A 5,000-point run is a realistic first target. It usually requires one gemstone, a few 150-point or 350-point objects, and a route with limited backtracking. The exact number of objects changes according to the layout, but the principle remains stable: secure the large reward first, then fill the gap with targets that sit naturally along the return path.
If a first attempt reaches around 3,500 points, changing the entire build is rarely the right response. Review the movement between targets instead. Check how much time was spent waiting for cooldowns, walking through empty rooms, or activating objects that offered too little value for their distance.
A 10,000-point run needs a more complete route. Before entering, we recommend identifying three things:
- The first gemstone location or the direction in which it is likely to appear;
- The densest group of 350-point and 150-point objects;
- The safest loop that connects the gemstone, object clusters, and exit.
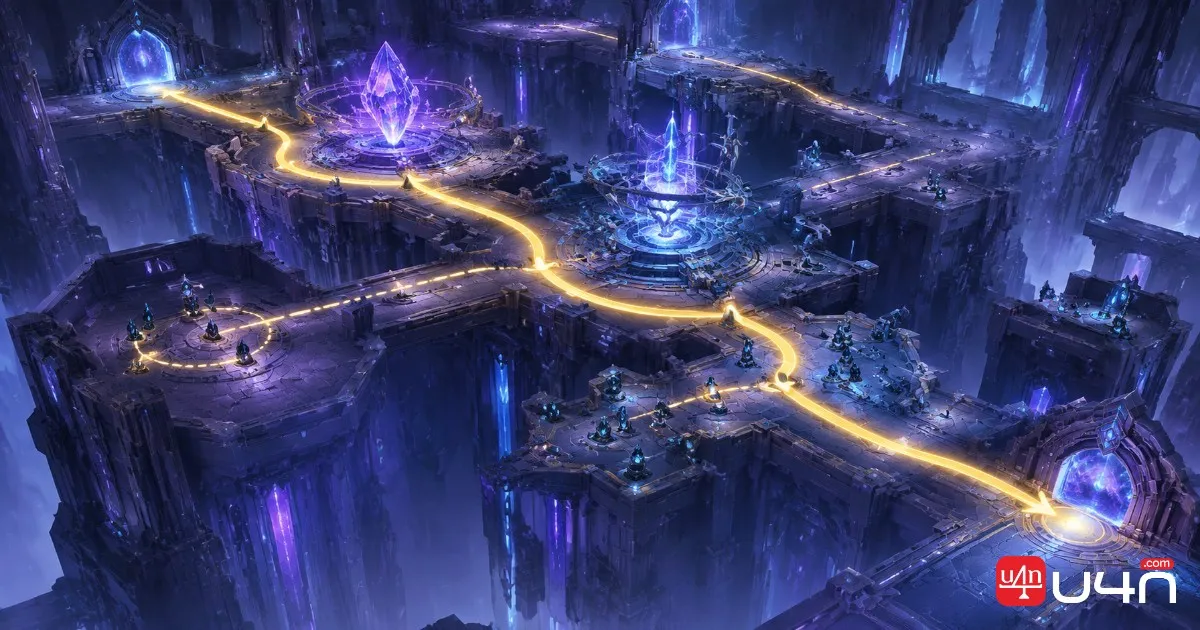
The route should feel like a loop rather than a series of disconnected trips. A typical loop looks like this:
Gemstone → nearby 350-point object → 150-point cluster → next major target → return path or exit.
This format prevents repeated crossings of the same corridor. It also gives us a natural place to collect 70-point objects. They belong on the return path, where the interaction costs almost no additional travel time.
Do not collect objects in the order they appear on screen. The first visible target is often a trap for inefficient movement. The correct opening can require ignoring a low-value object and moving directly toward the gemstone instead.
During the run, keep moving whenever your next attack is on cooldown. Use that time to approach the next interaction, reposition inside an object cluster, or prepare a burst window. Standing still beside a defeated target does not improve the score. The dungeon rewards completed actions, and every idle second reduces the number of interactions available before the run ends.
Handle the Unstable Odylium Gemstone Efficiently
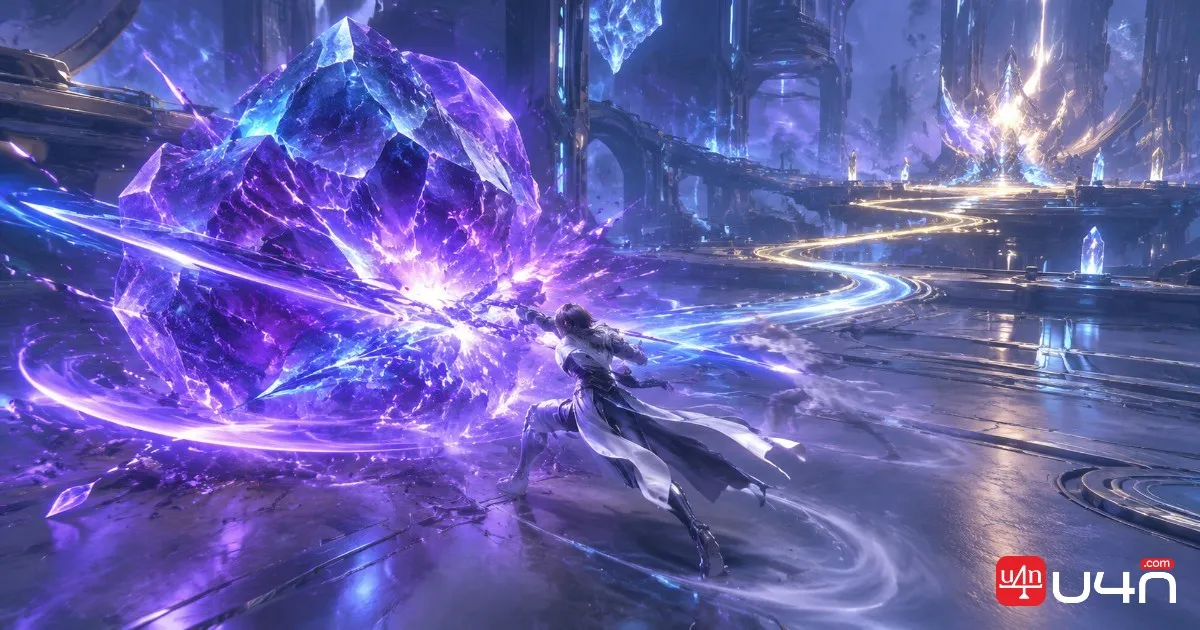
The gemstone is the central scoring target, so the opening combat sequence deserves more preparation than a normal object activation.
Before reaching it, prepare the skills that improve sustained damage or shorten the time required to finish the encounter. Damage-over-time effects can be useful if they continue during movement, while a stronger burst skill should be reserved for the gemstone when possible. Attack speed and damage buffs should be active before the main attack begins rather than after the target has already lost part of its health.
The exact rotation changes by class, but the timing principle remains consistent:
- Start long setup skills before entering the damage window;
- Keep attacking instead of standing beside the target;
- Avoid using a major defensive cooldown unless survival requires it;
- Save at least one movement tool for the next object cluster;
- Reposition early if the target forces movement.
A common mistake is to interrupt the gemstone fight because a 70-point object appears nearby. That decision trades a guaranteed 3,000-point objective for a small reward and often creates additional travel. Finish the gemstone first unless the encounter has become impossible or the route has clearly changed.
Build efficiency matters here, but gear alone does not decide the result. A character with moderate damage and a clean opening route can outperform a stronger character who delays the first attack, uses every mobility skill during combat, or spends too much time recovering between targets.
Adjust the Setup for Each Class Type
Melee classes
Melee characters should stay close to the gemstone and avoid wasting gap closers on short repositioning. One movement skill should remain available for the next object group, especially when the dungeon layout separates combat areas from interaction points.
Wide attacks have extra value when several objects or enemies occupy the same corridor. Clear the group efficiently, then move on. Chasing one weakened enemy away from the route can cost more time than it saves.
Ranged classes
Ranged characters have more freedom to attack while repositioning, but maximum range is not always efficient. Standing too far from the center of an object cluster can force a long walk after every interaction.
A slightly closer position often creates a better rhythm: attack, activate, move a short distance, and continue attacking. The goal is to keep the next target within a reasonable travel distance instead of maximizing range during every combat exchange.
Support classes
Support characters should enter with a solo offensive setup that still retains enough healing or defensive utility to avoid downtime. A full group support build can reduce damage and extend the time needed to defeat the gemstone.
Keep one defensive cooldown ready for an error or a dangerous encounter. Losing the run to a death costs more score than using a defensive skill during the gemstone phase. Survival tools are valuable when they preserve movement and attack uptime.
Decide Carefully When to Use Instant Clear Tickets
Instant Clear Tickets are useful when the manual route has already reached the reward tier you want. They are less valuable while the character is still learning the dungeon or improving its score.
A ticket makes sense when:
- You already reach your desired reward tier consistently;
- Your available playtime is limited;
- Manual runs no longer produce a realistic upgrade;
- You value the crystal reward more than route practice;
- Your character has a stable build and no major upgrade planned.
Manual runs remain preferable when:
- Your score is still below 10,000;
- You are learning object locations;
- You have recently changed your build;
- You are unsure how close the next reward tier is;
- You are still losing time to unnecessary movement.
The listed data gives the dungeon a maximum of 50 instant clears, but the practical value of each ticket depends on the result your character can already secure. Spending a ticket before learning the route removes an opportunity to identify where the score is being lost.
Fix the Mistakes That Cost the Most Points
Most failed high-score runs do not fail because the player lacks a single powerful skill. They fail through several small delays that accumulate across the dungeon.
The common problems are easy to recognize:
- Activating small objects before defeating the gemstone;
- Crossing the map for a 70-point interaction;
- Waiting for every cooldown before moving;
- Entering with a group-oriented build;
- Leaving as soon as a low reward tier is reached;
- Using an instant clear ticket before testing the manual route;
- Treating damage as the only factor that determines the score.
The fastest improvement usually comes from removing wasted travel. Record the location of high-value objects after each attempt. A short note about a 350-point target near a specific bend or platform can save several seconds on later runs, and those seconds add up when the route contains multiple interactions.
Players should also review the run by asking three questions:
- How long did it take to reach the first gemstone?
- Which object required the longest detour?
- Where did movement stop without producing points?
Those answers reveal more than the final score by itself. If the first gemstone was defeated quickly and the run still ended below 5,000 points, the route probably lacked enough high-value objects or included too much empty travel. If the score passed 8,000 but failed to reach 10,000, the issue is often the final return path, cooldown downtime, or skipped 350-point targets.
Master the Route to Reach 10,000 Points
Odylium Repository is a score route disguised as a solo dungeon. The first gemstone should establish the run with 3,000 points, while nearby 350-point and 150-point objects provide the most efficient way to climb toward 10,000.
The route should always favor forward movement, short detours, and continuous activity. Low-value objects are useful when they sit beside the path. They become inefficient when they pull the player away from the next gemstone, object cluster, or exit.
Our recommended progression is to learn a clean 5,000-point route first, then expand it into a full loop for the 10,000-point tier. Once that route becomes reliable, using cheap Aion 2 Kina to support broader character progression can make future attempts more comfortable, but the dungeon itself still rewards planning more than spending.
FAQ
Can a level 30 character reach 10,000 points?
A level 30 character can enter the dungeon, but reaching 10,000 points also requires sufficient damage, movement speed, survival, and route knowledge. New characters should focus on reaching 5,000 points first and improve the route before replacing the entire build.
Should the first object always be activated?
No. The first visible object is only worth taking if it sits close to the route. The first priority should be locating and defeating the nearest Unstable Odylium Gemstone.
Are 70-point objects worth collecting?
They are worth collecting when they are directly beside the current route or on the return path. A long detour for 70 points usually produces less score per minute than moving toward a 150-point or 350-point target.
Why does the score remain low despite killing enemies quickly?
Enemy damage is only one part of the result. The score comes from gemstone kills and object activations. If the route includes too much empty movement or ignores environmental targets, fast combat alone cannot create a high score.
Should Instant Clear Tickets be saved?
Save them while you are still improving your manual score. Once the desired reward tier becomes consistent and additional practice produces little progress, instant clears become a more reasonable time-saving option.
Is 10,000 points possible with every class?
The practical difficulty changes by class, but the route principles apply broadly. Strong movement, reliable single-target damage, and low downtime matter more than a specific class label. A disciplined route can compensate for moderate differences in combat power.