


Dragon Lord gear is one of the longest equipment projects in AION 2. The system rewards players who plan several steps ahead, since the first crafted piece often becomes the foundation for later upgrades. A rushed recipe can waste rare materials, while a carefully preserved base item can carry a character through several Item Level brackets.
For players comparing Aion 2 Items across crafting, dungeons, and the Market, Dragon Lord gear stands out because it combines higher random line potential with a longer upgrade route. The system is most valuable when we treat it as a continuous project rather than a single craft.
How the Dragon Lord Gear Ladder Works
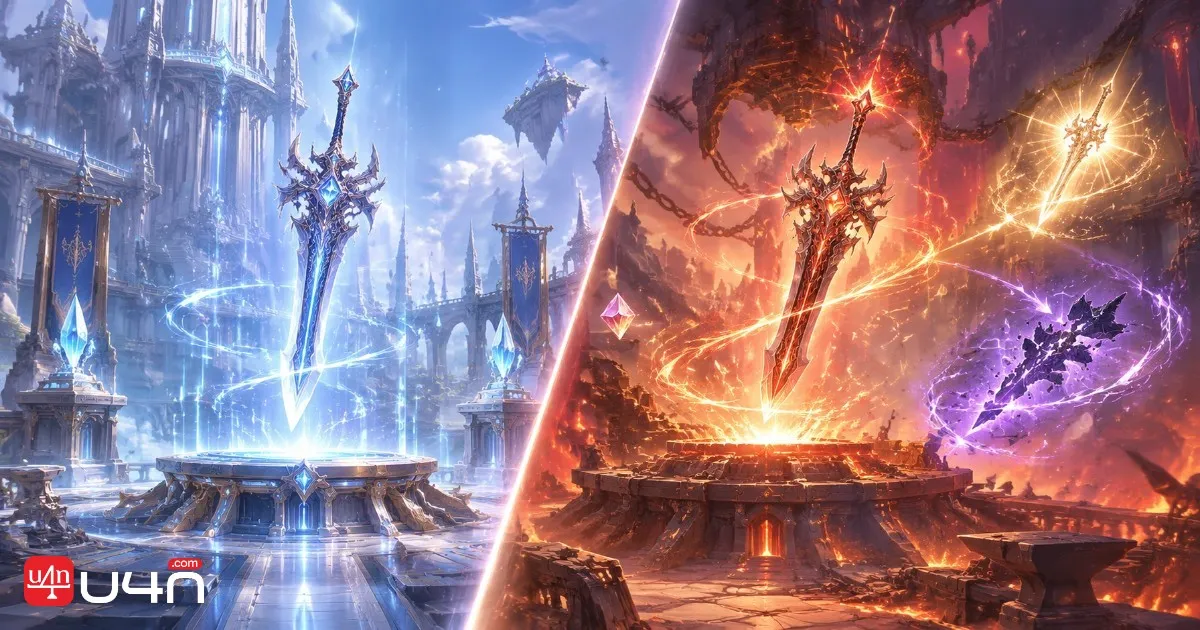
The Dragon Lord route begins with a faction specific name and follows the same general progression on both sides.
| Elyos | Asmodian | Item Level |
|---|---|---|
| Artisan's Splendent base | Artisan's Splendent base | 44 |
| True Dragon Lord | Star Dragon Lord | 62 |
| Splendent True Dragon Lord | Splendent Star Dragon Lord | 70 |
| White Dragon Lord | Dark Dragon Lord | 78 |
| Splendent White Dragon Lord | Splendent Dark Dragon Lord | 86 |
| Wise Dragon Lord | Ebony Dragon Lord | 94 |
| Splendent Wise Dragon Lord | Splendent Ebony Dragon Lord | 102 |
The names change by faction, but the basic structure remains equivalent. Each stage leads into the next one, and the same crafted item can continue along the ladder if the player keeps the required materials and follows the correct recipe path.
That point matters more than it first appears. Some players see the first True Dragon Lord weapon as a temporary item and start selling or replacing it as soon as a higher tier becomes available. In practice, that piece often serves as a required ingredient for the next step. Selling it too early can create a second material bill and delay the entire route.
The first Dragon Lord craft is usually the main risk point. Later stages are commonly tied to Transfer Crafting or guaranteed upgrade recipes, but the live crafting interface remains the final authority. Recipe availability, required transfer stones, binding rules, and retained properties can change between updates.

Safe Recipe or Risky Recipe?
The current crafting system gives players two broad approaches for the first Dragon Lord tier.
| Feature | Safe recipe | Older recipe |
|---|---|---|
| Success rate | Guaranteed | Failure is possible |
| COMBO chance | Unavailable | Available |
| Result | Usually bound | Can remain tradable |
| Failure loss | Protected from normal failure loss | Materials can be consumed |
| Suitable for | Personal gear | Sale, COMBO, or Splendent attempts |
For a personal weapon made from bound materials, the safe recipe is usually the practical route. It removes the largest source of frustration: losing expensive ingredients before the character receives the base item. It also gives us a reliable starting point for the later upgrade chain.
The older recipe still has a place in a market focused plan. It becomes more attractive when the materials are tradable, the finished item has strong demand, and the player accepts the possibility of losing the attempt. A COMBO result or tradable output can justify the risk in the right market, especially for popular weapons or high demand armor slots.
The mistake is treating the old recipe as a free upgrade opportunity. Its extra upside comes with a real cost. Before using it, compare the following:
- The total Market value of the materials.
- The sale price of a normal tradable result.
- The expected demand for a Splendent result.
- The speed at which similar items sell.
- The amount lost if the recipe fails.
- The value of using those materials on personal gear.
If the ingredients are bound, or if the item is designed for one character, the safe route usually creates a cleaner progression plan. If the ingredients came from farming and the player is building a crafting business, the older recipe can support a more aggressive strategy.
Profession Requirements and the Best First Target
Dragon Lord crafting is tied to the equipment slot. Weapons normally require the profession connected to the weapon type, while armor, jewelry, cloaks, gloves, and boots can point toward different professions.
The commonly reported mastery requirements are:
| Equipment group | Mastery reference |
|---|---|
| Weapons, rings, chest armor, legs, helmets, pauldrons | 55 |
| Guards, necklaces, earrings, gloves, boots, cloaks | 60 |
These numbers should be checked against the exact recipe before spending time and currency on profession leveling. A player who levels the wrong profession can lose several days of gathering and crafting progress before the mistake becomes clear.
For most characters, a weapon remains the strongest first target. It usually contributes a large portion of combat power, stays relevant across several Item Level steps, and provides a clear reason to gather materials. That does not mean every class should follow the same order. A support focused character, a tank with a weak defensive slot, or a player whose weapon already has strong random lines can gain more from another equipment category.
Our usual recommendation is to choose one high impact slot and build around it. Leveling several professions at once spreads materials too thin and often leaves every route unfinished.
The profession level is only part of the preparation. We also need the correct base item, the required refining stones, the Balaur materials, and any Expedition equipment used for transfer. Starting a craft with only half of the required resources often turns into an expensive interruption.

Materials and the Long Upgrade Route
Material requirements vary by weapon type, equipment slot, faction, and recipe version. A greatsword route gives a useful example of how quickly the cost rises.
A route toward Splendent White Dragon Lord at Item Level 86 can require roughly:
- 2 Artisan's Splendent base pieces.
- 9 Artisan's Ultimate Refining Stones.
- 77 Balaur Horns.
- 17 Wrathful Mind.
- 20 Wrathful Will.
- 22 Radiant Orichalcum Ore.
- 14 Radiant Odyle.
A route toward Splendent Wise Dragon Lord at Item Level 102 can rise to roughly:
- 3 Artisan's Splendent base pieces.
- 17 Artisan's Ultimate Refining Stones.
- 139 Balaur Horns.
- 20 Wrathful Mind.
- 23 Wrathful Will.
- 27 Wrathful Ego.
- More Radiant Ore and Odyle.
These figures work as route references, not as a universal shopping list. We should use them to understand the scale of the project, then confirm the exact recipe in the live crafting window.
A successful non Splendent result can sometimes skip the next Splendent stage. That creates a possible material saving, but it should be treated as a bonus rather than part of the budget. Planning around a lucky result is one of the fastest ways to run out of materials halfway through an upgrade chain.
A better plan divides the route into checkpoints. Before crafting the first Dragon Lord piece, confirm that the character can gather or purchase enough resources for the next realistic step. We do not need to own every Item Level 102 material immediately, but we should know where those materials come from and how long the collection process takes.

Transfer Crafting and Expedition Equipment
Transfer Crafting gives players a way to connect dungeon progression with the Dragon Lord route. Eligible Expedition gear can move into selected crafted items, which means an interim weapon does not always become obsolete the moment crafting begins.
The current route commonly includes:
- Tier 2 Expedition equipment into Tier 1 crafted Dragon Lord gear.
- Tier 3 Expedition equipment into Tier 2 crafted Dragon Lord gear.
- Enraged Kromede equipment into White or Dark Dragon Lord gear.
- Aulamus equipment into True or Star Dragon Lord gear.
The October 28 update expanded transfer options between Expedition and crafted gear and adjusted Amplify caps for crafted equipment.
The exact transfer rules depend on the equipment type. Before confirming a transfer, inspect the preview for four details:
- Which enhancement level carries over.
- Which random lines remain or change.
- Whether the resulting item becomes bound.
- Which Transfer Stones and additional materials are consumed.
The preview is more useful than a general guide because it reflects the item currently in the player's inventory. Two pieces with similar names can have different transfer eligibility because of their tier, binding status, or equipment category.
Enraged Kromede is a good example of a temporary item with long term value. A player who needs immediate combat power can use the weapon, raise it to a useful level, and transfer it into a suitable White or Dark Dragon Lord weapon later. This route avoids forcing the player to wait with an underpowered weapon while gathering every crafting material.
At Item Level 86, Enraged Kromede and Splendent White Dragon Lord can sit close together in base performance. The crafted option generally offers more random lines and continues toward Item Levels 94 and 102, while Kromede can provide faster access to combat power through dungeon play. The correct decision depends on the player's current needs and the transfer route shown in game.

A Practical Plan for Personal Gear
For personal equipment, we suggest a simple order.
Choose the exact weapon or slot before leveling a profession. This prevents the common problem of collecting materials for several unrelated recipes.
Raise the required profession to the first Dragon Lord threshold. Keep the profession focused until the chosen item is complete.
Prepare the Artisan's Splendent base and confirm that it belongs to the correct equipment type. Do not sell it simply because a better named item has not appeared yet.
Use the safe recipe for the first Dragon Lord craft when the materials are bound or the item is intended for the current character.
Check the next transfer or upgrade window before spending enhancement resources. If the item is about to become an ingredient in a transfer, raising it blindly can produce a poor return.
Keep enough materials for the next stage before selling surplus resources. A short term Market sale can create a long delay if the same material becomes difficult to obtain later.
This route also works well for free to play players. Gathering limits should support one selected project instead of several unfinished projects. If the current global limit remains around 1,000 gathered materials per day, every gathering action should contribute to the target route or provide a clear Market return. The exact limit belongs to live version data, so we should verify it in game after each major update.
Players who prefer to buy resources should compare the cost of a complete attempt against the price of a finished item. This is especially relevant for anyone considering Aion 2 Kinah for sale, since the value of currency, materials, and tradable equipment changes with server supply.
Market Planning and Common Mistakes
Crafting for sale requires a different mindset from crafting for personal progression. A tradable result only has value if buyers exist and the item moves within a reasonable period.
Before using the older recipe for profit, check the Market for active listings, recent sale speed, material prices, and the difference between normal and Splendent versions. A high listing price does not prove that the item sells. If several players unlock the same profession, the market can become saturated quickly.
The most common mistakes are easy to avoid:
- Using the risky recipe for a bound personal item.
- Selling the Artisan's Splendent base before checking the next recipe.
- Raising an item without reviewing its transfer route.
- Buying every material during a temporary price spike.
- Leveling several professions before completing one useful route.
- Assuming every Dragon Lord tier follows the same success rule.
- Ignoring the difference between True, White, and Wise Dragon Lord.
- Treating a lucky COMBO or Splendent result as part of the normal budget.
- Forgetting to check the binding status of the finished item.
One small habit saves a surprising amount of currency: open the recipe and transfer windows before making a purchase. That check confirms the item name, slot, ingredient type, binding rule, and required stones. Five minutes of inspection can prevent several days of recovery.
Dragon Lord crafting rewards players who protect their route. The first base item, the first profession choice, and the first recipe decision shape every later upgrade.
Plan Your Dragon Lord Route Wisely
Dragon Lord crafting rewards players who protect their route. The first base item, the first profession choice, and the first recipe decision shape every later upgrade.
For personal gear, the safe recipe offers a reliable foundation, especially when the materials are bound. For market crafting, the older recipe can work when tradable resources, demand, and risk tolerance support it. Expedition and Kromede equipment still have value because Transfer Crafting can connect immediate combat power with the longer Dragon Lord plan.
We recommend starting with one high impact slot, usually a weapon, and keeping every intermediate item until the next recipe confirms that it is no longer needed. The strongest result comes from steady progression, accurate recipe checks, and careful use of enhancement materials.
FAQ
Is the safe Dragon Lord recipe always the best option?
It is usually the strongest option for personal gear and bound materials because it protects the initial attempt from normal failure loss. The older recipe still fits market crafting, COMBO attempts, and tradable material strategies.
Can the first Dragon Lord weapon reach the highest tier?
The crafted route is designed to continue through multiple stages. The exact path depends on the item type and available recipes. Check each transfer window before assuming that every piece follows the same route.
Should we sell the Artisan's Splendent base after crafting?
Keep it until the next recipe confirms that it is no longer required. Many players lose time by treating the base as a spare item instead of part of the upgrade chain.
Is Kromede equipment still worth upgrading?
Yes, especially when the character needs immediate combat power. If the item is eligible for Transfer Crafting, its value continues after the Dragon Lord project begins.
Should we level several crafting professions at the same time?
Usually no. Focusing on the profession tied to one high priority slot produces a usable result faster and keeps materials concentrated.
Do later Dragon Lord upgrades have a chance to fail?
Many later upgrades use guaranteed transfer or upgrade recipes, but the exact rule belongs to the live recipe window. Always check the current interface before committing rare materials.
How should we budget for Item Level 102?
Treat Item Level 102 as a long term target. Secure the first useful Dragon Lord stage, keep the upgrade base, and build a material plan for each checkpoint instead of trying to buy every ingredient at once.