

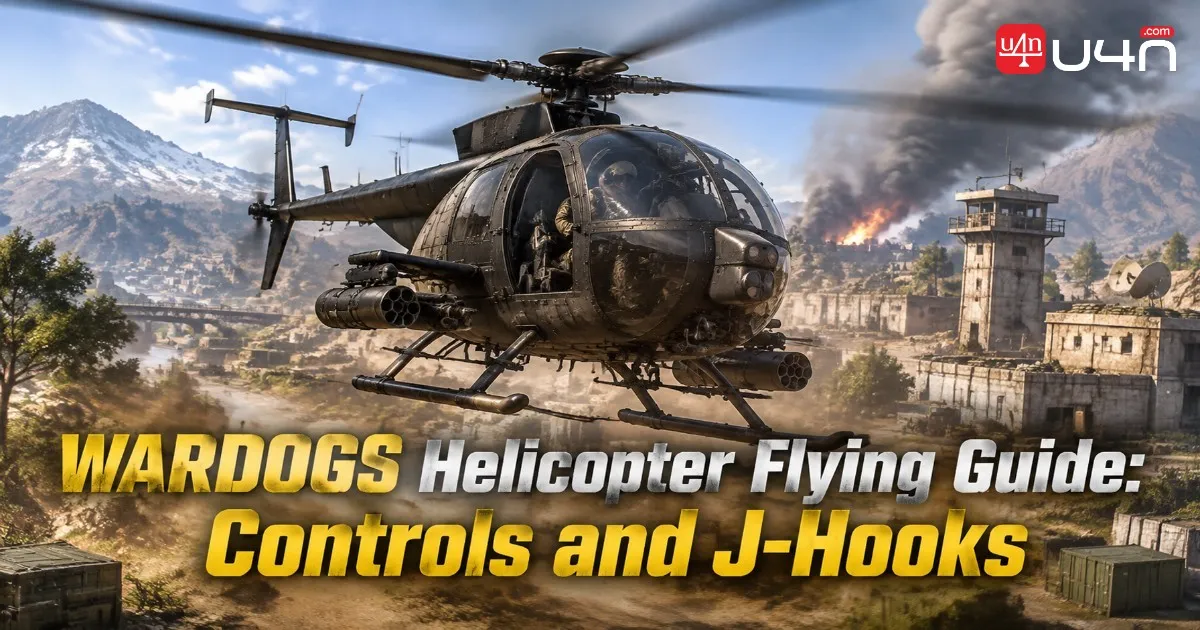
Flying a helicopter in WARDOGS is not simply about holding the throttle and pointing toward a destination. Players need to understand how pitch, roll, yaw, and collective work together, especially when transporting teammates or approaching an active combat zone. Learning these mechanics can also make earning Wardogs Cash through successful passenger transport and combat support more consistent.
Our team has put together this guide to help players progress from basic helicopter handling to more advanced flying techniques. We will cover recommended control settings, essential flight mechanics, takeoff and landing procedures, and the J-Hook maneuver. Whether you are learning with the starter AH-6M Little Bird or preparing to handle more demanding aircraft, the goal is to make every movement more deliberate and controlled.
Best Helicopter Controls and Settings
Before getting into flight techniques, we recommend spending some time adjusting your helicopter controls. WARDOGS offers several ways to handle rotary aircraft, and the best choice depends on your experience and hardware.
For most beginners, the default keyboard controls with flight assists enabled are a sensible starting point. They provide additional stability without removing the need to understand how the aircraft responds to player input.
Recommended Keyboard and Mouse Settings
| Setting | Recommended Value | Purpose |
|---|---|---|
| Flight Assists | Enabled | Provides additional flight stability |
| Stability Assist | Enabled | Reduces unwanted aircraft movement |
| Auto-Hover Assist | Enabled | Helps maintain position at low speed |
| Envelope Limits | Enabled | Restricts extreme flight attitudes |
| Turn Coordination | Optional | Helps coordinate banking and yaw |
| Rotary Vehicle Mouse Control | Disabled | Keeps standard keyboard flight controls |
| Air Vehicle Multiplier | 0.50 | Starting sensitivity recommendation |
| Invert Y Axis – Air Vehicle | Personal Preference | Changes vertical control direction |
These settings are intended as a beginner-friendly starting point rather than a universal competitive setup.
Alternative Mouse Controls
Some players prefer using the mouse for finer helicopter adjustments. Enabling Rotary Vehicle Mouse Control allows mouse movement to influence flight inputs, making it possible to combine keyboard movement with more precise corrections.
This setup is worth testing if you find keyboard-only steering uncomfortable. However, we would not recommend changing several control options simultaneously. Adjust one setting at a time so you can identify which changes actually improve your handling.
HOTAS Controls
Players with flight sticks, throttles, or rudder pedals can use a HOTAS setup for a more traditional aircraft-control experience.
| Flight Function | Suggested Input |
|---|---|
| Pitch | Stick Forward / Back |
| Roll | Stick Left / Right |
| Yaw | Stick Twist or Rudder Pedals |
| Collective | Throttle Axis |
| Free Look | POV Hat Switch |
| Flares | Accessible Thumb Button |
A sensitivity setting around 0.75 is a reasonable initial test value. Increase or decrease it depending on how responsive your hardware feels.
The important thing is consistency. A control scheme that allows you to make small corrections comfortably is generally more useful than one that feels extremely responsive but causes constant oversteering.
Understanding Helicopter Flight Mechanics
The biggest difference between helicopters and ground vehicles is that aircraft movement requires constant balancing. A small input can affect speed, direction, and altitude at the same time.
Our team recommends learning these four fundamental flight controls before attempting advanced maneuvers.
| Control | Function | Typical Input |
|---|---|---|
| Pitch | Tilts the nose forward or backward | W / S |
| Roll | Tilts the aircraft left or right | A / D |
| Yaw | Rotates the helicopter's nose | Assigned yaw controls |
| Collective | Controls lift and vertical movement | Left Shift / Left Ctrl |
How These Controls Work Together
Pitch determines the helicopter's forward or backward attitude. Tilting the nose forward helps generate forward movement, while pulling back helps reduce forward speed.
Roll tilts the aircraft sideways. It is essential for banking into turns and controlling lateral movement.
Yaw rotates the nose left or right. It helps align the aircraft with its intended direction, particularly when banking or approaching a landing zone.
Collective controls the rotor system's lift output. Increasing collective generally helps the helicopter climb, while reducing it allows the aircraft to descend.
The important detail is that these inputs are connected.
For example, when you pitch forward, part of the rotor's lifting force is redirected into forward movement. This helps the helicopter accelerate but can also reduce the lift available to maintain altitude.
That is why experienced pilots avoid making large corrections without considering the aircraft's current attitude and speed.
How to Take Off, Fly, and Land Safely
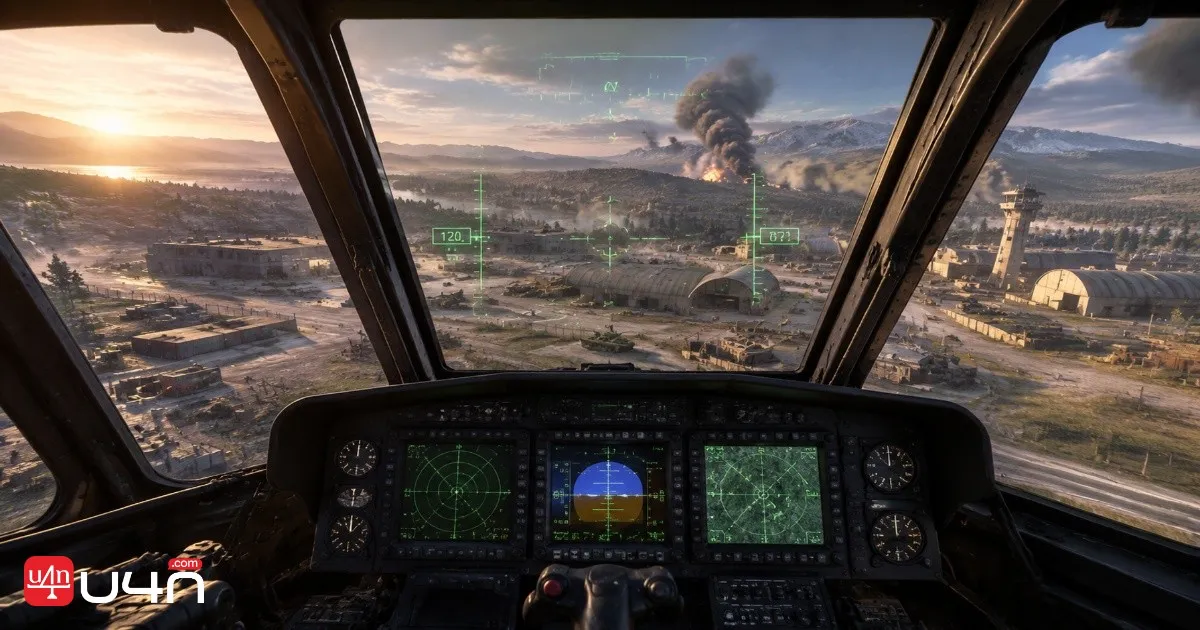
Once your controls are configured, move to the Firing Range for practice. It provides room to learn basic helicopter handling without immediately dealing with the pressure of an active firefight.
Taking Off
A controlled takeoff starts with patience. Increasing collective too aggressively or pitching forward immediately can make it difficult to stabilize the aircraft.
Follow this sequence:
- Enter the helicopter and start the engine.
- Increase collective using Left Shift and allow the rotor to reach operating speed.
- Continue increasing collective until the helicopter clears the ground.
- Use yaw to align the nose with your intended direction.
- Apply gentle forward pitch to begin accelerating.
- Adjust collective if the helicopter starts losing altitude.
Avoid pushing the nose too far down during the initial climb. A gradual transition into forward flight gives you more time to recognize unwanted movement.
Maintaining Stable Forward Flight
Once airborne, focus on keeping your movements small and predictable.
- Use pitch to control forward acceleration.
- Use roll to correct sideways drift.
- Use yaw to adjust the helicopter's heading.
- Adjust collective to maintain a comfortable altitude.
One common beginner mistake is overcorrecting. If the helicopter drifts slightly to the right, immediately applying a strong left input can create an opposite drift.
Instead, use smaller corrections and wait for the aircraft to respond before making another adjustment.
When turning, combine roll and yaw in the same direction. A left bank with coordinated left yaw generally produces a smoother turn than relying on either input alone.
Slowing Down and Landing
Landing safely requires more preparation than simply lowering collective.
Start reducing forward speed before reaching the landing zone. Apply backward pitch gradually to flare the helicopter, allowing it to lose speed while you manage its altitude.
Once the aircraft is approaching the desired landing position:
- Reduce forward speed before reaching the landing zone.
- Gradually level the helicopter.
- Use roll and yaw to align with the landing area.
- Reduce collective carefully to begin descending.
- Monitor the AGL altitude and vertical movement.
- Make small collective adjustments as the skids approach the ground.
AGL means Above Ground Level, making it particularly useful when judging your height during a landing.
Do not force a touchdown if the helicopter is approaching at an unstable angle. If there is enough room, increase collective, climb away, stabilize, and attempt another approach.
How to Perform a J-Hook Landing
Advanced flying technique
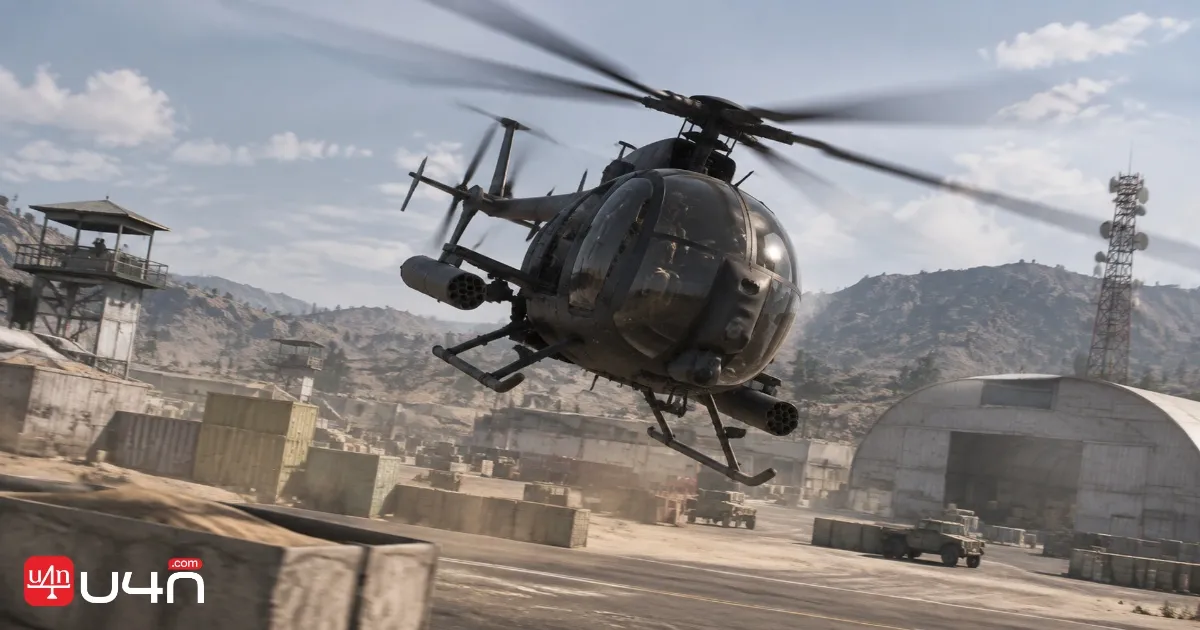
The J-Hook is one of the most useful helicopter maneuvers to learn in WARDOGS, particularly for players transporting teammates into dangerous areas.
A conventional landing can leave a helicopter exposed while it slows down and searches for a suitable touchdown position. The J-Hook combines a sharp turning maneuver with rapid deceleration, allowing the pilot to approach a landing zone more aggressively.
However, it requires good timing and enough room to complete the turn.
Step-by-Step J-Hook Technique
Step 1: Choose Your Landing Zone
Identify the landing point before starting the maneuver. Look for cover provided by buildings, containers, or terrain rather than approaching an exposed area without a clear plan.
Step 2: Build Forward Speed
Approach with enough forward momentum to carry the helicopter into the maneuver. Remember that higher entry speeds require more space to complete the turn.
Step 3: Begin the Turn
Bank toward the landing zone and apply yaw in the same direction. If the landing point is on your left, begin with a left bank and coordinated left yaw.
Step 4: Manage Collective and Deceleration
Reduce collective during the turning phase as appropriate, while monitoring your descent rate. The objective is to lose forward speed without allowing the helicopter to drop uncontrollably.
Do not treat collective reduction as a fixed all-or-nothing action. The correct adjustment depends on your entry speed, altitude, and the helicopter's response.
Step 5: Level and Touch Down
As the helicopter approaches the landing point and forward speed decreases, gradually level the aircraft. Add collective when necessary to cushion the remaining descent, then settle onto the landing surface.
Common J-Hook Mistakes
| Mistake | Why It Happens | How to Improve |
|---|---|---|
| Turning too late | Insufficient distance to complete the maneuver | Begin the turn earlier |
| Excessive entry speed | The helicopter carries too much momentum | Adjust your approach speed |
| Losing too much altitude | Collective is reduced without monitoring descent | Make smaller lift corrections |
| Overshooting the landing zone | The turn is too wide | Choose a larger approach area |
| Poor nose alignment | Roll and yaw are not coordinated | Practice combined inputs |
The biggest lesson is to avoid treating the J-Hook as a last-second emergency turn. It works best when the pilot has already selected a landing zone and understands how much room the aircraft needs.
Combat Flying Skills and Practice Tips
Basic takeoff and landing are enough for simple transportation, but combat pilots need additional control skills.
We recommend practicing in the Firing Range before trying these techniques during an active match.
Flying Sideways
Find a long, recognizable landmark such as the train tracks and use it as a reference point.
Start at a low speed and try to maintain a consistent distance from the landmark while moving sideways. Use roll to control lateral movement, yaw to manage the nose direction, and collective to maintain altitude.
This exercise helps develop coordination and teaches you to avoid unnecessary corrections.
Circling a Fixed Target
Choose a tower or another stationary object and attempt to fly around it while keeping the helicopter's nose pointed toward the target.
Focus on maintaining four things:
- Consistent altitude.
- Controlled turning speed.
- Similar distance from the target.
- Correct nose alignment.
This is particularly useful for players who want to provide aerial support while keeping their weapons directed toward a specific area.
Practical Combat Tips
Use Terrain as Cover
Hills, ridges, and buildings can help conceal your approach from enemies. Low-level flying is useful near combat areas, but staying too close to the ground throughout an entire flight leaves little room for recovery.
Avoid Exposed Landing Zones
A protected landing position is generally more useful than a wide-open area, especially when transporting teammates.
Watch Your Rotor Clearance
A landing position that appears large enough for the cockpit may still be too tight for the rotor or tail.
Learn When to Stop and When to Climb
If there is enough room, reducing speed before an obstacle is often safer. If stopping would put you in a worse position, gaining altitude may be the better option.
Do Not Always Aim for a Perfect Hover
A controlled run-on landing can be useful when time is limited, provided the remaining horizontal and vertical movement is manageable.
Keep Passenger Equipment in Mind
Having spare parachutes available in the helicopter inventory can give passengers another way to leave the aircraft when a conventional landing is not practical.
For players who regularly transport teammates, these decisions can make the difference between a useful insertion and an unnecessary aircraft loss. Building consistent flight skills is also valuable when managing progression and exploring different Wardogs Accounts options.
Summary
Learning to fly helicopters in WARDOGS takes practice, but the process becomes much easier once you understand how the main controls interact.
Start with the default keyboard setup and flight assists, learn to control pitch, roll, yaw, and collective, and practice basic takeoffs and landings in the Firing Range.
After becoming comfortable with normal flight, move on to sideways movement, target circling, and J-Hook landings. These skills will help you transport teammates more safely, approach combat areas with better positioning, and provide more effective aerial support.
Most importantly, do not rush advanced maneuvers before you can control the helicopter consistently. Smooth inputs and good landing-zone selection are more valuable than aggressive flying without a clear plan.
Frequently Asked Questions
How do you fly a helicopter in WARDOGS?
Start with the default keyboard controls and flight assists enabled. Use collective to control lift, pitch for forward movement, roll for banking, and yaw for heading adjustments. Practice in the Firing Range before entering combat.
What is the best helicopter for beginners?
The AH-6M Little Bird is a good starting point because it is the starter helicopter and provides an accessible way to learn the basic mechanics. Larger helicopters may require more adjustment as you become familiar with their handling.
How do you perform a J-Hook in WARDOGS?
Approach the landing zone with forward speed, bank toward it, and apply yaw in the same direction. Manage collective during the turn, then gradually level the aircraft and control the remaining descent for touchdown.
Where can you practice helicopter flying?
The Firing Range is a useful place to practice. Start with basic takeoffs, straight flight, and landing before attempting more advanced maneuvers.
Should beginners turn off Flight Assists?
Generally, no. Keeping Stability Assist, Auto-Hover Assist, and Envelope Limits enabled can make early practice more manageable. You can experiment with manual controls after developing a better understanding of helicopter handling.