In WARDOGS, destroying an enemy vehicle is often less about firing more rounds and more about choosing the right target. Our team recommends learning where each vehicle is vulnerable before committing valuable ammunition. Whether you're carrying an RPG-7, a MAAWS launcher, or standard rifle ammunition, understanding vehicle weak points can help you decide when to attack, disable a threat, or reposition. Managing your loadout and resources, including Wardogs Cash, also starts with knowing which equipment fits the fight.
This guide breaks down the main vehicles covered in our reference material, from the L2A6 and T72 tanks to the Humvee, Ural trucks, SPH-2 artillery vehicle, and several helicopters. We'll explain which areas deserve priority, which weapons are worth considering, and when disabling a vehicle is more practical than trying to destroy it outright. Specific damage figures should be treated as reported estimates rather than guaranteed results, since the available material does not establish a standardized testing method.
Understanding Vehicle Weak Points in WARDOGS
Before attacking, we recommend identifying the result you want. A vehicle that cannot move is a different problem from one that has been completely destroyed, and eliminating its driver may be enough to interrupt an enemy push.
| Tactical objective | Priority target | Practical approach |
|---|---|---|
| Disable movement | Tank tracks or Humvee tires | Use sustained, accurate fire where appropriate |
| Destroy the vehicle | Rear engine, side engine, or vulnerable components | Use suitable explosives and favorable angles |
| Eliminate the operator | Exposed cockpit or driver area | Aim carefully at the occupant rather than the strongest armor |
| Reduce ammunition waste | Vehicle-specific weak points | Avoid repeatedly attacking heavily protected areas |
Choose the right angle before firing
Heavy vehicles are generally poor targets for repeated frontal attacks when their front armor offers substantial protection. Flanking can expose their engines, side components, or rear sections, giving your squad a better opportunity to deal meaningful damage.
We also advise checking what stands between your weapon and the intended target. A clear shot at the engine is more useful than repeated rounds striking cargo, armor, or another component that absorbs the damage.
Before opening fire, decide whether your goal is to disable the vehicle, eliminate its operator, or destroy it completely. Choosing the right target for the intended result is more effective than repeatedly firing at the strongest armor.
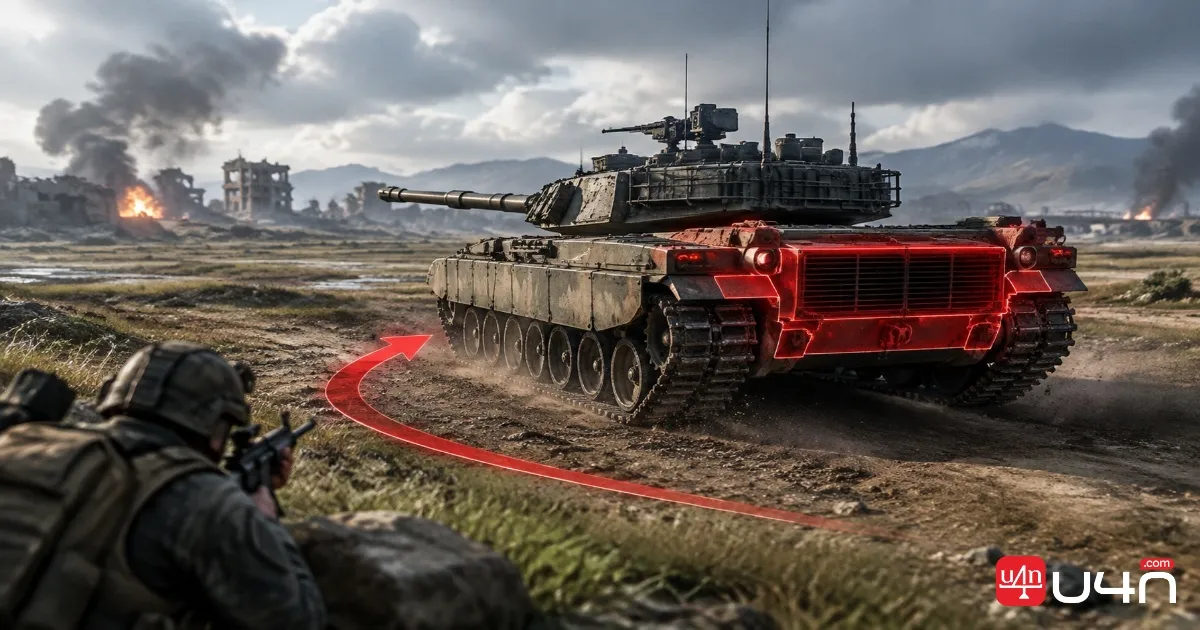
L2A6 and T72 Tanks: Attack the Rear or Disable the Tracks
The L2A6 and T72 require a different approach from lightly armored vehicles. Their frontal protection makes direct attacks a poor default choice for infantry, especially when the attacker has limited explosive ammunition.
Priority targets:;Rear engine compartment, tracks, lower rear wheels, and rear turret section.
Our team recommends working toward the rear whenever the battlefield allows it. The supplied guide identifies the engine compartment as a key destruction point, while the tracks provide an alternative when a clean rear shot is unavailable.
| Target | Recommended approach | Intended result |
|---|---|---|
| Rear engine | RPG-7 or MAAWS | Damage the engine and potentially destroy the tank |
| Tracks or lower rear wheels | Accurate explosive attacks | Restrict movement and repositioning |
| Rear turret section | Suitable explosives | Attack a more vulnerable area when the engine is difficult to reach |
| Front armor | Avoid unnecessary direct attacks | Conserve ammunition for more productive shots |
The reference material reports that several explosive hits may be required to destroy a tank through its rear engine area, while frontal attacks can demand considerably more ammunition. These figures are estimates, not universal thresholds.
If your squad cannot finish the tank immediately, disabling its movement can still create a valuable opening. A stationary tank has fewer options for escaping, changing its firing position, or protecting its vulnerable side.
Humvee: Target the Tires or Use Explosives
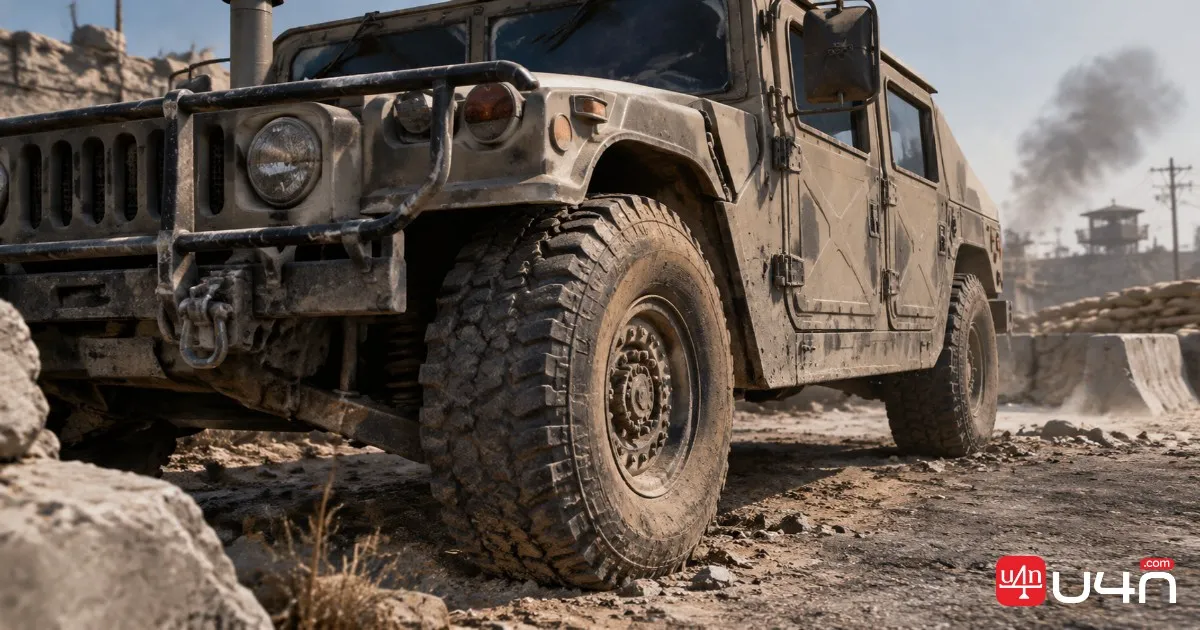
The Humvee is a useful example of why the intended outcome matters. If your goal is to destroy it, explosives are the primary option described in the reference material. If you only need to limit its mobility, the tires offer another route.
Priority targets: Tires, lower side doors, front bumper, and exposed occupants.
When explosives are available
The supplied guide identifies MAAWS as an effective choice against the Humvee's lower body or front bumper. C4 and IEDs are also listed as potential destruction methods, while RPG-7 attacks may require multiple successful hits.
We recommend aiming at a suitable vehicle component instead of repeatedly shooting the windshield, roof, or other areas that the reference identifies as poor hull-damage targets.
When you only have small arms
Focus on the tires if destroying the vehicle with your current ammunition is unrealistic. The reference material estimates that damaging a tire can take several rounds, with additional hits needed to destroy it completely.
You do not necessarily need to remove every tire to disrupt the vehicle. Damage to multiple tires can make turning and repositioning more difficult, reducing the Humvee's usefulness during an engagement.
Small-arms fire is generally a poor choice for destroying the armored hull. However, the supplied material describes ballistic glass as a possible route to targeting occupants. This is a different objective from destroying the vehicle itself, so choose your target according to the threat you need to remove.
Ural Trucks and SPH-2 Artillery: Find a Clear Shot
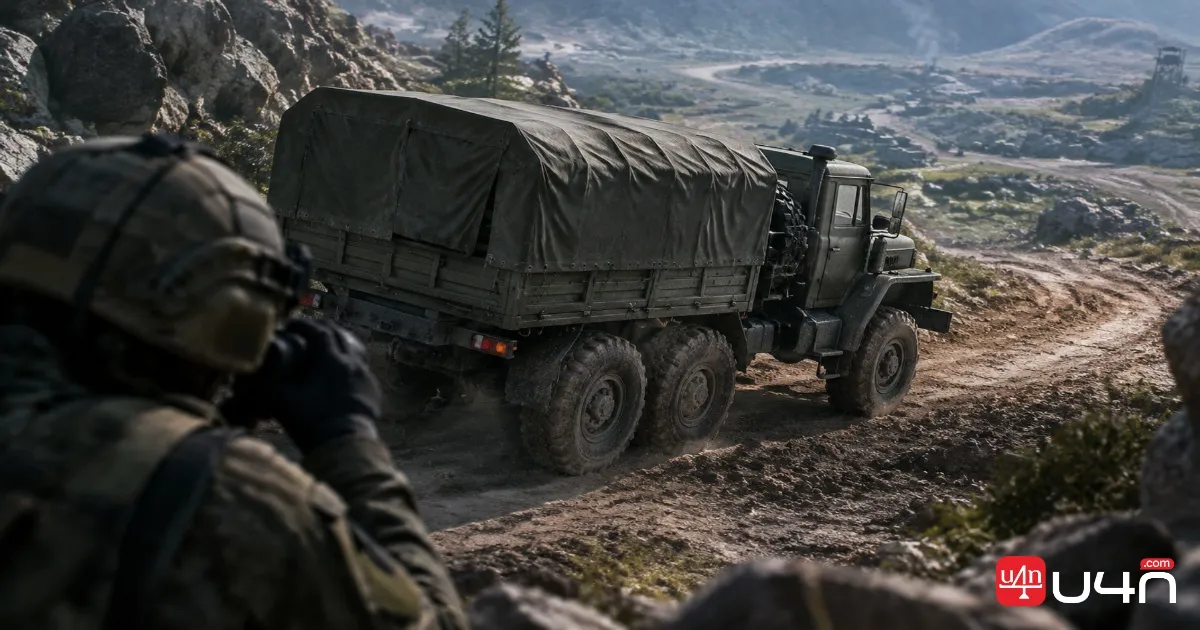
Ural trucks and SPH-2 artillery vehicles reward careful positioning. Both can appear more resistant to attack when rounds strike the wrong area, so identifying an unobstructed route to a vulnerable component is essential.
Ural: Prioritize the cab and side engine
Priority targets: Side engine, driver-side cab, and fuel tank area.
The reference guide identifies the side engine and cab as effective explosive targets. It also reports that an attack on the driver area can eliminate the operator, potentially stopping the vehicle without requiring immediate destruction.
One detail worth remembering is the cargo bed. Ural's rear pallets may obstruct incoming fire, making shots toward the cargo area ineffective. If your rounds appear to be hitting the truck without producing the expected result, change your angle rather than continuing to fire into the obstruction.
SPH-2: Flank the vehicle and attack the rear
Priority target:;Rear engine compartment.
The SPH-2 artillery vehicle follows a similar principle to the tanks: its frontal protection makes a direct approach less attractive when another angle is available.
The supplied material reports that destroying the vehicle from the rear may take fewer explosive hits than attacking from the front or side. The exact result depends on the weapon and impact location, but the tactical lesson is straightforward: approach from a position that exposes the engine instead of trading shots against the strongest armor.
When possible, coordinate with a teammate to draw attention while another player moves to a better firing angle. Avoiding a prolonged frontal engagement can preserve ammunition for the actual weak point.
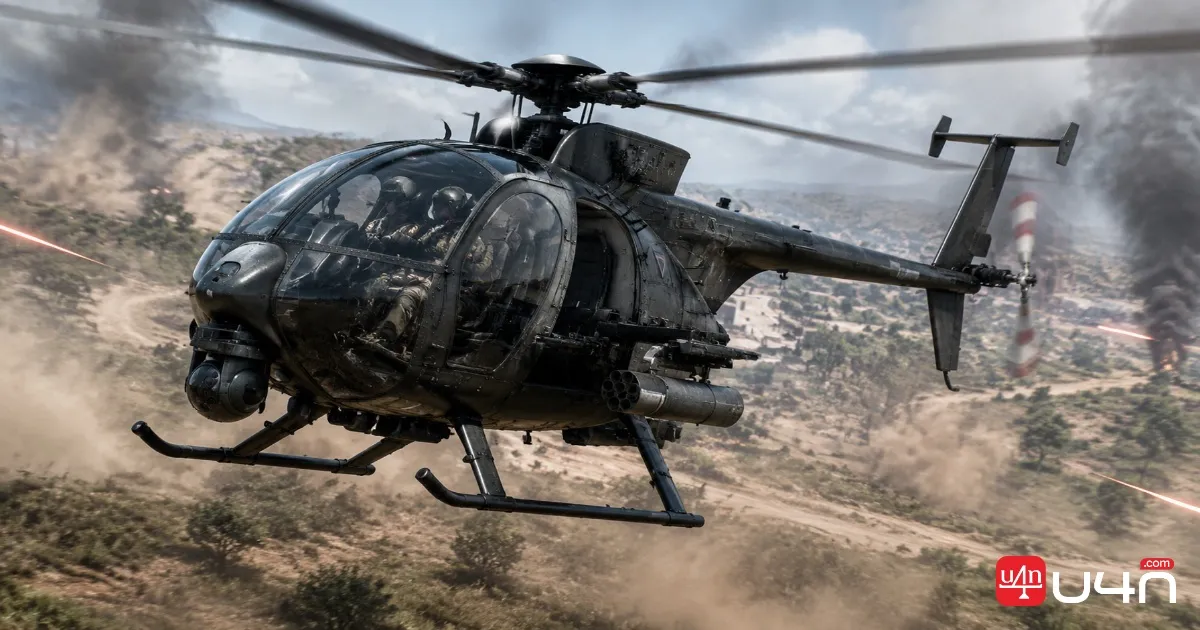
MH-6 Little Bird, Z20 Lakota, and Havoc: Aim for Critical Components
Helicopters present a different challenge because movement makes precise shots harder to land. Rather than treating every aircraft as an armored target, we recommend looking for exposed crew positions or vulnerable flight components.
| Helicopter | Priority target | Tactical recommendation |
|---|---|---|
| MH-6 Little Bird | Pilot or cockpit | Use accurate small-arms fire when a launcher shot is unreliable |
| Z20 Lakota | Tail rotor or tail-mounted component area | Aim for the rear assembly with suitable explosives |
| Havoc attack helicopter | Main rotor assembly | Look for a clear shot when its flight angle exposes the upper structure |
MH-6 Little Bird: Focus on the pilot
The MH-6 is described in the supplied material as vulnerable to explosive hits, but its agility makes a direct launcher attack difficult. If you cannot confidently land that shot, concentrated small-arms fire toward the exposed pilot or cockpit may be a more practical option.
Our team recommends avoiding careless shots through the open rear cabin. A projectile that passes through an opening without striking the aircraft may accomplish nothing.
Z20 Lakota: Target the tail assembly
The Z20's tail section is the primary weak-point area identified by the reference guide. Explosive attacks aimed at the tail rotor or nearby components may compromise the helicopter's ability to remain airborne.
A successful hit does not necessarily guarantee the same outcome in every engagement, so prioritize a clear angle and avoid wasting shots at distant or partially obscured components.
Havoc: Look for the main rotor
The Havoc is larger than the Little Bird, which can make it easier to track, but landing a precise shot on its main rotor remains challenging. The reference material identifies the rotor assembly as its key target and suggests watching for flight attitudes that expose more of the upper structure.
If a direct rotor shot is impractical, coordinated explosive attacks against the aircraft may offer another route. Two players working together can improve the chance of maintaining pressure, provided they have clear firing opportunities.
Summary: Choose the Weak Point Before Choosing the Shot
The most useful anti-vehicle habit in WARDOGS is to decide what you need to accomplish before opening fire. A tank's tracks may be a better target than its hull when your squad needs to stop its advance. A Humvee's tires may be worth attacking when explosives are unavailable, while a Ural's side engine is a better choice than a cargo bed obstructing your line of fire.
We recommend keeping three rules in mind:
- Heavy armor: Look for rear or side weak points rather than repeatedly attacking the front.
- Light vehicles and trucks: Use explosives for destruction, or target mobility and occupants when that better serves the situation.
- Helicopters: Prioritize exposed crew positions and critical flight components, and take clear shots instead of firing launchers at poor angles.
Loadout preparation matters, but equipment is only useful when it matches the situation. If you're planning to buy Wardogs Cash for your next setup, consider how your preferred weapons and equipment support your anti-vehicle role rather than focusing on raw firepower alone.
Ultimately, we find that patience and positioning are just as important as weapon choice. If your current angle produces little damage, reposition, coordinate with your squad, or switch to a more achievable objective. Knowing when to stop shooting is part of effective vehicle combat.
FAQ: WARDOGS Vehicle Weak Points
Where should you shoot a tank in WARDOGS?
The supplied guide recommends targeting the rear engine compartment, rear turret area, or tracks of the L2A6 and T72. The front is generally a less attractive target because of its reported armor protection.
What is the best way to disable a Humvee?
Targeting the tires can reduce its mobility, while suitable explosives are the recommended approach when your goal is destruction. The best option depends on your ammunition and the time available.
How should you attack the Ural truck?
Look for a clear shot at the side engine, cab, or fuel tank area. Avoid firing into cargo pallets that may obstruct the shot.
Can small arms damage helicopters?
The reference material describes small-arms fire aimed at the MH-6 pilot or cockpit as a possible way to eliminate the operator. This should not be confused with reliably destroying the entire aircraft.
Should you destroy every enemy vehicle immediately?
Not necessarily. Disabling movement or eliminating the operator may be enough to interrupt an enemy attack. When ammunition is limited, we recommend choosing the objective that offers the greatest immediate tactical benefit.