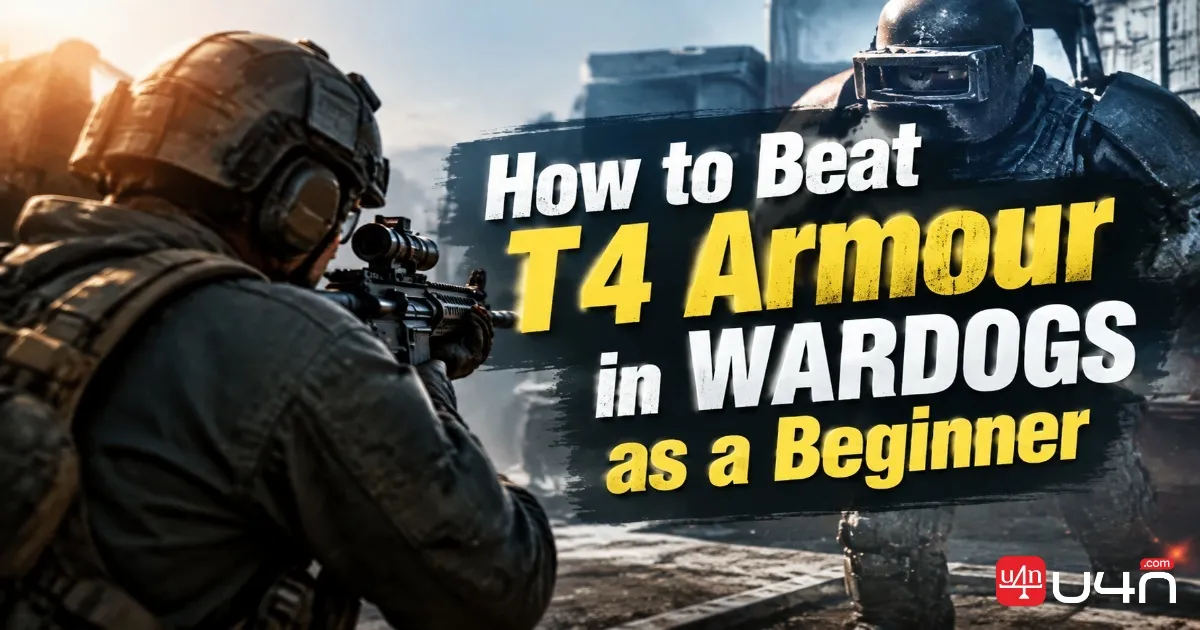
Running into a player wearing T4 armour can make a fight feel hopeless in WARDOGS, especially when we are still using basic weapons and budget equipment. The key is to stop treating every encounter like a fair duel. Understanding armour coverage, choosing the right ammunition, and knowing when to break contact can give us more options than simply trying to outshoot a better-equipped opponent.
For new players, managing Wardogs Cash is just as important as improving aim. Losing a cheap kit while learning the game is manageable; repeatedly bringing expensive gear into fights we cannot control is a different story. Our team recommends learning how to handle armoured enemies before investing heavily in equipment.
What Makes T4 Armour So Difficult to Beat?
T4 is community shorthand for Level 4 armour. Its main advantage is straightforward: it reduces incoming damage to protected areas, allowing an experienced player to survive hits that would be dangerous to someone wearing lighter gear.
The reported Season 1 figures list Super Heavy Armor with 65% damage reduction and 300 durability. Its coverage includes the torso, pelvis, and upper arms. The Super Heavy Helmet offers the same reported reduction, with protection for the head and neck.
| Armour type | Reported damage reduction | Main coverage |
|---|---|---|
| Light Armor | 30% | Upper, middle, and lower torso |
| Heavy Armor | 55% | Torso |
| Super Heavy Armor | 65% | Torso, pelvis, and upper arms |
| Super Heavy Helmet | 65% | Head and neck |
These figures explain why repeatedly shooting an armoured opponent in the chest is often an inefficient strategy. Armour reduces the damage that gets through, while durability determines how much punishment the equipment can take before wearing out.
However, we should not assume every encounter follows a simple damage formula. Actual results can depend on ammunition, hit location, weapon behaviour, and mechanics that have not been fully documented.
The practical lesson: recognise the protected areas, avoid wasting ammunition on unfavourable shots, and look for a better engagement before committing to a prolonged firefight.
Choose Ammunition for the Target
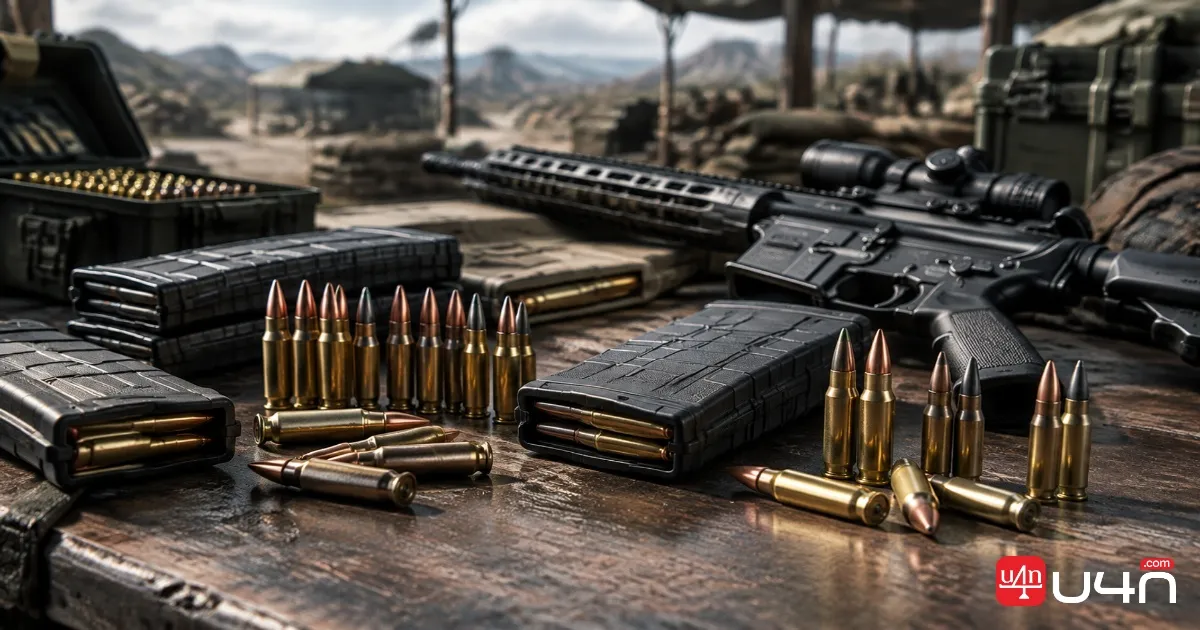
Different ammunition types serve different purposes. Hollow-point rounds are designed to deal more damage to unarmoured targets, while armour-piercing ammunition is intended to perform better against protection. Standard FMJ ammunition offers a more general-purpose option.
The reported ammunition modifiers illustrate the trade-off:
| Ammunition | Flesh damage modifier | Armour modifier |
|---|---|---|
| FMJ | ×1.0 | ×1.0 |
| Hollow-point (HP) | ×2.0 | ×1.5 |
| Armour-piercing (AP) | ×0.8 | ×0.3 |
These are reported game-table values, not a complete formula for calculating final damage. We should not interpret them as proof that a particular round will always produce a specific result against T4.
Hollow-point is useful when we can hit an unprotected area, but it is a poor choice for repeatedly attacking a heavily armoured chest. Armour-piercing ammunition is the more logical option when we need to challenge armour directly, although availability and progression requirements may limit what a new player can use.
Our advice is simple: check the ammunition you have available and use it with a clear purpose. Do not spend extra money on specialised rounds unless they fit the fights you expect to take.
Where Should You Aim Against T4?
When an enemy has strong armour, shot placement matters more than simply firing faster. The goal is to avoid protected areas whenever the situation allows it.
Legs
They are not covered by the listed armour pieces. This makes them a potential target, but the exact damage multiplier has not been reliably established. Do not assume every leg shot will outperform a torso hit.
Head
A headshot can be valuable when the opponent's helmet is weaker or absent. Against a full T4 helmet, however, headshots are still affected by armour.
Exposed Areas
If the enemy's movement or position leaves an area unprotected, take advantage of the opening rather than continuing to hit a plated section.
Torso
Avoid repeatedly trading chest shots with a player wearing Super Heavy Armor unless you have a clear tactical or numerical advantage.
We also need to consider the situation around the target. A difficult shot from an exposed position can be worse than a less damaging shot taken from cover. When an enemy is moving unpredictably, maintaining a safe angle may be more valuable than chasing a perfect hit location.
Win Fights Through Positioning, Not Just Damage
A well-equipped opponent has an advantage, but that does not mean we have to accept a direct duel. Our team prefers to evaluate the encounter before opening fire.
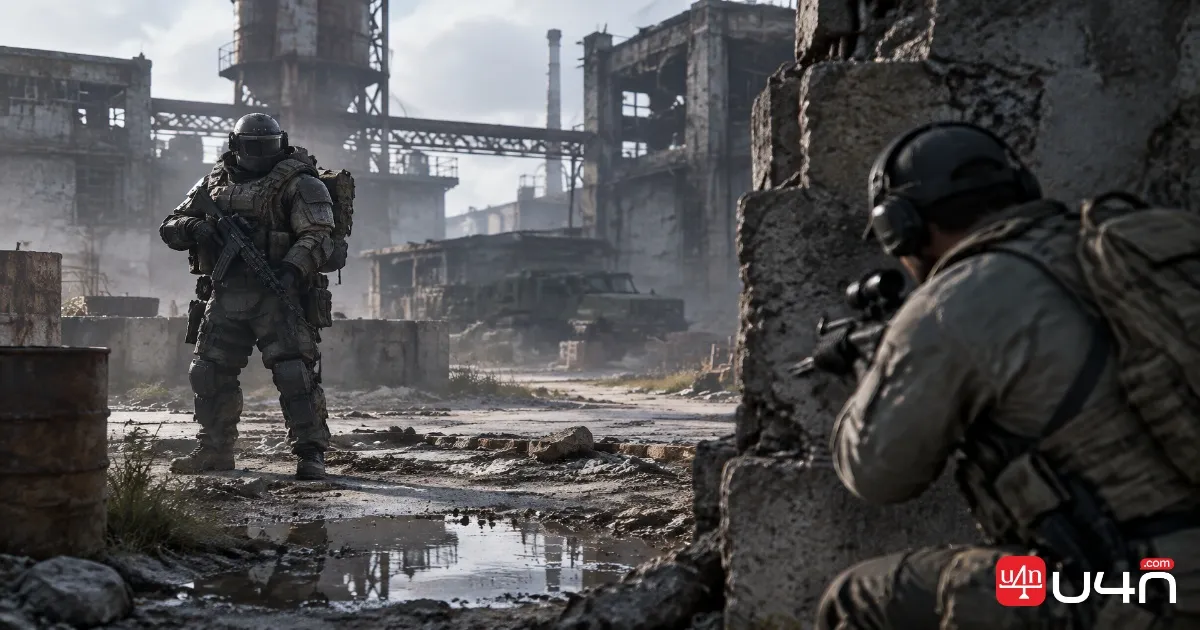
First, identify whether the target is alone or supported by teammates. A heavily armoured player near a squad is much more dangerous than one who has become separated. Next, check available cover and possible escape routes. Concrete barriers, solid corners, and other useful terrain can help us limit exposure while deciding whether to engage.
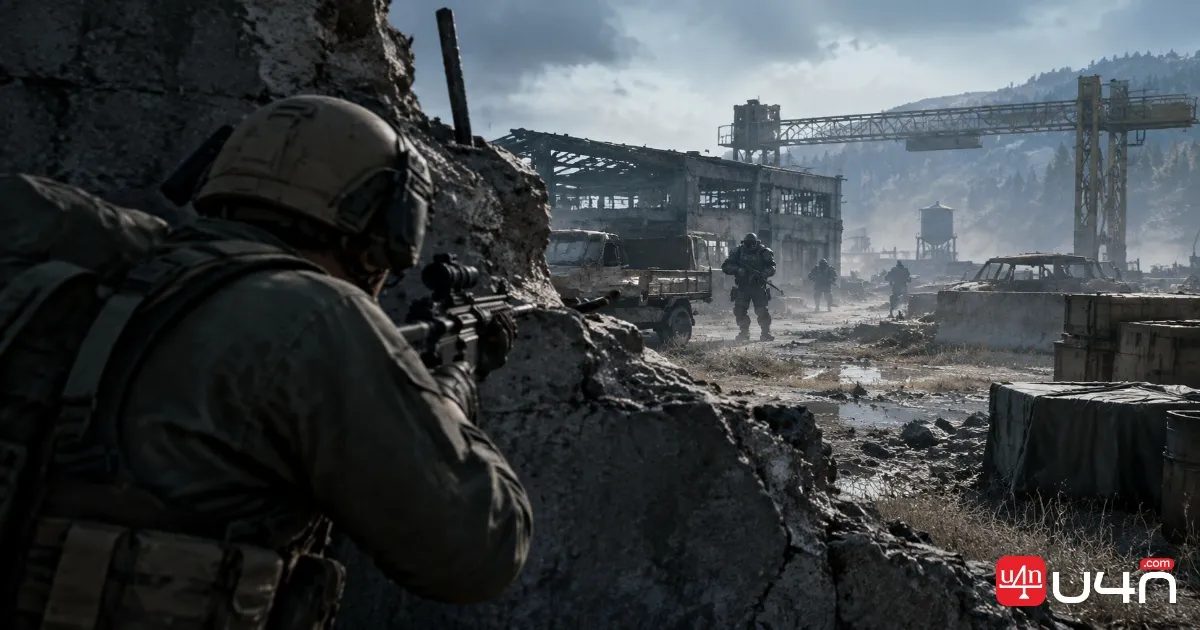
If we choose to fight, we should avoid remaining in the same firing position for too long. Repeatedly peeking from one predictable angle gives the opponent time to react. If the engagement starts going badly, disengaging is a valid decision, not a failure.
New players should also consider support roles. Helping teammates, holding useful positions, and scavenging equipment after a successful fight can all contribute to progression without requiring us to win every one-on-one encounter.
The most important habit is learning to recognise a bad fight early. Better judgement will not remove the equipment gap, but it can prevent that gap from deciding every encounter.
Keep Your Loadout Affordable While Learning
Expensive equipment does not automatically make us better players. When we are still learning maps, recoil, positioning, and enemy behaviour, a manageable loadout gives us more opportunities to practise without turning every mistake into a major financial setback.
We recommend a simple approach:
- Bring weapons you can use consistently rather than choosing a loadout purely for its damage potential.
- Carry ammunition suited to your intended targets instead of paying extra for rounds you may not use effectively.
- Avoid unnecessary fights when the reward does not justify the risk.
- Collect useful enemy equipment after combat when the area is safe enough to search.
- Work with an established squad or FOB when possible, so your progress does not depend entirely on personal kills.
If your goal is to build up cheap Wardogs Cash reserves, consistency matters more than one impressive fight. A series of controlled raids, sensible equipment choices, and successful extractions can provide a better foundation than repeatedly risking your entire budget against players in endgame gear.
We also recommend reviewing your losses after each encounter. Ask whether you lost because of poor positioning, ineffective ammunition, or a fight you should never have taken. Identifying the actual mistake helps you improve without automatically spending more.
Summary
Beating T4 armour in WARDOGS is less about finding a magic bullet and more about understanding the limits of your equipment. Heavy armour makes protected areas difficult to damage efficiently, while ammunition choice and shot placement can influence how well we handle different encounters.
Our team recommends avoiding prolonged chest-to-chest exchanges, using cover to control exposure, and targeting unprotected areas when practical. Because some damage mechanics remain uncertain, treat specific hit-location advice as a tactical guideline rather than a guaranteed result.
Most importantly, protect your budget while learning. You do not need to win every fight or match the opponent's gear to make progress. Better decisions, useful teamwork, and consistent improvement can gradually close the gap.
FAQ
Can a beginner defeat a player wearing T4 armour?
Yes, but it depends on positioning, weapon choice, ammunition, and the circumstances of the fight. T4 provides a substantial defensive advantage, so a direct exchange of torso shots is usually not the best approach.
Is hollow-point ammunition effective against T4?
It can be effective against exposed flesh, but it is not the preferred choice for repeatedly shooting protected areas. Armour-piercing ammunition is more suited to challenging armour when it is available.
Should I always aim for the legs?
No. Legs are not covered by the listed armour pieces, but their exact damage multiplier has not been reliably established. Aim for exposed areas when practical, while considering accuracy, distance, and your own safety.
Is expensive equipment necessary for progression?
No. Better gear can improve your chances in some encounters, but it cannot replace positioning, awareness, and sound decisions. An affordable loadout can help beginners practise and recover from mistakes without excessive financial pressure.