


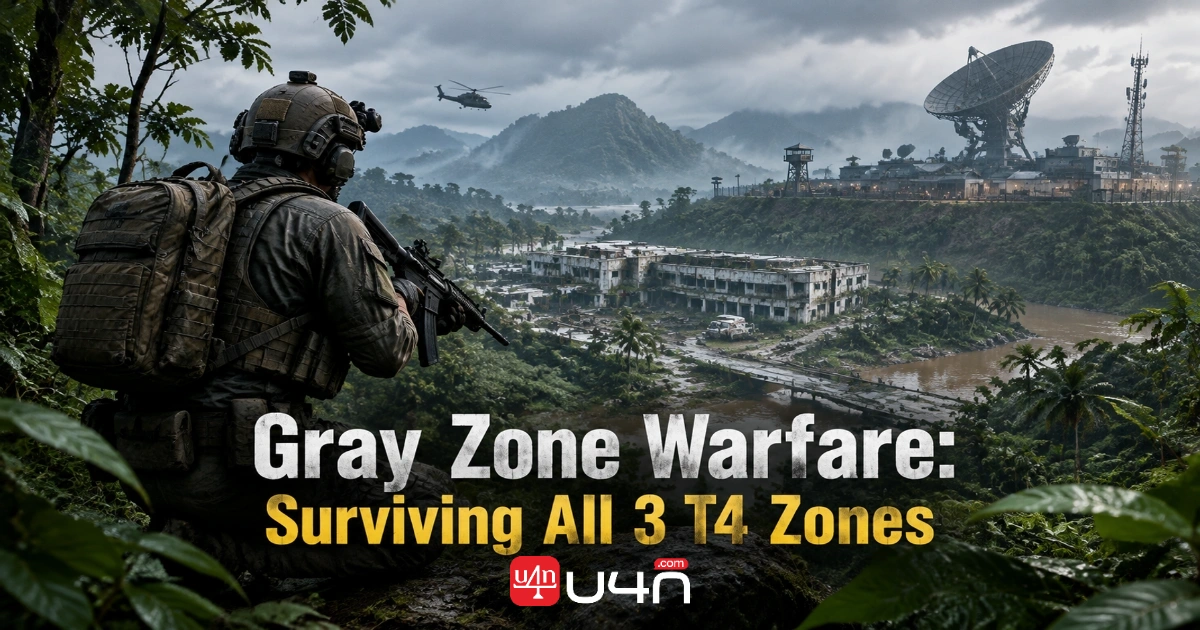
The key to surviving the three Tier 4 zones in Gray Zone Warfare is not simply bringing a stronger rifle. It is knowing when to move, when to hold an angle, and when to stop pushing. Lakevale Sanctuary, Northern Reach, and RLSL-1 each offer a different environment to learn, and Update 0.5: Rogue Ops raises the stakes with tougher AI behavior and new locations. Our team recommends treating your first run as a controlled operation rather than a race for loot. A sensible loadout and a clear extraction plan will do more for your survival than carrying every expensive item you own.
Before heading out, check your equipment, ammunition, medical supplies, and access requirements. If you need to fill gaps in your setup, browse relevant Gray Zone Warfare Items, but keep your purchase decisions tied to the objective you intend to complete. Gear can improve your margin for error; it cannot replace careful positioning or a reliable plan.
A sensible loadout and a clear extraction plan will do more for your survival than carrying every expensive item you own.
What Are the Three T4 Zones in Gray Zone Warfare?
The Rogue Ops update introduced three new Tier 4 points of interest, each with its own setting and story. They are more than three places to visit on the map: they are high-risk environments where players need to pay attention to sightlines, enemy positions, and how much ground they can safely control.
| T4 location | Main setting | What to prepare for |
|---|---|---|
| Lakevale Sanctuary | Former medical institution, also known as the Asylum | Careful room clearing, close-range threats, and disciplined movement indoors |
| Northern Reach | Fortified military research site | Controlled advances, awareness of exposed approaches, and readiness for armed resistance |
| RLSL-1 | Radio Observatory | Methodical exploration, attention to restricted access, and preparation for facility-related objectives |
These descriptions are a practical starting point, not a definitive difficulty ranking. Enemy placement, your faction, mission requirements, and the situation on the server can all affect how a run unfolds. A route that feels manageable one day can become dangerous when your squad loses control of an approach or stays in a fight too long.
Which T4 Zone Should You Explore First?
There is no universally best first zone for every player. Our team would choose based on the mission, available equipment, and the type of combat the squad is comfortable handling.
Lakevale Sanctuary: Slow Down Indoors
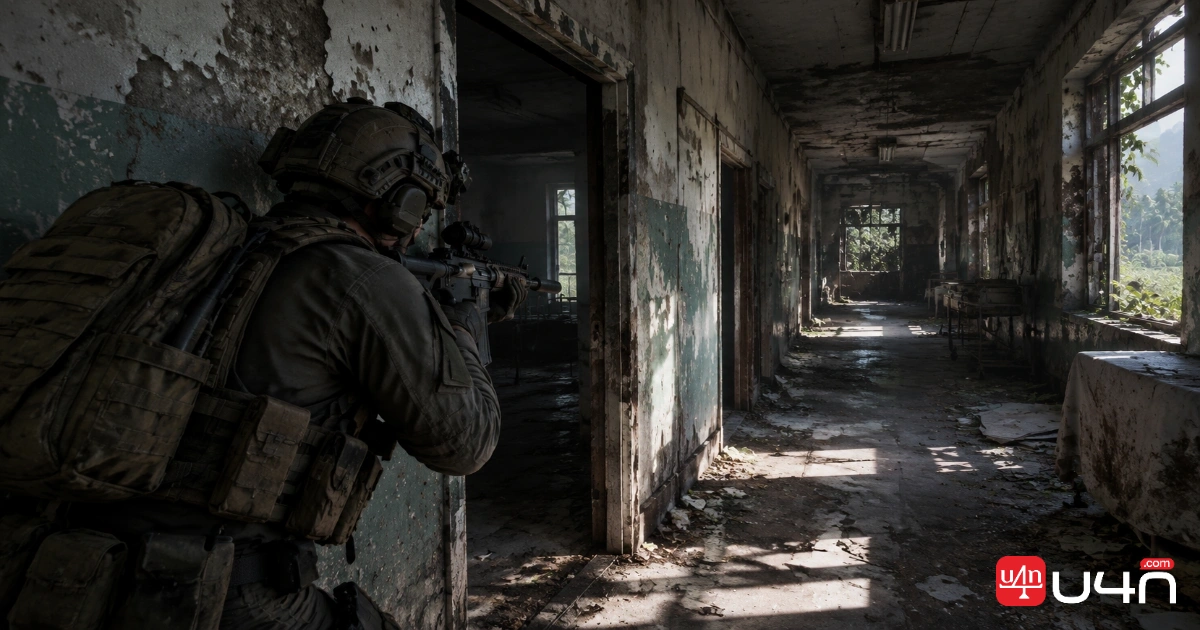
Lakevale Sanctuary is the former Asylum, and its enclosed spaces reward patience. Instead of moving from room to room at full speed, clear one section at a time. Check doorways and corners before exposing yourself, and avoid letting the entire squad enter a narrow space together.
The biggest mistake here is confusing a quiet room with a cleared building. An enemy you have not seen can still punish a rushed push. Keep enough space between teammates to avoid blocking one another, but remain close enough to respond if someone is hit.
Northern Reach: Respect the Approach
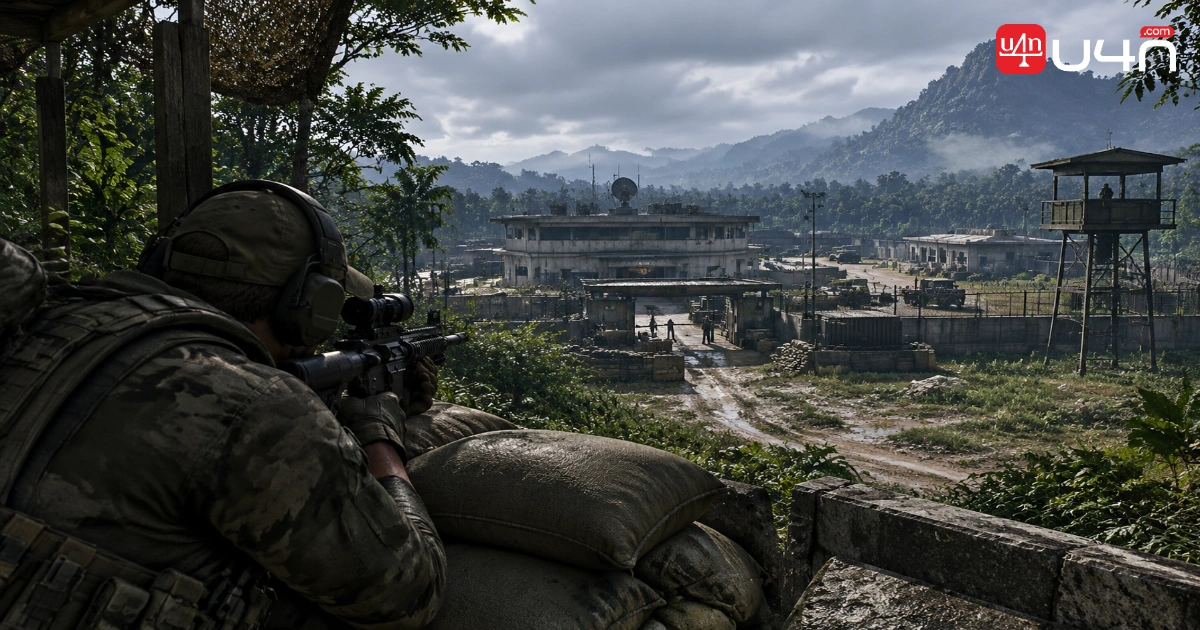
Northern Reach is a heavily fortified military research facility. Before committing to an entrance, observe the area and decide where you can retreat if the first engagement goes badly. Crossing open ground without a destination in mind leaves you with few good options when enemy fire starts.
Use cover to break up your movement, and avoid repeatedly peeking from the same position. If your squad is pinned down, repositioning or disengaging may be more valuable than trying to win the fight from a poor angle.
RLSL-1: Explore With a Purpose
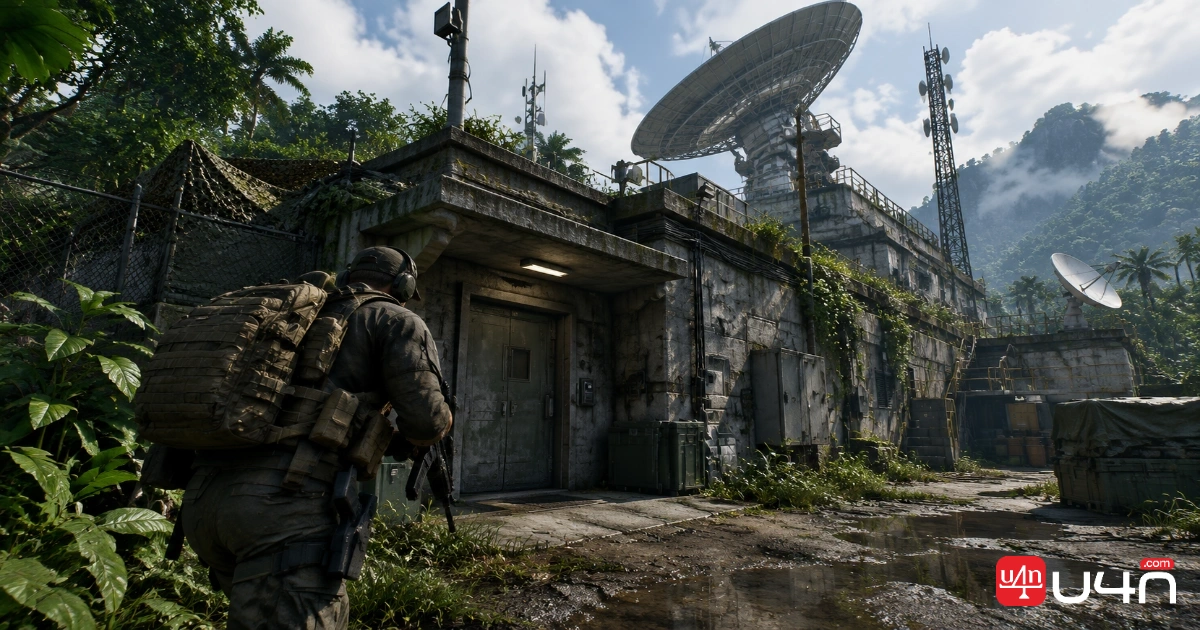
RLSL-1 began as a military listening post before becoming a radio observatory. Its facility-focused setting makes it worth approaching with a clear objective rather than wandering through every structure.
If your task involves restricted rooms or electronic access, check the relevant requirements before deployment. Gray Zone Warfare's hacking tools have multiple tiers, and certain access points may require a specific tool or key. Do not assume every locked door can be opened with the equipment you happen to carry.
Essential Gear for Your First T4 Run
A Tier 4 loadout should support the job you are doing, not just look impressive. Overloading yourself can limit mobility, while leaving without enough medical supplies can turn one injury into a failed expedition.
| Gear category | What our team recommends | Why it matters |
|---|---|---|
| Primary weapon | A familiar rifle configured for the expected engagement distance | Consistent handling is more useful than testing an unfamiliar setup under pressure |
| Ammunition | Enough suitable ammunition for the planned objective, plus a sensible reserve | Running dry during a prolonged engagement can leave you with few options |
| Armor and helmet | Use the best practical protection your budget and inventory allow | Protection helps, but it does not make exposed movement safe |
| Medical supplies | Bring the supplies needed to respond to likely injuries | A small medical reserve can prevent an otherwise manageable hit from ending the run |
| Keys and hacking tools | Check mission and access requirements before leaving base | Missing the required access item can waste the time and risk of reaching the objective |
| Carrying capacity | Leave room for mission items and useful loot | A bag packed with low-value items can undermine your extraction plan |
Do not copy another player's loadout without understanding its purpose. A kit designed for a coordinated squad may be inefficient for a solo run. Likewise, equipment intended for a short objective may not support a prolonged firefight or a long return journey.
The most useful test is simple: can your setup handle the objective, recover from a mistake, and still let you extract? If the answer is no, adjust the plan before leaving.
How to Clear T4 Zones Without Wasting Your Loadout
1. Set One Main Objective
Choose a task, target area, or specific reason for entering the zone. Secondary loot is a bonus, not a reason to abandon the original plan. When players keep changing objectives, they often spend more time exposed and carry more equipment than they intended.
2. Move Between Positions With a Reason
Before leaving cover, identify the next position you want to reach. Use terrain and structures to limit the angles from which enemies can engage you. Avoid long, unnecessary sprints through exposed areas, especially when you have not checked the likely direction of enemy contact.
3. Treat Every Engagement as a Decision
You do not need to eliminate every enemy you encounter. Ask whether the fight blocks your route, threatens your objective, or puts your extraction at risk. If it does not, bypassing the engagement may be the smarter option.
When a fight does become necessary, avoid bunching up and firing from the same angle. One teammate can watch a different approach while the others reposition, heal, or move toward the next piece of cover.
4. Know When to Leave
A successful run is not measured by how long you remain in a dangerous area. If you have completed the objective, used much of your medical supply, or lost the advantage in a prolonged fight, reassess whether additional loot is worth the risk.
Before moving toward extraction, confirm that the squad is ready to travel and that everyone understands the intended route. A rushed departure can undo an otherwise well-managed operation.
AI Threats and Common T4 Mistakes
Update 0.5 makes enemy behavior more dangerous in high-tier areas. According to the official patch notes, some AI NPCs can throw grenades to flush players out of cover, all AI NPCs can use bandages, and enemies may attempt to finish off downed players. The practical lesson is that taking cover is only the start of a response, not a guarantee of safety.
Watch for these common mistakes:
- Staying behind one piece of cover for too long. If enemies know your position, be ready to move when the angle becomes unsafe.
- Assuming a downed enemy means the area is clear. Check the surrounding space before advancing or treating a teammate.
- Entering a building without a fallback route. If the first room becomes dangerous, you need a way to withdraw without crossing unnecessary open ground.
- Using too much ammunition on one encounter. Long fights can drain the supplies needed for the rest of the objective.
- Ignoring medical readiness. Check injuries and supplies before pushing deeper into the zone.
- Following outdated route advice without checking the current version. Major updates can change AI behavior, access points, and the practical risks of familiar locations.
The best habit is to pause after each major engagement. Check the squad, ammunition, medical supplies, and immediate surroundings before moving again. Those few seconds can prevent a small problem from becoming a costly failure.
You do not need to eliminate every enemy you encounter. Ask whether the fight blocks your route, threatens your objective, or puts your extraction at risk.
T4 Loot, Hacking, and Risk-Reward Planning
High-risk locations can be tempting because players expect valuable loot or mission progress. But a location's Tier 4 status should not be treated as a guarantee that every trip will pay off. Loot availability and the value of a run depend on the objective, access, what you find, and whether you can get out safely.
RLSL-1 and other restricted areas also make access preparation important. If an electronic lock is relevant to your objective, confirm whether you need a hacking tool, a particular tool tier, or a key. Carrying the wrong equipment can turn a promising trip into an unnecessary detour.
Our team recommends evaluating a run in three stages:
- Before deployment: Define the objective, check access requirements, and bring only the equipment needed to complete the plan.
- During the operation: Prioritize mission progress and survival over opportunistic detours.
- Before extraction: Compare the value of what you have collected against the risk of staying longer.
If you are rebuilding your finances or replacing lost equipment, cheap Gray Zone Warfare Dollars may be relevant to your wider preparation. Even so, a better-funded loadout is most useful when it supports a repeatable strategy rather than encouraging avoidable fights.
A Practical Progression Plan for All Three T4 Zones
You do not need to master all three locations in one session. Build experience in manageable steps and adjust your approach after each run.
- Step 1: Prepare around one objective. Choose the zone that matches your current task and equipment.
- Step 2: Confirm access and supplies. Check keys, hacking tools, ammunition, medical items, and available carrying capacity.
- Step 3: Enter with a route in mind. Identify your intended approach and a sensible way to disengage.
- Step 4: Clear in sections. Avoid rushing into unknown rooms or crossing exposed ground without a reason.
- Step 5: Reassess after contact. Check injuries and resources, then decide whether continuing is still worthwhile.
- Step 6: Review the result. Note what caused delays, which supplies ran short, and where your route left you exposed.
This process turns each attempt into useful experience. You learn not only where enemies are likely to appear, but also how your own decisions affect survival. As you become more familiar with each location, you can refine your routes and carry less unnecessary equipment without taking reckless shortcuts.
FAQ: Gray Zone Warfare T4 Zones
What are the three Tier 4 zones in Gray Zone Warfare?
The three new Tier 4 points of interest introduced in Rogue Ops are Lakevale Sanctuary (Asylum), Northern Reach (Military Research Site), and RLSL-1 (Radio Observatory).
Which T4 zone is easiest for beginners?
There is no verified universal ranking that makes one location the easiest for every player. Choose based on your mission, loadout, preferred engagement style, and whether you are playing solo or with a squad.
Do I need a hacking tool for T4 zones?
Not for every activity in every zone. Some electronic locks or restricted areas may require an appropriate hacking tool or key, so check the requirements for your specific objective before deployment.
Is T4 loot always better than T3 loot?
Do not assume every Tier 4 run will produce better returns. The value of a trip depends on the objective, available loot, equipment costs, and whether you extract successfully.
Final Thoughts
The most reliable way to approach Gray Zone Warfare's three T4 zones is to treat survival, objective completion, and extraction as parts of the same plan. Lakevale Sanctuary rewards careful indoor movement, Northern Reach calls for disciplined approaches to a fortified site, and RLSL-1 encourages players to prepare for facility access rather than explore blindly. Learn one location at a time, adapt to the updated AI, and leave when the risk no longer makes sense. Our team's advice is simple: build a repeatable process first, then increase the ambition of each run.