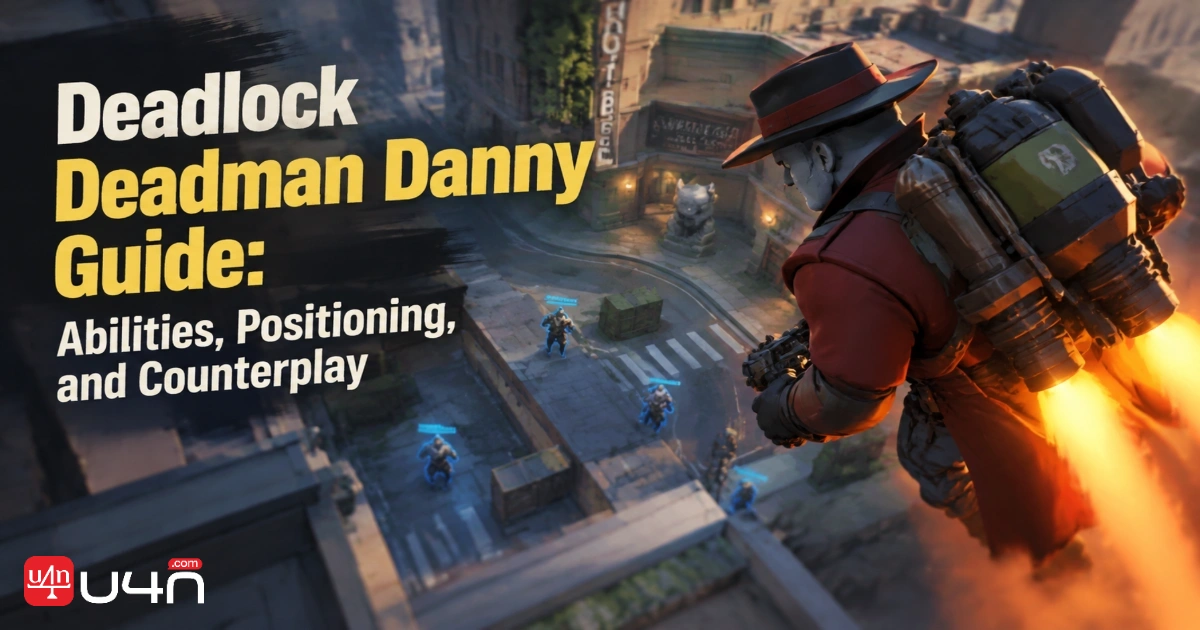
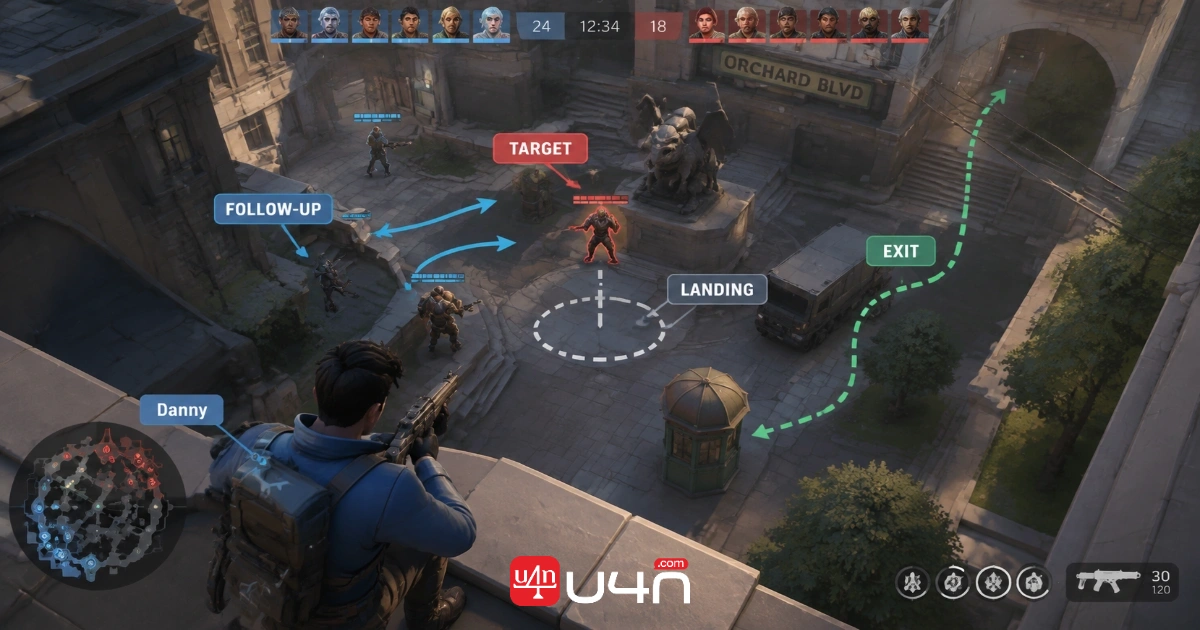
A good Danny play starts before takeoff. We want to know who we're threatening, where we're landing, and whether our team can turn the commitment into something useful. The flight gets attention; the decisions around it deserve the credit.
Whether you're learning the hero from scratch or researching Deadlock Boosting, our starting point is the same: understand the kit before chasing highlight plays. This Deadlock Deadman Danny guide connects abilities, positioning, and counterplay into a practical game plan, without pretending every fight needs a full-send dive.
Deadman Danny's Abilities: Know What You're Setting Up
Our team's approach to Danny is pressure first, commitment second. We build an opening, check the response, and only then decide whether getting closer improves the fight.
Here are the core mechanics behind that approach:
| Ability | What It Does | Our Priority |
|---|---|---|
| Strix Salvo | Launches missiles along a ground line. Explosions mark enemies; charged shots consume marks for bonus Spirit damage and a fading slow. | Keep a clear follow-up angle. |
| Chimera Mk1 | Provides flight while building heat. Overheating triggers a dive; missing enemy heroes on impact causes self-stun. | Choose a landing before running out of options. |
| Jettison Fuel | Sprays fuel for Weapon damage and bullet resistance reduction, followed by a Spirit-damage backblast and self-knockback. Dealing damage vents heat. | Connect damage without sacrificing position. |
| Close The Deal | Grabs an enemy for an aerial crash, damaging both participants. Enemy damage increases against targets below half health. | Check both health bars and the destination. |
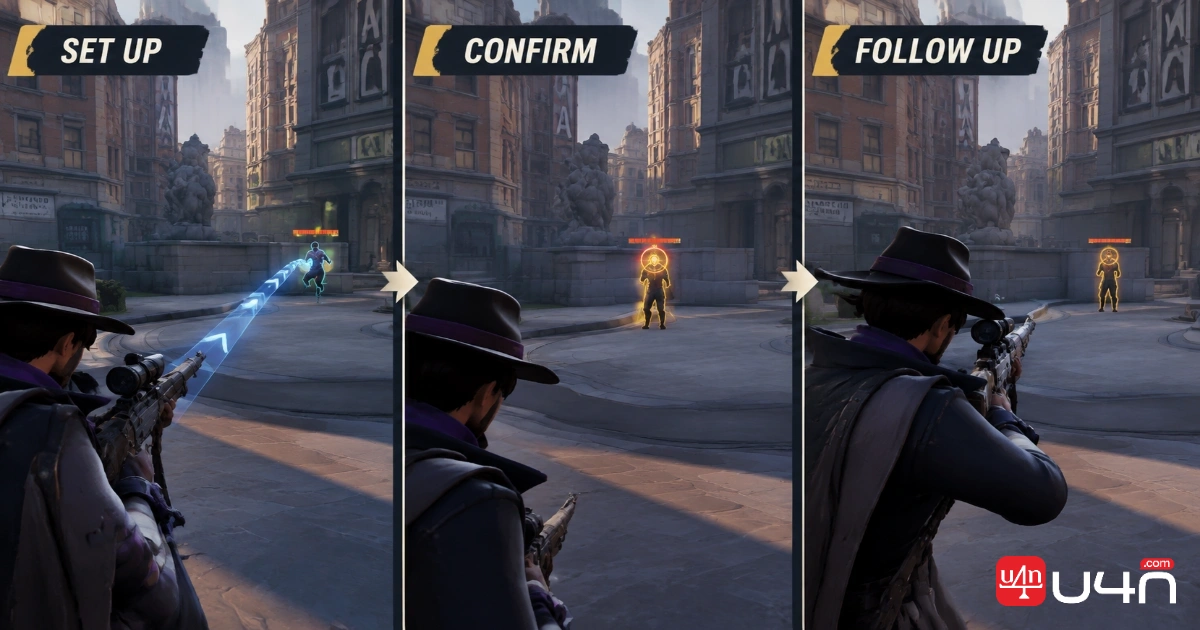
Danny's charged weapon shots are also central to converting his marks into follow-up damage. We treat that interaction as a basic drill, not an optional flourish.
Strix Salvo: Make the Second Hit Possible
We favor setups across a retreat path or around a contested corner, provided we can still see the opponent afterward.
A mark behind a wall is not a reason to chase blindly. Before placing the line, we ask: where will we stand to take the next shot?
That question keeps the ability connected to a plan instead of turning it into isolated poke.
Chimera Mk1: Fly With a Destination
We start with short flights between recognizable positions. A nearby corner, a supported angle, a landing we can explain.
The mistake we want to avoid is deciding where to go only after we're airborne. At that point, attention gets split between movement, the target, and everything happening below.
Our rule: identify a primary landing and a fallback before taking off.
Jettison Fuel: Don't Let Cooling Become an Excuse
We use fuel pressure when the approach already makes sense. We don't force a bad chase simply because connecting would help our next movement decision.
If the opponent retreats beyond cover and team support, we reassess. Recovering our position can be worth more than squeezing out another interaction.
Close The Deal: A Reachable Target Isn't Always the Right Target
We judge the commitment by what happens afterward.
Can teammates contribute? Are we arriving in enemy crossfire? Does our own health leave room for the risk?
A low-health opponent can be an opportunity. We still want an answer to those questions before committing.
How to Play Danny: Pressure, Confirm, Then Commit
Our preferred combat loop is:
Create pressure → Confirm the opening → Improve the angle → Commit or reset.
The reset belongs in the sequence. We don't treat backing off as a failure when the original opportunity disappears.
Start With a Repeatable Exchange
In lane, we prioritize a sequence that leaves us ready for the next wave and the next trade.
For example, we can threaten an opponent near cover without immediately chasing around it. If they retreat, we take the space. If they stay, we look for a clean follow-up. If another enemy arrives, we still have room to leave.
That is the kind of exchange we want to repeat, not a favorable opening that ends with us stranded.
Practice Purposeful Combos
We separate mechanical practice from real-match decision-making:
| Practice Sequence | What We're Training |
|---|---|
| Strix Salvo → confirm the mark → charged shot | Recognizing and converting a setup |
| Jettison Fuel → reassess → shoot or disengage | Choosing the next action rather than autopiloting |
| Short flight → planned landing → move toward cover | Maintaining control through the entire entry |
| Establish pressure → check health and support → consider the ultimate | Selecting a worthwhile commitment |
Our standard is consistency, not complexity. If a longer sequence consumes all our attention, we simplify it until we can also track enemy movement and teammate positions.
Danny Positioning: Plan Where the Fight Ends
We approach Danny positioning through one question:
If this play doesn't finish the target, is our next position still playable?
That exposes the difference between calculated aggression and a chase held together by optimism.
In Lane: Don't Trade Your Position for Uncertain Damage
We avoid crossing a comfortable escape route just to extend a trade.
Before pursuing, we compare the possible reward with what we're giving up: cover, access to the wave, and proximity to help. If the opponent has already reached a difficult corner, holding space may be the cleaner win.
We don't need every successful exchange to end in a kill.
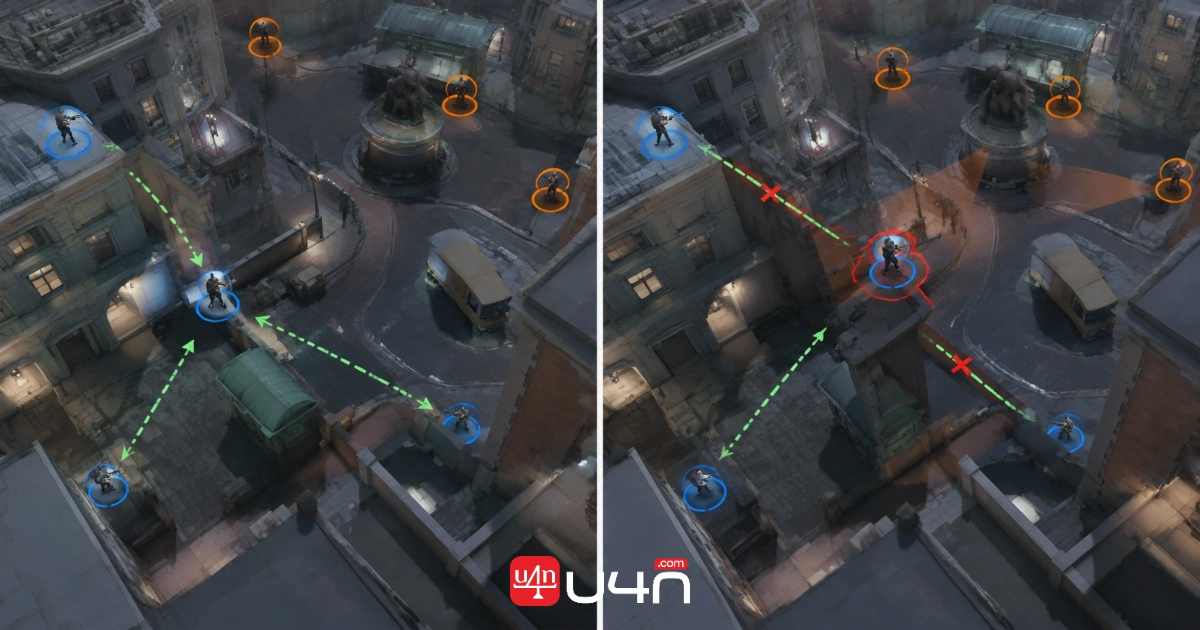
Before Teamfights: Take an Angle Your Team Can Use
Our preferred off-angle pressures the same area our teammates can influence.
Imagine a fight around a street corner. A shallow side position lets us threaten an exposed opponent while staying close to support. Continuing around the next building might offer a better view, but leave us fighting alone.
We choose the angle that creates shared pressure, not simply the one closest to the backline.
During Flight: Track the Ground, Not Just the Target
We keep three checks in mind:
- Destination: Where are we going if the target changes direction?
- Support: Who can affect that area?
- Recovery: What cover can we use after committing?
If one answer disappears, we shorten the play.
We would rather land somewhere useful and continue fighting than reach the original target with no plan left.
After Landing: Start a New Decision
We immediately reassess.
The target may have escaped. A defender may have arrived. Our teammate may now need help elsewhere.
Continuing forward only because we already committed is how a recoverable play becomes an unnecessary death. We want the next action to match the current fight, not the one we pictured before takeoff.
Ability Upgrades and Builds: Solve the Actual Problem
We don't recommend copying a build without understanding what each purchase is supposed to fix.
Our first review question is not "What item was missing?" It is "Why did that play fail?"
| Problem | Our First Check | Investment to Consider |
|---|---|---|
| Losing health before applying pressure | Are we exposing ourselves too early? | Sustain or survivability |
| Landing useful hits without finishing | Are we choosing sensible targets and following up accurately? | Reliable damage |
| Getting overwhelmed after entry | Is the landing too deep? | Defensive utility after correcting the route |
| Contributing once, then becoming ineffective | Are we spending everything at the opening? | Ability uptime |
| Repeatedly losing to one threat | Which exact interaction stops us? | A verified situational answer |
For upgrades, our priority is the interaction we can execute reliably. If follow-up shots are inconsistent, we work on the sequence rather than expecting extra investment to fix it.
Balance context matters, too. The October 14, 2026 update reduced Strix Salvo's cooldown from 30 to 25 seconds and raised Close The Deal's bonus damage against below-half-health enemies from 50% to 75%. We account for those changes rather than relying on launch-day values.
Our build principle remains simple: buy for the next useful fight, not the perfect imaginary combo.
How to Counter Deadman Danny
When we face Danny, we reverse our own checklist:
Deny the target. Complicate the landing. Separate the follow-up.
We prefer disrupting the plan early to scrambling after a clean entry.
Break the Follow-Up Angle
Our first response to pressure is to locate useful cover, not automatically fire back.
We look for a route that changes the angle without isolating us from teammates. Running farther down an open street may preserve distance while still giving Danny the fight he wants.
A short move behind a corner can be more useful than a long retreat in plain view.
Watch the Landing Without Abandoning Position
We assign attention to where he might arrive.
That does not mean everyone turns toward the sky and gives up cover. One player can track the approach while another holds a position that threatens the destination.
We favor specific calls:
- "Watch the near corner."
- "Stay in my sightline."
- "Let him come deeper."
Those calls give teammates an action, not just a warning.
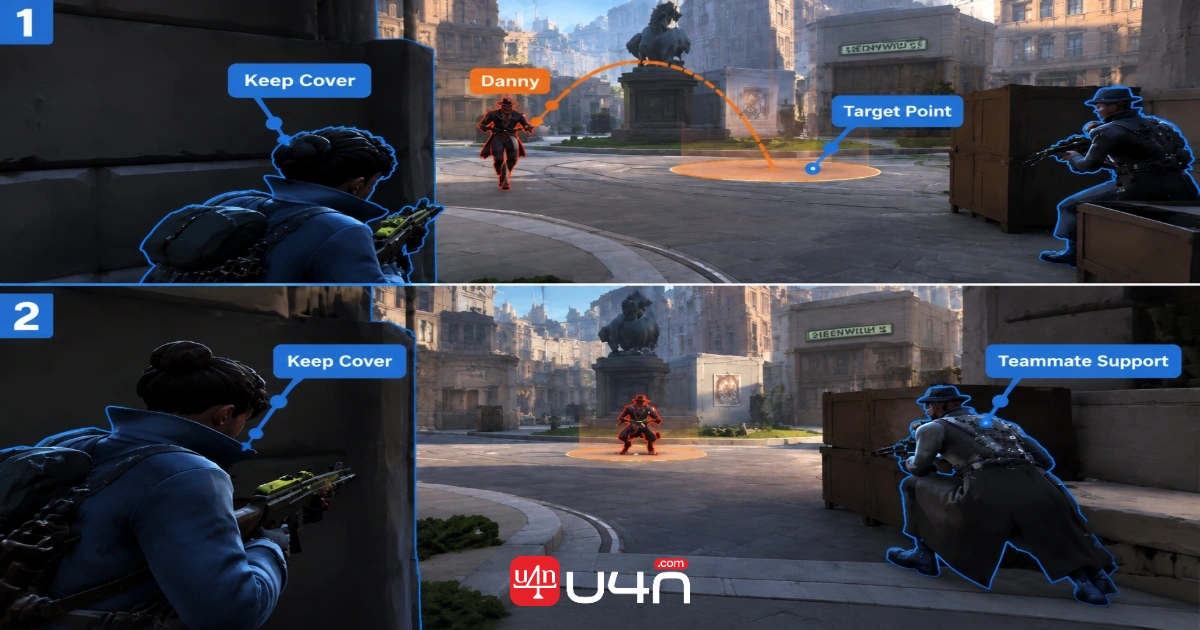
Support Vulnerable Teammates Before the Commitment
We reposition early when an ally is struggling.
Our goal is to preserve a useful sightline and a response option without stacking the entire team together. We want the threatened player to have somewhere sensible to retreat, not discover that everyone else has already chased forward.
Verify Counters Instead of Guessing
We don't assume every silence, root, or displacement solves the same problem.
Before choosing a tool specifically for Danny, we check which stage it affects: approach, activation, or recovery. Our counterplay plan should depend on a verified interaction, not on an ability label that sounds promising.
Common Mistakes, and a Better Practice Routine
We review failed entries at the moment the decision went wrong, not just at the death screen.
| Mistake | Better Habit |
|---|---|
| Taking off without a destination | Name the landing before moving. |
| Following a target beyond support | Recheck who can influence the next exchange. |
| Forcing a long combo | Use the shortest sequence that achieves the goal. |
| Continuing after the opening disappears | Make resetting an intentional choice. |
| Blaming every death on the build | Review the route and timing first. |
Our practice routine is short enough to repeat:
- Rehearse the follow-up. Focus on recognizing a successful setup and completing the shot.
- Rehearse controlled movement. Choose a destination, then a fallback.
- Review one failed commitment. Find the last moment when leaving was still reasonable.
We prefer that final question to "How could we survive this?" Sometimes the useful lesson is that we should never have reached that position.
Deadman Danny FAQ
Should We Start Every Teamfight?
No. We initiate when the destination and team follow-up justify it. Otherwise, we pressure from a supported angle and wait for a clearer opening.
What Should We Learn First?
We start with mark follow-ups and deliberate short flights. More elaborate sequences come later, once the basics leave us enough attention to read the fight.
Should We Build Weapon Damage or Spirit Power?
We choose around the interactions we use consistently and the obstacle limiting our contribution. We wouldn't declare either route universally best without current testing and a clearly defined playstyle.
What Is Our First Priority Against Danny?
We preserve a useful position while tracking his likely destination. Our goal is to make the commitment uncomfortable before it becomes our problem to recover from.
Our Final Take: Make the Landing Count
For players comparing builds, progression options, or cheap Deadlock Accounts, our advice stays grounded in the same four decisions: target, landing, follow-up, exit. We would use that checklist to structure practice and judge progress, rather than measuring improvement by how aggressive an entry looks.
Our best version of Danny is deliberate, not timid. We take the opening when the team can use it, shorten the chase when the picture changes, and reset without turning one missed opportunity into two mistakes. Plan where the fight ends before deciding how to enter it.