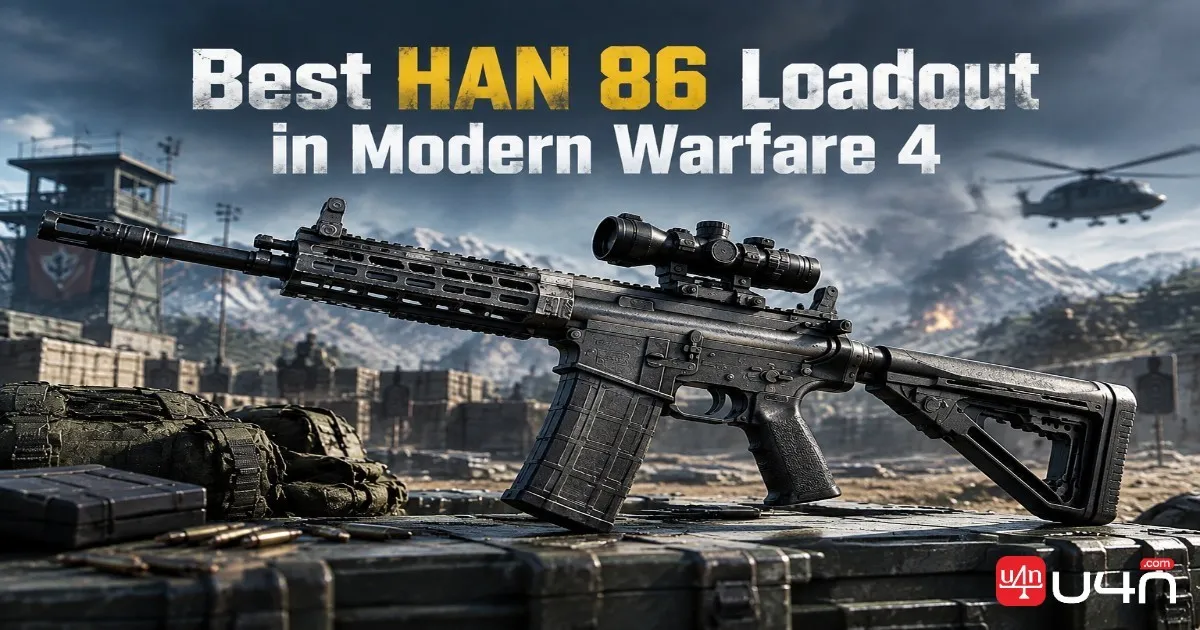
The HAN 86 is a versatile assault rifle in Call of Duty: Modern Warfare 4, especially for players who prefer aggressive movement and close-to-mid-range gunfights. Our team recommends a mobility-focused build that improves handling without ignoring recoil control. Whether you're refining your multiplayer setup or working toward more consistent matches with MW4 Boosting, the key is understanding what each attachment contributes.
A good loadout should make the rifle easier to use under pressure, not just look impressive in the Gunsmith menu. The HAN 86 benefits from a clear optic, responsive handling, and attachments that support quick repositioning. However, extra mobility can come with a stability trade-off, so we'll break down the recommended build, explain its limitations, and show you when a different setup makes more sense.
Best HAN 86 Attachments in MW4
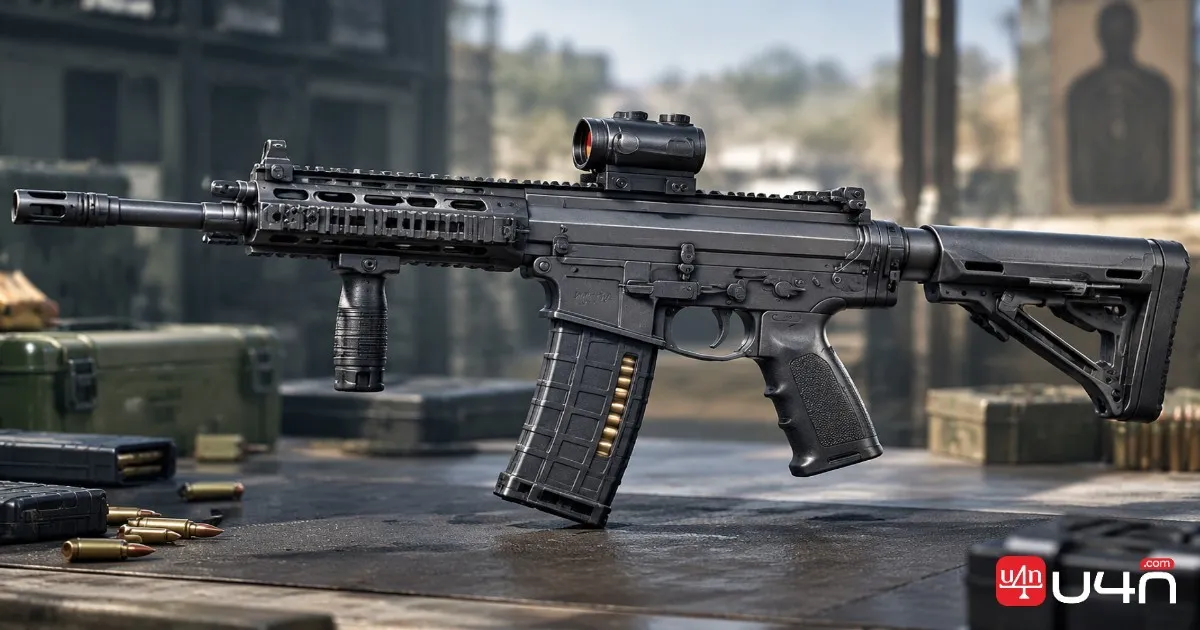
Our recommended build focuses on fast handling and practical close-to-mid-range performance. It uses five attachments to improve the sight picture, movement, and handling while adding a useful disruption effect against enemy targets.
| Attachment Slot | Recommended Attachment | Main Benefit |
|---|---|---|
| Optic | SZ Prima-4 Dot | Provides a clear sight picture |
| Barrel | SA K556 16″ | Improves movement, ADS, and sprint-to-fire speed |
| Underbarrel | FSS TAC90 Grip | Reduces aiming idle sway and gun bob |
| Stock | Meiko L9P-Fold | Improves movement and strafing speed |
| Ammunition | 5.56 NATO Overpressured | Increases flinch inflicted on enemies |
This setup prioritizes responsiveness over maximum stability. The optic makes target acquisition easier, while the barrel and stock help you stay mobile when moving between cover or challenging an objective.
The trade-off is important: the SA K556 16″ barrel increases recoil and gun kick. If you tend to hold the trigger down during longer engagements, you may find the rifle harder to control than a build designed specifically for recoil reduction. Our advice is to test the setup in the Firing Range before taking it into competitive matches.
The core idea behind this HAN 86 build is to prioritize mobility and responsive handling without ignoring recoil. If sustained fire becomes difficult to control, consider trading some movement speed for better stability.
Why This HAN 86 Build Works
Improve Your Sight Picture and Target Acquisition
The SZ Prima-4 Dot provides a cleaner aiming view than the HAN 86's iron sights. A simple optic is particularly useful when targets move across your screen or appear briefly between pieces of cover.
The goal isn't to magnify every target. It's to make target tracking feel natural without adding unnecessary visual clutter.
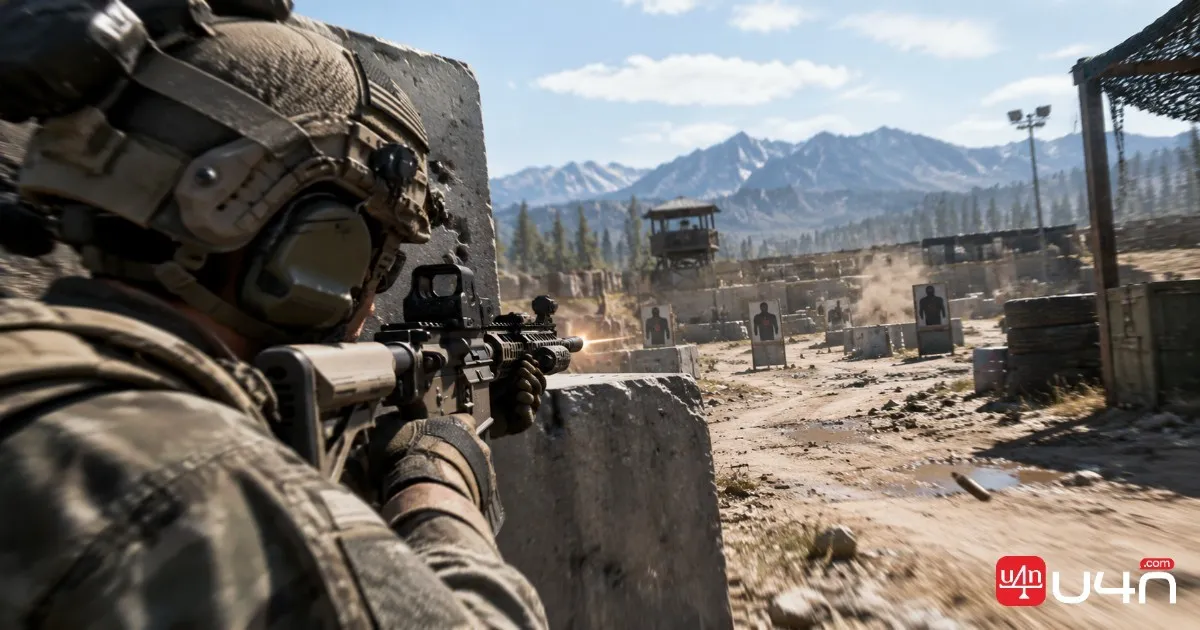
Balance Mobility Against Recoil
The SA K556 16″ barrel is the main mobility-focused component. Faster aiming and sprint-to-fire handling can help you respond quickly after moving around a corner, but increased recoil makes sustained fire less forgiving.
The Meiko L9P-Fold stock complements that approach by improving movement and strafing speed. Together, these attachments favor players who reposition frequently instead of staying behind one angle for an entire match.
Keep Your Aim Stable

The FSS TAC90 Grip helps reduce aiming idle sway and gun bob. These effects matter when you're trying to maintain a steady sight picture before firing, particularly when watching an entrance or preparing to challenge an opponent.
Meanwhile, 5.56 NATO Overpressured ammunition increases the flinch inflicted on enemies. This can disrupt an opponent's aim during an exchange, although it doesn't replace accurate shooting or good positioning.
Best HAN 86 Class Setup
A primary weapon is only one part of a reliable multiplayer class. Our team recommends pairing this build with equipment that supports aggressive pushes, quick follow-up engagements, and objective awareness.
| Class Slot | Recommended Choice | How to Use It |
|---|---|---|
| Secondary | SANG 9mm | Switch when the primary runs dry at a critical moment |
| Melee | FSS Carbon Edge 1095 | Use when a close-range melee option is necessary |
| Tactical | Flash Grenade | Disrupt defenders before entering a contested area |
| Lethal | Semtex | Pressure enemies behind cover or around objectives |
| Field Upgrade | Portable Radar | Check nearby threats around key entrances |
| Perk 1 | Quick Fix | Support recovery after kills or objective interactions |
| Perk 2 | Blood Rush | Support aggressive movement and repeated engagements |
| Perk 3 | Battle Hardened | Reduce the disruption caused by enemy tactical equipment |
The Flash Grenade is especially useful when approaching a defended room. Throw it before entering, then challenge while the enemy is still recovering from its effects. Avoid rushing in automatically, though; an opponent may retreat, reposition, or hold a different angle.
Semtex gives you another way to pressure enemies without exposing yourself immediately. Portable Radar can help you monitor nearby approaches, making it useful when holding an objective or covering a route your teammates cannot watch.
Quick Fix, Blood Rush, and Battle Hardened support an aggressive playstyle, but the best combination still depends on the mode and your team's needs. If you frequently run out of ammunition during multi-enemy fights, consider whether faster reload support would be more valuable than another mobility-focused benefit.
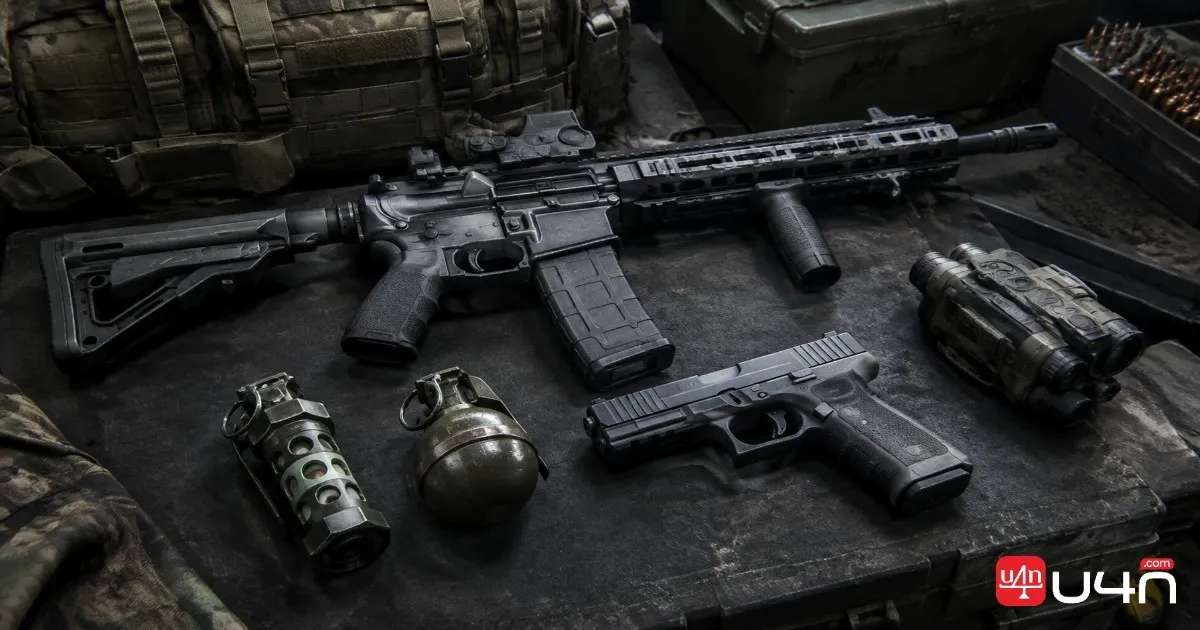
Alternative HAN 86 Builds and Combat Tips
The recommended build is not the only reasonable way to configure the HAN 86. If its recoil feels uncomfortable, don't force yourself to use it simply because a guide calls it the best loadout.
| Playstyle | What to Prioritize | When to Consider It |
|---|---|---|
| Aggressive mobility | ADS speed, sprint-to-fire speed, movement | You frequently push corners and rotate between objectives |
| Balanced multiplayer | A practical mix of recoil control and handling | You fight at changing distances throughout a match |
| Mid-range control | Recoil reduction, aiming stability, sight clarity | You hold lanes or take repeated fights across open areas |
These are build directions rather than tested attachment lists. For a recoil-focused alternative, replace a mobility-oriented component with a compatible recoil-control attachment and compare the difference in the Firing Range.
Adjust Your Combat Habits to Match the Build
Your shooting habits matter just as much as the attachment list. Use shorter bursts when engaging distant targets, avoid sprinting into exposed lanes without checking them, and reposition after revealing your location. Against multiple enemies, prioritize cover and reload timing instead of assuming that faster movement alone will keep you alive.
Should You Use This Build in DMZ?
Players who also spend time in extraction modes should reassess their priorities before carrying this setup into DMZ. Longer engagements, ammunition demands, and the cost of losing equipment can make stability and sustained fire more valuable than the fastest possible handling. If you're comparing preparation options or looking into cheap MW4 DMZ Items, keep the intended mode and your actual equipment needs in mind rather than assuming one multiplayer build will work everywhere.
Summary
The HAN 86 works well as a flexible assault rifle when its attachments match your preferred combat rhythm. Our recommended setup uses the SZ Prima-4 Dot, SA K556 16″ barrel, FSS TAC90 Grip, Meiko L9P-Fold stock, and 5.56 NATO Overpressured ammunition to prioritize responsive handling and mobility.
Its biggest compromise is recoil. Players who favor fast pushes may appreciate the quicker handling, while those who spend more time challenging distant targets may benefit from a stability-focused alternative. We recommend testing the build, paying attention to missed shots during sustained fire, and adjusting one attachment at a time.
The best loadout is ultimately the one that helps you land shots consistently and make better decisions under pressure—not necessarily the one with the most aggressive stats.
FAQ
Is the HAN 86 good in MW4 multiplayer?
The HAN 86 is a versatile assault rifle suited to close-to-mid-range fights. Its performance depends on your attachment choices, recoil control, and ability to manage engagement distance.
What is the best attachment for the HAN 86?
For this mobility-focused setup, the SA K556 16″ barrel is a key choice because it improves handling and movement. However, its recoil penalty means it may not be the best option for every player.
Is this HAN 86 loadout good for long-range fights?
It can handle some longer engagements, but the mobility-focused barrel makes recoil control more demanding. Use controlled bursts and consider a recoil-focused alternative if you regularly fight across long sightlines.
Should I use the same HAN 86 build in multiplayer and DMZ?
Not necessarily. Multiplayer rewards responsive handling in frequent player-versus-player encounters, while DMZ can place greater emphasis on sustained fire, ammunition management, and survival. Adjust the weapon to the mode rather than relying on one universal setup.