

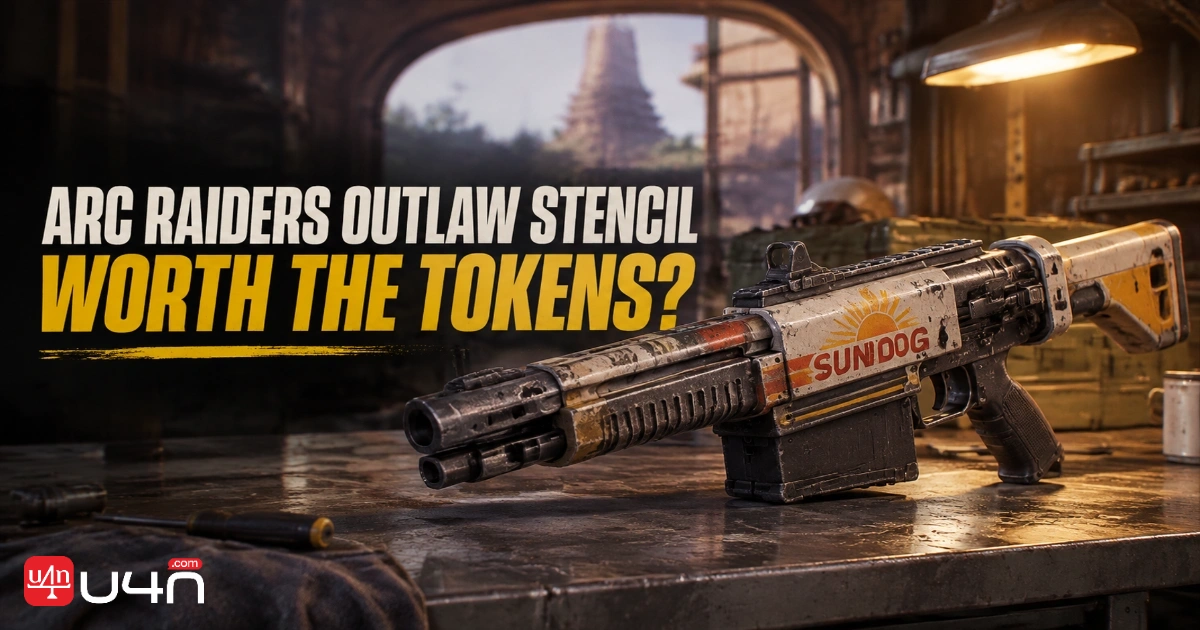
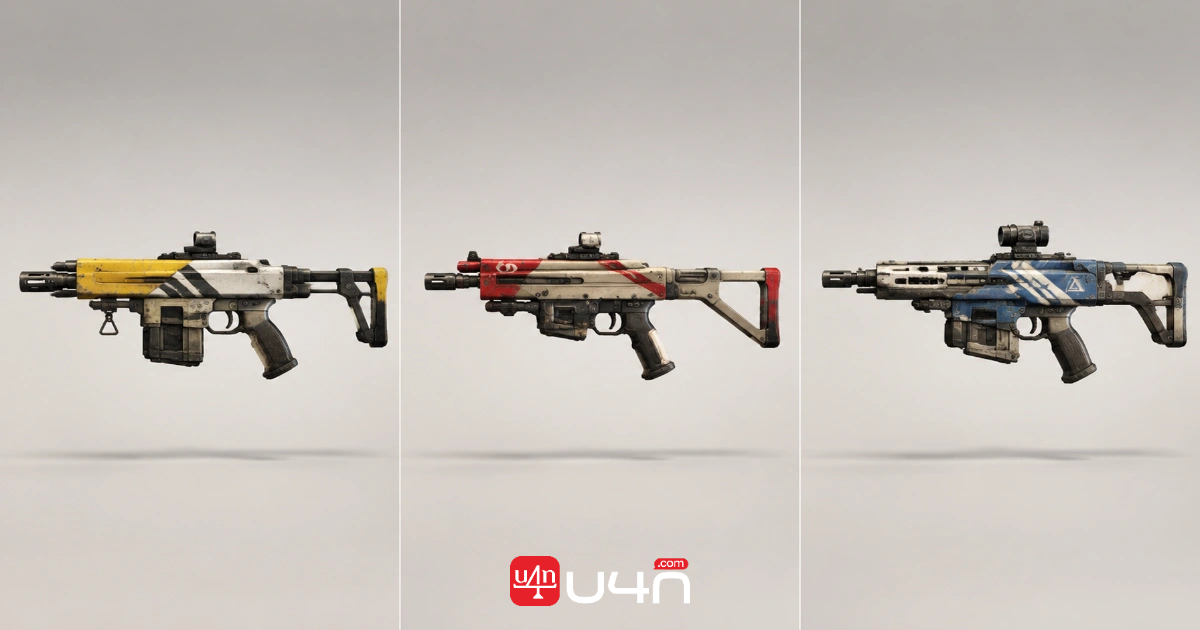
Before we'd spend 1,600 Raider Tokens on the ARC Raiders Outlaw Stencil Set, we'd open the stash and look for three guns: the Anvil, the Bantam, and the Tempest. Each gets its own design. If the Anvil is the only one you've carried Topside this week, Sundog is doing most of the work in that purchase. Give it the same scrutiny you'd give any cosmetic you were buying for one favorite weapon.
Then look at your Stencil Parts. Buying the set gets you access to the designs, and each application uses parts. That second cost matters most after a rough raid. You can lose a painted gun on your first run of the night and still have the design ready to use back in Speranza. The question is whether you'd spend the parts again on the copy you're about to pull from your stash.
If you browse ARC Raiders Items while planning your next kit, start with the weapon you'd bring to that raid anyway. We'd give more weight to the Anvil you take on a routine loot run than the Tempest you keep saving for a special occasion. A good Store preview makes it easy to picture a loadout. Your last few raids tell you how often that loadout actually leaves Speranza.
Outlaw Stencil Price, Weapons, and Costs
The Outlaw Stencil Set debuted at 1,600 Raider Tokens with Live Update 2.6.0 on November 17, 2026. Its original rotation runs through November 24 and links to the three individual designs. If you're reading this after that first rotation or close to a changeover, check the in-game Store for the current offer and its timer.
| Outlaw design | Compatible weapon | Parts for one application | Parts for two applications |
|---|---|---|---|
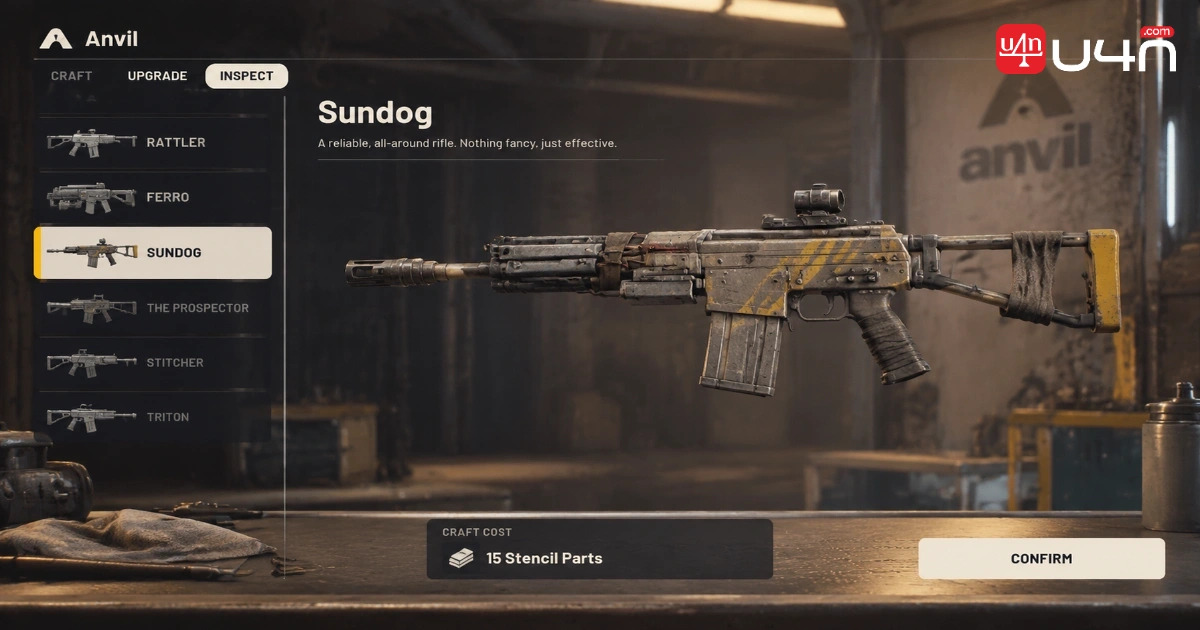
| Sundog | Anvil | 15 | 30 |
| Malocchio | Bantam | 7 | 14 |
| Taurus | Tempest | 7 | 14 |
Painting all three once takes 29 Stencil Parts. The comparison we find more useful is that a single Sundog application costs one part more than applying Malocchio and Taurus once each. If you mostly carry an Anvil, your most-used design is also the most expensive one to reapply. We'd check how many parts we're comfortable spending specifically on Sundog before letting the other two designs sway the purchase.
Look at how your weapon rotation works over a normal week. A Tempest you take to a standing squad night has a predictable use, even if your Anvil goes out more often. A spare Bantam that has been sitting in the stash for weeks is a weaker reason to spend. If you need to invent a reason to carry a gun, give it a raid in its plain finish before putting any value on the design.
Do You Lose an Outlaw Stencil When You Die?
You keep the learned design if you lose the gun carrying it. The applied finish stays with that particular weapon, so another Raider can loot your painted Anvil with Sundog still on it. Back in Speranza, you can apply the design to another eligible Anvil with a fresh set of materials.
Count the guns you paint, not the raids you play. Losing a painted weapon leaves the learned design available. Repainting a replacement costs another 15 Stencil Parts for Sundog or 7 for either Malocchio or Taurus.
Say you paint an Anvil on Friday and extract with it three times. You're still in for 15 parts because you've been carrying the same copy. If you lose it on the fourth run and paint a replacement, you're up to 30. If you take the replacement out plain, the total stays at 15. That makes it easy to set a spending limit without guessing how many raids you'll survive.
We'd make the repaint decision after rebuilding the loadout. Some nights, the next gun is a spare you grabbed for one more run before the squad signs off. Other nights, it's the copy you already planned to use for the weekend. Give yourself a moment to see which situation you're in. It's easy to click through the cosmetic menu while you're still thinking about the kit you just lost.
How to Apply an Outlaw Stencil
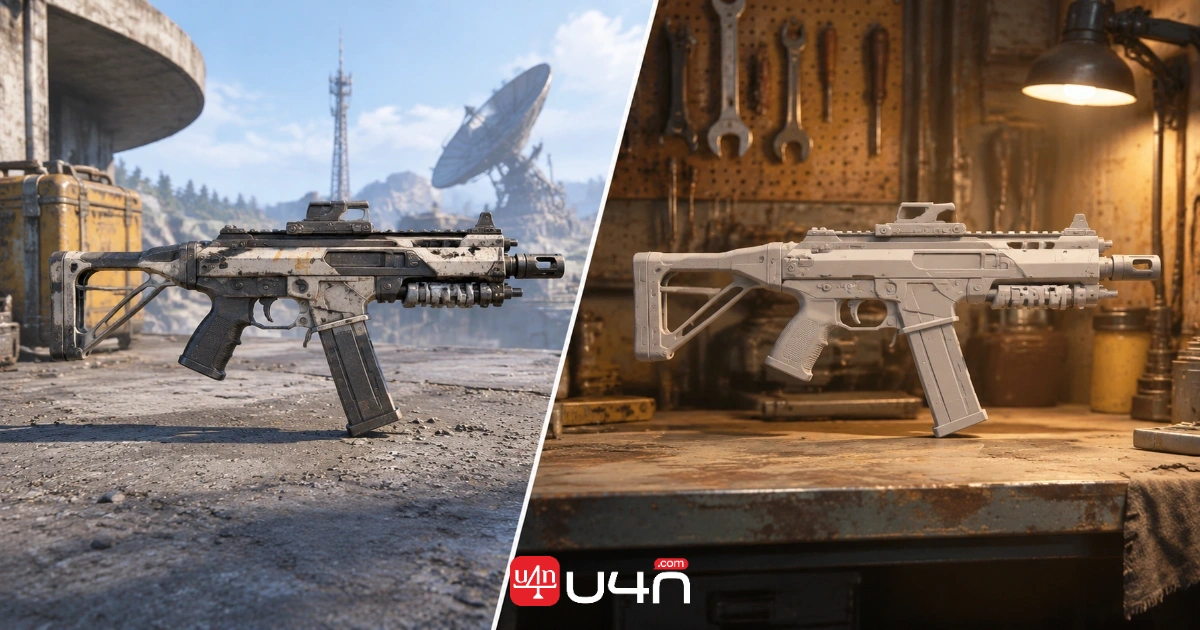
Inspect a compatible weapon in your stash, open its Stencils tab, and select the learned design. Check the Stencil Parts cost shown in the preview before confirming. We'd do this after picking the weapon for the next run. Duplicate guns are easy to mix up when you're also moving ammo, attachments, and supplies around.
- Pick the exact weapon you intend to take Topside.
- Preview its matching Outlaw design and check the displayed parts cost.
- Apply the stencil to that copy and leave the rest of the stash for later.

Check the weapon's upgrade plans while you're in the stash. Amplifying a weapon removes the applied stencil, and amplified weapons don't accept these finishes. If you bought the set for Sundog and your main Anvil is already amplified, look at the Anvil you would actually paint. We'd spend the materials only if that second copy had a place in our loadout.
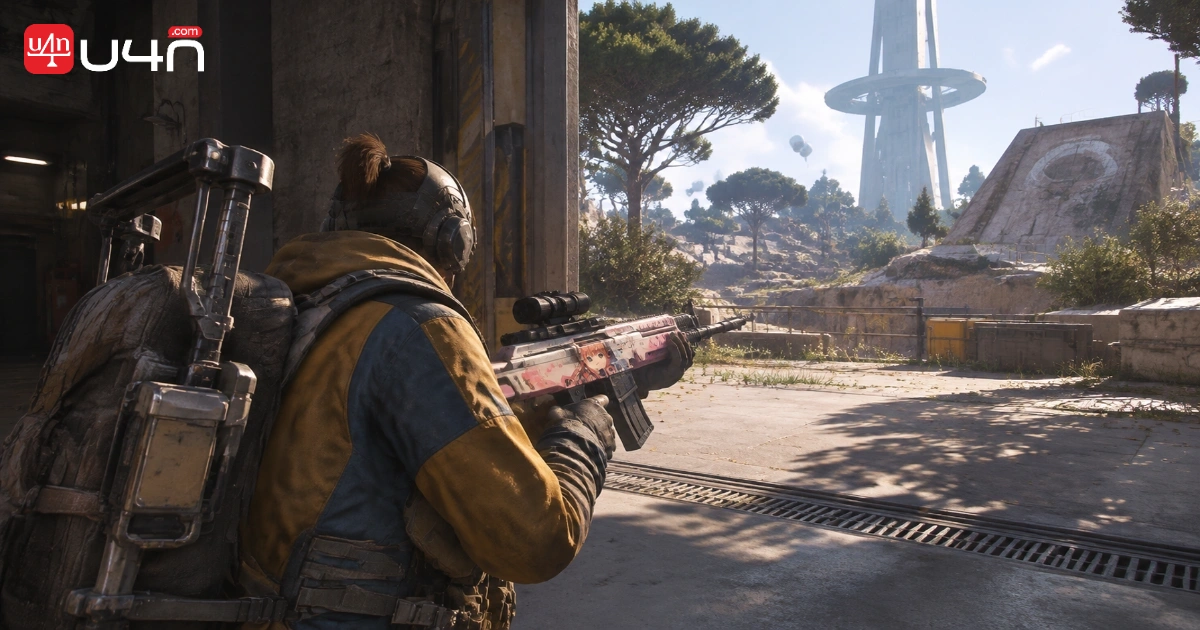
For the first run, take the weapon somewhere you already planned to go. Look at the finish from the regular third-person camera as you cross an open area and move indoors. The Store gives you a close look at the design. A normal run shows which details you'll still notice when the gun is at your character's side and your attention is on the route.
Who Gets Enough Use Out of the Bundle?
Two Compatible Guns Already See Regular Use
We'd give the bundle a serious look if an Anvil and a Bantam already trade places in our kits. Sundog and Malocchio would both have a purpose, and putting each on one weapon would cost 22 parts. If your regular pair is the Bantam and Tempest, the equivalent first round costs 14. A predictable squad night counts here. The two guns don't need equal time Topside for you to get something out of both designs.
One Design Is Worth the Full Price to You
There's a reasonable case for buying the set for Sundog alone. Maybe the Anvil is the gun you've used for months and you know exactly which outfit you'd pair with it. We'd judge that as a 1,600-Token decision for a single look, then ask whether we'd enjoy owning it if we only painted one Anvil every few weeks. If the answer is yes, the occasional application may be enough. You can leave the other designs unused until a compatible gun earns a place in your rotation.
The Preview Is Doing Most of the Selling
If you usually reach for a Renegade, or your favorite Anvil is already amplified, we'd wait. Take an eligible gun on a couple of ordinary runs and see if you want to use it again afterward. We'd also wait if it's hard to name a specific design we want. A rotation timer can make a choice feel urgent, but it can't tell you which gun you'll be reaching for next week.
Try a Stencil on a Regular Raid First
If you've already learned a stencil, use it for a trial run. Golden Olive, a separate lootable design introduced in the same update, is another option if you find it during a raid. It fits all three weapons in the Outlaw set and costs two Stencil Parts per application. If you already have it, try it on the gun you're considering for Outlaw. If you're still looking for it, we'd keep it in mind on a route we already want to run and skip the dedicated hunt.
Judge the test by what you actually enjoy. We'd pay attention to the finish while checking the loadout with friends, waiting for extraction, or taking a screenshot after a good run. Being able to see the pattern in a firefight is one possible reason to like a stencil. Seeing a favorite gun with a finish you picked can be enough, even if most of your enjoyment happens back in the stash.
Set a Parts Budget for the First Repaint
We'd budget for one painted gun and one possible replacement. That means 30 parts for Sundog or 14 for Malocchio or Taurus. The extra application is a spending limit you set for yourself. If you bring the first gun home, keep the remaining parts in reserve. If you lose it, you've already decided how much you're comfortable putting into the next copy.
This is also a useful way to compare Sundog and Golden Olive on the Anvil. A two-part finish is an easy choice for a casual run if you've learned it. The 15-part finish is the one we'd save for a copy we're especially keen to carry. You can own both designs and give them different jobs without deciding that every Anvil in the stash needs paint.
What We'd Check Before Buying
Pull up the Store offer, then name the specific gun you'd paint and the next raid you'd take it on. Check that the weapon is eligible and look at the parts cost in its preview. If you can answer those questions in a minute, you have enough information to decide. If the plan is still "I might start using the Tempest," we'd take a plain Tempest out first.
If you've been looking at cheap ARC Raiders Coins while planning a kit, check the currency labels before making a decision. This bundle's launch price was listed in Raider Tokens, and the weapon preview shows the separate Stencil Parts charge. For Outlaw, those are the two balances we'd look at.
We'd buy Outlaw for a gun we already enjoy taking Topside. If that's an Anvil you're bringing to your next squad run, start with Sundog on that one copy. Leave the spare plain until you've seen the design on a real raid and know you'd want to spend another 15 parts to put it back.