Cart Empty
Continue ShoppingKnowing how to destroy each ARC in ARC Raiders is about much more than simply carrying a strong weapon. Understanding weak spots, movement patterns, and when to use cover can save ammunition and keep a routine run from turning into a messy fight. This becomes especially useful when preparing ARC Raiders BluePrints, because efficient ARC fights give you more freedom to focus on exploration, looting, and other Raiders.
After spending enough time fighting the different ARC types, one thing becomes obvious: most machines have a specific part that changes the fight completely. Some should be attacked through exposed weak points, while others are easier to disable by removing thrusters or armor first. Here is a practical breakdown of the techniques that make these encounters much more manageable.
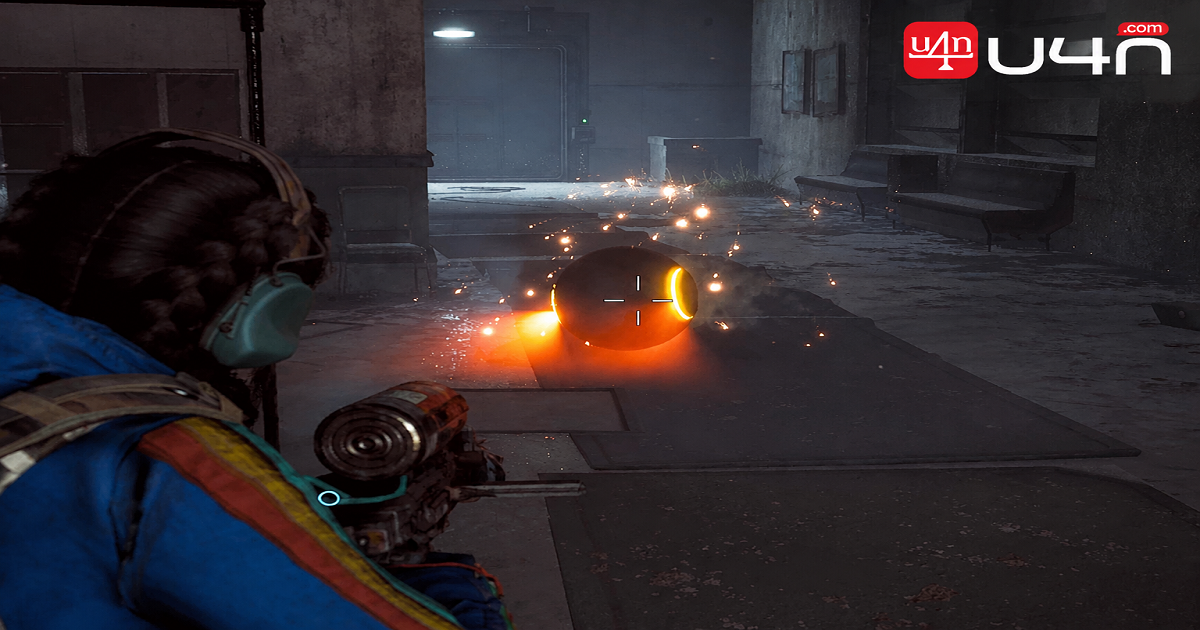
The smaller ARC enemies can look harmless, but groups of them can quickly become annoying. Fireballs are usually straightforward to destroy, and several weapons can eliminate them quickly. The important detail is their exposed weak point. When a Fireball opens itself to attack, that exposed area becomes an easy target.
Pops have an even simpler trick. Instead of wasting ammunition, you can sometimes bait one into chasing you and run directly past it. If it commits to the attack, it can destroy itself. This is a useful reminder that not every ARC encounter needs to become a shooting contest.
| ARC | Useful Approach | What to Watch |
|---|---|---|
| Fireball | Attack its exposed weak point | Groups can overwhelm you |
| Pop | Bait it into attacking | Do not let several surround you |
| Wasp | Target the rear weak point or thruster | Its tracking makes open movement risky |
Flying ARCs are where weak-point knowledge becomes much more valuable. Wasps can track targets effectively, so simply trying to dodge and shoot them repeatedly is not always the safest approach. Their rear section contains a useful weak point, but because they are relatively easy to damage, you do not always need to spend extra ammunition searching for it.
Fireflies are different. Their thrusters are the key target. Damaging the thrusters can bring the machine down and remove much of its mobility. Once it reaches the ground, finishing the fight becomes considerably easier.
The same principle works well against Hornets. Rather than continuously shooting their armored body, focus on disabling the armor thrusters. Once their mobility is reduced, you can concentrate on the exposed weak point. When a Firefly and Hornet appear together, disabling one of them first is usually more important than trying to damage both equally.
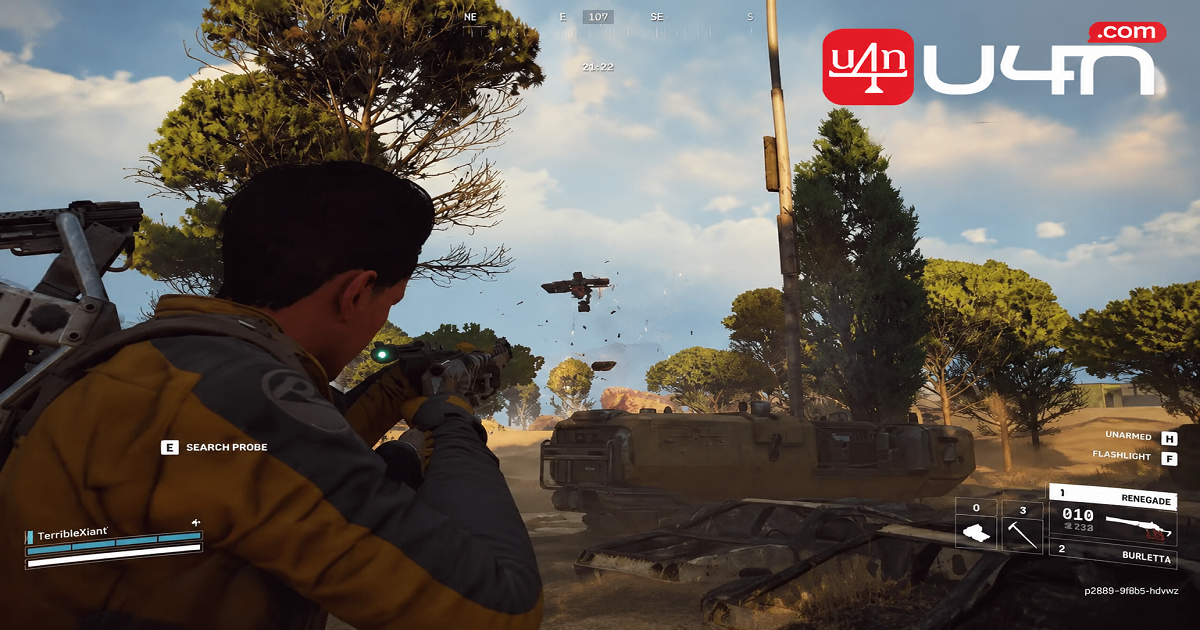
Comet fights reward accuracy, but weapons with more ammunition can make the encounter more forgiving. Once the weak point opens, concentrate your shots there instead of wasting ammunition on armored sections.
Shredders are much more dangerous if you fight them in the open. Their lower thrusters are important targets because damaging them affects their movement. The safest approach is to use cover, bait the Shredder into attacking, then step out and damage the thrusters before returning to cover.
Sentinels follow a similar bait-and-punish rhythm. Their canister is the important weak point. Wait for the attack sequence to begin, use the opening to expose yourself safely, and put your damage into the canister rather than simply spraying ammunition into the machine.
Arc Ver becomes much easier when you understand when to attack. Certain weapons can deal extremely heavy damage when the machine enters its surveying behavior. The key is patience: wait for the opening rather than wasting shots while it is protected.
Snitches are comparatively simple, but there is a useful farming trick worth remembering. Blue Gate and Buried City can be useful locations when you are specifically looking for them. Shooting the white weak point can also disrupt their flight path, making them easier to control before finishing the encounter.
Leaper is one of those enemies that becomes much less intimidating once you stop fighting it in the open. Its eye is the main target, and focusing your shots there is generally more efficient than trying to remove its limbs one by one.
Cover is particularly useful when it prepares a stun attack. Let the Leaper come toward you, use terrain to break the attack, then continue damaging the eye. If it begins moving away, you can carefully kite it back while watching for its jump.
Vaporizer is one of the more interesting ARC encounters because its shield can become part of your strategy. Certain throwable items can activate the shield, while weapons such as the Bobcat or Torrent can be used to deactivate it.
Once the shield is down, you have a short opportunity to unload damage. The lower section contains an important weak point leading toward the core, while its thrusters can also be damaged to interfere with its movement.
The practical lesson is to treat the shield as something you can manipulate rather than simply another defensive layer. Activate it when you need a moment of protection, then disable it when you are ready to commit your damage.
Rocketeer looks intimidating because of its ranged attacks, but its mobility can be turned against it. The thrusters are the key. Damaging them can throw its attacks off course and eventually leave the machine much less effective.
Cover is still important, especially when Rocketeer prepares a stronger attack. Once both thrusters are disabled, the machine can fall to the ground and become much easier to finish.
Bastion can feel overwhelming because its attacks can track you effectively. Instead of trying to burn through its main body, focus on one of its legs first. Removing the armor around the leg creates an opening and gives you a much better angle.
Once the leg is damaged, move around to the side or rear and attack the exposed core. The main lesson here is positioning. Bastion becomes much easier when you stop trying to win a direct damage race and instead create an opening first.
| Large ARC | First Priority | General Strategy |
|---|---|---|
| Leaper | Eye | Use cover and avoid stun attacks |
| Vaporizer | Shield and lower weak point | Control the shield before committing damage |
| Rocketeer | Thrusters | Use cover and redirect its attacks |
| Bastion | Leg armor | Open the core before unloading damage |
| Bombarder | Safe positioning | Use zip lines or lateral movement |
Bombarder encounters are less about finding a magical weak spot and more about controlling your movement. Zip lines can create a useful defensive route because they make it harder for the Bombarder to land attacks. You can also move from side to side after its attacks to avoid incoming fire.
ARC Turbine can be approached with a similar movement-focused strategy. Zip lines, mobility tools, and timed defensive abilities can allow you to move into position, deal damage, and escape before the machine has a chance to punish you. The yellow canisters are important damage targets.
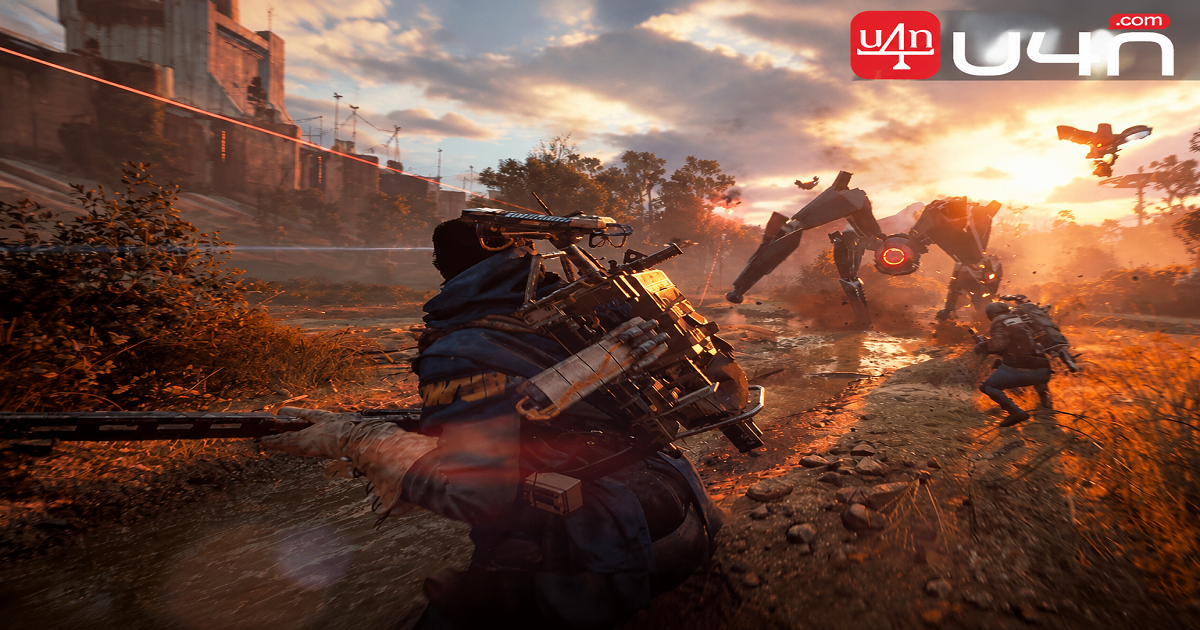
The largest ARCs require more planning. Queen and Matriarch both have vulnerable areas around the belly, while removing armor can expose their cores. These exposed sections provide much better damage opportunities than simply shooting the outer armor.
There is also a more aggressive mobility-based approach using Deadlines to reach the upper sections and attack the core directly. It requires better timing, but it can dramatically shorten the encounter when executed correctly.
The biggest lesson from fighting every ARC is that ammunition and weapon power are only part of the equation. The real advantage comes from recognizing what each machine wants you to do. Disable thrusters against flying enemies, use cover against dangerous attackers, bait predictable attacks, and save heavy damage for exposed cores and weak points.
That approach also makes resource management much easier during longer runs. Instead of burning ammunition against armored sections, you can spend your shots where they actually matter. If you are also looking for cheap ARC Raiders BluePrints, building your progression around efficient combat and smart resource use can make the rest of your preparation feel much smoother.
Authored by elite gamers and industry insiders, the U4N Editorial Team delivers authoritative game updates, patch notes breakdowns, and expert strategies for trending titles including World of Warcraft, Path of Exile 2, MapleStory, Aion 2, and Arc Raiders.
From deep-dive guides to the latest meta shifts, our in-house veterans test every tactic firsthand to keep you ahead of the game.