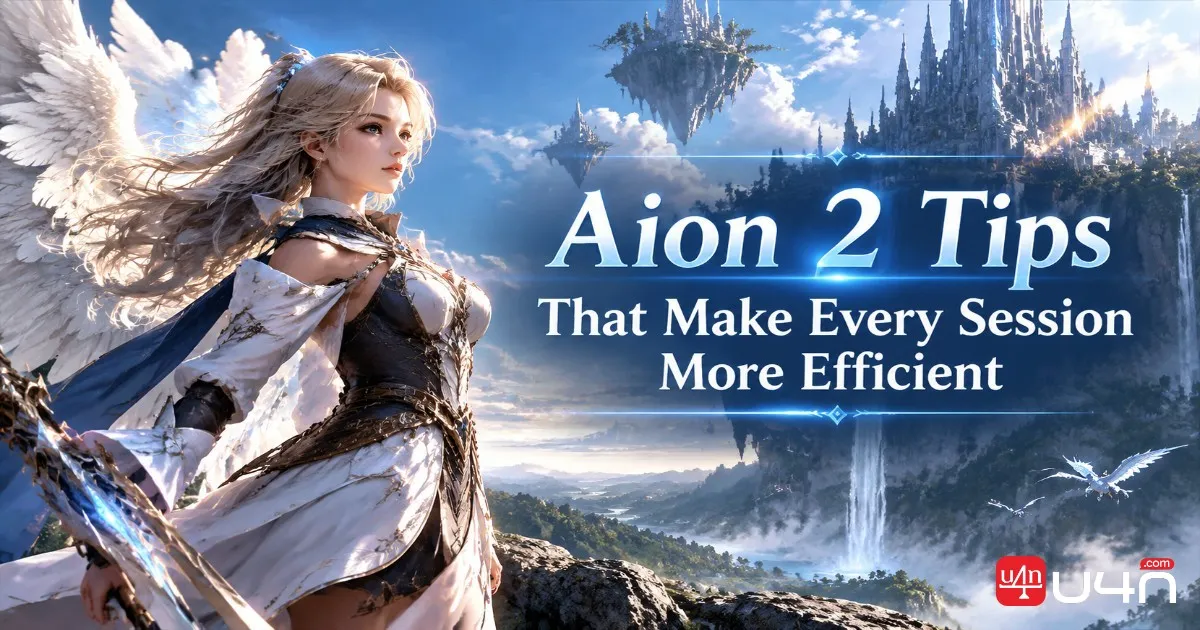
Small improvements to movement, combat awareness, and resource management can make a noticeable difference in Aion 2. We have found that progression is not always about upgrading every piece of gear as soon as possible. Sometimes, checking a missed collection bonus, adjusting the HUD, or learning a boss's attack timing solves a problem more efficiently than spending additional materials.
In this guide, our team focuses on practical improvements that fit into everyday play. Whether we are working toward a dungeon requirement, refining our combat setup, or deciding how to spend limited resources, understanding the systems behind our Aion 2 Items progression helps us make better decisions without adding unnecessary work to each session.
Improve Gear Progression Before Spending More Materials
When our item level falls just short of a dungeon requirement, upgrading equipment immediately is not always the best first move. Several progression systems can contribute to character strength, and we should check the rewards already available before committing additional resources.
Check Abyss Feathers and Daevanion Progress
Abyss Feathers and the associated Monolith system provide another route toward progression. Collecting the relevant feathers and claiming their rewards can contribute points to the Abyss Daevanion board. Although its bonuses focus on PvP, the board can also contribute to overall gear score.
Before spending more upgrade materials, our team recommends checking three things:
- Whether any Monolith rewards remain unclaimed.
- Whether available Daevanion board points have been allocated.
- Whether the missing item level can be reached through existing progression rewards.
Do not confuse Abyss Feathers with the regular exploration feathers associated with Revelation Amulet upgrade rewards. They serve different purposes, so checking the relevant reward interface matters.
Collect Wings and Outfits for Their Bonuses
Wings can provide equipped effects and collection effects. Equipped effects depend on the pair we wear, while owned effects may remain active simply because the wings are registered in our collection.
Outfits also have collection milestones. The Closet interface lets us review our collection and identify available bonuses.
| System | What to check | Practical benefit |
|---|---|---|
| Wings | Equipped and owned effects | Avoid overlooking collection bonuses |
| Outfits | Collection milestones | Identify additional available stats |
| Daevanion board | Unspent points and rewards | Make better use of existing progression |
Our advice is to review these systems before chasing another gear upgrade. A bonus already within reach is often worth checking before investing more materials into a small item-level increase.
Use Rings to Fill Skill-Level Gaps
Skill-level bonuses can be particularly valuable when a build depends on reaching an important breakpoint for a core ability. Rings are worth checking because they may provide extra skill levels while leaving more offensive options available on weapons and guards.
When comparing equipment, we recommend prioritising the abilities we actually use. A higher skill level on an important skill may be more useful than a bonus on an ability that rarely appears in our rotation.
Before rerolling a piece of gear, check the combined skill levels across the build. This helps us identify the exact gap instead of spending resources on an upgrade that does not meaningfully change how the character performs.
Master Flight Movement and Dungeon Mechanics
Movement techniques become more valuable when they help us cross dangerous terrain, avoid an attack, or reach a landing point without wasting time. However, the correct input depends on the mechanic rather than on a general rule to keep moving forward.
Use Flight Dashes More Efficiently
A useful flight technique is to activate a flight dash and fold the wings as soon as the dash animation begins. The goal is to preserve the dash's movement burst without remaining in normal flight for its full duration.
The sequence is straightforward:
- Open the wings and begin flying.
- Activate the flight dash.
- Fold the wings as the dash animation starts.
- Reopen the wings when necessary to continue flying or prepare for landing.
We recommend practising this in an area with a safe landing before relying on it over a long drop. Timing and terrain matter, and an early mistake can cost more time than the technique saves.

Let Wind Currents Carry You
Vakron Sky Island provides a different movement challenge during wind-current crossings. When the current launches the character, holding forward throughout the crossing can interfere with the intended glide and cause a missed landing.
Instead, let the current provide the initial momentum, release directional inputs, and open the wings when the game allows it.
The important lesson is to recognise when the environment is already providing movement. Adding unnecessary directional input is not always the fastest option.
Read Dungeon Cues Before Reacting
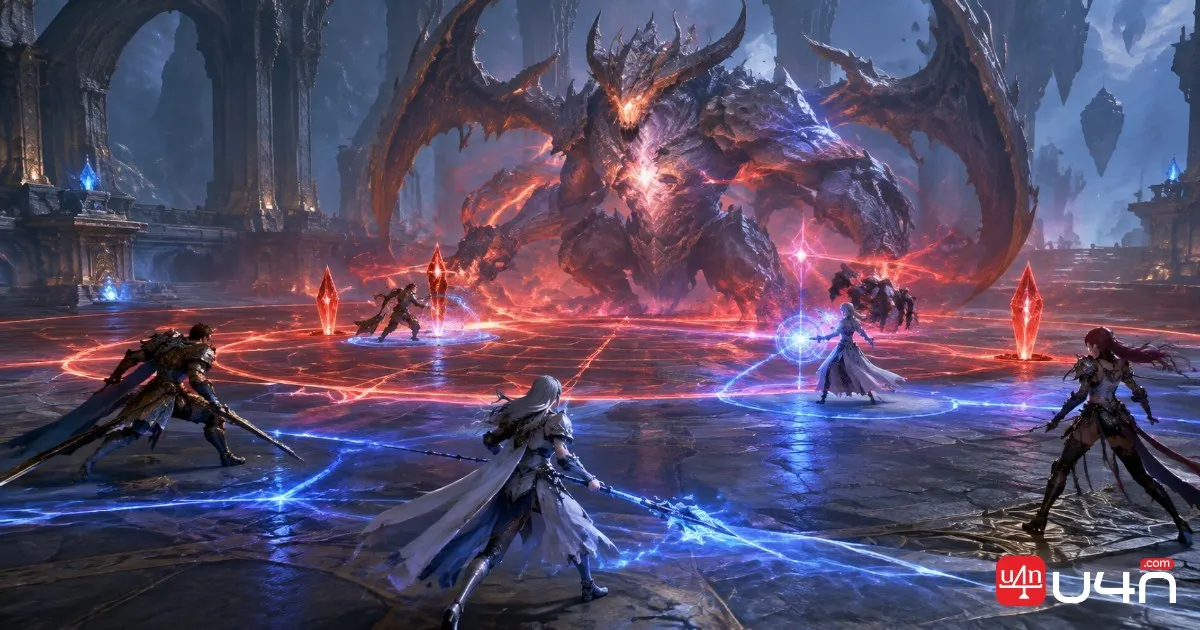
In Shattered Arkanis, the first boss sends chakrams toward two marked players. Those players need to bring the blades together so they collide and disappear. Jumping over the other player's chakram can help while positioning for the collision, but the timing and blade trajectory still matter.
In Ferocious Horn Den, Nuakum's claw colours provide an important team instruction during his marked-player attack.
| Visual cue | Team response |
|---|---|
| Red claws | Other players keep their distance from the marked target |
| Blue claws | Players stack with the marked target to share the hit |
The claw colour should be read alongside the target's circle indicator. Our team also needs to account for the wolf clone's interception mechanic rather than focusing exclusively on the marked player.
These encounters reward observation more than panic. Watch the visual cue, identify the required response, and move with a clear purpose instead of reacting to every animation in isolation.

Make Boss Attacks Easier to Read
A crowded arena can hide important information even when we understand the encounter. The solution is not necessarily faster reactions; it is making the right information easier to see before the attack resolves.
Reposition the Boss Cast Bar and Debuffs
Use Edit HUD to move the boss cast bar into a position that remains visible without forcing us to look away from the encounter. Keep it close enough to the centre of the screen to monitor cast progress while preserving visibility of the boss and ground indicators.
Vakron Sky Island's final boss illustrates why this matters. The final hit of its dangerous arena attack lands when the cast finishes, making the cast bar a useful timing reference for the jump.
We should also move the debuff bar into a readable position. In the same dungeon, tracking the stacking root debuff helps us recognise when to clear it at Fog Spiritstones before it immobilises the character.
A practical HUD layout should let us monitor three things together:
- The boss's current action and cast timing.
- Ground effects and movement hazards.
- Our character's important debuffs.
The best arrangement is the one we can read naturally during combat, not necessarily the one that looks cleanest in a screenshot.
Adjust Combat Visibility and Targeting
Several settings can reduce visual clutter and make routine combat easier to manage.
| Setting | Suggested adjustment | Why it helps |
|---|---|---|
| Character nameplate | Disable under Settings > Info Display > Common | Reduces overhead text clutter |
| Boss orientation | Set Display Boss Orientation to All under Info Display > Combat | Makes the boss's front and back easier to identify |
| HP danger alert | Adjust under Notification > Game Alerts | Reduces distracting warnings if they interfere with focus |
| Automatic targeting | Enable Auto Target Upon Skill Use under Combat > Controls when useful | Reduces manual target switching during routine farming |
These options should support our playstyle rather than be treated as mandatory settings. For example, turning off the low-health warning only makes sense if we can still monitor our health reliably.
Automatic targeting is especially convenient when clearing groups of weak monsters with an in-game combat macro. It can reduce repeated target selection, but it does not replace movement control, sensible skill use, or awareness of nearby threats.
Improve Frame Rate Without Sacrificing Clarity
If combat feels choppy, check the graphics settings before assuming the hardware needs an upgrade. Compatible NVIDIA RTX systems may support DLSS, while FSR may be available on supported setups.
Start with a quality-focused upscaling preset, then lower the rendering quality if performance remains insufficient. Compare the result in actual combat rather than judging it only in a quiet area, where effects and other characters put less pressure on the system.
Native rendering prioritises the display's resolution without relying on a lower internal rendering scale for upscaling. The best choice depends on the hardware and how clearly we can read enemy attacks after making the adjustment.
For a combat-focused setup, stable performance and readable telegraphs matter more than a small visual improvement that makes critical effects harder to distinguish.
Coordinate PvP Targets and Build Priorities
In 5v5 Arena, good target selection can matter as much as individual damage output. A team that spreads its attacks across several opponents may struggle to finish a priority target before the enemy responds.
Mark the Right Enemy in 5v5 Arena
Our team recommends setting up convenient keybinds before entering the arena. Position the target information panel where the selected opponent's class is easy to read, then cycle through the enemy team to identify the healer or another high-priority target.
Assign a comfortable hotkey to a target marker under Key Settings. It is also worth binding Target Hostile Players somewhere accessible in the General keybind options.
This can make target selection more consistent, especially when a Spiritmaster's summon complicates repeated manual selection.
A marker is only useful when teammates understand what it means. Agree on the team's target-calling convention beforehand, then focus damage together instead of repeatedly changing targets without a shared plan.
Preserve the Most Valuable Build Bonuses
Equipment choices should support the role we expect to perform. If a build depends on reaching a key skill level, rings may be a useful place to find that bonus while preserving offensive weapon and guard rolls.
However, this is not a universal rule. We should compare the actual available stats, the skills used in combat, and the cost of changing equipment before committing to a reroll.
The same principle applies to settings and combat routines: make adjustments that solve a specific problem. Changing several things at once makes it harder to tell which change actually improved the result.
Manage Battle Pass Rewards, Alts, and Resources
Resource planning becomes more important when we are balancing equipment upgrades, dungeon access, and several characters. The aim is to turn available resources into useful progression without assuming every purchase or extra character will automatically pay for itself.
Evaluate Battle Pass Value Before Buying
A paid battle pass may provide Odyle Energy, giving us more opportunities to claim dungeon rewards. If our membership includes access to the Quna Exchange, the option to exchange Kina for Quna may also affect the purchase decision.
Before committing currency, compare the current exchange rate with the rewards we can realistically claim. Consider which dungeons our character can clear, how much energy we expect to use, and whether the pass's restrictions fit our plans.
| Factor | What we should evaluate |
|---|---|
| Exchange rate | Current Kina cost relative to the required Quna |
| Odyle Energy | How much usable energy the pass provides |
| Dungeon access | Whether our character can clear the relevant content |
| Restrictions | Expiry date, character limitations, and reward conditions |
Extra energy may create additional opportunities to earn equipment and currency, but that does not guarantee a profit. The result depends on the current economy, the rewards obtained, and how efficiently we use the available energy.
When planning an upgrade budget, we should treat expected rewards as uncertain rather than count them as guaranteed income. That is a more reliable way to manage Aion 2 Kinah without committing more than our character can reasonably recover.
Let Alts Support the Main Character
Additional characters can provide more opportunities to spend Odyle Energy and collect dungeon rewards, but they require their own time and preparation.
Our team recommends developing an alt only when it can clear suitable content reliably. Focus on rewards that support the main character, and check storage and binding restrictions before assuming an item can be transferred.
Regular Kina can be shared between characters through storage, while Bound Kina remains with the character that earned it. Gold-quality equipment should also be checked before dismantling, since eligible items may provide useful materials or other progression resources.
The most efficient alt is not necessarily the one with the highest gear score. It is the character whose regular rewards justify the time and materials required to maintain it.
For players planning longer-term progression, it is also worth reviewing Arcana transfers, Duty reward chances, and pet bonuses. These systems may offer additional value, but their usefulness depends on the current rules and the resources available to each character.

Summary: Prioritise Improvements That Solve Real Problems
Our team's main recommendation is to identify the bottleneck before spending resources or changing settings. If a dungeon requirement is just out of reach, check existing progression rewards first. If a boss attack repeatedly catches us, improve cast-bar visibility and learn the visual cue. If farming requires too much manual target switching, test the automatic targeting option.
For resource management, evaluate the battle pass against the current exchange rate and rewards we can actually claim. Develop alts when their rewards justify their upkeep, and verify item restrictions before planning transfers.
A more efficient routine comes from making a few well-chosen improvements rather than changing everything at once. We should prioritise the systems that directly support our current goals, then review the results before investing further.
FAQ
What should we check first when our item level is too low for a dungeon?
Check unclaimed Monolith rewards, available Abyss Daevanion board points, and wing or outfit collection bonuses. These are sensible places to look before spending more upgrade materials.
How can we improve movement on Vakron Sky Island?
For wind-current crossings, let the current launch the character, release directional inputs, and open the wings when available. Practise the timing in a safe area before relying on the technique over dangerous terrain.
Which HUD elements are most important during boss fights?
Keep the boss cast bar, ground indicators, and important debuffs easy to read together. This makes it easier to recognise an incoming attack, time a response, and notice status effects that need attention.
Is a paid battle pass always worth buying?
No. Its value depends on the current exchange rate, the rewards available, the Odyle Energy we can use, and the content our character can clear. Evaluate those factors before committing currency.
Are alts worth developing for progression?
They can be, provided they clear suitable content reliably and generate rewards that justify their upkeep. Check binding and storage restrictions before planning to move equipment or materials to the main character.