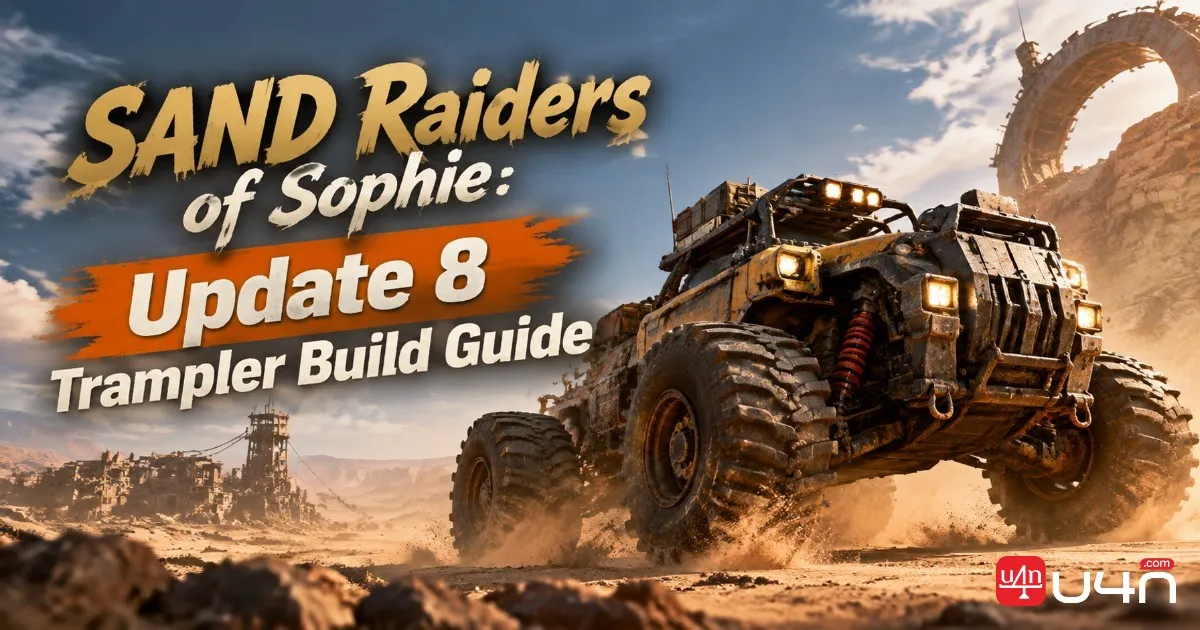
Build Overview: A Four-Player Broadside Trampler
Our team approaches this Update 8 Trampler setup with one clear goal: build a late-game PvP vehicle that can maintain side-mounted firepower without leaving its reactor exposed. Rather than spreading resources across every possible weapon type, this configuration focuses on coordinated broadside attacks, protected internal compartments, and repair access that works under pressure. Players collecting SAND Raiders of Sophie Items should also keep the materials needed for armor upgrades and essential repairs in mind before committing to a full endgame build.
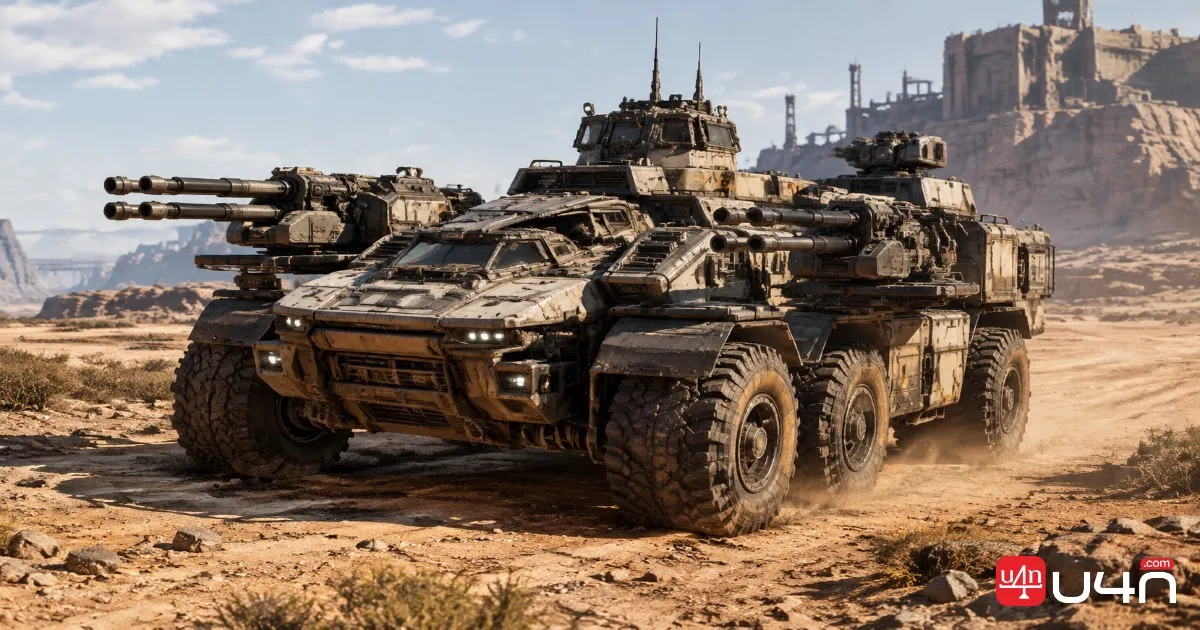
The setup is designed around a 5×5 Royal Chassis and a four-player crew. Its defining feature is the use of lateral weapon platforms instead of relying entirely on forward-facing cannons. This allows the crew to apply pressure while positioning the Trampler alongside an opponent, although effective firing angles still depend on movement, spacing, and the enemy's position.
| Build element | Main purpose | What our team prioritizes |
|---|---|---|
| 5×5 Royal Chassis | Structural foundation | Compact layout with room for essential systems |
| Side-mounted cannons | Sustained lateral pressure | Clear firing angles and coordinated targeting |
| T4 armor | Protect critical compartments | Reactor and important weapon positions |
| Interior compartments | Support repairs and movement | Accessible routes between key areas |
| Four-player crew | Divide combat responsibilities | Clear roles and minimal task overlap |
This is a specialized team build rather than a universal solution. Its effectiveness depends on whether all four players understand their responsibilities and whether the vehicle can maintain a useful firing position throughout the engagement.
The core idea is to combine lateral firepower with reactor protection and accessible repair routes. The build works best when all four crew members understand their roles and coordinate their actions throughout the fight.
Floor-by-Floor Construction and Weapon Placement
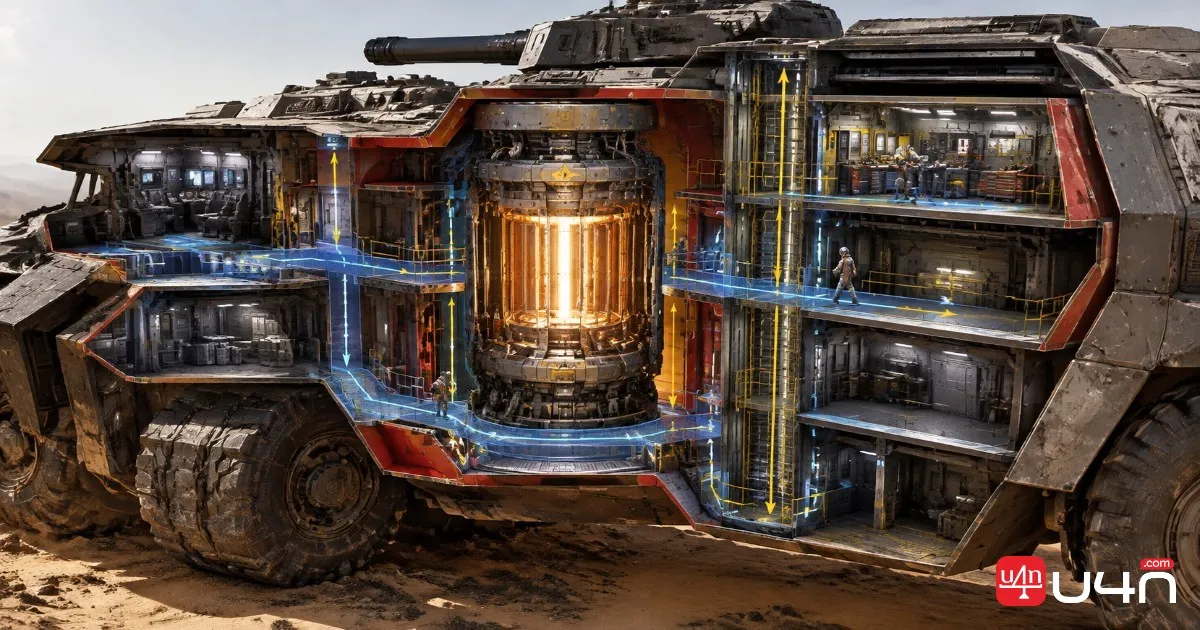
The construction should follow a simple principle: establish the protected core first, then add the systems needed to support combat. We recommend checking the layout after each stage instead of completing every floor before testing access and weapon positioning.
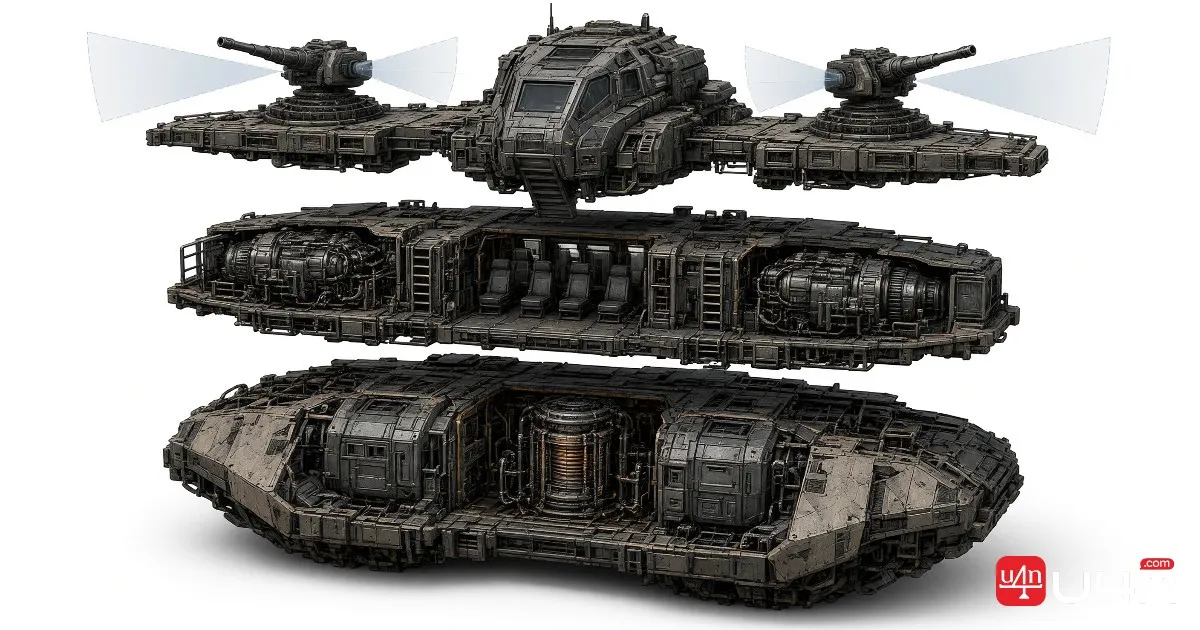
Lower floor: Reactor protection and essential compartments
The lower floor forms the defensive foundation. Place the 1×3 armored reactor in a protected central position and arrange the surrounding compartments to limit unnecessary exposure. The original blueprint also uses triangle frames, armored cargo sections, auxiliary corridors, and captain's quarters to fill out the structure.
Keep repair access in mind when placing each component. A compartment that looks efficient on the blueprint may become inconvenient if crew members must navigate around cargo or closed doors to reach a damaged system.
Middle floor: Armor support and mobility
The second floor reinforces the main weapon area and provides crew quarters and additional cargo space. The original configuration calls for two medium maneuverability engines to support turning and positioning during broadside combat.
Our team would test the completed vehicle's handling before adding unnecessary structural weight. Armor is useful only when the Trampler can still turn into a productive firing angle and maintain enough control to respond to threats.
Upper floor: Helm and secondary weapons
The upper levels accommodate the helm, framed cannon positions, and extended weapon decks. Stacked frames create the lateral platforms needed for the broadside layout, while corner-mounted cannons provide additional coverage.
Before finalizing the build, check three things:
- Can the primary cannons fire without obvious structural obstruction?
- Can the driver reposition the Trampler without compromising the weapon crew's ability to engage?
- Can the engineer reach the reactor and important compartments quickly?
These checks help identify practical layout problems before they become expensive mistakes during PvP.
T4 Armor, Reactor Defense, and Door Routing
T4 armor is a major part of the proposed endgame configuration, but placement matters more than simply covering every available surface. The original build identifies Hull Armor Port B and Port F, front-corner armor, Fort Stern M plating, and rear Kora plating as important components of its defensive arrangement.
Because the exact protection values and interactions have not been independently verified here, treat those names as the original blueprint's proposed placement choices rather than a guarantee of a particular damage reduction.
Our team recommends working through the defensive layout in this order:
- Protect the reactor. Inspect the compartments around the core and identify exposed approaches from above and the front.
- Reinforce weapon positions. Add armor around critical mounts while checking that the cannons retain usable firing angles.
- Review the rear. Look for gaps that expose important internal systems during turning or retreating.
- Test the finished structure. Check mobility, access routes, and the ability to repair damaged sections before adding further armor.
The same principle applies to internal doors. Keep frequently used repair routes accessible wherever possible, while using closed doors to separate areas that genuinely benefit from additional protection. The original article attributes a 7,000-point reactor-shielding bonus to specific closed-door configurations, but that value should be confirmed in-game before being used as a build requirement.
Trap doors and vertical passages should also remain usable when the crew needs to move between weapon stations and repair areas. A defensive layout that delays emergency repairs can undermine the protection it was designed to provide.
Four-Player Crew Roles and Combat Coordination
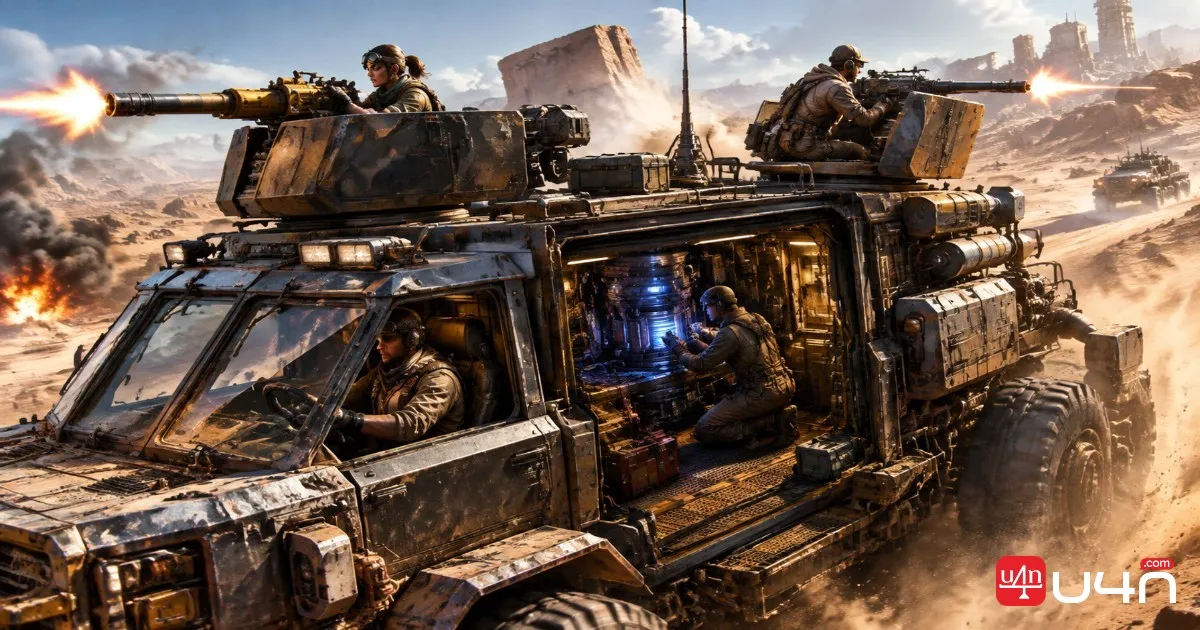
This configuration depends on specialization. With only four players, assigning every crew member a clear primary responsibility helps prevent important tasks from being neglected during a prolonged fight.
| Role | Primary responsibilities | Combat priority |
|---|---|---|
| Driver | Helm control, positioning, boarding calls, and 70mm smoke cannon use | Maintain a useful angle and support coordinated attacks |
| Primary cannon operator | Main 40mm and 80mm weapons, reconnaissance, boarding defense | Focus fire on priority enemy systems |
| Rear cannon operator | Secondary 40mm and 80mm weapons | Maintain pressure while monitoring nearby threats |
| Engineer | Reactor energy rods, dome activation, and hull repairs | Keep critical systems operational |
Driver: Control the engagement
The driver should communicate positioning changes and boarding threats clearly. The proposed setup also assigns the 70mm smoke cannon to this role, with the intention of disrupting opponents during critical moments. The driver should coordinate its use with the other players rather than firing without regard to the team's current target.
Primary and rear cannon operators: Concentrate fire
Both weapon operators should understand which enemy component the team is targeting. The original setup emphasizes proximity-fuse and EMP ammunition for the 40mm and 80mm cannons, but the appropriate loadout should be checked against current in-game ammunition behavior and availability.
Splitting damage across several targets can reduce the team's immediate pressure. Concentrated fire gives the crew a clearer objective and makes it easier to coordinate follow-up attacks.
Engineer: Protect the systems that keep the crew fighting
The engineer has the most important defensive responsibility. Reactor condition, available energy rods, dome activation, and hull damage all compete for attention during combat.
Our recommendation is to establish repair priorities before entering a fight. Critical reactor damage comes first; secondary cargo damage can usually wait unless it threatens access, movement, or another essential system. The engineer should also communicate when repairs require a temporary reduction in offensive pressure.
Practical PvP Priorities and Common Mistakes
A strong blueprint still needs a repeatable combat plan. Our team would focus on the following habits when testing this configuration.
- Choose a target before opening fire. Decide which enemy system matters most and coordinate both cannon operators around it.
- Avoid sacrificing control for damage. A broadside setup needs good positioning. Turning too aggressively or allowing the opponent to dictate the engagement can make the lateral weapons less useful.
- Keep repair supplies ready. Carry the energy rods required by the intended operating setup, and confirm the available quantities before leaving the preparation area.
- React to boarding attempts immediately. Assign the first responder and communicate which route is threatened instead of leaving everyone to guess.
- Do not overbuild the exterior. Additional armor should address a specific weakness, not simply increase the amount of material used.
- Review failures after each fight. Identify whether the problem came from poor positioning, exposed compartments, delayed repairs, or inconsistent target selection before changing the blueprint.
Players preparing for the resource demands of this configuration may also consider whether they need to buy SAND Raiders of Sophie Crown to support their wider progression plans. Either way, the priority should remain understanding the build's requirements and confirming the current in-game availability of the materials and systems it uses.
The most useful test is a complete combat rehearsal: check the weapon arcs, move through every repair route, simulate a reactor emergency, and confirm that all four crew members can perform their responsibilities without unnecessary delays.
Summary
The Update 8 broadside Trampler is best understood as a coordinated four-player PvP configuration built around lateral firepower, reactor protection, and accessible repair routes. Its proposed 5×5 Royal Chassis foundation supports a layered layout, while the upper weapon platforms and T4 armor aim to balance offensive coverage with defensive stability.
In our view, the biggest advantage is not any single armor piece or cannon. It is the way construction and crew responsibilities work together. A well-protected reactor is less useful if the engineer cannot reach it quickly, and powerful side-mounted cannons lose value if the driver cannot maintain a productive firing angle.
Before treating this as a finalized meta blueprint, verify the named components, ammunition behavior, and any numerical defensive bonuses against the current Update 8 build. Once those details are confirmed, test the layout with a coordinated crew and adjust the armor and weapon placement to match the threats your team encounters most often.
FAQ
Is this Trampler build suitable for solo players?
Not as intended. Its weapon coverage, repairs, and positioning rely on four players sharing responsibilities. A solo player would need to simplify the layout and accept that some tasks cannot be handled simultaneously.
Why use a broadside weapon layout?
It allows the crew to concentrate fire from the sides while maneuvering around an opponent. Its effectiveness depends on maintaining a useful angle and avoiding structural obstructions.
Should every available surface receive T4 armor?
No. Focus on important systems and exposed approaches first. Excessive armor can add unnecessary weight or interfere with weapon placement and movement, so each additional piece should solve a specific problem.
What should the engineer repair first?
Prioritize critical reactor damage and any other failure that threatens the vehicle's ability to remain operational. Less urgent cargo or structural damage can wait when it does not affect immediate survival.
What should we test before using the build in serious PvP?
Confirm weapon firing angles, movement and turning, reactor access, repair routes, ammunition availability, and each crew member's responsibilities. Also verify any claimed armor or door-related bonuses in the current game version.