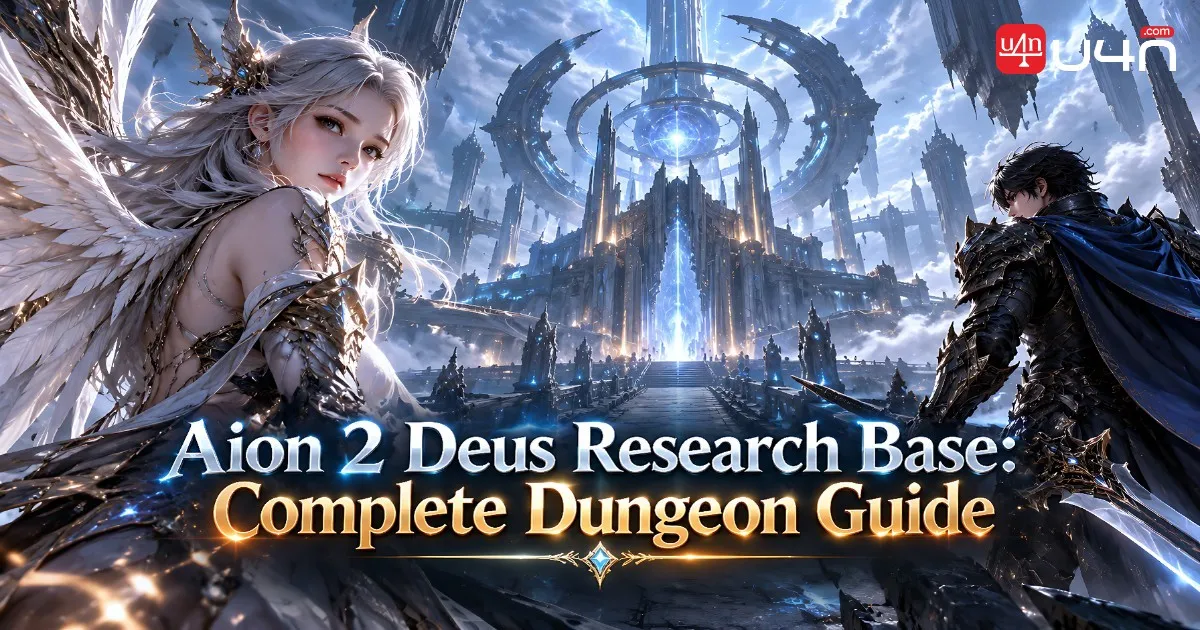
The Deus Research Base is a five-player endgame dungeon in Aion 2 where route planning, team coordination, and boss execution matter as much as raw damage. With multiple difficulty stages, a limited completion window, and a final encounter that punishes poor positioning, our team recommends learning the dungeon's progression system before trying to push for faster clears.
For players working on endgame progression, understanding the instance also helps make better use of Aion 2 Items, particularly Arcana and equipment enhancement materials. Instead of treating every run as a damage race, we focus on three practical goals: clearing the required enemies efficiently, keeping dangerous mechanics under control, and saving the right abilities for the encounters that demand them.
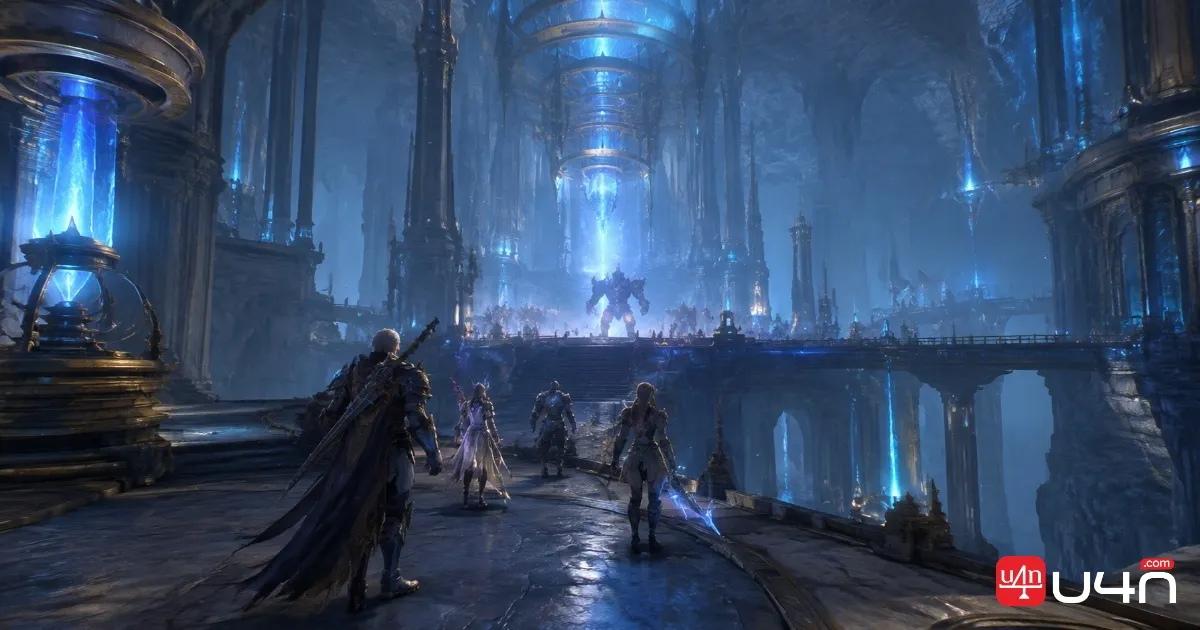
Understand the Difficulty and Prepare Your Team
The dungeon becomes more demanding as its difficulty increases. Higher stages introduce tougher encounters and additional combat modifiers, so a strategy that works comfortably in an early run may become unreliable later.
| Stage | Main challenge | What our team recommends |
|---|---|---|
| Stage 1 | Learning the standard encounters | Establish clear roles and practice boss positioning |
| Stage 2 | Hazardous ground effects after elite enemies die | Keep track of where enemies fall and avoid fighting in unsafe areas |
| Stage 3 | Standard enemies become more dangerous at low health | Focus targets in a controlled order and avoid pulling too many enemies together |
| Stage 4 | Repeated hits can trigger a dangerous player explosion | Spread when required, watch personal debuffs, and avoid unnecessary damage |
The original guide lists recommended Gear Scores from 1,600 for Stage 1 to 2,500 or higher for Stage 4. Treat these as preparation references rather than guarantees of success. Actual performance also depends on class setup, equipment quality, player familiarity, and the group's ability to handle mechanics.
Before entering, we suggest agreeing on three things:
- Who will lead the route and call out changes in direction.
- Which player will handle any Runner duties, if the group uses the shortcut strategy.
- Who will call out dangerous boss mechanics and coordinate stagger or crowd-control cooldowns.
A little preparation reduces confusion later, especially when the party needs to adjust its route without losing track of progression.
Route Planning and Progression Points
The final boss, Atiel, is gated by a progression-point requirement. Clearing enemies is therefore not just a matter of removing obstacles; the party must balance route efficiency against the need to reach the required quota.
The original guide gives a threshold of 110 points for Stage 1 and 150 for Stage 4. Since the exact point values and enemy contributions may vary with the current version or stage, check the in-game progress indicator rather than relying entirely on a memorized enemy count.
When the Runner Strategy Makes Sense
Some organized groups assign one mobile player to activate the dungeon's Kibelisk teleporters while the other four players clear enemies and build progression points. If the teleporters are activated successfully, the party may be able to skip low-value corridors and reach later encounters sooner.
However, the shortcut only helps when the group coordinates it properly.
- Assign the Runner before the pull. The player should understand the route and know which teleporters need to be activated.
- Keep the main group focused. The remaining four players should clear appropriate enemy packs without wasting time on unnecessary detours.
- Confirm teleport access. Do not assume the route is ready until the required Kibelisks have been activated and the party can use them.
- Check the quota before moving on. If the group is short on points, clear suitable remaining enemies before committing to the final encounter.
Our preference is to use the shortcut only when the Runner knows the route and the rest of the party can manage enemy pulls independently. For unfamiliar groups, a straightforward route is often more reliable than a rushed attempt that leaves the final boss locked or forces the team to backtrack.
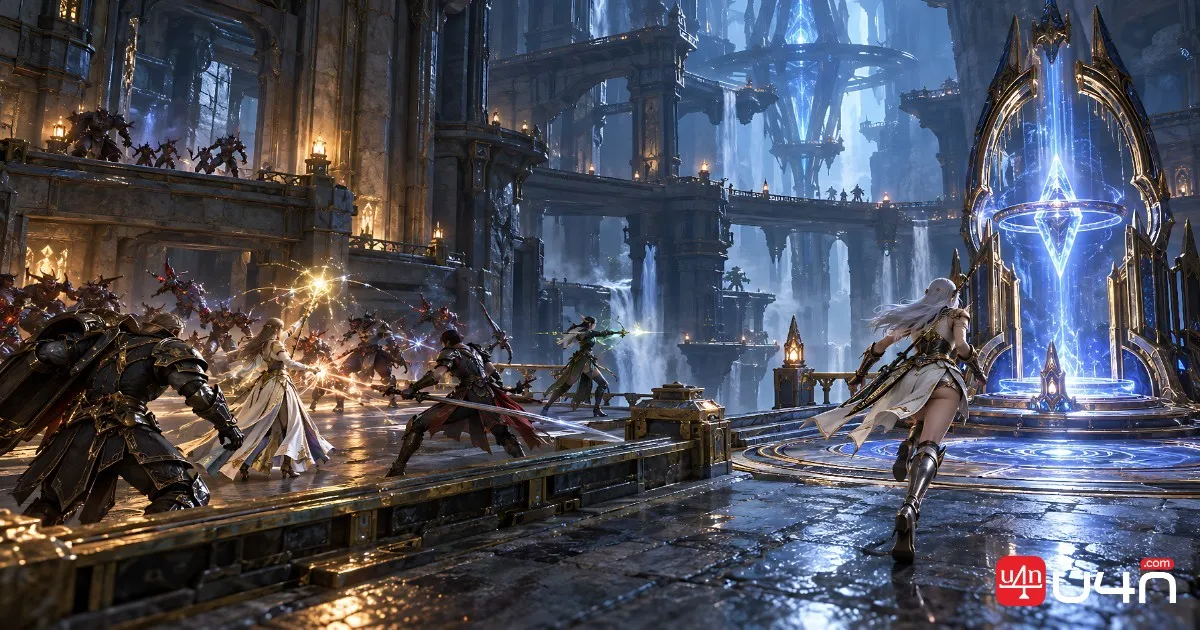

Gelcos and Nazmun: Control the Arena
The two mini-bosses test different skills. Gelcos rewards careful hazard placement, while Nazmun asks the party to read the arena and choose a safer fighting position.
Gelcos: Keep Lightning Hazards Away from the Center
Gelcos can target a distant player with a charging attack that leaves an electrified trail. If that trail is placed across the middle of the arena, it can restrict movement during later mechanics.
Our team recommends that the targeted player move toward the outer wall and guide the charge along the perimeter. This preserves more room for the rest of the party and reduces the chance of being forced into an unsafe area.
When Gelcos pulls players inward with a vortex, melee players should watch for the follow-up frontal attack rather than continuing to attack automatically. Move out of the dangerous area when the vortex begins its damaging pulses.
The encounter becomes harder as Gelcos loses health. The original guide identifies additional patterns around 50% and 25% HP, including a central attack pattern and expanded lightning hazards. When these mechanics appear, prioritize safe movement and clear callouts over squeezing in one more attack.
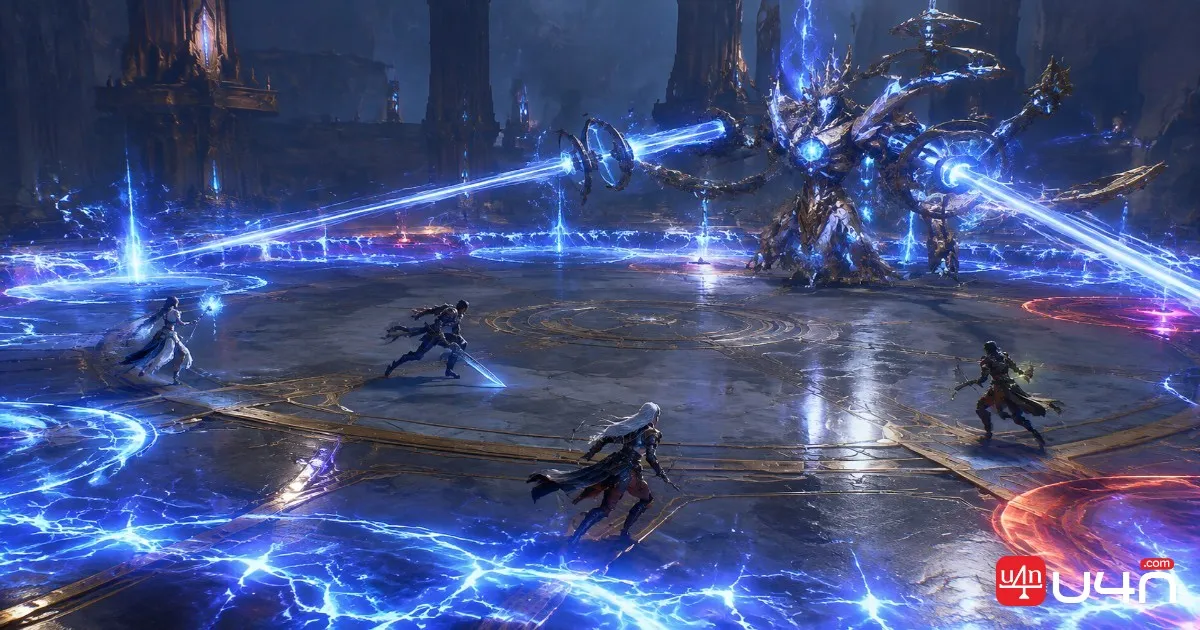
Nazmun: Use the Perimeter to Simplify Laser Patterns
Nazmun's rotating lasers can make the center of the arena difficult to navigate. Fighting near the intersection of multiple beams leaves the party with fewer safe movement options.
If the encounter allows the boss to be repositioned, the tank can try pulling Nazmun toward the outer edge. This may reduce the number of beams the party must actively dodge, depending on the laser pattern and arena geometry.
Players should still watch the actual beam movement rather than assuming the wall guarantees safety. When white targeting rings appear beneath players, spread out enough to avoid overlapping explosions on teammates. Once the attack resolves, regroup in a position that leaves room for the next mechanic.
For both mini-bosses, the same principle applies: preserve usable floor space before the arena becomes crowded with hazards.
Atiel: Tethers, Damage Sharing, and the Final Stagger Check
Atiel is the encounter where clear communication becomes especially important. Several mechanics can look similar at first but require different responses, so players should identify the actual tether or target indicator before moving.
Read the Tether Before Reacting
The original guide describes two distinct tether situations:
| Mechanic | Recommended response |
|---|---|
| Tank-linked beam affecting teammates | Move away from the linked tank when the mechanic requires the connection to be broken |
| Players directly tethered to Atiel | Stack near the boss if the mechanic calls for it, rather than automatically running away |
The key lesson is not to treat every link as a movement check with the same solution. Watch who or what the tether connects to, then follow the appropriate response for that mechanic and difficulty stage. In higher stages, the number of affected players may increase, making a clear group callout even more useful.
Share the Marked Attack and Manage Arena Space
When Atiel marks a player for a heavy attack, the original guide recommends having the party stack inside the marked target area to share the damage. If this mechanic appears in your current encounter, follow the target indicator and coordinate the group response rather than leaving the marked player alone.
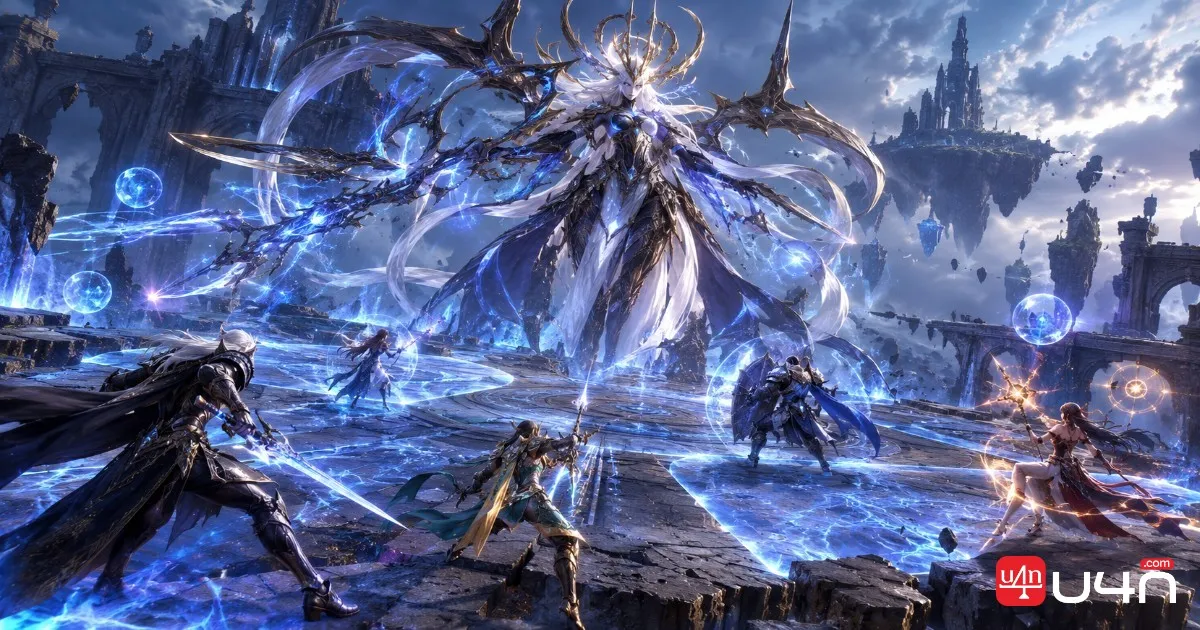
Later in the fight, Atiel can remove sections of the arena's outer floor. Move toward the remaining safe area early and avoid being pushed toward an exposed edge. Blue orbs and knockback effects make late repositioning especially risky, so leave enough room to dodge instead of crowding the boundary.
Save Stagger Abilities for Morphic World
The original guide describes a final check below 30% HP, when Atiel covers the arena in pie-shaped zones and begins a wipe cast. It gives the party a 10-second window to break the boss's stagger bar.
If that timing and threshold match the current version, the practical response is to coordinate high-stagger abilities before the phase begins. Avoid spending every relevant cooldown on ordinary damage immediately beforehand. When the break check starts, prioritize the stagger requirement over individual damage rotations.
Our team would rather enter this phase with a coordinated cooldown plan than rely on last-second improvisation. If a group repeatedly fails the check, review ability timing and party coordination before assuming that simply adding more damage will solve the problem.
Summary: Build a Repeatable Clear Strategy
A reliable Deus Research Base run starts with a route the party understands, not the shortest route on paper. Assign roles early, monitor progression points, and use the Runner strategy only when everyone can coordinate around it. During the mini-boss encounters, preserve safe ground and avoid unnecessary movement through overlapping hazards.
Atiel requires a different kind of discipline: identify the correct tether response, share marked damage when the mechanic calls for it, move away from collapsing arena edges, and reserve stagger abilities for the final check. These habits make the run easier to repeat and help the team identify exactly where a failed attempt went wrong.
For players balancing dungeon farming with other progression goals, planning how to spend Kinah and enhancement materials is also worthwhile. If you are considering whether to buy Aion 2 Kinah, first identify the equipment or upgrade bottleneck you are trying to solve. A clearer progression plan helps you judge whether additional currency would address that bottleneck or whether improving your dungeon execution should come first.
FAQ
How many players are needed for Deus Research Base?
The supplied guide describes it as a five-player dungeon. Confirm the current entry requirements in-game before assembling your party.
Is the Runner shortcut necessary?
No. It is an optional route strategy for organized groups. A direct route may be more consistent for parties that are still learning the encounters or struggling to meet the progression quota.
Which boss mechanic should we prioritize learning first?
Start with Gelcos's charge placement and Nazmun's laser positioning. These mechanics teach the party to preserve safe arena space, a skill that becomes important again during Atiel's shrinking-arena phase.
What should we save for Atiel's final phase?
If the current version uses the described stagger check, coordinate crowd-control and high-stagger abilities so they are available when the boss begins the wipe cast. Check the actual phase trigger and timing in-game rather than relying on outdated thresholds.
What rewards make the dungeon worth farming?
The supplied guide identifies Arcana Cards, equipment and enhancement materials, and Kinah as progression rewards. Their value depends on your current build, upgrade needs, and the rewards available at your chosen difficulty.