



Hall of Thanes is one of the early group dungeons in World of Warcraft: Forever, designed for players around levels 13–18. Hidden beneath Ironforge in Old Ironforge, this five-player instance takes adventurers through ancient dwarven halls now occupied by hostile Dark Iron forces. With four bosses, faction-specific quests, dangerous trash packs, and several useful Rare drops, it offers more than a straightforward leveling run.
For players building their first characters, preparation makes a noticeable difference. We recommend checking the available quests before entering, especially if you want to collect as much experience as possible in one trip. A well-planned group can complete multiple objectives without unnecessary backtracking, leaving more time for combat and loot. Keeping enough cheap World of Warcraft Forever Gold for basic consumables and repairs can also make early dungeon progression more convenient.
We recommend collecting available quests before entering, clearing dangerous enemies carefully, and checking every vault in the Reliquary of Kings before leaving.
Hall of Thanes Overview
Hall of Thanes is a five-player dungeon located beneath the High Seat in Old Ironforge. Its recommended level range is 13–18, making it an early group activity for characters who have moved beyond their starting zones.
The dungeon follows a linear route. Players first encounter restless dwarven spirits before moving into areas controlled by Dark Iron enemies. The final section contains the strongest trash groups and the last boss, so groups should avoid rushing through the second half without clearing dangerous enemies.
| Dungeon Detail | Information |
|---|---|
| Recommended Level | 13–18 |
| Location | Old Ironforge, beneath the High Seat |
| Group Size | 5 players |
| Total Bosses | 4 |
| Alliance Quests | 5 main quests, plus a prerequisite |
| Horde Quests | 2 |
| Boss Loot | 12 Rare items |
| Item Level | 18 |
| Equipment Requirement | Level 13 |
Every boss drops three Rare Bind on Pickup items. Since these rewards cannot be traded, players who want a particular piece of equipment will need to defeat the relevant boss themselves.
Boss Order
The dungeon has four bosses in a fixed order:
- Faldrim Anvilmar – The first boss, found in Anvilmar’s Rest.
- Magmatus – An elemental boss accompanied by a Dark Iron Summoner.
- Plunder – A patrolling elemental enemy in the hallway before the final room.
- Durgen Dirgehammer – The final boss, guarded by two Lesser Stone Golems.
We recommend clearing surrounding enemies before engaging each boss. At this level, an accidental extra pull can be more dangerous than the boss's main abilities.
How to Find Hall of Thanes
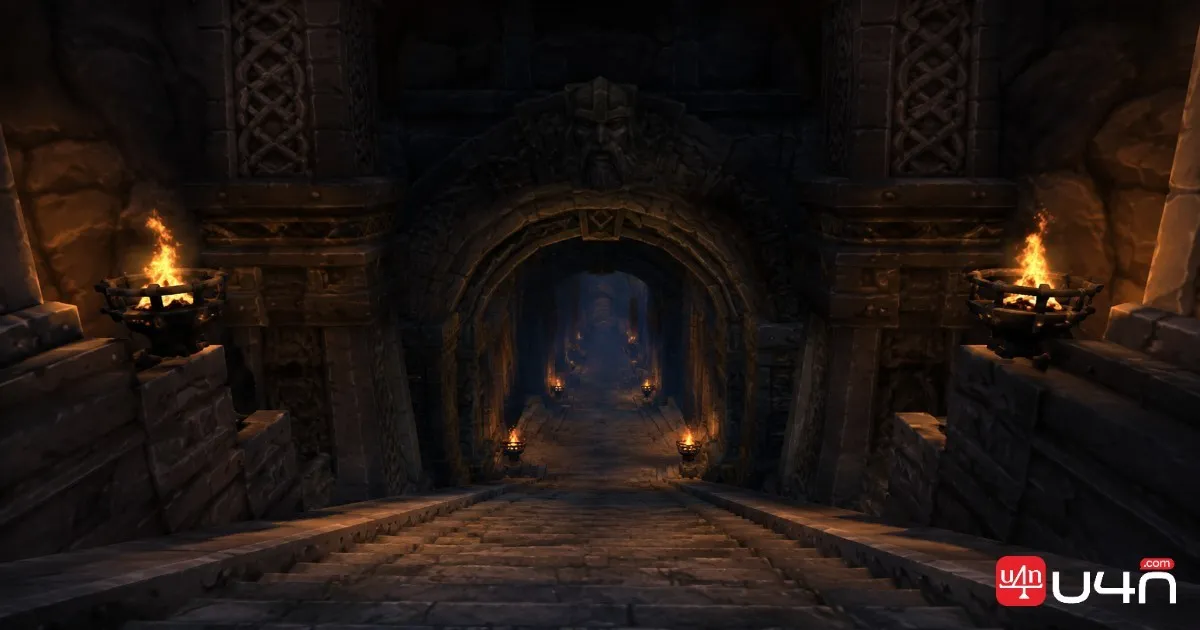
The entrance to Hall of Thanes is inside Ironforge, in the Old Ironforge area beneath the High Seat. Alliance players have a relatively convenient route, while Horde characters must travel through contested territory and deal with hostile city guards.
Entrance Location and Route
Follow these steps to reach the dungeon:
- Travel to Ironforge and head toward the Great Forge in the central area.
- Enter the High Seat, where King Magni Bronzebeard stands.
- Take the open doorway on the left into the tunnel leading to Old Ironforge.
- Follow the path down through the old halls.
- At the end of the tunnel, go upstairs to the left, then turn right and continue down toward the dungeon portal.
The entrance is easy to miss if you have never explored Old Ironforge. We suggest checking the route before your group assembles so that everyone can arrive without wasting time.
Alliance and Horde Travel Differences
Alliance characters have the easier journey. Dwarves and Gnomes start close to Ironforge in Dun Morogh, while other Alliance races can use the Deeprun Tram from Stormwind City.
Horde players can also enter Hall of Thanes, but reaching it takes considerably longer. A typical route begins in Tarren Mill in Hillsbrad Foothills, continues through Arathi Highlands and Wetlands, and eventually reaches Dun Morogh through Loch Modan.
There is another important issue: Ironforge guards attack Horde characters on sight. Players attempting the journey should be prepared for repeated deaths and equipment durability loss. If your main goal is simply to complete an early dungeon, Ragefire Chasm may be a more convenient alternative for Horde characters.
Dungeon Route and Important Rooms
The instance is linear, but remembering a few important locations will help your group avoid missing objectives.
| Area | Important Enemies or Objectives |
|---|---|
| Anvilmar’s Rest | Faldrim Anvilmar, Enraged Apparitions, Ghostly Attendant |
| Magmatus Room | Magmatus and Dark Iron Summoner |
| Final Hallway | Plunder and nearby trash |
| Reliquary of Kings | Durgen Dirgehammer, Lesser Stone Golems, quest vaults |
Before leaving the final room, check the vaults along the walls. They contain Dwarven Heirloom items and the Treaty of Understanding quest item. The exit lever is also located in this room, so make sure everyone has collected their required objectives before activating it.
Hall of Thanes Quest Guide
Quest planning is one of the most important parts of this dungeon. Alliance characters have access to more objectives and can earn considerably more experience, while Horde players can complete two shared quests.
The best approach is to collect available quests before entering, complete the objectives along the normal dungeon route, and check the final room carefully before leaving.
Quests Available to Both Factions
Both Alliance and Horde characters can complete the following quests:
| Quest | Quest Giver | Objective | Reward |
|---|---|---|---|
| An Ancient Grudge | Ghostly Attendant, inside the dungeon | Defeat Faldrim Anvilmar | 2,300 XP and a choice of reward |
| Important Heirlooms | Thom Filch, Old Ironforge | Collect 8 Dwarven Heirloom items | 2,950 XP, 7 silver, and a reward choice |
An Ancient Grudge is straightforward because the quest giver is already inside Anvilmar’s Rest. Speak to the Ghostly Attendant, defeat Faldrim, and return to complete the objective.
For Important Heirlooms, collect the eight Dwarven Heirloom items scattered throughout the dungeon. The first items appear after Faldrim's defeat, and the vaults in the Reliquary of Kings contain enough items for the entire group.
We recommend picking up Important Heirlooms before entering. This avoids having to return to Old Ironforge after the run simply because you missed a quest.
Alliance-Only Quests
Alliance players can complete additional objectives that increase the overall experience value of the dungeon.
| Quest | Main Objective | Reward |
|---|---|---|
| The Restless Dead | Kill 15 Enraged Apparitions and 10 Tormented Souls | 2,300 XP and a reward choice |
| Underground Map | Deliver the Dark Iron Map to Earthseer Farsen | Unlocks Old Ironforge Incursion |
| Old Ironforge Incursion | Bring Durgen Dirgehammer’s Head to King Magni Bronzebeard | 3,200 XP, 8 silver, and a weapon reward choice |
| The Treaty of Understanding | Return the treaty tablet to King Magni Bronzebeard | 2,550 XP and 16 silver |
The Restless Dead is particularly convenient because its target enemies appear in the early dungeon rooms. A normal clear should provide enough opportunities to complete the required kills.
Old Ironforge Incursion requires additional preparation. First, loot a Dark Iron Map from a Dark Iron Spy or Captain Beld at Ironband’s Compound in Dun Morogh. This starts Underground Map. Take the map to Earthseer Farsen at Gol'Bolar Quarry to unlock the next objective.
After defeating Durgen Dirgehammer, loot his head and return it to King Magni Bronzebeard.
The Treaty of Understanding is another objective worth remembering. Its tablet is located in one of the vaults in the Reliquary of Kings. This quest cannot be shared, so every Alliance player who wants the reward must collect their own copy before leaving.
Recommended Quest Preparation
To reduce unnecessary travel, we suggest following this order:
- Complete the Dark Iron Map prerequisite in Dun Morogh if you want Old Ironforge Incursion.
- Visit Thom Filch and Afadra Dunwall in Old Ironforge to collect the available quests.
- Enter Hall of Thanes and pick up An Ancient Grudge from the Ghostly Attendant.
- Complete the early undead kills and defeat Faldrim Anvilmar.
- Collect Dwarven Heirlooms as you progress.
- Defeat Durgen Dirgehammer and loot his head if you have the Alliance quest.
- Check every vault for the Treaty of Understanding before leaving.
This route helps Alliance players complete several objectives during a single dungeon run. Horde players should focus on the two shared quests and collect enough Heirlooms before exiting.
Dangerous Trash Mobs and Combat Strategies
The first section of Hall of Thanes is relatively manageable. Most of the undead enemies are tied to quest objectives, and their packs are not especially complicated when pulled carefully.
The Dark Iron section is more dangerous. Several enemies can deal heavy damage or create problems when multiple packs are engaged simultaneously.
| Enemy | Main Threat | Recommended Strategy |
|---|---|---|
| Dark Iron Looter | Fast melee attacks | Kill early, especially when several appear together |
| Dark Iron Engineer | Ground-targeted bombs | Move out of the marked impact area |
| Dark Iron Summoner | Fireball and summoned adds | Use line-of-sight positioning to force it closer |
| Lesser Stone Golem | Heavy and fast melee damage | Pull one at a time and focus fire |
Dark Iron Looters deserve particular attention. Their fast attacks can quickly pressure a low-level tank, especially when two or three are active at once. We generally recommend prioritizing them instead of allowing them to attack the healer or weaker DPS players.
Dark Iron Engineers are easier to handle once everyone understands their bomb mechanic. The targeted area is established before the explosion, so players should move away rather than continue attacking from the same position.
Dark Iron Summoners can be troublesome when allowed to cast freely. Use pillars or walls to break line of sight and force them into a more manageable position. Crowd control can also help prevent summoned enemies from overwhelming the group.
The Final Trash Pack
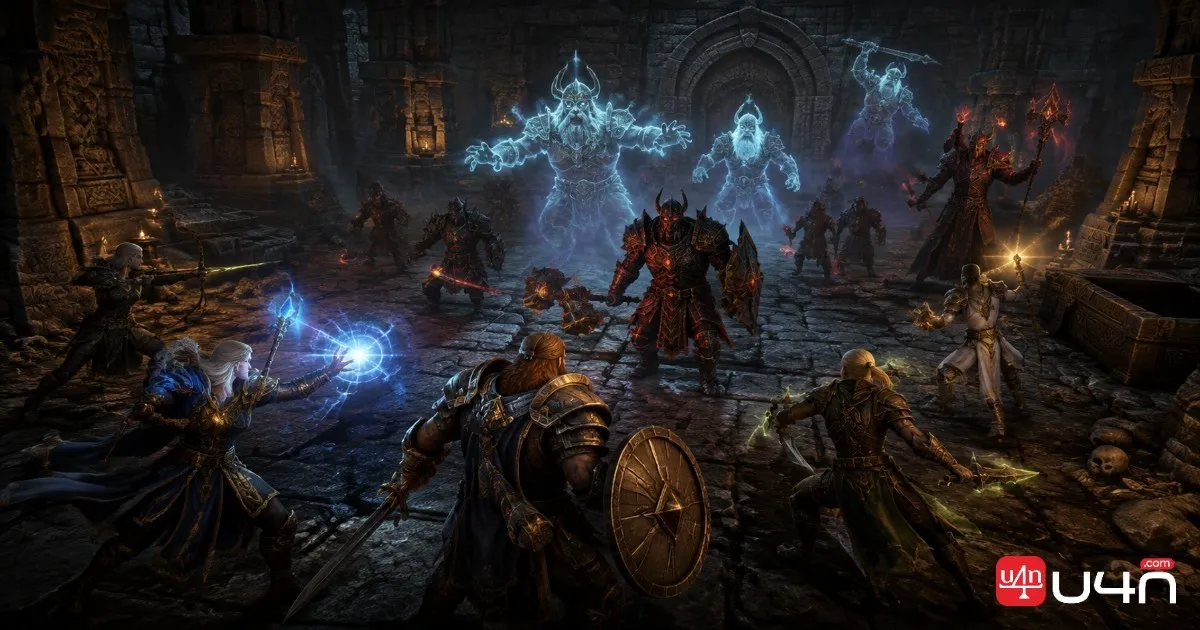
The last dangerous group before Durgen Dirgehammer combines a Dark Iron Summoner, a Dark Iron Looter, and a Lesser Stone Golem.
Do not pull all three without a plan. If your group has a Mage, Polymorph can temporarily remove one enemy from the fight. Paladins can also use Hammer of Justice to control a dangerous target.
Our preferred approach is to control one enemy, kill the Lesser Stone Golem first, and then focus on the Looter. Once the group is stable, deal with the remaining caster.
This small amount of preparation makes the final boss encounter much easier.
Hall of Thanes Boss Guide
Hall of Thanes has four bosses, and none requires complicated endgame-level preparation. However, each encounter has a mechanic that can punish groups that ignore positioning, adds, or interrupt opportunities.
A standard five-player setup with one tank, one healer, and three DPS works well. The most important thing is to keep control of surrounding enemies and avoid unnecessary damage.

Faldrim Anvilmar
Faldrim Anvilmar is an undead dwarf who patrols the center of Anvilmar’s Rest. His encounter is relatively simple, but the surrounding Enraged Apparitions can turn a clean fight into an accidental multi-pull.
His main abilities are:
- Mind Blast: A short Shadow damage cast that also generates significant threat. Interrupting it reduces unnecessary damage and helps keep the boss under control.
- Anvilmar’s Curse: A long-duration curse that reduces the affected target's attack and casting speed by 20%. It also provides immunity to Poison and Bleed effects.
Recommended Strategy:
Clear the nearby Enraged Apparition packs on one side of the room before engaging Faldrim. Watch his patrol route and pull him when he is positioned away from other enemies.
DPS players should interrupt Mind Blast whenever possible. The healer should keep an eye on the tank after Anvilmar’s Curse is applied, especially if the tank's reduced attack speed makes threat generation less reliable.
After the fight, speak to the Ghostly Attendant to complete An Ancient Grudge.

Magmatus
Magmatus is an elemental boss accompanied by a Dark Iron Summoner. Unlike the first encounter, this fight requires the group to manage two targets from the beginning.
His main abilities include:
- Combust: A three-second cast that targets a random player, dealing initial Fire damage followed by damage over time.
- Fire Burst: Periodically releases Fire damage around Magmatus, punishing players who remain too close.
Recommended Strategy:
The tank should pull Magmatus away from the Summoner while DPS players focus on eliminating the caster first. Allowing the Summoner to cast freely makes the fight unnecessarily difficult.
Once the add is dead, the group can switch to Magmatus. Melee players should pay attention to Fire Burst and avoid staying close when the ability is used.
The healer should be ready to heal whichever player receives Combust. Do not assume the tank will be the only target, as cloth and leather wearers can also take significant damage.
Plunder
Plunder is the third boss, an elemental enemy that patrols the hallway before the final room. His main threat comes from Knock Away.
- Knock Away: Pushes the current target backward by approximately 10 yards.
This ability may appear harmless, but the hallway positioning makes it dangerous. A tank pushed into an untouched trash pack can accidentally pull additional enemies into the encounter.
Recommended Strategy:
Clear the previous room before engaging Plunder. The tank should pull him backward into the cleared area and position their back against a wall or corner.
This prevents Knock Away from pushing the tank into another group. Once Plunder is safely positioned, the rest of the party can focus on dealing damage without constantly repositioning.
Durgen Dirgehammer
Durgen Dirgehammer is the final boss of Hall of Thanes. He waits in the Reliquary of Kings with two Lesser Stone Golem adds, while additional Dark Iron Looters stand around the edges of the room.
His main abilities are:
- Fear: An area-of-effect ability that can disable nearby players for several seconds.
- Rend: A bleed effect applied to the tank that deals damage over time.
Recommended Strategy:
Before starting the fight, clear the Dark Iron Looters around the room. Fear can disrupt the group and cause players to move into nearby enemies if the surrounding area is not safe.
The tank should establish control of the encounter while the group deals with the two Lesser Stone Golems one at a time. Focus all DPS on one golem before switching to the next. Stuns and other available crowd-control abilities can reduce the pressure on the tank.
The healer should monitor Rend and maintain enough Mana to handle sustained damage. Once both adds are down, the group can focus on Durgen.
Alliance players completing Old Ironforge Incursion must remember to loot Durgen Dirgehammer’s Head after the kill. This item is required for the follow-up objective.
Hall of Thanes Loot, Rewards, and Best Group Setup
Hall of Thanes offers twelve Rare Bind on Pickup items, with three drops associated with each boss. All listed boss equipment has item level 18 and requires level 13 to equip.
Since the equipment is Bind on Pickup, players cannot simply purchase another player's boss drop. Repeated dungeon runs may be necessary if you are targeting a specific item.
Boss Loot Table
| Boss | Item | Slot | Main Stats |
|---|---|---|---|
| Faldrim Anvilmar | Ephemeral Choker | Neck | +5 Spirit |
| Faldrim Anvilmar | Spiritwraith Drape | Back | +3 Agility, +4 Spirit |
| Faldrim Anvilmar | Aetherwisp Bracers | Cloth Wrist | +3 Spell Power |
| Magmatus | Kindlegem Girdle | Mail Waist | +7 Stamina |
| Magmatus | Flamefist Grips | Leather Hands | +5 Agility, +5 Spirit |
| Magmatus | Fang of Magmatus | Dagger | +4 Intellect, +18 Spell Power |
| Plunder | Golemheart Stave | Two-Handed Staff | +18 Spell Power |
| Plunder | Golemguard Chest | Mail Chest | +6 Stamina |
| Plunder | Treads of the Protector Golem | Mail Feet | +5 Strength |
| Durgen Dirgehammer | Durgen’s Crescent Axe | One-Handed Axe | +4 Strength |
| Durgen Dirgehammer | Direhammer Leggings | Leather Legs | +4 Agility, +7 Stamina |
| Durgen Dirgehammer | Robes of the Disgraced Thane | Cloth Chest | +4 Spirit, +8 Spell Power |
Which Drops Are Worth Farming?
Not every item is equally useful for every character. We recommend prioritizing equipment that improves your primary role rather than chasing every Rare drop.
- Mages, Warlocks, and Priests: Fang of Magmatus and Golemheart Stave are particularly attractive because of their Spell Power.
- Warriors and Paladins: Durgen’s Crescent Axe and other Strength-oriented rewards may provide useful early upgrades, depending on weapon specialization.
- Hunters and Rogues: Flamefist Grips and Direhammer Leggings offer Agility, making them relevant options for physical damage builds.
- Tanks: Stamina-oriented pieces such as Kindlegem Girdle and Golemguard Chest are worth considering for additional survivability.
- Healers: Spirit and Spell Power items can help support early dungeon healing and resource management.
Always compare a drop with your current equipment. A Rare item is not automatically an upgrade if its stats do not support your character's role.
Best Quest Rewards
Some of the most useful rewards come from Old Ironforge Incursion, which offers a choice between three weapons.
| Item | Type | Recommended Use |
|---|---|---|
| Ironforge Greathammer | Two-Handed Mace | Warriors and Paladins using two-handed weapons |
| Deepblaze | Wand | Caster characters |
| Dwarven Tome | Off-Hand | Characters who benefit from Spirit and Spell Power |
| Catacomb Cloak | Back | Physical damage characters who benefit from its stats |
The Ironforge Greathammer is a solid option for suitable melee builds, while Deepblaze gives casters another useful weapon choice. Horde players cannot complete Old Ironforge Incursion, so the shared quest rewards, including Dwarven Tome and Catacomb Cloak, are more relevant to their progression.
Recommended Group Composition
A balanced group is the safest choice for Hall of Thanes:
| Role | Number | Main Responsibility |
|---|---|---|
| Tank | 1 | Control enemy positioning and maintain threat |
| Healer | 1 | Manage sustained damage and keep the group alive |
| DPS | 3 | Kill priority targets, interrupt casts, and control adds |
A few additional abilities can make the run smoother:
- Interrupts: Useful against Faldrim's Mind Blast and other dangerous casts.
- Crowd Control: Polymorph and Hammer of Justice can reduce the number of active enemies in difficult trash pulls.
- Ranged Damage: Hunters, Mages, and Warlocks can help handle Summoners and enemies positioned around corners.
- Mana Management: Healers should save enough Mana for Combust, Rend, and unexpected damage during the final encounter.
For players who want to prepare their characters before entering, having enough World of Warcraft Forever Gold for sale available through a reliable marketplace can help with basic consumables, repairs, and other leveling expenses. However, good positioning and coordination remain more important than expensive equipment in this dungeon.

Summary
Hall of Thanes is a useful early dungeon for players progressing through levels 13–18 in WoW Forever. Its four bosses are manageable with a balanced group, but the Dark Iron trash packs and faction-specific quest requirements deserve attention.
We recommend collecting available quests before entering, clearing dangerous enemies carefully, and checking every vault in the Reliquary of Kings before leaving. Alliance players should pay particular attention to the Dark Iron Map prerequisite and the Treaty of Understanding, while Horde players can focus on the two shared quests.
For most groups, a steady pace and clear target priorities will make the run much smoother than rushing from one boss to the next.
For a successful Hall of Thanes run, prioritize quest preparation, controlled enemy pulls, and the correct boss positioning. Completing these steps will help your group make the most of every dungeon run.
Frequently Asked Questions
What level should I be to enter Hall of Thanes?
The recommended level range is 13–18. Boss equipment requires level 13, so characters at the lower end of the range can already use the available drops.
How many bosses are in Hall of Thanes?
There are four bosses: Faldrim Anvilmar, Magmatus, Plunder, and Durgen Dirgehammer.
Can Horde players enter Hall of Thanes?
Yes. Horde characters can enter the dungeon, but reaching Ironforge requires a long journey through contested areas, and the city's guards are hostile.
How many quests can I complete in Hall of Thanes?
Alliance characters can complete five main quests, along with a prerequisite chain. Horde characters have access to two shared quests: An Ancient Grudge and Important Heirlooms.
Where can I find the Treaty of Understanding?
The Treaty of Understanding is located inside one of the vaults in the Reliquary of Kings, the final boss room. Each Alliance player who needs the quest must loot their own copy.
What is the best group composition for Hall of Thanes?
A traditional five-player setup with one tank, one healer, and three DPS is a reliable choice. Groups with interrupts and crowd-control abilities will have an easier time handling the dangerous Dark Iron packs.
Is Hall of Thanes worth running for gear?
Yes, particularly if you are leveling through the early teens and need upgrades for your character. Its Rare Bind on Pickup drops include useful Spell Power, Spirit, Agility, Strength, and Stamina options. The quest rewards also add value to a planned run.