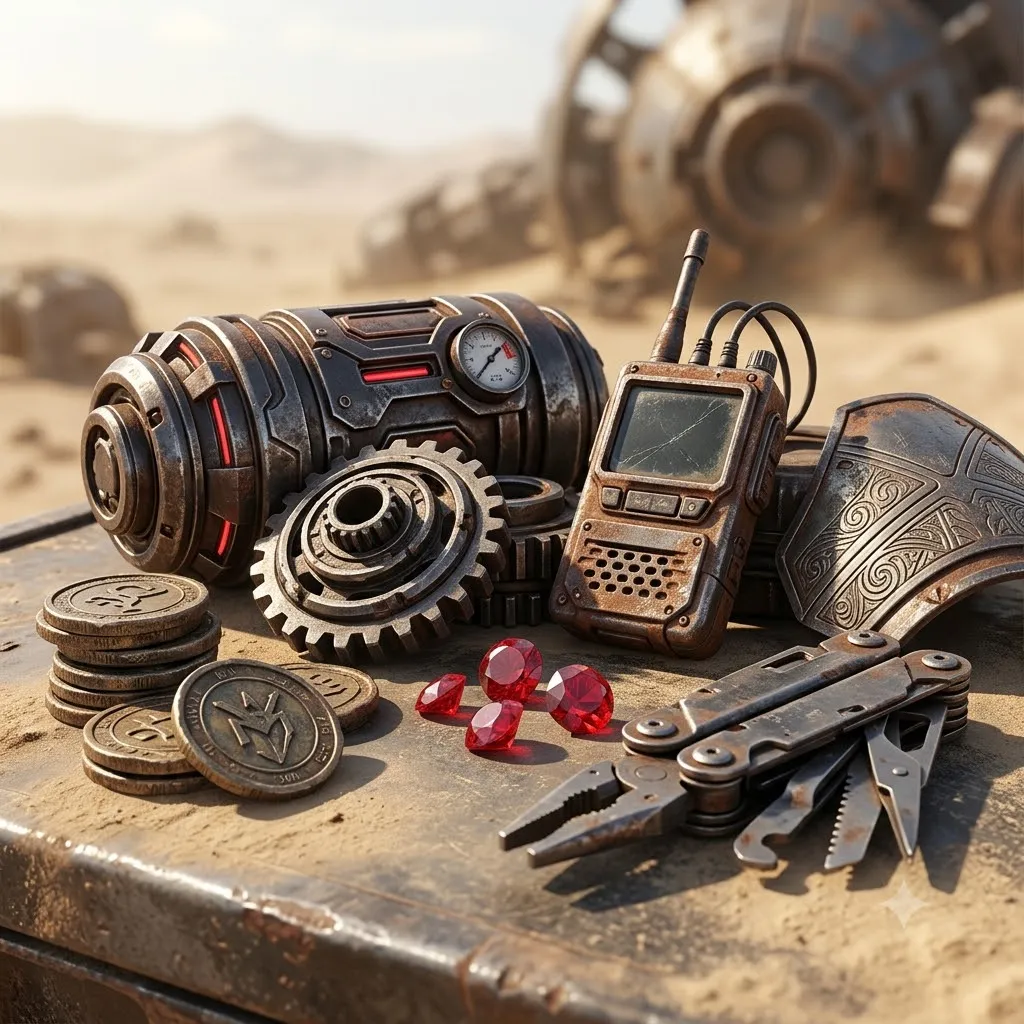
Buy Sand Raiders of Sophie items cheap at U4N and enhance your progression with a wide range of in-game resources designed to help both new and experienced players. From essential currency like Crowns to rare gear upgrades and crafting materials, the platform offers a convenient way to strengthen your character and stay competitive in the harsh desert PvPvE world of Sand Raiders of Sophie.
Instead of spending countless hours grinding low-yield zones or risking high-value loot in dangerous central regions, players can directly obtain the items they need to improve efficiency and build performance. This allows for faster Trampler upgrades, better loadout optimization, and smoother progression through both solo exploration and squad-based expeditions.
The marketplace is designed with speed and reliability in mind, ensuring that most orders are processed quickly through secure trading systems. This makes it easier for players across different regions to access the same resources without delays, helping maintain momentum during important progression phases or seasonal content pushes.
Whether your goal is to maximize combat efficiency, improve survivability, or simply enjoy the game’s exploration and PvP encounters without resource bottlenecks, buying items through a trusted marketplace can significantly reduce downtime and enhance overall gameplay experience.
Sand: Raiders of Sophie Valuables and Items List
In SAND: Raiders of Sophie, successfully filling your inventory with high-value valuables and core resources is the main loop for upgrading your tech tree, building Tramplers, and securing Crown Coins. Here is the complete categorized list of the most critical items, loot objects, and sellable valuables you will scavenge on the planet Sophie.
High-Value Valuables & Progression Loot
These items should always be stored securely on your person or inside your extraction boxes. They are used to fund your hangar or skip heavy blueprint costs.
Crown Coins: The primary trade currency found loose inside safes and premium structures; safely sold back at the lobby hangar for immediate cash.
Black Boxes: Ultra-rare tech components that provide massive progression leaps for the overall research structure when successfully extracted.
Silver / Loose Trade Goods: Common decorative valuables found in residential zones that can be pawned off for baseline currency.
Exploration & Vault Keys
Keys do not have static world drops but are found inside specific regional monument sectors to unlock secret storage grates.
Red Key: Found outside the main floor area of Merzauge ; unlocks heavy weapon storage crates.
White Key: Found on the second floor of the Segen bank building ; opens premium financial vaults.
Black Key: Scavenged from the basement of Fort Istria or dropped by elite boss commanders; grants access to military stockpiles.
Dreadnaught Key: Hidden exclusively inside the loot room of The Dreadnaught during the Storm Dive game mode.
Crafting & Technical Upgrades
These raw materials are heavy and require careful storage optimization, but finishing the entire endgame tech tree requires thousands of pieces stockpiled by your team.
Coral Chunks: Desert anomalies required in high numbers (often 150+ at a time) to build high-end gear like Mk2 Energy Rods.
Weird Coral: Highly rare specialized growth variants paired alongside standard coral for elite progression nodes.
Gunpowder: Raw explosive powder; heavily demanded across the board with late-game tech nodes costing over 6,000 total.
Scrap Metal: Base debris stripped from clutter and small outposts used to build basic structural pieces.
Metal Rods: Pre-formed framing components required to move guns out of the baseline "white" tier.
Weapon Parts: Precision-machined triggers and receivers needed to build mid-to-high tier small arms.
Fabric: Strips of textile used for modular grip components or improvised baseline firearms.
Special Tactical Weapons & Ordnance
While personal firearms like the M82 Rifle or Blitz 10 8mm Pistol are standard craftables, certain specialized weapons can only be pulled from premium Red Box drops.
The Great Silence: A rare, single-use rifle that launches a high-impact EMP payload to disable area targets.
Orbital Strike Designator: A limited-use target marker that calls down devastating fire support over stationary targets or chokepoints.
Time Bombs: Heavy breaching devices used to clear environmental blockades or blow open sealed monument doors.
Survival Consumables
Energy Rods: Vital modular batteries packed into your vehicle to maintain movement through the deep sand.
One-Time Use Shovels: Scavenged digging tools used to excavate bone-marked sand piles for hidden baseline loot.
Canned Food & Meds: Found primarily within residential wall cabinets and minor shipwrecks to keep player health and stamina managed.
SAND: Raiders of Sophie Red Box loot items
In SAND: Raiders of Sophie, Red Boxes (also known as Red Crates) sit at the absolute top of the standard world-spawn loot tier. While brown and green crates contain common and baseline survival gear, Red Boxes are where you will find the game's experimental weapons, heavy combat equipment, and high-impact utility items. Because these boxes offer gear that is often superior to anything you can craft at a standard workbench, hunting them down is critical for endgame survival.
Deciphering Red Box Types
Before opening a Red Box, look at the stencil drawing/icon stamped on top of the crate. This allows you to identify its exact contents at a glance and prioritize what your inventory needs:
Weapon Symbol: Drops personal high-tier firearms and ammunition.
Cannon Symbol: Drops heavy Trampler vehicle-mounted armaments and explosive ordnance.
Red Boxes marked with a cannon or weapon symbol are the primary source for ready-to-use, high-tier vehicle weaponry, bypassing the need for expensive blueprints.
Heavy 40mm Cannon Kits: Modular vehicle attachments that can be slotted into your Trampler to ready it for immediate combat.
High-Tier Ordnance: Heavy cannon shells and specialized explosive munitions required to fuel your mech's heavy firepower.
2. Elite Personal Firearms
When searching for player-vs-player (PvP) dominance, the weapon-stenciled Red Boxes yield the best small arms in the game.
Silenced Scoped Petros: Regarded as one of the absolute best personal firearms for cleaning up enemy players after destroying their Trampler.
Rare Military Firearm Variants: Advanced personal weapons that boast better handling, range, and attachment configurations than standard base guns.
3. High-Impact Utility & Deployables
Cogwheel-stenciled Red Boxes focus on tactical equipment designed to shift the tide of a team fight or protect your walker.
Deployable Domes: Powerful, temporary protective structures that can be placed down to shield you or your tech during intense firefights.
Orbital Strike / Great Silence Artifacts: Ultra-rare red tactical artifacts typically sourced from high-tier areas like Fort domes, occasionally manifesting in premium utility boxes to give you massive fire-support options.
Powerful Utility Parts: Rare mechanical components and advanced tools that are otherwise highly resource-intensive to craft mid-run.
Best Practices for Red Box Farming
Target Major Cities: While Red Box spawns are randomized, they cluster heavily inside named monument locations and dense city buildings, making urban areas the most reliable spots to farm them.
Check the Hulls of Crashed Ships: Do not ignore the massive derelict ships stranded out in the open dunes; their interior cabins often hide hidden alcoves containing premium locked boxes.
Bring Explosives: Many of the premium rooms containing clusters of Red Boxes are sealed away behind broken or locked doors. Always bring a grenade or a time bomb to blow them open.
Sand: Raiders of Sophie Weapons Crafting Materials
In SAND: Raiders of Sophie, crafting weapons is vital for sustaining your firepower without relying entirely on RNG map extractions. Weapons are crafted using your Trampler's onboard workbench or back at your base.The primary materials required to manufacture and upgrade firearms include basic components and specific parts found throughout the desert ruins.
Core Weapon Crafting Materials
Scrap Metal: The foundational material for entry-level guns. Basic baseline versions require 25 pieces of Scrap Metal to assemble.
Metal Rods: Solid structural pieces needed to craft mechanically complex firearms. They are heavily used in blueprint formulas for mid-tier rifles and shotguns.
Weapon Parts: Pre-machined mechanical components explicitly meant for firearm triggers, barrels, and receivers. These are rarer than base metal and must be scavenged from weapon crates or military monuments.
Fabric: Woven material scrap utilized as gripping texturization or structural binding for specific, improvised firearms.
Common Weapon Crafting Recipes
The ingredient requirements scale directly with a weapon's tier and firepower:
Weapon
Required Materials
Any White Rarity Weapon
25x Scrap Metal
Green Tier Shotgun / Revolver
1x White Variant of Weapon + 25x Scrap Metal
Pepper Mill Shotgun
4x Metal Rods + 4x Fabric
M82 Rifle
4x Metal Rods + 4x Weapon Parts
Where to Farm Crafting Materials
Scrap Metal: Found everywhere. Smash clutter objects inside small towns, or search standard Green Crates sitting around baseline outposts.
Metal Rods & Weapon Parts: Look for industrial zones and abandoned storage warehouses. Containers marked with Cogwheel stencils heavily favor mechanical parts.
Fabric: Scavenge residential ruins, locker cabinets, and clothing piles scattered throughout major city monuments.
Sand: Raiders of Sophie Keys and Keycards
In SAND: Raiders of Sophie, keys and keycards function as a progression-linked progression chain. Rather than being purely randomized drops, the colored keys are part of a continuous progression loop: unlocking a lower-tier locked vault or location often yields the exact key required to access the next tier up.
The Colored Key Chain & Spawn Locations
There are six distinct colored keys scattered across the planet Sophie. While they do not have single static coordinate drops, they consistently spawn inside specific monument buildings:
Key Type
General Location
Acquisition Method
Green
Kaiser Flood
Town Hall or small, random vaults.
Blue
Kaizerplats
Large mansion, first door on the left.
Red
Merzauge
Small hut outside the main floor area.
White
Segen
Second floor of the grand bank building.
Black
Fort Istria
Basement, or dropped by elite military commanders/sector bosses.
Dreadnaught
The Dreadnaught
Hidden inside the ultimate loot room; accessible via Storm Dive mode.
Key Tiers and Usage
Keys facilitate a progression from basic looting to high-stakes, endgame combat:
Green (Early-Game): Opens standard boxes and safes for silver and basic components.
Blue/Red/White (Mid/High-Tier): Unlocks office doors and high-security safes guarded by elites.
Black/Dreadnaught (Endgame): Opens Black Boxes and sealed chambers in fortresses like Bismarck for top-tier gear.
Strategy
The Loop: Start by farming Green keys in smaller vaults; these containers frequently yield higher-tier keys.
Fort Bosses: Target elite commanders at Fort monuments for a direct path to the Black Key.