


Path of Exile 2 offers extensive character customization, but following a detailed build can be challenging when you are still learning its passive skill tree, gem system, and attribute requirements. The in-game Build Planner makes this process more manageable by allowing players to import community-created builds and follow their progression directly. While collecting POE 2 Currency for equipment upgrades is part of character development, having a clear build plan can also save considerable time and prevent unnecessary passive skill choices.
In this guide, our team explains how the Build Planner works in Patch 0.5, where to place imported files, how to use gem recommendations, and what you need to export your own character build. We will also cover several compatibility checks that are worth making before committing to someone else's setup.
What Does the PoE 2 Build Planner Do?
The Build Planner is an in-game reference tool that helps players follow a predefined character build without constantly switching between the game and an external guide.
Once you import a compatible .build;file, the system can display several types of progression information, including passive skill nodes, skill gems, Support Gems, and stat priorities.
Once you import a compatible .build file, the system can display several types of progression information:
- Passive Skill Tree: Highlights recommended passive nodes and their intended progression order.
- Skill Gems: Shows which active skill gems are required at different gem tiers.
- Support Gems: Provides recommendations for supporting specific skills.
- Stat Priorities: Displays suggested attributes and equipment priorities when these details are included in the file.
One important distinction is that the Build Planner does not automatically create a complete character build for you. It displays the information provided by the build creator.
For example, a file containing only passive tree information will not necessarily include detailed equipment recommendations or crafting instructions. Before choosing a build, check how much information its creator has actually included.
How to Import Builds in Path of Exile 2
Importing a build is relatively straightforward on PC. You need a compatible .build file and access to the game's BuildPlanner directory.
Step 1: Download the Build File
Find a build from a community website or another source you trust. Download the .build file and make sure it matches your intended class, ascendancy, and game version.
Avoid downloading files simply because their advertised damage or endgame performance looks impressive. A build designed for fully equipped characters may not be suitable for leveling.
Step 2: Locate the BuildPlanner Folder
On Windows, the usual directory is:
C:/Users/YourName/Documents/My Games/Path of Exile 2/BuildPlannerReplace YourName with your actual Windows account name. Your Documents folder may also be stored on another drive.
For Steam Deck users running SteamOS, the corresponding path provided in the original guide is:
/home/deck/.local/share/Steam/steamapps/compatdata/2315204395/pfx/drive_c/users/steamuser/Documents/My Games/Path of Exile 2/BuildPlannerThe exact location can depend on your installation and compatibility environment.
Step 3: Copy the File and Activate It
After locating the folder:
- Right-click the downloaded .build file and select Copy.
- Open the BuildPlanner directory.
- Paste the file into the folder.
- Launch Path of Exile 2.
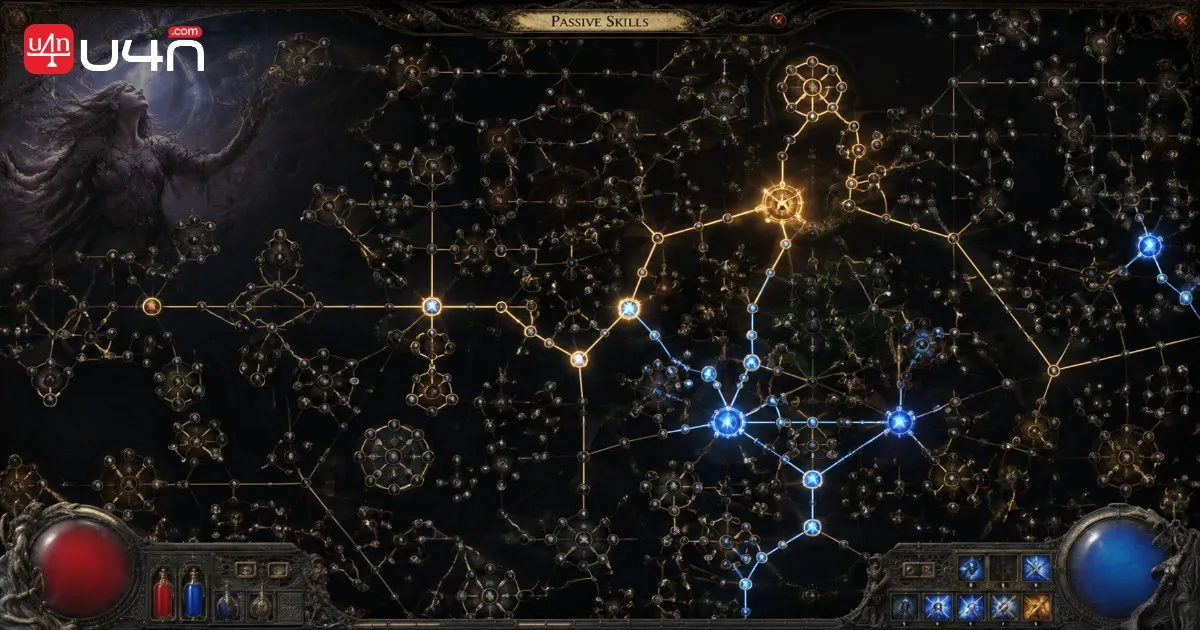
- Press P to open the passive skill tree.
- Find the Build Planner menu in the upper-left corner.
- Select your imported build.
The recommended passive nodes should now appear highlighted on the skill tree.

How to Follow Skill and Support Gem Recommendations
The Build Planner is useful beyond passive skill allocation. It can also help you understand which gems to prioritize as your character progresses.
Using Skill Gem Recommendations
To check the recommended skill gems:
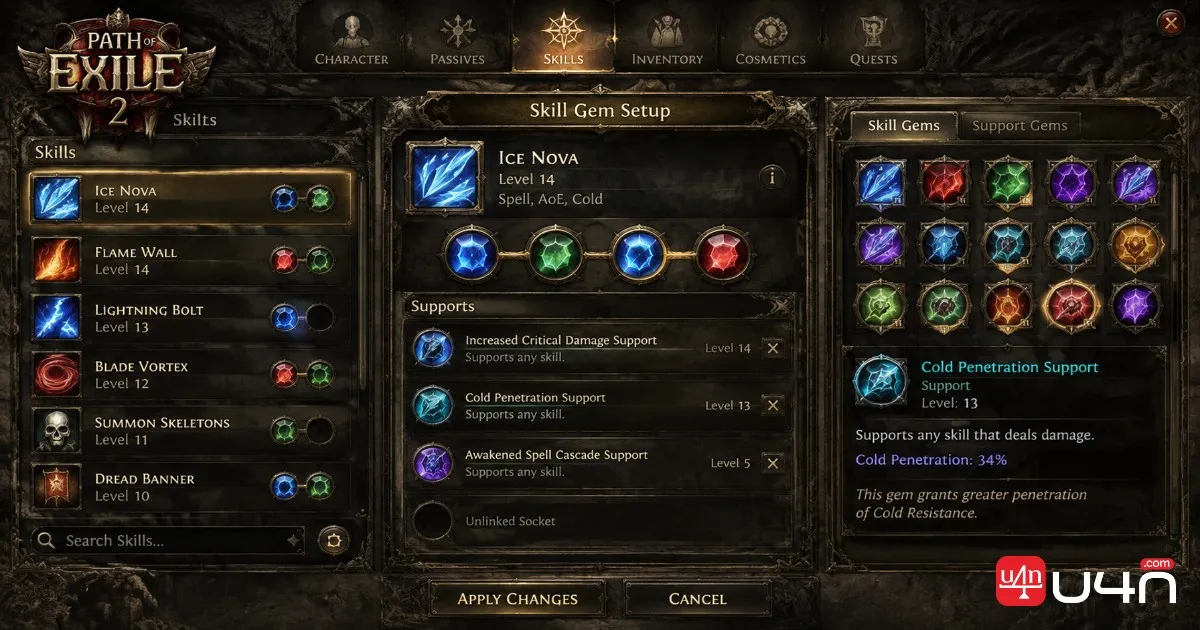
- Open your Inventory.
- Right-click on a gem to open its information window.
- Locate the build selection menu in the upper-left corner.
- Choose the imported build you want to follow.
- Review the recommended gems and their corresponding gem tiers.
You do not necessarily need to own every recommended gem before viewing the list. This makes the feature useful when planning future upgrades and deciding which gems to obtain next.
Checking Support Gem Recommendations
Support Gems follow a slightly different selection process.
First, choose the active skill you want to enhance. Then locate the build selection option in the upper-right corner of the relevant window and select your imported build.
The system can then display the recommended Support Gems for that particular skill.
Our team recommends checking these suggestions whenever you unlock a new gem tier. A support combination that works well with one active skill may not be appropriate for another, so avoid treating the entire gem list as one interchangeable setup.
How to Export Your Own PoE 2 Build
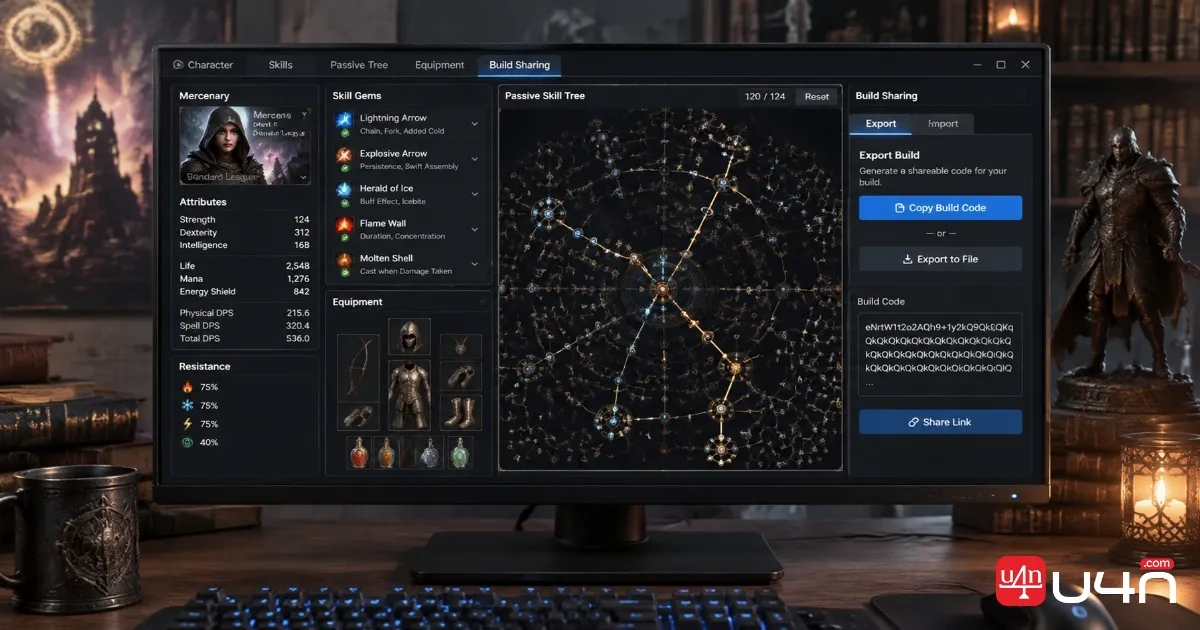
Importing is handled through the in-game Build Planner, but creating a shareable .build file requires an additional conversion process.
For the workflow described in the original guide, PC players need two external resources:
| Tool | Main Purpose |
|---|---|
| Path of Building 2 | Generates character build-sharing code |
| PoE2 Build Forge | Converts the generated code into a .build file |
Exporting Step by Step
- Open Path of Building 2 and load your character.
- Navigate to Import/Export Build in the upper-left corner.
- Find the Build Sharing section and select Generate.
- Click Share, followed by Copy, to obtain the sharing information.
- Open PoE2 Build Forge and paste the generated code into its input field.
- Select Convert.
- If the website displays a message that it cannot retrieve the code directly, follow the provided link.
- Copy the complete code from the resulting page.
- Return to Build Forge, paste the copied code, and select Convert again.
- Download the resulting .build file.
Once the conversion is complete, you have a file that can be shared with other players or imported into another compatible installation.
There is one detail worth remembering: exported information can reflect your character's current equipment and socketed gems. If you intend to share a theoretical endgame setup, make sure the character configuration represents the build you actually want others to follow.
Build Compatibility and Common Problems to Check
An imported build can be technically valid but still perform poorly when its requirements do not match your character. We recommend checking the following details before investing heavily in a new setup.
| What to Check | Why It Matters |
|---|---|
| Patch Version | Passive skills, balance changes, and build effectiveness can change between patches. |
| Class and Ascendancy | The recommended progression must match your character. |
| Build Purpose | Leveling, mapping, bossing, and endgame farming may require different setups. |
| Required Uniques | Some builds depend on specific unique equipment to function properly. |
| Attribute Requirements | Skill Gems may require sufficient Strength, Dexterity, or Intelligence. |
| Weapon Type | Certain builds rely on specific weapon categories and cannot freely switch between them. |
| Build Notes | Explanations help you understand why certain nodes, stats, and equipment choices matter. |
Common Build Planner Issues
If your imported build does not appear or its recommendations seem incorrect, start with these checks:
- Wrong folder: Confirm that the .build file is inside the correct BuildPlanner directory.
- Outdated file: Check whether the build was created for an older patch.
- Incorrect character: Make sure the selected build matches your class and ascendancy.
- Missing equipment: Check whether the setup requires specific weapons, unique items, or attribute thresholds.
- Incomplete build information: Some files contain passive tree data without detailed gem or equipment notes.
If everything appears correct but the planner still behaves unexpectedly, restart the game and check whether the file is compatible with your current client version. Persistent problems may require consulting the game's official support resources.
Another mistake we frequently see in build planning is choosing a setup based entirely on its final performance. A character that requires expensive equipment, high-level gems, and carefully balanced attributes may struggle during early progression.
For players comparing equipment upgrades or preparing a different character setup, researching Path of Exile 2 Items for sale can provide additional context about available gear options. However, equipment should always be evaluated against the actual requirements of the build rather than its advertised endgame performance.
Summary
The Path of Exile 2 Build Planner makes community builds easier to follow by bringing passive skill progression, gem recommendations, and stat priorities into the game.
Importing a .build file is a simple process once you know where the BuildPlanner folder is located. Exporting requires additional software, but Path of Building 2 and Build Forge provide a way to convert character information into a shareable file.
Our team's main recommendation is to check patch compatibility, equipment requirements, and leveling suitability before committing to a build. A well-documented setup that works with your current progression is usually more useful than an expensive endgame build you cannot comfortably play yet.
FAQ
1. What is the Build Planner in Path of Exile 2?
It is an in-game tool that helps players follow imported character builds. It can highlight passive skill nodes and display recommended skill gems, Support Gems, and stat priorities when the information is included in the imported file.
2. Where is the PoE 2 BuildPlanner folder?
On Windows, it is usually located at:
Documents/My Games/Path of Exile 2/BuildPlannerThe exact path depends on your Windows account and installation location.
3. Can I use the Build Planner on Steam Deck?
Yes. Steam Deck users can access the corresponding game directory through SteamOS's compatibility environment. The folder path differs from the standard Windows installation.
4. Do I need Path of Building 2 to import builds?
No. The in-game Build Planner can import compatible .build files directly. Path of Building 2 is used in the export workflow described in this guide.
5. Can console players export their own builds?
The original guide describes the export workflow as PC-only. Console players should check the current platform documentation for any changes to this limitation.