
The Sunder Gemling build in Path of Exile 2 combines heavy mace attacks with Concussive Runes to create an area-damage loop built around Heavy Stuns. Our team recommends treating this as a mechanics-first setup rather than copying every endgame item immediately. Before spending more POE 2 Currency, we want Sunder to land reliable stuns, Rune Shockwaves to trigger consistently, and Ward to remain available throughout combat.
The build becomes more demanding when we add low-life Berserk and Lightning Warp automation. These systems can improve damage and movement, but they also introduce additional resource checks and configuration requirements. We will start with the core attack, establish sustainable recovery, and only then move toward the full endgame package.
How Sunder and Concussive Runes Work Together
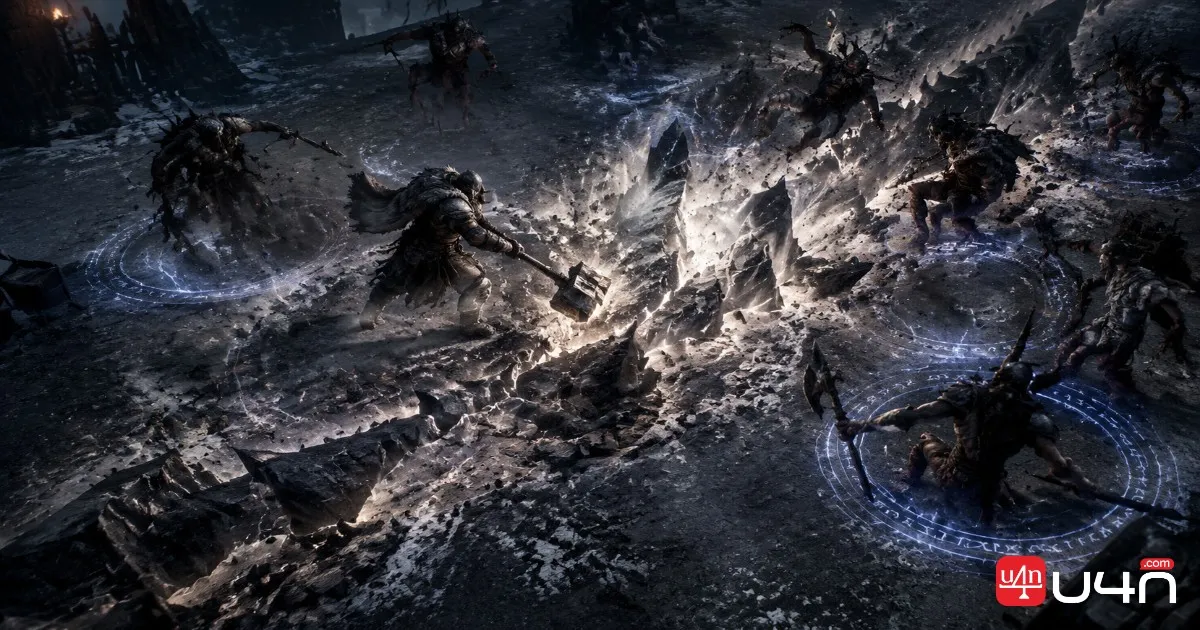
Sunder sends a damaging fissure through enemies in its path. When the supported attack causes a Heavy Stun, Concussive Runes can trigger a Runic Shockwave beneath the affected enemy, adding another area-damage event.
The important distinction is that not every Sunder hit guarantees a Shockwave. The attack must satisfy the Heavy Stun condition, and the rune effect needs sufficient Ward. If Ward runs too low, the extra damage can stop even while Sunder continues hitting enemies.
Sunder establishes the attack rhythm, but Concussive Runes only adds its extra Shockwave when the Heavy Stun condition is met and enough Ward is available.
Build physical damage and stun buildup
Sunder needs to land meaningful hits and generate Heavy Stuns. Attack speed helps the rhythm, but faster attacks alone cannot replace reliable stun application.
Trigger the additional Shockwave
Concussive Runes converts eligible Heavy Stuns into extra area damage. Its Ward requirement makes resource replenishment part of the offensive rotation.
Maintain the loop
Watch whether Shockwaves continue during sustained combat. If they stop, inspect Heavy Stun frequency and available Ward before changing the entire build.
Attack speed and skill quality
Advanced Thaumaturgy is a key part of the described setup because its additional quality effect improves Sunder's attack speed. Our team would prioritize global skill quality alongside weapon speed rather than investing exclusively in raw physical damage.
A useful test is to compare several short combat runs. If attacks become faster but enemies no longer receive reliable Heavy Stuns, the extra speed may not improve the actual damage loop.
Skills, Weapon Sets, and Combat Rotation
The original configuration distributes attacks and trigger skills across two weapon sets. That makes skill permissions, reservations, and socket availability important parts of setup, not just menu details.
| Skill or package | Main purpose | Setup focus |
|---|---|---|
| Sunder + Concussive Runes | Main attack and additional Shockwaves | Set 2 |
| Boneshatter | Movement attack | Set 1 |
| Wolf Pack | Minion-related triggers and recovery | Set 1 |
| Cast on Minion Death + Lightning Warp | Triggered movement | Set 1 |
| Cast on Elemental Ailment + Lightning Warp | Mapping trigger | Set 2 |
| Cast on Critical + Lightning Warp | Critical-hit trigger | Both, as configured |
| Remnants of Kalguur | Ward replenishment | Set 2 |
| Berserk | Rage-based damage enhancement | Both, as configured |
Herald of Thunder and Herald of Ash provide additional offensive effects in the supplied configuration. Their reservations should be checked alongside the other skills before combat.
Mapping rotation
- Confirm that life recovery, Mana, and Ward are stable before entering a dangerous pack.
- Use Boneshatter to move through the area, then attack suitable enemy groups with Sunder.
- Allow eligible Lightning Warp triggers to handle movement when their conditions are met.
- Reposition manually when no valid target is available or when a dangerous ground effect makes the automated path unsafe.
Boss rotation
Boss fights require a different approach because kill-based recovery and normal-monster culling may contribute less or not at all. Keep Sunder as the main attack, reposition for boss mechanics, and watch Mana during sustained attacking.
If damage suddenly falls off, check whether Heavy Stuns still trigger the runes. If attacking stops because Mana runs dry, inspect the cost and recovery balance instead of assuming the weapon needs an immediate upgrade.
Configuration warning
The original build description relies on an Unset Ring skill-slot retention bug whose availability is unconfirmed. We cannot recommend relying on that interaction or removing required recovery skills to force every package into the setup. Verify legitimate skill-slot capacity and weapon-set assignments before attempting the full configuration.
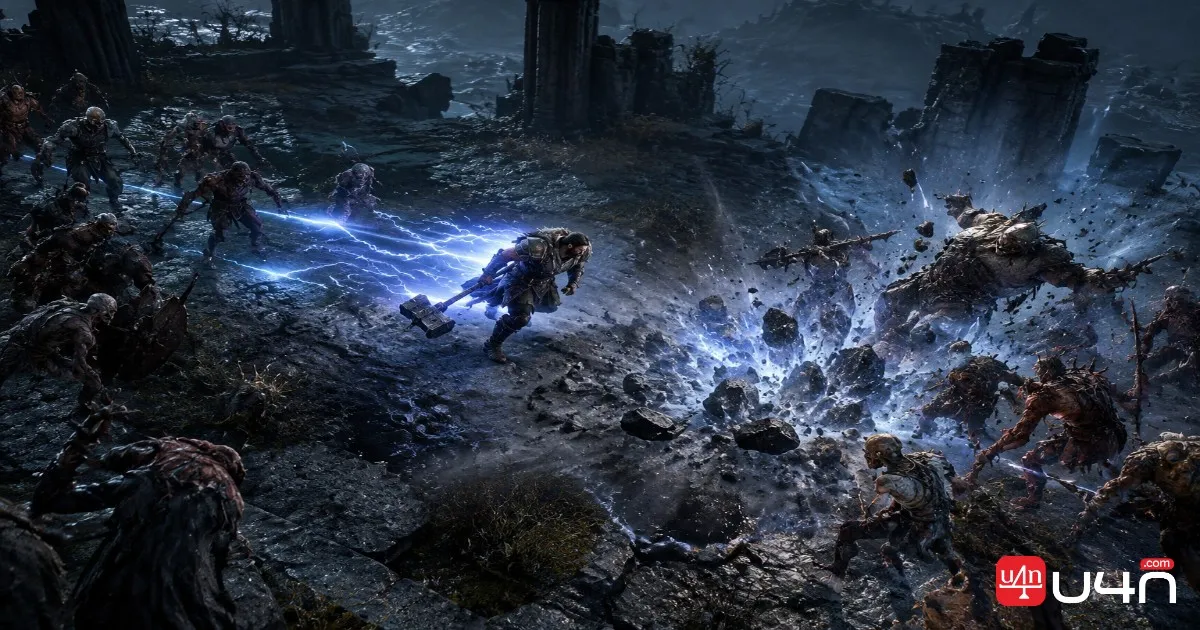
Gear, Ascendancy, and Defensive Priorities
The most effective upgrade order is to establish the core attack first, secure recovery second, and invest in premium damage scaling only after both work together.
| Priority | Equipment or passive | Why it matters |
|---|---|---|
| Core damage | Physical-damage mace with useful attack speed | Supports Sunder damage and the stun loop |
| Skill scaling | Global skill quality and Sunder levels | Improves the intended attack setup |
| Low-life package | Palm of the Dreamer and the specified Flesh Crucible setup | Supports the original reservation and Berserk arrangement |
| Critical defense | The Brass Dome | Helps mitigate extra critical damage |
| Ward support | Olroth's Resolve | Adds Ward recovery and a Guard effect under its conditions |
| Bleeding protection | Staunching Charm | Adds a defensive response to bleeding |
These are roles within the supplied configuration, not proof that every item is mandatory for a basic Sunder character. Palm of the Dreamer and the low-life package belong to the more specialized version; we would leave them out during initial core testing.
Ascendancy and passive choices
Advanced Thaumaturgy supports the quality-based attack-speed approach. Gem Studded rewards a majority of support gems sharing the relevant socket colour, so changing support gems can affect the intended benefit. Recheck the colour balance whenever the setup changes.
The original configuration also uses Essence of Virtue, Paragon, Augmented Flesh, and Hunting Companion for defensive, quality, skill-slot, and culling-related benefits. Their value depends on the actual passive tree and equipment combination, so use the supplied character snapshot as a reference rather than treating its routing as a universal template.
Unwavering Stance also deserves caution: the trade-off described in the original setup removes dodge rolling and sprinting. We would only consider that choice after the alternative movement package works reliably and we understand what mobility we are giving up.
Low-Life Berserk, Ward, and Mana Recovery
This is the part of the build we would test most carefully. A large Ward pool does not automatically make low-life Berserk safe, because the two mechanics address different kinds of resource loss.
Why Ward is not enough
In the described setup, Runic Ward can absorb otherwise fatal damage and leave the character at 1 Life while it absorbs the remaining damage. However, Ward does not prevent life loss that is not damage. Berserk can drain Life while Rage is not being lost, so the character may still die even when Ward remains.
The original configuration lists a Berserk drain of 0.1% of maximum Life per Rage each second. At 61 Rage, that corresponds to 6.1% of maximum Life per second before recovery. The reserved portion of maximum Life still matters when evaluating the drain.
A large Ward pool is not a substitute for sustainable Life recovery. Check Berserk's Life drain against your actual recovery before relying on the low-life setup.
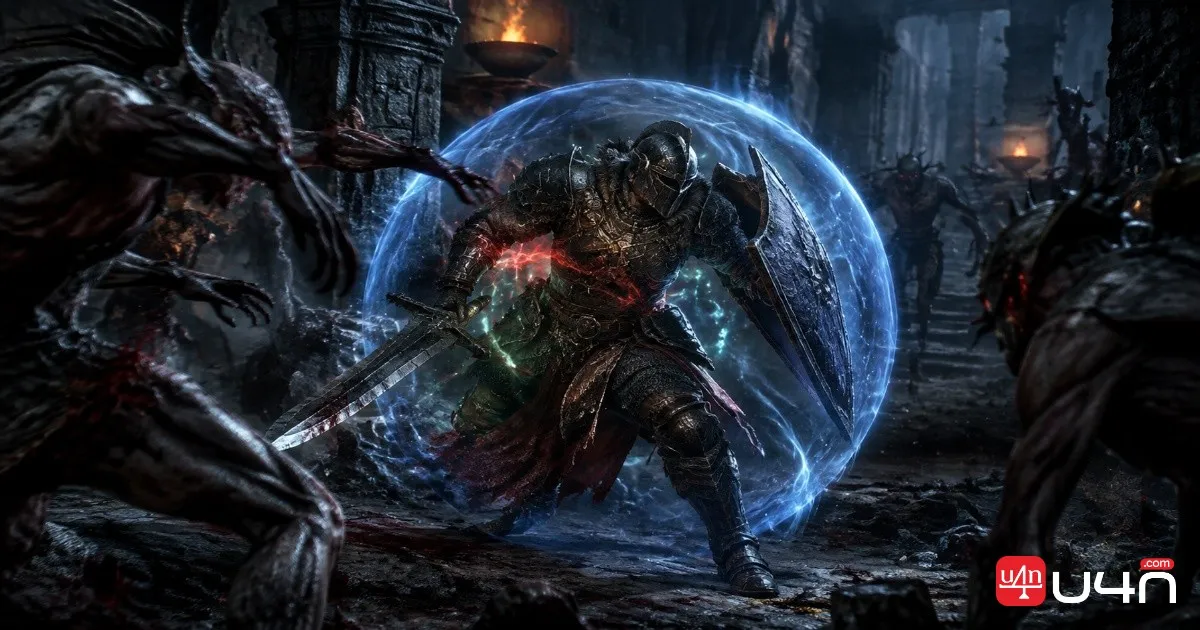
Our team would not enable low-life Berserk until moving recovery can keep pace with that drain. Test after resets or changes that affect the character's mote state, and avoid assuming that a fixed waiting period guarantees readiness.
A practical recovery checklist
- Retain the specified Vitality II link in Cast on Critical and Vitality I in Remnants of Kalguur.
- Compare total life regeneration against Berserk's drain at the Rage level you actually reach.
- Test while moving without incoming enemy damage, so combat pressure does not obscure the recovery trend.
- Repeat after a fresh login or a state change that affects recovery.
- Check Charm charges and leave damaging ground effects promptly.
Ward also needs attention. Remnants of Kalguur generates Ward remnants through the described stun and kill interactions, while Olroth's Resolve provides additional recovery during its effect. Concussive Runes draws from the same Ward pool that contributes to defense, so we need enough replenishment to support both uses.
Mana requires a separate test. The original setup uses on-kill recovery and Wolf Pack-related interactions, including Essence Harvest. These sources can help while clearing, but they should not be assumed to sustain uninterrupted attacks against a lone boss. Test the attack cost against a target that provides no dependable kill-based recovery.
Build Progression and Endgame Readiness
Rather than switching every system on at once, our team recommends four stages. Each stage should work before we move to the next.
Stage 1 — Core Sunder
Test the mace, Heavy Stun consistency, rune triggers, and basic Ward stability. Keep low-life Berserk disabled while checking the attack loop.
Stage 2 — Recovery and defense
Stabilize moving Life recovery, Mana costs, and Ward replenishment. If Shockwaves stop during extended combat, adjust Ward demand or replenishment before investing further in damage.
Stage 3 — Lightning Warp
Add the trigger packages individually. Verify eligible targets, energy generation, reservations, and the weapon set assigned to each skill.
Stage 4 — Endgame optimization
Improve skill levels, quality, critical scaling, and premium equipment only after the earlier stages remain stable.
Mageblood belongs to the original high-investment configuration, not the minimum entry requirement. Its benefit depends on the actual flask setup and modifiers. Removing it can change skill speed, critical chance, and elemental resistance, so those values must be checked again rather than assumed to remain unchanged.
Players comparing equipment options or looking for cheap POE 2 Items should prioritize pieces that solve a specific problem: insufficient physical damage, unreliable stuns, unstable recovery, or missing defensive coverage. We would not spend heavily on premium rolls while the core attack or resource loop is still failing.
Summary
The Sunder Gemling build works best when we treat damage, resource management, and movement as connected systems. Sunder establishes the attack rhythm, Concussive Runes rewards successful Heavy Stuns, and Ward replenishment helps keep the additional damage active. Advanced Thaumaturgy and skill quality improve the intended attack-speed setup, while Lightning Warp adds another layer of movement automation.
Our recommendation is to build in stages: validate Sunder first, stabilize Life and Ward recovery, test Mana against isolated targets, and only then introduce low-life Berserk and the full trigger package. The original endgame configuration contains unverified dependencies, so its complete setup should not be treated as a guaranteed copy-and-play build.
FAQ
Is Concussive Runes triggered by every Sunder hit?
No. In the described setup, the supported attack must cause a Heavy Stun, and sufficient Ward must be available for the Runic Shockwave.
Can I use Sunder without Mageblood?
Yes. Mageblood is part of the original high-investment configuration, not a prerequisite for testing the core Sunder and Concussive Runes interaction. However, replacing it may change several offensive and defensive stats.
Why can the character die while Ward remains?
Ward does not prevent every form of Life loss. In this setup, Berserk's Life drain can continue independently of incoming damage, so insufficient recovery can still cause death.
Why does Lightning Warp stop triggering?
Check target eligibility, the relevant trigger conditions, energy generation, skill reservations, and weapon-set permissions. Not every enemy or encounter provides the same trigger opportunities.
Should I copy the full skill configuration immediately?
No. The original setup references an unconfirmed Unset Ring skill-slot retention bug and has not established a verified, bug-free full configuration. Start with the core attack and add each package only after confirming that legitimate skill slots and recovery supports are sufficient.