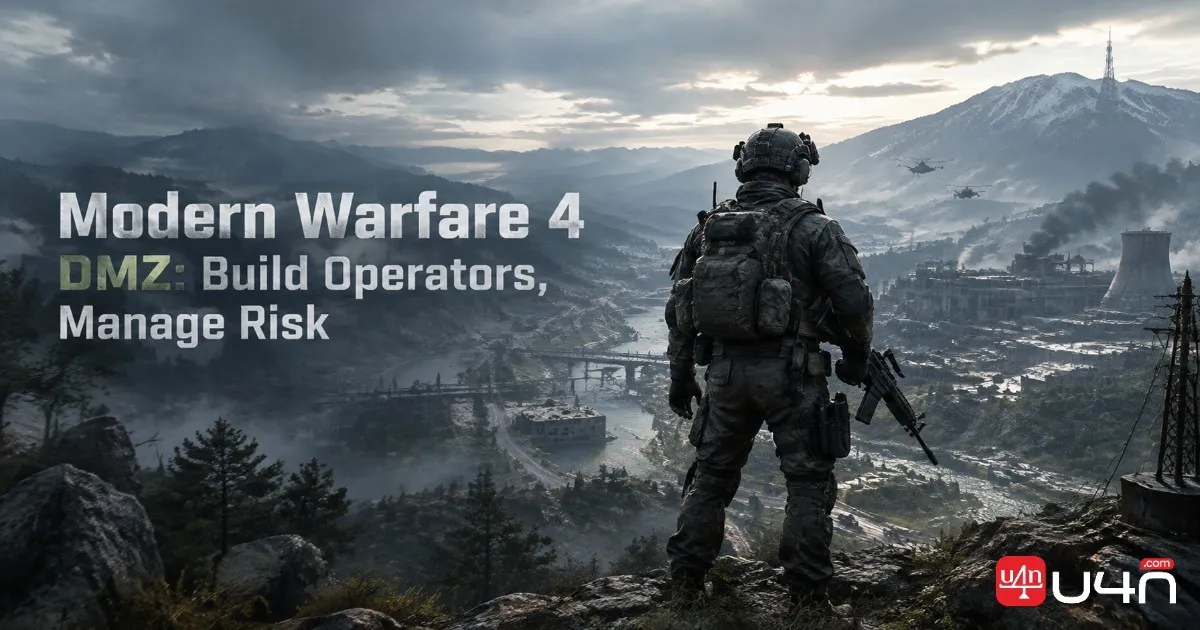
The DMZ mode in Call of Duty: Modern Warfare 4 is built around more than looting and extraction. Every deployment can improve your Operator, expand your Forward Operating Base (FOB), or cost you valuable equipment and progress. For players deciding how to invest in Call of Duty Modern Warfare 4 Items, understanding the connection between these systems is far more useful than chasing individual upgrades without a plan.
Our team recommends approaching DMZ as a long-term progression challenge. Your skill choices determine how you handle combat, your extracted resources support future upgrades, and your decisions after a failed deployment can affect the next several runs. The goal is not simply to collect the most valuable loot. It is to build a reliable progression loop that keeps your Operators equipped and your resources moving in the right direction.
Understand the DMZ Progression Loop
The Hajin Exclusion Zone is where your long-term plans meet immediate risk. You enter with an Operator and a loadout, search for useful supplies, complete objectives, fight hostile forces or other players, and attempt to extract. What you bring back determines which upgrades and equipment options become available for future deployments.
The official DMZ Forward Operating Base guide explains how the FOB supports preparation and long-term progression. Its stations support different aspects of preparation, including weapon management, storage, crafting, and other progression systems. Improving the FOB can make later deployments more efficient, but investing too heavily in one area may leave you short of the cash or materials needed elsewhere.
We suggest following a simple priority order:
- Stay operational. Keep at least one viable Operator and a practical backup loadout ready.
- Secure useful resources. Prioritize materials needed for upgrades you actually intend to unlock.
- Improve essential FOB functions. Choose upgrades that address your current bottlenecks rather than spending resources simply because you can.
- Expand long-term progression. Consider expensive Operator upgrades and Prestige after your basic resource loop becomes reliable.
This approach is particularly useful early on. A flashy upgrade has limited value if you cannot afford to re-equip your Operator after a difficult deployment.
Choose Operator Traits for Your Playstyle
Operator Traits shape how a character performs in the field. Since trait choices are not freely respecable, each point should support a clear role instead of being spent on abilities that look attractive in isolation.
The three main trees—Warfighter, Scout, and Survivalist—cover different priorities. Rather than building every Operator the same way, our team recommends matching each character's specialization to the jobs you expect them to perform.
| Playstyle | Trait priorities | Why they matter |
|---|---|---|
| Solo survival | Recovery, emergency survival, and combat sustain | Helps reduce the consequences of mistakes when nobody is available to revive you |
| PvP combat | Health recovery and equipment sustain | Supports repeated engagements and helps maintain pressure |
| Looting and reconnaissance | UAV improvements and additional loot opportunities | Makes it easier to gather information and pursue valuable resources |
| Squad support | Revival benefits and extraction-related protection | Improves team recovery when an encounter goes wrong |
Traits such as Possum, Quick Fix, and Equipment Professional may suit aggressive or survival-focused builds, while reconnaissance and loot-oriented options can support players who prioritize gathering supplies. Team-focused abilities are more relevant when you regularly deploy with reliable squadmates.
However, we would not treat any single trait as an automatic choice for every player. A defensive ability that saves a solo Operator may offer less value to a coordinated squad that can cover retreats and revive teammates. Likewise, a loot-focused build can be efficient for material farming but may struggle if it lacks the tools needed to survive an unexpected fight.
Our practical recommendation: specialize your Operators around distinct jobs where possible. One character can focus on reliable resource runs, while another can support combat or more dangerous objectives. This gives you options when a high-risk deployment is not worth risking your main progression character.
Manage MIA Risk Before It Becomes Expensive
A failed extraction is more than a lost match. When an Operator becomes Missing In Action (MIA), that character may be unavailable until you resolve the situation through the game's recovery system. Your next decision is whether to spend resources recovering the existing Operator or start again with a new recruit.
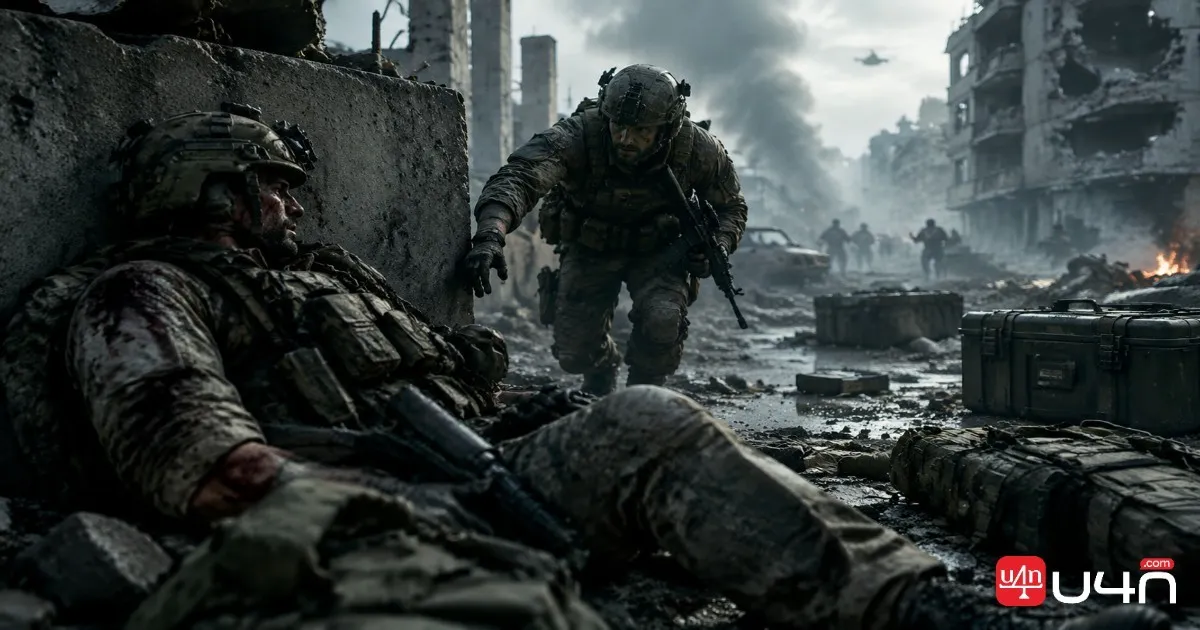
The right choice depends on the character's accumulated progress, recovery cost, available cash, and your current roster. A lightly developed Operator may be relatively easy to replace. A highly specialized character with substantial progression represents a much larger investment.
Before paying a recovery fee, consider these factors:
- Operator progression: How much time and how many Trait Points have you already invested?
- Recovery cost: Will the payment leave enough cash for essential equipment and FOB upgrades?
- Roster depth: Do you have another Operator who can continue resource runs while this character is unavailable?
- Replacement cost: How much effort will it take to rebuild the character's progression and prepare a new loadout?
Recovery also does not necessarily mean recovering your physical gear. Based on the mechanics described in the supplied guide, rescued Operators retain their accumulated traits but return without their previous inventory. That means weapons, armor, and other equipment may need to be replaced before the next deployment. Check the current in-game recovery screen before committing your cash.
We recommend maintaining a reserve of usable equipment instead of investing everything in one character. A backup loadout gives you room to recover from a failed run without immediately interrupting your progression plans.
The key lesson is simple: protect the value of your roster, not just the level of your favorite Operator. A character is useful only when you can afford to deploy them effectively.
Operator Prestige: When Is the Investment Worth It?
Operator Prestige offers a longer-term progression goal, but it comes with a meaningful cost. According to the supplied guide, an eligible Operator must reach the required progression threshold before entering Prestige. The process resets their regular traits and consumes specified equipment, materials, and cash. For the requirements and rewards, consult the official DMZ FOB and Operator Prestige guide.
In return, Prestige can grant permanent traits that strengthen an Operator beyond the standard trait-point allocation. For players who regularly complete successful deployments and can replace high-quality gear, these bonuses may justify the investment. For players who are still struggling to maintain a stable supply of equipment, the same decision can create unnecessary pressure.
Before committing to Prestige, evaluate the following:

| Consideration | What to check |
|---|---|
| Cash reserves | Can you afford the fee without delaying essential upgrades? |
| Equipment requirements | Do you have the required weapons, armor, and backpack available? |
| Crafting materials | Can you replace the resources consumed by the process? |
| Permanent reward | Does the potential bonus fit this Operator's intended role? |
| Recovery capacity | Can your remaining roster continue earning resources during the reset? |
Our team advises against treating Prestige as a mandatory milestone. Its value depends on what your account can comfortably support at that stage of progression.
If you are still unlocking important FOB functions or regularly losing equipment during extraction, it may be more efficient to strengthen your resource pipeline first. Once your deployments consistently produce surplus cash and materials, Prestige becomes easier to plan around.
One final precaution matters: remove valuable equipment from the Operator before confirming the reset if the current interface indicates that the loadout will be consumed. Never assume that inventory items will be returned automatically.
Upgrade the FOB and Manage Resources Efficiently
The FOB is the foundation of sustainable progression. The 3D Printer supports crafting, while other stations improve areas such as weapon management, storage, and access to useful supplies. The challenge is deciding which upgrade provides the greatest benefit to your current playstyle.
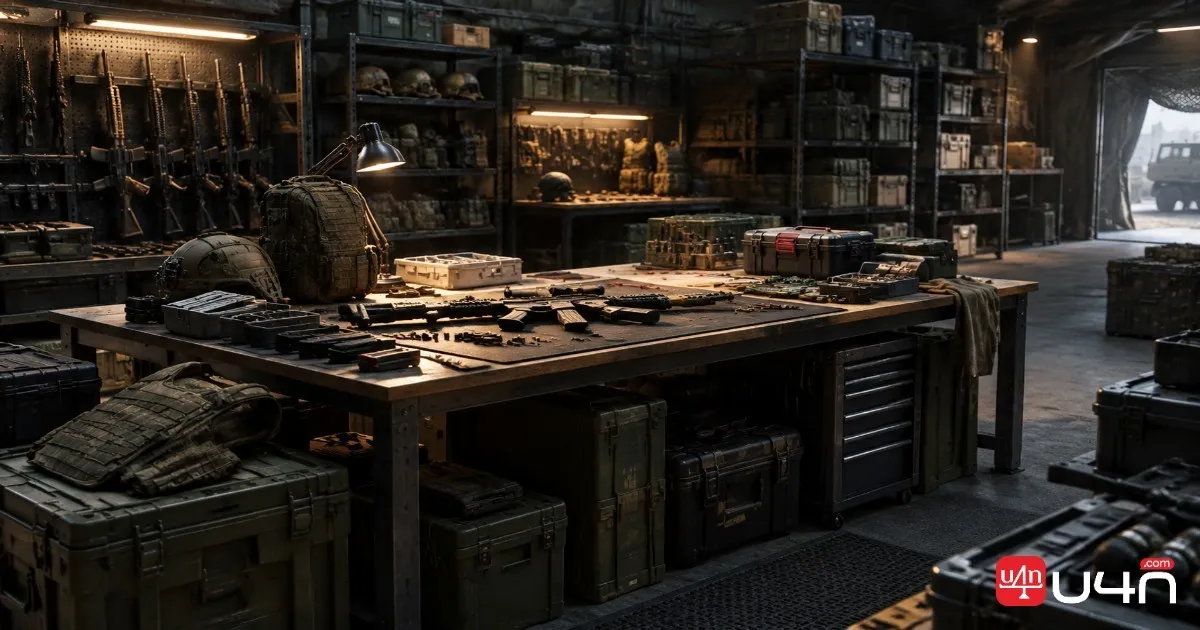
Instead of following a fixed upgrade order without considering your circumstances, identify what is slowing you down.
| Current problem | Upgrade priority to investigate | Strategic benefit |
|---|---|---|
| Basic equipment is difficult to replace | Essential crafting functions | Helps maintain readiness between deployments |
| Weapon storage is limiting your options | Stash or weapon-related upgrades | Supports more flexible loadout planning |
| You are short on upgrade materials | Resource-focused runs and relevant crafting access | Makes long-term progression more predictable |
| Prestige costs are consuming your reserves | Cash and equipment accumulation | Reduces the risk of weakening your entire roster |
These are decision priorities, not a claim that one upgrade is universally optimal. Actual costs, prerequisites, and benefits should be checked against the current game build.
Understand what you need to extract
A useful resource strategy begins with knowing which loot matters for your next objective. The supplied guide distinguishes between basic resources that are automatically processed after extraction and specific crafting ingredients that must be carried out intact. Because the handling rules can affect how much space you need, verify the item's description before deciding whether to keep it in your backpack.
We recommend tracking the materials required for your next planned upgrade. This reduces the temptation to collect everything and helps you recognize when a deployment has already produced enough value.
A practical resource run should follow three steps:
- Set a target before deploying. Identify the materials or cash you need for a specific upgrade.
- Adjust your risk as your bag fills. If you have secured a rare ingredient, consider whether continuing the run is worth the additional danger.
- Extract when the objective is met. A successful extraction that advances your next upgrade is often more useful than a failed attempt to maximize every backpack slot.
This is where disciplined resource management makes the biggest difference. The best run is not always the one with the highest theoretical loot value; it is the one that reliably converts risk into lasting progress.

Summary
Successful DMZ progression depends on balancing three priorities: keeping Operators ready for deployment, investing resources in useful FOB upgrades, and choosing when to pursue expensive long-term goals such as Prestige.
Our team recommends building a stable foundation before chasing maximum progression. Choose traits that match each Operator's role, keep a backup loadout available, track materials for specific upgrades, and compare MIA recovery costs against the value of the character you would otherwise lose.
Most importantly, treat every deployment as part of a larger plan. Secure the resources you need, extract when the risk becomes disproportionate, and avoid spending your entire reserve on a single upgrade or character.
Our Take: The Smartest Way to Progress in DMZ
From our perspective, the most rewarding part of DMZ is not the size of a player's stash or the number of Prestige bonuses they have unlocked. It is the ability to make consistent decisions under pressure. Experienced players know when to push deeper into a dangerous area, when to abandon a fight, and when a modest but successful extraction is the smarter result.
We also believe progression guides should distinguish between a mechanic's theoretical power and its practical value. A powerful trait is only useful when it fits the Operator's role, and an expensive upgrade is only worthwhile when the player can absorb its cost. The same principle applies when evaluating external services or considering COD4 Boosting: players should understand what they are trying to improve and weigh convenience against the value of learning the game's systems themselves.
Ultimately, the strongest DMZ strategy is one you can repeat. Build a reliable resource loop, preserve enough flexibility to recover from setbacks, and invest in permanent progression when your current setup can support it. That approach will serve players better over time than chasing every upgrade as soon as it becomes available.