

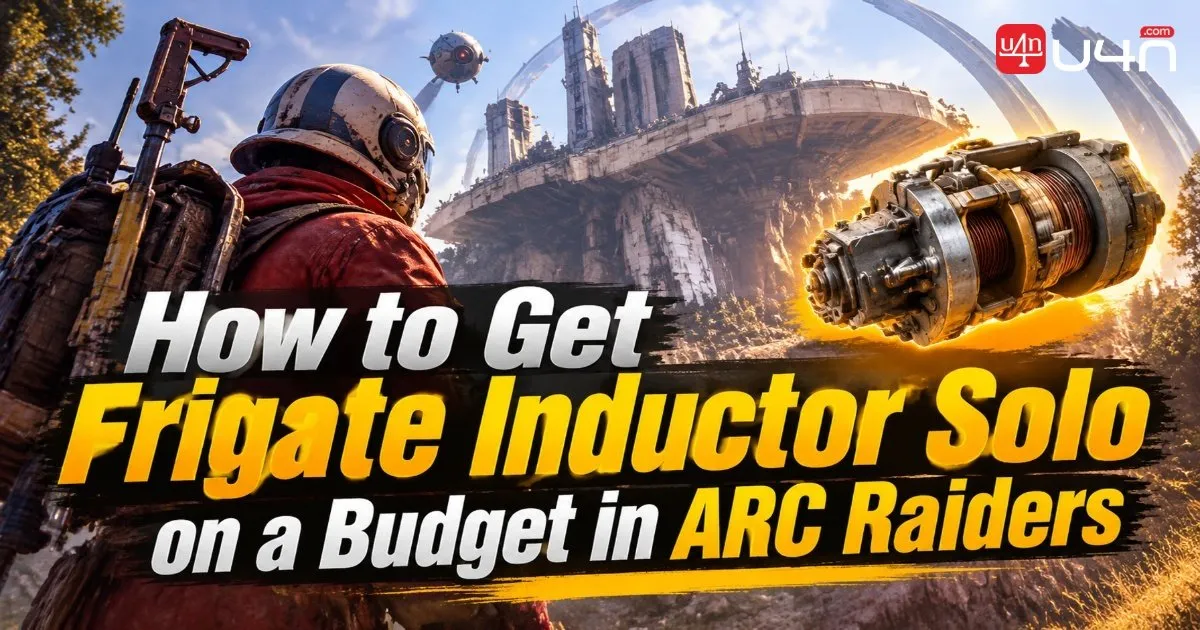
You can attempt a solo Frigate Inductor run in ARC Raiders with a budget loadout costing around 8,470 Coins. The setup uses a Looting MK1, Light Shield, Level 3 Pharaoh, Heavy Ammo, basic healing supplies, a Grappling Hook, and Mini Smokes. The key is to board the Reclaimer as soon as it lands, reach the Frigate's breachable containers early, avoid unnecessary fights with ARC enemies, and secure the Inductor before continuing to loot. This route is not guaranteed, since spawn timing, other players, and loot availability all affect the result.
A successful run is less about winning every encounter and more about controlling how much time and equipment we spend inside the raid. Our team recommends treating the Frigate as a high-value looting opportunity rather than a combat zone. With a carefully managed loadout and a flexible route, even a solo Raider can collect valuable materials and leave without bringing expensive equipment.
You can also browse ARC Raiders Items to understand the wider range of loot worth collecting during these runs.
Budget Loadout for a Solo Frigate Run
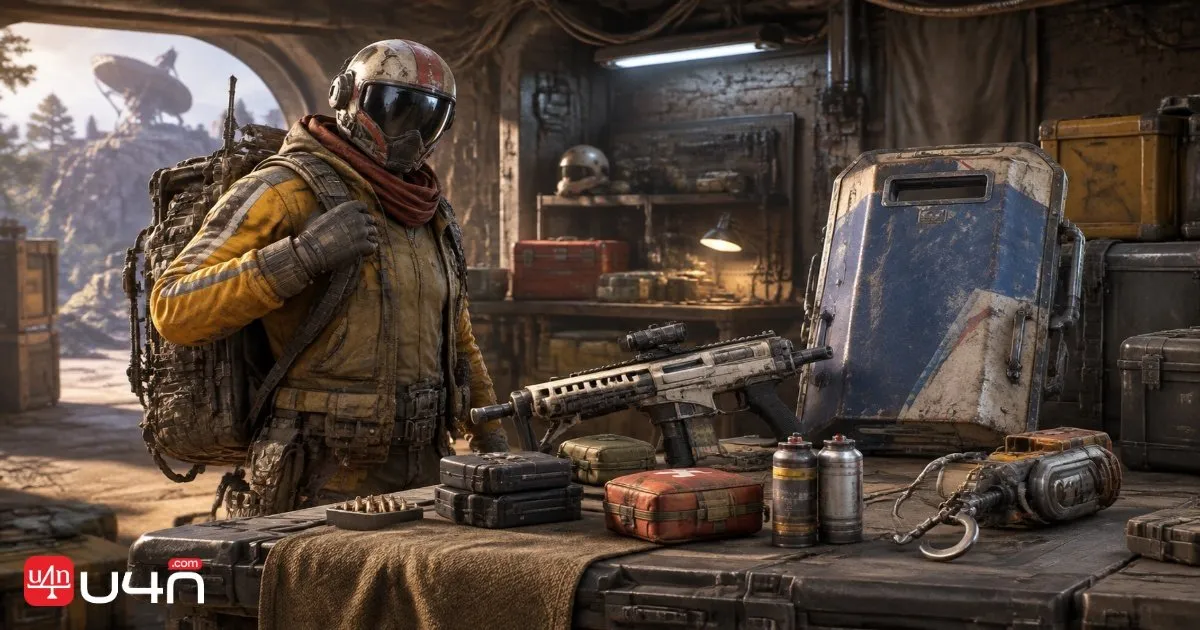
The goal is to keep the initial investment low without sacrificing the tools needed to move, loot, and survive. The run demonstrates a loadout costing approximately 8,470 Coins, leaving room for mistakes without putting expensive gear at risk.
| Equipment | Quantity / Level | Purpose |
|---|---|---|
| Looting MK1 | 1 | Basic looting setup |
| Light Shield | 1 | Provides basic protection |
| Pharaoh | Level 3 | Handles necessary combat encounters |
| Heavy Ammo | 60 rounds | Weapon ammunition |
| Bandages | 5 | Health recovery |
| Shield Recharger | At least 1 | Restores shield protection |
| Grappling Hook | 1 | Traversal and escape |
| Mini Smoke | 5 | Provides cover during exposed looting |
Why the Grappling Hook and Mini Smokes Matter
We consider these two utility items essential to the route.
The Grappling Hook helps you reach elevated sections, cross awkward terrain, and escape through alternative paths. It also reduces the need to fight through every ARC patrol blocking your movement.
Mini Smokes are particularly useful when approaching exposed breachables. Instead of standing in the open while interacting with a container, throw a smoke near the target and use the brief visual cover to complete the interaction and reposition.
The Pharaoh is upgraded to Level 3. If Gun Parts are difficult to obtain, Celeste is a potential source in exchange for Seeds. Check the current exchange requirements before relying on this option.
Board the Reclaimer as Early as Possible
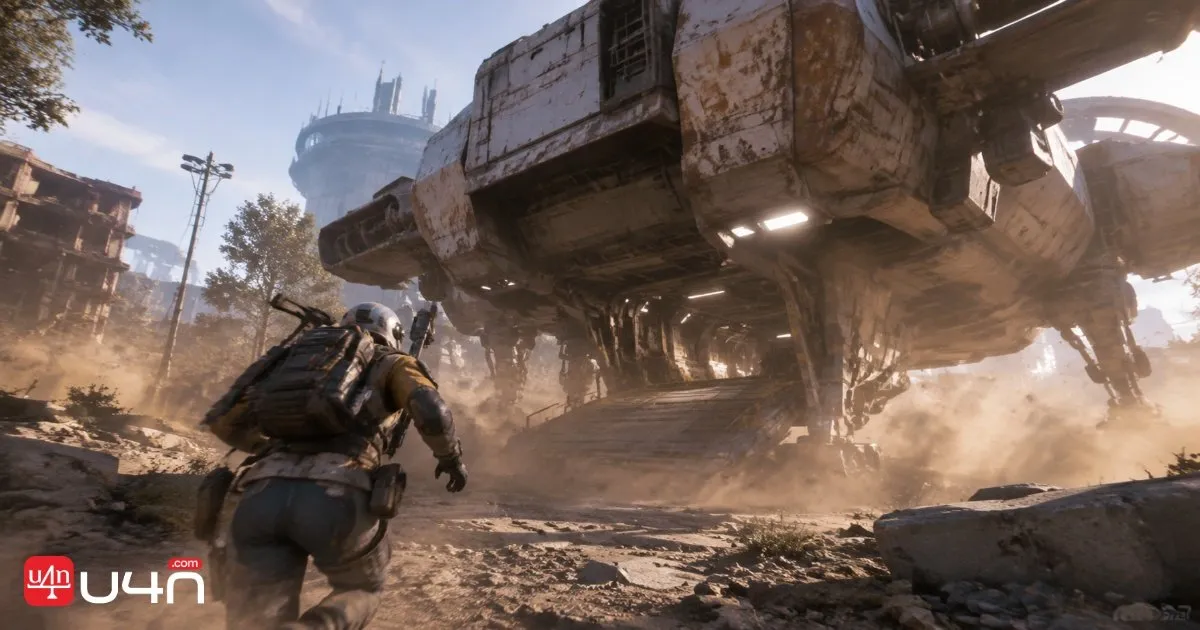
Once the raid begins, our first priority is finding the Reclaimer. The timing of your arrival matters because reaching the Frigate early can give you access to more unopened containers.
Wait until the Reclaimer lands before boarding. Avoid attempting to board while it is hovering over a vehicle or another object.
After boarding, disrupt the Reclaimer and move upward as quickly as possible.
The faster you reach the upper section, the more opportunities you may have to search before other Raiders arrive. However, an early arrival does not guarantee uncontested access. Spawn locations and the behavior of other players can change the entire run.
Prioritize the Right Side First
The original route starts by moving toward the right side after reaching the upper section. Check the accessible breachables immediately rather than spending too much time exploring.
If the first area is clear, continue toward the next available containers. When other players are nearby, listen for movement and avoid committing to an exposed interaction without checking your surroundings.
Our advice is to stay flexible. The right-side route is a useful starting point, not a fixed path that must be followed regardless of the situation.
Best Frigate Inductor Looting Route
The Frigate contains multiple potential looting opportunities, but not every container will remain available. Some may already have been opened by other players, so we recommend prioritizing accessible targets instead of following a rigid sequence.

Check the Back Corner
After searching the initial right-side section, move toward the back corner if the area remains clear.
This is where you find its Frigate Inductor. The important lesson is to check these less-contested positions early rather than assuming that the most obvious containers will still be available.
Once you find the Inductor, secure it in your Safe Pocket. This should take priority over collecting additional materials.
Continue Through the Remaining Breachables
If you arrive early or encounter a lobby focused on clearing cores, some breachables may remain unopened because other players are concentrating on their own objectives.
Use this opportunity to search additional containers.
| Route Situation | Recommended Action |
|---|---|
| Initial containers are untouched | Search them before moving deeper |
| Back corner remains available | Prioritize checking it |
| Other players are nearby | Avoid direct confrontation and reposition |
| Containers are already opened | Move to another accessible section |
| ARC enemies block the route | Wait for an opening or use smoke |
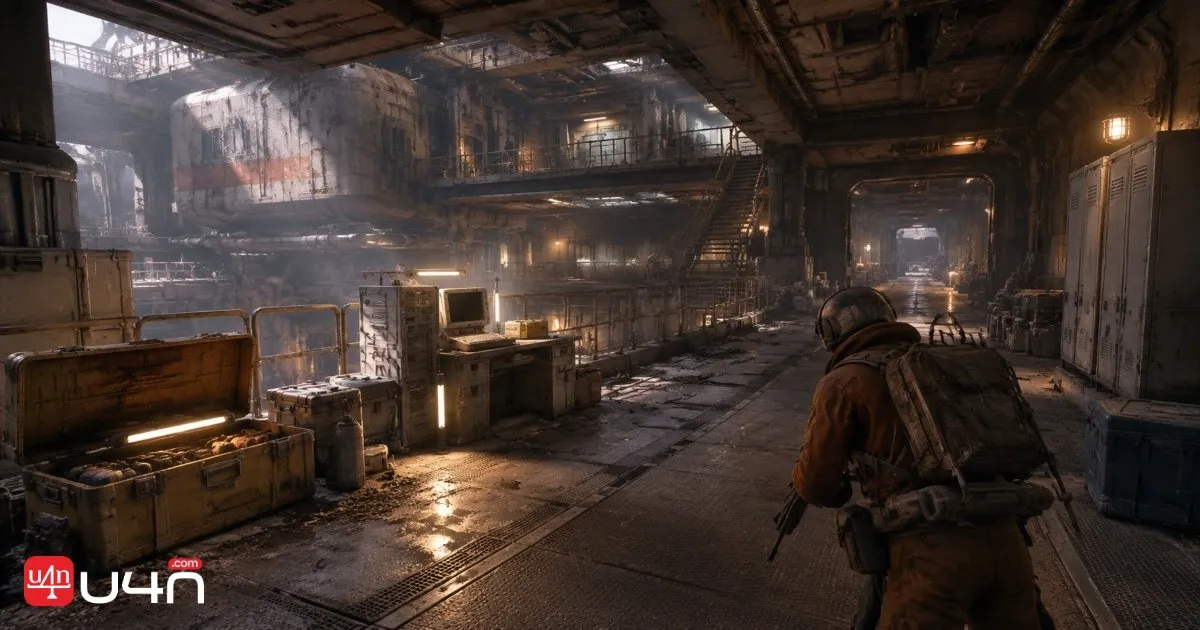
There is no guaranteed number of Inductors or breachables per run.
Avoid ARC Enemies Without Wasting Resources
Fighting every ARC enemy is one of the easiest ways to turn a cheap looting run into an expensive raid. We recommend using cover, timing, and movement to avoid unnecessary engagements.
Use Natural Cover Against Flying ARC
Some sections of the Frigate provide limited protection from flying ARC units. Watch their patrol direction before crossing exposed ground.
If an enemy begins circling your position, avoid rushing into the open. Wait for it to move away, then use the available cover to reach the next section.
Use wide positioning to keep distance from certain enemies. However, patrol behavior can vary, so never assume a particular corner is permanently safe.
Use Mini Smokes at Exposed Containers
Mini Smokes are most valuable when you need to interact with a breachable while an ARC enemy has a clear line of sight.
Our recommended sequence is:
- Check the enemy's position and movement.
- Throw a Mini Smoke near the target.
- Approach the container and begin breaching.
- Finish the interaction without unnecessary delay.
- Leave the exposed area immediately.
Be careful around Hydra and Rocketeer threats. Smoke can help create an opportunity to move, but it does not make you invulnerable. If an enemy is already pressuring your position, prioritize getting behind cover instead of forcing another loot interaction.
Save the Grappling Hook for Difficult Transitions
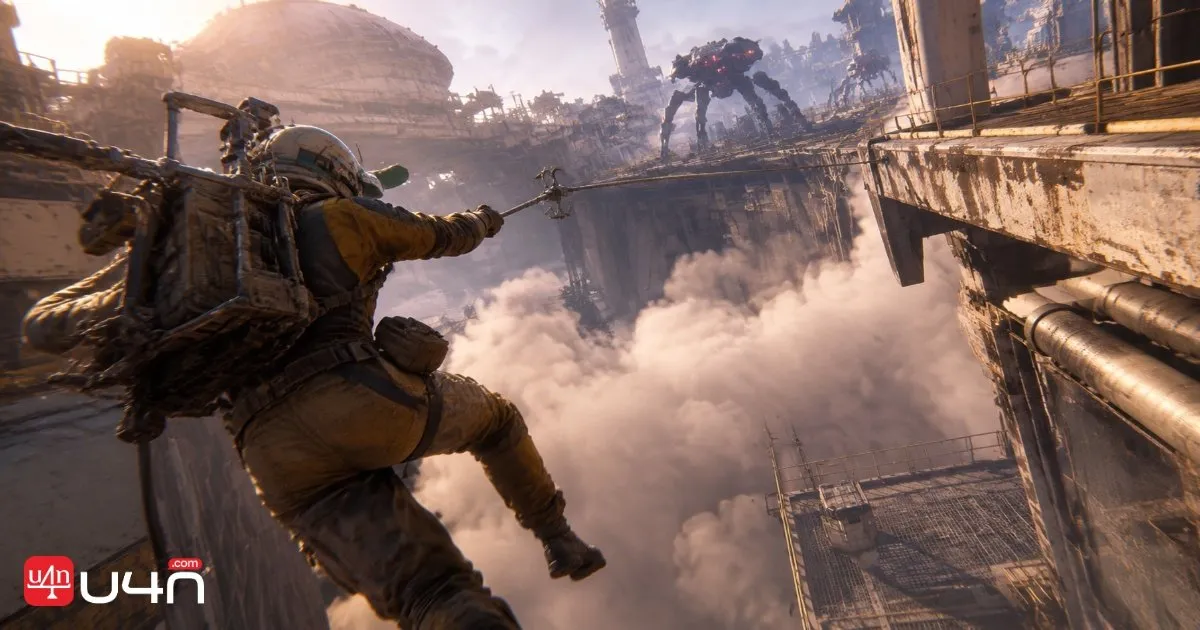
The Grappling Hook is more than a movement convenience. It can help you cross elevated sections, reach safer positions, and escape when ground-level routes become dangerous.
Try to aim high and far enough to reach the intended ledge. Poor hook placement can waste time and leave you exposed.
Recycle Loot to Maintain Your Budget Loadout
A low-cost setup becomes more effective when you use materials found during the raid to replenish your supplies.
Two useful resource loops:
- Recycle suitable materials and use the recovered resources to craft additional Mini Smokes.
- Collect Thermal Fabrics and salvage them to help replenish Bandages.
This approach reduces dependence on the supplies you brought into the raid. It also gives otherwise secondary loot a practical purpose.
However, do not spend too long searching for crafting materials when your health or shield is low. A few extra supplies are rarely worth losing a secured Frigate Inductor.
We recommend keeping at least one smoke available for an emergency reposition or a final exposed interaction. If your healing supplies are running low, shorten the route and prepare to extract.
Secure the Inductor and Extract Safely
Once the Frigate Inductor is in your Safe Pocket, the priority changes from looting to survival. You can continue searching nearby containers if the situation is favorable, but there is little reason to take unnecessary risks after securing your main objective.
Use the Grappling Hook to Leave the Frigate
When most accessible containers have been searched, start working toward the exit route.
Escape uses an elevated ledge and a Grappling Hook to pull the Raider away from the dangerous section. Position the hook carefully, reel yourself in, and use the surrounding terrain to continue toward the extraction area.
You may take some damage during the transition, so check your health and shield before making the final move.
Before leaving, make sure you have:
- Secured the Frigate Inductor in your Safe Pocket.
- Recovered enough health and shield to survive the extraction approach.
- Avoided unnecessary encounters with remaining ARC enemies.
- Checked that your Grappling Hook is available if you need an alternative route.
Once you reach extraction, there is no reason to extend the raid just for a few additional low-value items.
Is the Budget Frigate Route Worth Trying
This solo strategy is a practical option for Raiders who want to pursue Frigate Inductors without risking an expensive loadout. Its biggest advantage is the combination of cheap equipment, flexible movement, and efficient looting rather than direct combat.
The 8,470-Coin setup provides a reasonable starting point, while the Grappling Hook and Mini Smokes help you navigate dangerous sections and interact with exposed containers. More importantly, recycling materials during the raid allows you to replenish some of your supplies instead of relying entirely on your initial inventory.
The main limitation is consistency. Your spawn, Reclaimer timing, other players, ARC patrols, and available breachables all influence the outcome. We recommend prioritizing the back-corner search, securing the Inductor immediately, and treating additional looting as optional. If you need to prepare another run, check the available ARC Coins options and keep your equipment investment under control.
FAQ
Can You Get Frigate Inductor Solo in ARC Raiders?
Yes. The demonstrated strategy shows that a solo Raider can obtain a Frigate Inductor using a budget loadout. The key is reaching the Frigate early, checking available breachables, and avoiding unnecessary fights.
How Much Does the Budget Loadout Cost?
Loadout costs approximately 8,470 Coins. This includes a Looting MK1, Light Shield, Level 3 Pharaoh, ammunition, healing supplies, Grappling Hook, and Mini Smokes.
Which Equipment Is Most Important for This Route?
The Grappling Hook and Mini Smokes are particularly useful. The hook improves mobility and provides alternative escape options, while smoke helps create opportunities to loot exposed containers.
Can You Find Multiple Inductors in One Raid?
It may be possible to access multiple valuable containers during one run, especially when you arrive early. Loot availability and competition from other players remain important factors.
Should You Keep Looting After Finding the Inductor?
Only if the surrounding area is relatively safe and you still have enough health, shield, and utility supplies. Once the Inductor is secured in your Safe Pocket, extracting safely should generally take priority over chasing additional loot.