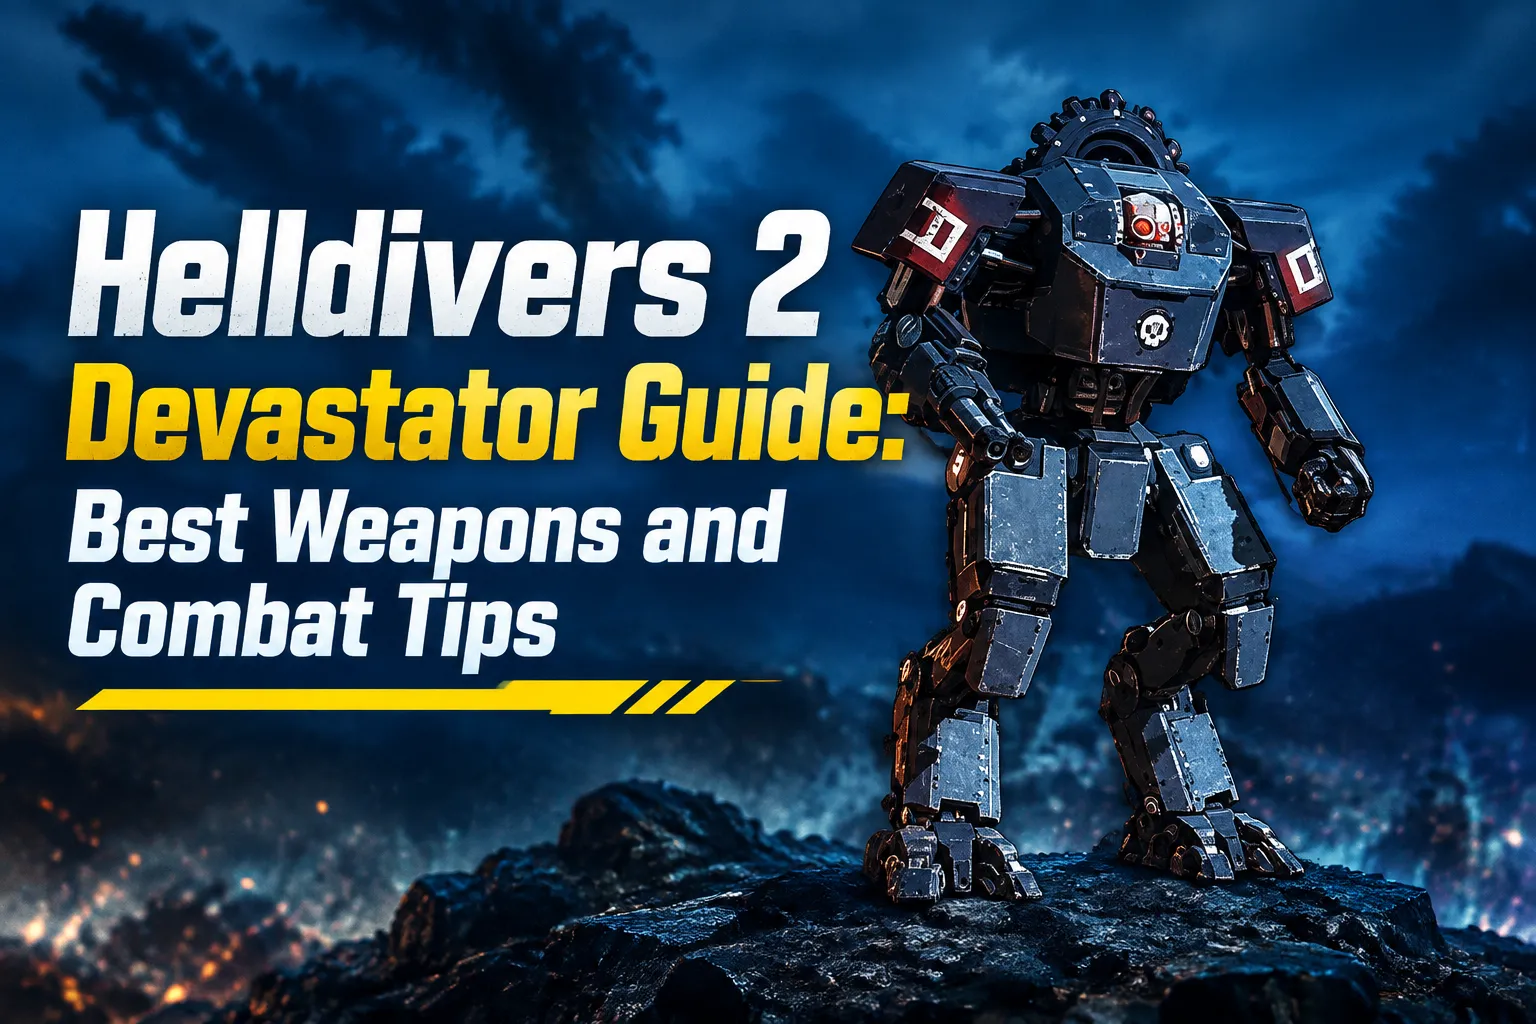
If you regularly fight Automatons, you already know that Devastators can turn a simple mission into a dangerous battle. These heavily armored robotic enemies are stronger than standard troops and can appear in groups, making them especially troublesome when you are already dealing with other enemies. Having the right Helldivers 2 Items and weapons prepared before entering an Automaton mission can make these encounters much easier. Instead of wasting ammunition by shooting their armored sections, focus on weak points and bring weapons with enough penetration to deal consistent damage.
Devastators are not impossible to defeat, but they punish players who panic and fire at random. Their armor covers much of their body, while specific areas are considerably easier to damage. The head, exposed arms, and lower center mass can all become useful targets depending on your weapon. A good loadout should therefore combine accurate firepower with enough armor penetration to handle situations where several Devastators appear at once.
Understand the Devastator's Weak Points
Before choosing a weapon, it is important to understand where your shots should go. The Devastator's head is one of the most reliable targets because a precise shot can eliminate the enemy quickly. However, hitting the head consistently can become difficult when the battlefield is crowded or when several enemies are attacking at the same time.
The arms are another useful target. Depending on your weapon, damaging these areas can reduce the Devastator's combat effectiveness. The lower center mass is also less protected than some of the surrounding armor. Meanwhile, shooting repeatedly into heavily armored sections is usually inefficient and can quickly drain your ammunition.
This is why weapon selection matters so much. A weapon with the right penetration level can turn a difficult enemy into a manageable target, while an unsuitable weapon may require far more ammunition than necessary.
AC-8 Autocannon
The AC-8 Autocannon is one of the strongest choices for players who want reliable firepower against Devastators. It becomes available at Level 10 and costs 7,000 Requisition Slips.
Its biggest advantage is versatility. The Autocannon is useful against more than just Devastators, so bringing it into an Automaton mission rarely feels like a wasted Stratagem choice. It also provides the penetration and explosive damage needed to deal with armored targets.
Against a Devastator, accurate shots toward the upper body can bring it down quickly. If your aim is less precise, additional shots can still finish the target without requiring an excessive amount of ammunition.
The Autocannon is particularly useful when Devastators appear alongside other armored enemies. Rather than switching between several specialized weapons, you can use the same Stratagem to maintain pressure on multiple threats.
APW-1 Anti-Materiel Rifle
The APW-1 Anti-Materiel Rifle is another excellent option, especially for players who prefer fighting from a distance. It is available from the beginning and costs 5,000 Requisition Slips.
The AMR works especially well when you have enough space to establish a safe firing position. Its scope makes it easier to line up shots on a Devastator's head, allowing skilled players to eliminate targets before they get close.
This weapon also fits well into a more controlled playstyle. Instead of waiting until a Devastator reaches close range, you can identify it from a distance and take the shot before it becomes an immediate threat.
Pairing the AMR with a strong primary weapon can make the setup even more flexible. Use the rifle for priority targets, then switch to your primary weapon when several enemies begin closing the distance.
PLAS-1 Scorcher
The PLAS-1 Scorcher remains a strong primary weapon for fighting medium-armored enemies. It can be unlocked through the Helldivers Mobilize Warbond and requires 75 Medals after reaching the appropriate page.
The Scorcher's combination of direct and explosive damage makes it particularly useful against groups of Automatons. Devastators can take several well-placed shots, but the weapon becomes even more valuable when other enemies are standing nearby.
Its ammunition capacity also makes it practical during longer engagements. Instead of relying entirely on a support weapon, you can use the Scorcher to handle regular enemies while saving your heavier equipment for more dangerous targets.
Another advantage is its ability to maintain pressure. After taking down one Devastator, you can quickly transition to another target without completely changing your combat position.
R-63CS Diligence Counter Sniper
For players who enjoy precision weapons, the R-63CS Diligence Counter Sniper is another effective choice. It becomes available on Page 7 of the Helldivers Mobilize Warbond for 40 Medals.
The scope is the main reason this weapon works so well against Devastators. You can create distance, identify the enemy's head, and take a carefully placed shot instead of engaging at close range.
A successful headshot can eliminate a Devastator quickly. If you target the arms instead, additional shots may be necessary, but this can still be useful when you want to weaken an enemy while remaining at a safer distance.
The Counter Sniper is particularly effective for players who remain calm under pressure. Taking a moment to line up your shot can save much more ammunition than repeatedly firing into heavily armored areas.
Where to Find Devastators
Devastators begin appearing regularly from Difficulty 2 and can be encountered on planets controlled by the Automatons. You can identify these areas by looking for the red-controlled sections on the Galactic War map.
At lower difficulties, Devastator encounters are less frequent. As you increase the difficulty, however, they can begin appearing alongside larger groups of enemies. This makes positioning increasingly important.
When you see a Devastator, avoid standing in an exposed area and firing without a plan. Find cover, prioritize the most dangerous target, and use armor-penetrating weapons whenever possible. If multiple Devastators arrive together, retreating to a better position can be much more effective than trying to eliminate every target immediately.
Build a Better Devastator Loadout
The best approach is not necessarily to choose a single weapon and use it for everything. A balanced loadout gives you options for different combat situations. The Autocannon is excellent for sustained armored-target damage, while the AMR rewards long-range precision. The Scorcher provides dependable primary firepower, and the Counter Sniper is ideal for players who prefer accurate headshots.
Your Stratagem choices should also support your preferred range and movement style. If you like staying behind cover, prioritize equipment that allows you to eliminate enemies before they reach your position. If you prefer aggressive movement, choose weapons that can quickly clear groups and create room to reposition.
Preparation becomes even more important as the difficulty increases. Having useful equipment ready before starting an Automaton mission means you spend less time improvising when a group of Devastators suddenly appears.
For players who are still expanding their collection, cheap Helldivers 2 Items can also help fill gaps in their available equipment and make it easier to prepare different loadouts without slowing down progression.
Final Tips for Fighting Devastators
Devastators may look intimidating, but their predictable weak points make them much easier to handle once you understand their armor. Aim for the head whenever possible, target the arms when they are easier to hit, and avoid wasting ammunition on heavily armored sections. Most importantly, use cover and maintain a suitable distance whenever the battlefield allows it.
A good loadout combined with smart positioning can make even groups of Devastators manageable. If you are still expanding your collection and looking for cheap Helldivers 2 Items, having the right equipment ready can give you more flexibility when preparing for difficult Automaton missions. Once you learn which weapons match your playstyle, Devastators become less of a roadblock and more of an enemy you can confidently handle.