The Paladin's Shield Charge Thorns build turns aggressive movement into a steady stream of retaliatory damage. Instead of relying on Shield Charge's weapon damage alone, we build around the interaction between repeated hits, block-related effects, Retribution, and Thorns. With the right setup, we can keep moving through enemy packs while triggering damaging bursts around our character. Players optimizing their endgame gear can also plan their resource budget around essential upgrades and Diablo 4 Gold.
The build's real strength lies in how its systems work together. Fortitude supports our damage and resource loop, Aegis reinforces the defensive side of the setup, and our auras help maintain key buffs between charges. However, this is not a build where every offensive stat automatically improves every damage source. We need to understand which bonuses actually support Thorns and Retribution before committing to expensive gear upgrades.
How the Shield Charge Thorns Build Works
Our main goal is to make Shield Charge the engine of the build rather than its only source of damage. The Relentless Charge upgrade is central to this approach, allowing Shield Charge to function as a core skill within the intended setup. We then build around the interaction between hits, block-related effects, and Retribution to generate Thorns damage as we move through enemies.
The build's defining mechanic is the interaction between Shield Charge, block-related effects, Retribution, and Thorns. Shield Charge drives our movement and repeated hits, while the supporting mechanics create the retaliatory damage that defines the setup.
The damage loop has three main components:
- Shield Charge: Keeps us moving through enemy groups and creates repeated opportunities for the build's key interactions.
- Block and Retribution: Connects qualifying hits or block-related effects to retaliatory damage. The exact trigger conditions and probability calculations should be checked against the current skill descriptions.
- Thorns and multipliers: Strengthens the damage generated by those interactions, making the supporting gear and skill choices more important than simply stacking Shield Charge ranks.
This distinction matters when choosing upgrades. A stat that improves the direct damage of Shield Charge does not necessarily improve Thorns damage by the same amount. We should evaluate each affix according to the damage source it actually affects.
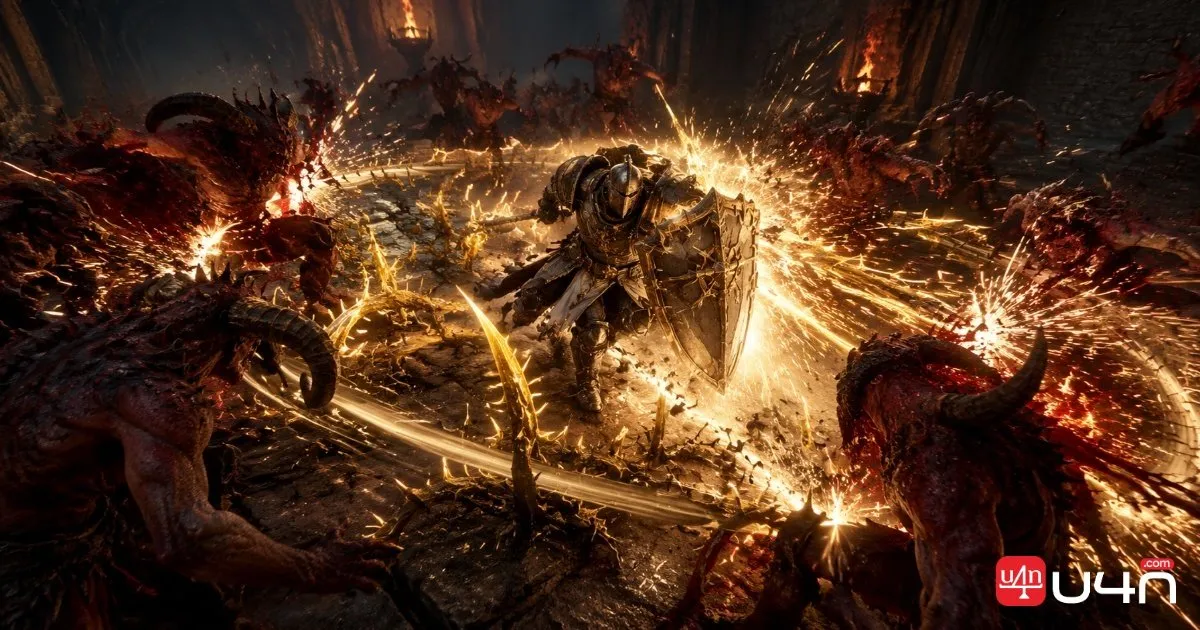
Combat Rotation and Resource Management
The build performs best when we prepare our buffs before committing to a long charge. Its rotation is straightforward once we understand which effects need to stay active and when to stop channeling.
Recommended combat sequence
- Establish Fortitude. Activate it to build Resolve and enable its relevant damage benefits. Use the associated defensive tools to maintain the conditions required by your equipment and passives.
- Activate your auras. Fanaticism Aura and Defiance Aura support the offensive and defensive setup. Keep their relevant effects active and use cooldown-reduction synergies where available.
- Prepare Aegis. Activate Aegis before charging to establish the intended Thorns, armor, and block-related benefits.
- Apply your debuff and start Shield Charge. Use Smite as required by the chosen setup, then charge through enemy packs to trigger the build's damage loop.
- Refresh key effects. Track the duration of Smite-related bonuses and other essential buffs. The original setup calls for refreshing the relevant effect on an approximately six-second cycle, but we should verify this timing against the current version.
- Stop before resource costs become excessive. Continuous charging becomes less efficient as its cost rises. Release the skill, restore the necessary buffs and resources, then begin the next pass.
The practical lesson is simple: uninterrupted charging is not always optimal. We get better results by balancing movement, buff uptime, and resource efficiency rather than holding the skill indefinitely.
Against dense enemy packs, sustained charging makes it easier to spread damage across multiple targets. Against bosses, short, deliberate activations may be more practical when we have limited attack windows or need to reposition. The best approach depends on the encounter and the current behavior of the skill.

Best Gear, Aspects, and Stat Priorities
The equipment setup should reinforce three goals: reliable Retribution triggers, stronger Thorns damage, and enough defensive stability to keep charging safely.
| Gear or stat category | Priority | Why it matters |
|---|---|---|
| Core Thorns and Retribution synergies | Essential | Establishes the build's primary damage loop |
| Block and Retribution chance | High | Supports the relevant trigger conditions; these are separate statistics |
| Strength and applicable damage multipliers | High | Can improve scaling when the selected damage source benefits from them |
| Cooldown reduction | High | Helps maintain key buffs and defensive skills |
| Maximum Resolve | High | Supports Fortitude's intended Resolve-based damage interaction |
| Maximum Life, armor, and resistances | As needed | Keeps us alive while charging through dangerous enemies |
Offensive stat selection
The original setup prioritizes Thorns, critical-strike damage, vulnerable damage, critical-strike chance, general or physical damage, and Strength. These are useful candidates to investigate, but their final ranking depends on the current damage formula and which modifiers apply to Retribution's Thorns bursts.
We should avoid treating all listed bonuses as interchangeable multipliers. Confirm whether a modifier affects Thorns, Retribution, direct Shield Charge damage, or a broader damage category before investing heavily in it.
Attack speed and additional Shield Charge ranks deserve particular scrutiny.
Defensive and cooldown priorities
Cooldown reduction is valuable when it improves Fortitude and other essential skills' availability. Resolve capacity can also matter if Fortitude's damage bonus scales with the amount of Resolve available. Meanwhile, armor, resistances, and life should be sufficient for the content we plan to run.
The best endgame setup is not necessarily the one with the most serious theoretical damage on paper. If we lose buffs, run out of resources, or have to interrupt every charge to survive, the build's actual performance suffers.
Skills, Paragon Boards, Runes, and Charms
| Skill or system | Intended role |
|---|---|
| Shield Charge | Main movement and repeated-hit skill |
| Fortitude | Resolve generation and damage support |
| Aegis | Defensive, Thorns, and block-related support |
| Defiance Aura | Defensive utility and the intended Thorns synergy |
| Fanaticism Aura | Offensive support |
| Smite | Maintains the relevant debuff or damage-related effects |
| Colossus Oath | Supports the selected Colossus interactions |
Skill tree priorities
We suggest heavy investment in both auras, Aegis, and Fortitude, with fewer points in Smite and Shield Charge. It also highlights Relentless Charge, the node that links hits with block-related effects, and several upgrades intended to improve Retribution, block chance, and Thorns.
Rather than copying the reported point totals blindly, we should prioritize the nodes that enable the build's core interactions first. Additional investment should then improve buff uptime, damage scaling, or survivability. Exact ranks and prerequisites need to match the active season's skill tree.
Paragon and supporting systems
The transcript proposes five Paragon boards, with nodes and glyphs focused on cooldown recovery, defensive support, and the build's damage interactions. It reports a total of 232 Paragon points, but that figure should be verified before publication.
Use the same principle when allocating glyph experience: prioritize the glyphs that directly support the build's central mechanics, then complete the necessary legendary nodes and efficient rare-node paths. Do not follow a board route solely because it appears in a copied build if your equipment or current point budget differs.
The proposed rune combinations and endgame charm layout also need exact in-game verification. Their purpose should be made explicit in the final setup: defensive support, additional damage, healing, or bonuses tied to the build's core effects. If a charm or rune combination is required for a particular interaction, label it as a requirement rather than presenting it as a minor optimization.
Mercenaries, Strengths, and Weaknesses
We recommend Raheir as the primary mercenary and Aldkin as reinforcement. Their intended roles are complementary: Raheir provides defensive support, while Aldkin contributes control and damage mitigation. The exact skill paths and percentages should be verified in the current version before being presented as fixed values.
The build's main strengths are its mobility, repeated area damage, and ability to combine offensive pressure with defensive effects. It can feel particularly satisfying when moving through tightly packed enemies, because the charge itself drives the encounter forward while the Thorns interaction adds another layer of damage.
There are trade-offs, however:
- Resource management matters. Holding Shield Charge for too long can make the rotation inefficient.
- The build depends on interaction uptime. Losing key buffs or failing to meet the relevant trigger conditions reduces its effectiveness.
- Gear choices require care. Some attractive-looking offensive affixes may improve direct skill damage without meaningfully increasing the build's primary Thorns output.
- Boss performance may differ from clearing. A mobile, sustained-damage setup does not automatically translate into the best burst damage during short boss openings.
- Defensive investment cannot be ignored. Armor, resistances, and life are part of maintaining damage uptime, not merely optional comfort stats.
For players assembling the build, we recommend securing its essential mechanics before chasing perfect affixes. Once the rotation works reliably, optimize damage multipliers and cooldowns, then adjust defenses to the difficulty you are tackling.

Summary
The Shield Charge Thorns Paladin is built around synergy, not a single oversized damage number. Shield Charge supplies movement and repeated hits, block-related effects help enable Retribution, and Thorns provides the central damage identity. Fortitude, Aegis, and the two auras support the cycle that keeps the build moving.
Our recommendation is to prioritize the core interaction, confirm which stats actually scale its damage, and practice the buff-and-charge rotation before investing heavily in endgame upgrades. Players preparing their final gear loadout should compare each upgrade against the build's real needs; Diablo IV Gold may be relevant when planning the in-game currency budget for equipment progression.
FAQ
Is Shield Charge the main damage skill in this build?
Shield Charge is the build's central movement and repeated-hit tool, but the intended damage setup relies heavily on the interaction between Retribution and Thorns. Its direct weapon damage is not the only measure of its effectiveness.
Should we prioritize Thorns or Shield Charge ranks?
Prioritize the stats and upgrades that improve the build's actual primary damage source. The original setup treats Thorns and relevant damage modifiers as more important than extra Shield Charge ranks, but the exact ranking should be confirmed against the current patch.
Why do block chance and Retribution chance matter separately?
They serve different purposes in the intended setup. Block chance supports block-related effects, while Retribution chance influences the likelihood of triggering the associated retaliation. One statistic should not be assumed to replace the other.
How do we avoid running out of resources during Shield Charge?
Watch the skill's increasing cost and stop channeling before the rotation becomes inefficient. Use the pause to restore essential buffs and resources, then start the next charge when the setup is ready.
Is this build better for clearing or boss fights?
Its sustained movement and area coverage make it naturally suited to moving through enemy packs. Boss performance depends more heavily on attack windows, resource management, and how reliably the build can maintain its core effects. Test the rotation against the content you intend to play rather than assuming one setup excels equally everywhere.