
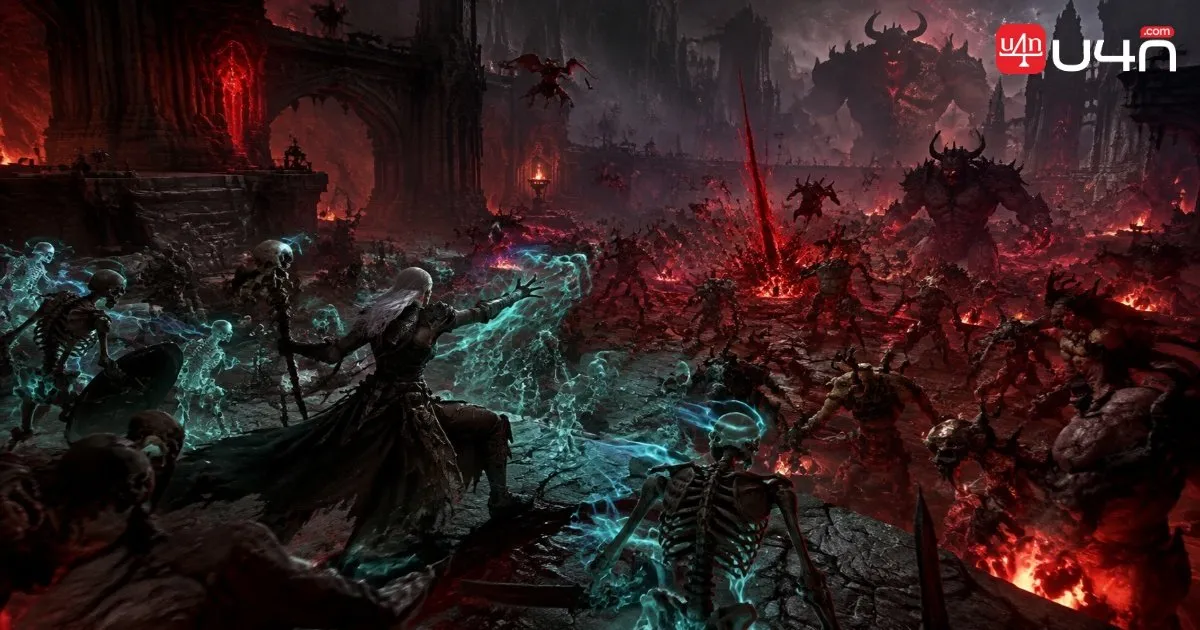
The Blood Wave Necromancer focuses on one simple idea: pull enemies together, trigger overlapping damage effects, and keep the pressure on before the pack can recover. In the Season 15 setup described here, Blood Wave becomes the center of a fast-casting loop supported by blood orbs, Fortify, Overpower, and several powerful unique items. Our team sees the main appeal in how these systems work together, rather than in any single piece of gear. Choosing the right Diablo 4 Items matters, but understanding the interactions is what makes the build easier to assemble and improve.
The setup is designed for aggressive endgame progression, with a strong emphasis on clearing groups quickly while maintaining enough healing and damage reduction to survive dangerous encounters. The original showcase claims a very fast Pit 150 clear, but that result should be treated as a reported benchmark rather than a guaranteed outcome. Actual performance depends on the current patch, item rolls, character setup, and execution. We'll break down the core skills, equipment, Paragon choices, and combat rotation so you can understand what makes the build work and where it may need improvement.

Build Overview and Core Mechanics
Blood Wave is the centerpiece of this Necromancer setup. The featured gear changes how the skill behaves, helping pull enemies into a concentrated area where the rest of the build can deal damage. Instead of chasing scattered monsters, we aim to bring them together and trigger several bonuses in quick succession.
Four mechanics form the foundation:
| Mechanic | Role in the Build |
|---|---|
| Blood Orbs | Restore health and help trigger several offensive and defensive bonuses |
| Fortify | Supports survivability and activates damage effects tied to Fortify healing |
| Overpower | Adds major damage when the build generates and consumes its stacks |
| Vulnerable | Exposes enemies to increased damage from effects that reward attacking vulnerable targets |
The important detail is that these systems are connected. Blood Wave generates Blood Orbs, while other skills and gear help turn those orbs into healing, Fortify, Overpower, and additional damage. The more consistently the loop runs, the less time enemies have to threaten us.
This is also why the build can remain functional before every item has ideal affixes. The key powers establish its basic identity; better rolls improve the result rather than replacing the underlying strategy.
Skills, Book of the Dead, and Combat Utility
The skill setup supports three jobs: maintaining the Blood Wave loop, generating resources, and preventing dangerous encounters from ending the run.
| Skill | Main Purpose |
|---|---|
| Blood Wave | Primary damage skill and the center of the build |
| Sever | Mobility, corpse generation, and a way to reposition |
| Skeleton Mages | Support the resource loop and provide barriers through the selected upgrade. |
| Bone Prison | Improves resource generation and casting tempo while supporting blood-skill interactions |
| Iron Golem | Emergency control, Unstoppable, and enemy damage reduction |
| Decrepify | Slows enemies, supports Vulnerable interactions, and helps sustain health |
| Iron Maiden | Adds curse utility and interacts with Blood Orbs and other bonuses |
Blood Wave and Sever
Blood Wave is built around repeated casts rather than saving the skill for one isolated burst. The setup described in the source uses modifiers and gear to improve its damage, create Blood Orbs, and keep enemies close enough for follow-up casts.
Sever needs only a small investment in the reported setup. Its mobility function helps us escape pressure, while the corpse it leaves behind supports Skeleton Mages and effects that benefit from nearby corpses. It also counts as a non-channeled Core skill for the runeword interaction described later.
Bone Prison, Curses, and the Golem
Bone Prison helps accelerate resource generation and casting, but it also drains some maximum health while active. That cost is manageable only when the build's healing and defensive effects are functioning consistently. We would not treat it as a button to press without considering the current situation.
Decrepify and Iron Maiden provide additional curse effects, including slowing, healing interactions, and ways to benefit from enemies dying under their effects. The Iron Golem is the emergency option: its activation can make the Necromancer Unstoppable, stun nearby enemies, and reduce incoming pressure. Save it for dangerous moments rather than using it automatically whenever it becomes available.
The Book of the Dead shifts the setup toward personal damage and defense. The source build sacrifices its Skeleton Warriors and Golem for bonuses while retaining Shadow Mages for their barrier effect. This is a deliberate trade: the setup gives up much of its conventional minion damage in exchange for bonuses that support the Necromancer directly.
Essential Gear, Runes, and Stat Priorities
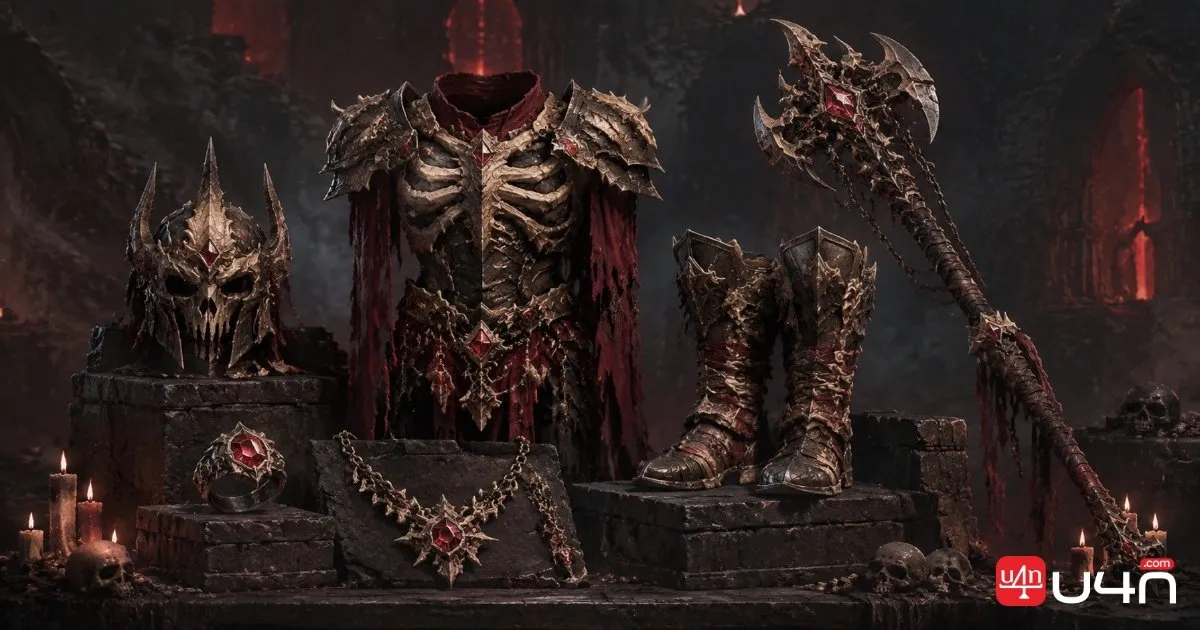
The equipment works best when each item has a defined job. Some pieces help gather enemies, others maintain resource spending, and several amplify damage or prevent the build from collapsing under pressure.
| Equipment | Reported Role |
|---|---|
| Kessim's Heritage | Changes Blood Wave to pull enemies together |
| Harlequin Crest | Provides broad defensive and skill-related benefits in the reported setup |
| Ring of Starless Skies | Rewards resource spending with lower skill costs and increased damage |
| Banished Lord's Talisman | Connects resource spending and Overpower consumption to more serious critical damage |
| Aspect of Tattered Veins | Supports blood-skill damage as Fortify increases |
| Fists of Fate | Adds a variable damage effect that averages out across many attacks |
| Enigma chest | Replaces dodge with an Essence-costing teleport effect in the described setup |
| Deflecting Barrier boots | Accelerates the Fortify-related healing interaction described in the source |
How the Gear Fits Together
Kessim's Heritage is the main grouping tool. By drawing nearby enemies toward the Necromancer, it helps Blood Wave and the rest of the damage package hit a concentrated pack. This is especially valuable when clearing dense groups, where time spent chasing individual enemies can undermine the build's pace.
Ring of Starless Skies supports the resource loop by reducing costs and increasing damage after resource spending. The source also describes a socketed effect that reduces maximum resource capacity while increasing maximum life. If this interaction works as described in the current version, the smaller resource pool can make spending-related effects trigger more frequently. It should still be tested in-game rather than assumed to be universally beneficial.
The runewords provide another layer of automation. The reported Tam–Teb combination summons Iron Maiden after a non-channeled Core skill is cast. The Poc–Sol combination is described as granting damage reduction after spending a portion of maximum resources. Both effects are intended to trigger naturally as the rotation continues, but their exact conditions and current item requirements should be checked against the live game.
What to Improve First
The source build identifies several affixes that could be upgraded, including Vulnerable damage, physical damage bonuses, maximum life, and ranks to skills. Rather than chasing every ideal roll at once, we recommend prioritizing the stats that most directly improve your current weakness.
- Damage consistency: Improve the relevant damage multipliers and skill ranks where the build is missing them.
- Survivability: Check armor, maximum life, resistances, and the reliability of the healing loop.
- Resource stability: Make sure the cost of repeated Blood Wave casts is sustainable.
- Quality of life: Improve movement and attack speed where these changes help maintain the rotation.
The precise affix hierarchy depends on the current patch and your existing equipment. Confirm how each modifier interacts with your character before spending valuable crafting materials.

Paragon Boards, Glyphs, Charms, and Seasonal Powers
The Paragon setup reinforces the same mechanics used by the skill bar and equipment. The source describes five boards, each focusing on a different part of the damage or defensive loop.
| Paragon Board | Main Focus in the Reported Setup |
|---|---|
| Starting board | Critical damage and damage against injured enemies |
| Bloodbath | Overpower stacks and bonuses tied to gaining or losing them |
| Fragility | Increased damage against cursed targets |
| Tithe | Blood Orb bonuses, Fortify, and blood damage |
| Scent of Death | A combination of offense and damage reduction |
The glyphs are intended to convert nearby attributes and combat conditions into additional damage or defensive value. Their effectiveness depends on reaching the required attribute thresholds, so check each glyph's activation requirements rather than copying the board layout without checking your own stats.
Banished Lord's Talisman and the Charm Set
The reported charm setup is one of the build's main damage engines. The Starless Skies interaction reduces the number of charms needed to reach set bonuses, allowing the build to combine several Banished Lord's bonuses with additional unique effects.
The core idea is to make Blood Wave benefit from several systems at once: Fortify, health spending, Overpower consumption, and increased damage. Bone Prison and the curses also contribute to the Fortify loop according to the source's chosen modifiers.
These interactions are central to the build, but the exact charm tiers, item names, and thresholds need to be verified for the current Season 15 implementation. If a key bonus does not activate in your version, the whole rotation may perform differently from the showcase.
Mercenaries and Mephisto Powers
The source uses Subo as the active mercenary, with movement speed and critical-damage support, while Aldkin provides an area effect that slows enemies and reduces the damage they deal. These choices complement the build's need to move quickly between packs while reducing incoming pressure.
The reported Mephisto powers add physical damage, Vulnerable, control, and resource generation. Together, these effects are intended to maintain the loop with less manual effort. Treat them as supporting layers, however, rather than replacements for the core skills and gear interactions.
Combat Rotation, Survival, and Common Weaknesses
The rotation is straightforward once the pieces are in place. Our team recommends learning the order in a lower-pressure encounter before testing the build in a high-tier Pit.
- Prepare the fight. Apply the relevant effects and use Sever if you need a corpse or a quick reposition.
- Group enemies. Use the Blood Wave setup to pull enemies into the area where your damage effects can overlap.
- Activate Bone Prison when appropriate. Use it to accelerate resource generation and casting, while keeping its health cost in mind.
- Maintain the Blood Wave loop. Repeated casts generate Blood Orbs and interact with Fortify, Overpower, and resource-spending effects.
- Apply curses to priority targets. Decrepify helps control enemies and supports the build's healing and damage interactions.
- Save emergency tools. Use the Iron Golem's Unstoppable effect or teleport when crowd control or incoming damage threatens the run.
- Move on once the pack is cleared. The build benefits from quick, decisive clears, so avoid spending too long on isolated enemies when the situation does not justify it.
How the Build Stays Alive
The source reports more than 40,000 maximum health before additional increases from its socketed effects. That number is a showcase-specific figure, not a universal requirement. More importantly, the build layers several defensive tools: Blood Orb healing, Fortify, the Skeleton Mage barrier, damage reduction, Decrepify-related healing, and the Golem's emergency control.
There are still risks. The reported soul effect increases the damage taken, while another socketed effect can stun the player after hitting a large number of enemies. Bone Prison also has a health cost. These drawbacks make timing and positioning important even when the character's defenses look strong on paper.
Our practical advice is to avoid assuming that high maximum life alone makes the build safe. Keep the healing loop active, pay attention to crowd-control effects, and use teleport or the Golem before a dangerous situation becomes unrecoverable.
Summary
The Blood Wave Necromancer is built around a connected loop of enemy grouping, repeated Blood Wave casts, Blood Orb generation, Fortify, and Overpower. Its equipment, Paragon boards, charms, mercenaries, and seasonal powers are selected to strengthen that loop while adding resource stability and defensive coverage.
For players assembling the setup, the best approach is to secure the essential mechanics first, then improve damage multipliers, skill ranks, survivability, and resource efficiency. The reported Pit 150 speed should be treated as a benchmark to verify, not a promise that every character will reproduce. If you are still comparing gear options or planning your next upgrade, review the current effects carefully before investing in cheap Diablo 4 Items or making expensive changes to your build.
FAQ
Is Blood Wave the main damage skill?
Yes. In the reported setup, Blood Wave is the centerpiece. The gear and supporting skills are designed to help it group enemies, deal repeated damage, generate Blood Orbs, and trigger additional bonuses.
Does the build require every item listed?
The source describes a highly synergistic endgame setup, but it does not establish that every item is equally essential. Prioritize the pieces that enable the core Blood Wave and resource interactions, then improve the rest as your gear develops.
Is the reported two-minute Pit 150 clear guaranteed?
No. It is a claim associated with the original showcase. Results depend on the current game version, item quality, character progression, enemy layouts, and execution. Verify the benchmark before treating it as a realistic target for your own character.
What should I prioritize if the build feels too fragile?
Check whether your healing and Fortify effects are triggering consistently. Then review maximum life, armor, resistances, damage reduction, and your use of the Golem and teleport. Serious damage is less useful if you cannot survive long enough to complete the encounter.
Which stats should I improve first?
Start with the weaknesses visible in your current setup. The source specifically highlights missing damage multipliers, physical damage bonuses, maximum life, and skill ranks. Their exact priority should be determined by the current patch and the mechanics actually active on your character.