Finding the right training map in MapleStory Classic World is about more than picking monsters close to your level. Spawn density, platform layout, class matchups, party size, and valuable drops all affect how quickly you progress. Our team has put together this level 1–70 route across Victoria Island and the game's newer areas, focusing on where each map performs well and when it makes sense to move on. Efficient farming also helps you manage MapleStory Classic World Mesos instead of wasting supplies on poor training choices.
One rule guides our recommendations: the highest-level monster is not always the best target. A map filled with enemies you can kill quickly may deliver better results than a tougher area with awkward platforms or expensive potion costs. We'll also separate EXP-focused training from loot farming, because the best location for leveling is not necessarily the best place to hunt equipment, crafting materials, or quest drops.
The highest-level monster is not always the best target. A map filled with enemies you can kill quickly may deliver better results than a tougher area with awkward platforms or expensive potion costs.
How to Choose the Right Training Map
Before settling into a grind, consider four factors: how quickly you kill monsters, how efficiently you move between platforms, whether your class benefits from the map's layout, and what you gain beyond EXP.
| Factor | What to look for | Why it matters |
|---|---|---|
| Monster density | Consistent spawns across accessible platforms | Less downtime between kills |
| Map layout | Short travel routes and useful vertical spacing | More time attacking, less time climbing |
| Class compatibility | Suitable monster defenses, elemental weaknesses, and attack range | Better damage and fewer wasted attacks |
| Party capacity | Enough distinct training areas for each player | Less competition for individual spawns |
| Drop value | Useful equipment, ores, quest items, and crafting materials | Additional income while leveling |
| Supply access | A short route back to town or a nearby restock point | Lower downtime when potions run out |
Crowded maps deserve special attention. Henesys Hunting Ground 1 can accommodate several players, but competition eventually offsets its convenience. In our experience, moving to a less contested map or changing channels is often more productive than fighting over the same spawns.
For additional map and monster reference, consult Henesys.gg's training guide and its map database.
Best Training Spots for Levels 1–20
The opening stretch is relatively forgiving. Once you leave Maple Island, focus on accessible monsters, predictable spawn patterns, and maps that do not demand excessive movement.
Henesys Hunting Ground 1
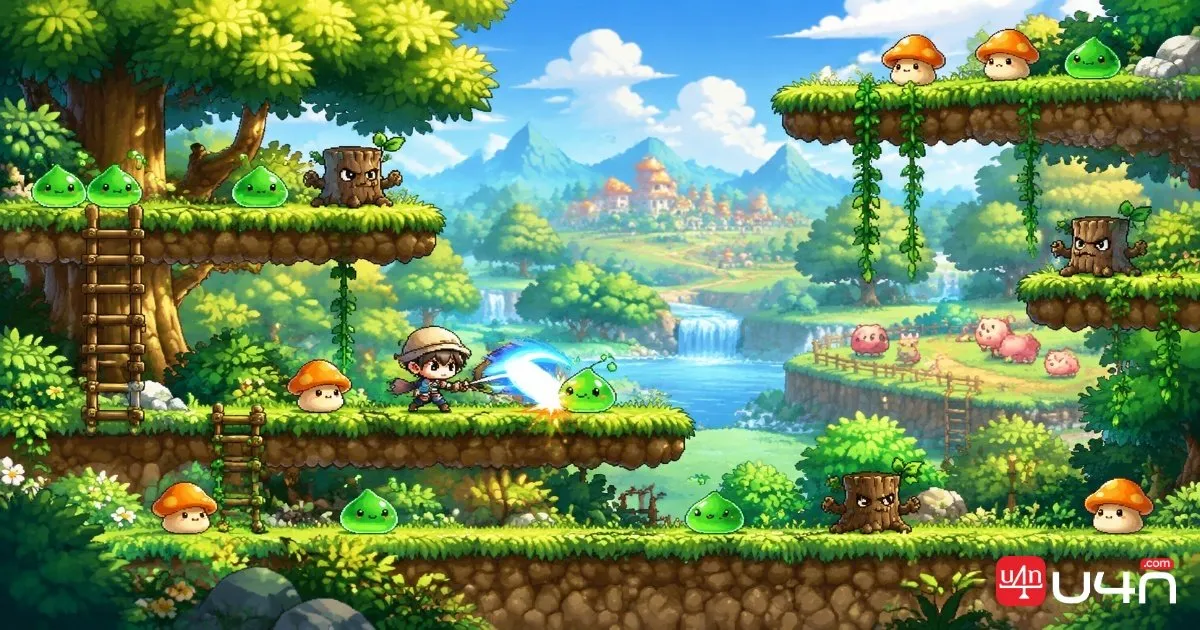
Located one portal west of Henesys, this classic map gradually introduces stronger monsters as you climb. Snails and mushrooms occupy the lower sections, while higher platforms offer better targets for players who have outgrown the weakest enemies.
Its main advantage is accessibility. The layered layout also makes it easy for players of different levels to share the map. However, once too many people occupy the same platforms, your kill rate can fall noticeably.
Best for: Early leveling and players who want a convenient, flexible training spot.
Kerning City Construction Site
This large map offers a useful alternative for players based around Kerning City. Stumps and mushrooms populate the lower sections, while octopuses and stronger mushrooms occupy the scaffolding above.
The layout generally makes it easier to spread players across separate areas. Ranged classes should watch for bricks and pipes near the lower-left section, which can interfere with projectile attacks.
Best for: Players who want a less congested alternative to Henesys Hunting Ground.
Dungeon Southern Forest 1 (Slime Tree)
Three maps into the forest below Ellinia, Slime Tree offers a compact, slime-filled environment. The monsters are relatively slow and easy to handle, making the map comfortable for players who prefer a consistent combat rhythm.
Slimes also drop quest materials, including slime bubbles. Their individual value may be modest, but frequent drops can add up when you train for an extended period.
Best for: Early solo grinding, steady kills, and collecting common quest materials.
Pig Beach
This hidden map near the Three-Way Road Split becomes useful as you approach the mid-teens. Pigs and Ribbon Pigs dominate the area, with smaller enemies and an Iron Hog adding variety.
The map naturally divides into three sections: a flatter area on the left, stepped terrain on the right, and upper platforms. Ranged players may prefer the flatter side, while melee players can work around the stairs. Some terrain can also help reduce unwanted contact with enemies, although positioning still matters.
Leather, stiff feathers, and Pig's Heads give the map extra value beyond EXP.
Best for: Players who want to combine leveling with quest and crafting materials.
Best Training Spots for Levels 20–40
This stage offers more specialized options. Some maps excel because of their monster density, while others are worth visiting for party rewards, class-specific damage bonuses, or valuable drops.
Caution Falling and Line 1 Area 1
Caution Falling, a hidden map accessed from the upper part of Kerning City Construction Site, is a strong option for coordinated parties. Octopuses occupy much of the map, with orange and blue mushrooms appearing in other sections.
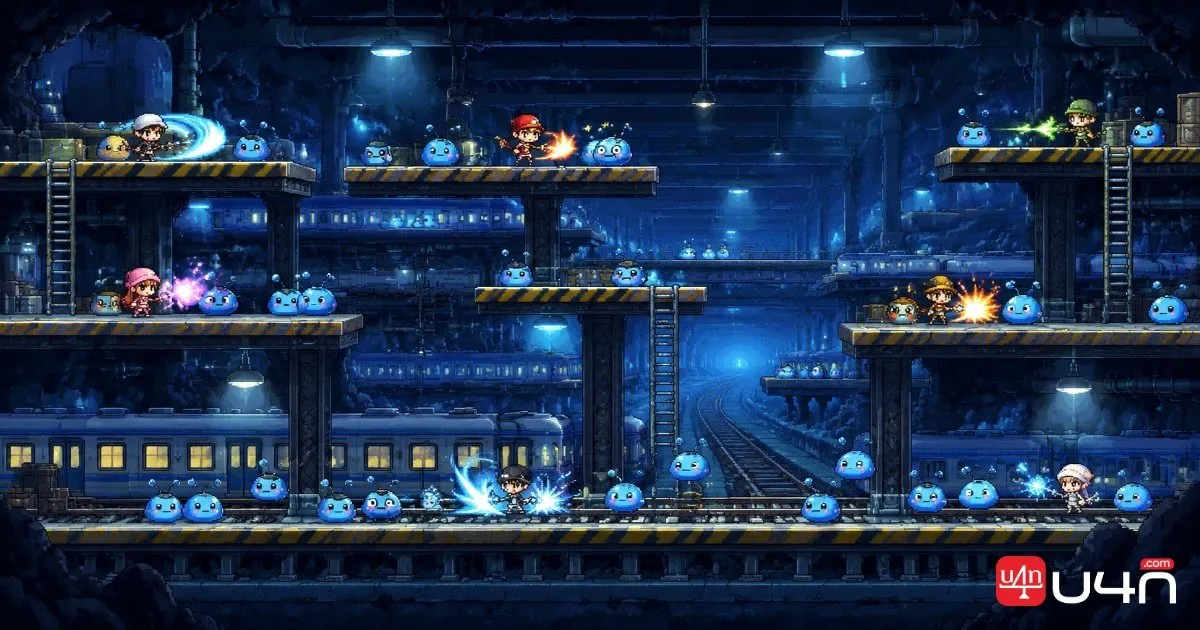
A party can divide the upper, middle, and lower areas to reduce overlap. Ranged classes can take advantage of the yellow barriers for safer attacks, but orange mushrooms can still threaten players who assume those positions are completely safe.
Line 1 Area 1, inside Kerning City Subway, takes a different approach. Its enormous horizontal layout and widespread Bubbling spawns make it suitable for both solo players and larger groups. Rogues can also benefit from jump attacks that reach monsters on nearby platforms.
- Choose Caution Falling Down for: Coordinated platform assignments.
- Choose Line 1 Area 1 for: Flexible grinding with plenty of available targets.
Kerning Party Quest Bonus Stage
Kerning Party Quest (KPQ) is no longer an automatic EXP choice in the version described by this guide, because its experience rewards have been reduced. However, the bonus stage can still make a successful run worthwhile.
The private bonus map contains Green Mushrooms and Horny Mushrooms. Green Mushrooms can drop Pan Lids, while the bonus stage also offers a chance at a valuable Claw Attack Scroll. Horny Mushrooms provide additional equipment that can be sold to NPCs.
The important distinction is between the EXP gained from completing the party quest and the potential value of its bonus rewards. If your goal is strictly leveling, compare the full run time against ordinary grinding before committing to repeated runs.

Damp Forest and Ant Tunnel 1
Damp Forest in Sleepywood contains Octopuses, Junior Neckis, and occasional Slimes. Its unusually tall layout makes party coordination important: assign a player to the highest platform while others clear the lower sections.
Junior Neckis are particularly relevant for players collecting Neki Skins for quests. In versions where their accuracy requirements are forgiving enough for your character, they can become worthwhile targets rather than an obstacle.
Ant Tunnel 1 is another strong option, especially for parties. Horny Mushrooms and Zombie Mushrooms provide consistent targets, and some of their equipment drops can help offset potion expenses. Its proximity to town also makes restocking convenient.
When Ant Tunnel 1 becomes crowded, Ant Tunnel 4 offers a similar alternative without requiring you to abandon the general training area.
Wild Boar Territory and Burnt Land 2
Wild Boar Territory is a hidden map near Perion featuring Wild Boars, Dark Axe Stumps, and occasional Junior Boogies. The map suits a small party, with players distributing themselves across the upper, middle, and lower areas.
The main attraction is the variety of drops. Boar materials can support quests and crafting, while Dark Axe Stumps can drop Wooden Tops and Sap of Ancient Tree. The latter is particularly relevant for players working on specific quests.
Burnt Land 2 becomes more attractive after your character gains stronger skills through the second job advancement. Fire Boars and Dark Axe Stumps provide a mix of combat experience, crafting materials, and equipment opportunities.
Fire Boars are associated with Arwen's Glass Shoes and Wooden Throwing Stars, while both monster types can contribute valuable materials such as Diamond Ore. The map's two-tier structure also makes it manageable for a small group.
Best for: Players balancing progression with useful drops, especially those who benefit from the available monster matchups.
Line 2 Area 1 and Cave of Evil Eye
Line 2 Area 1 in Kerning City Subway contains large numbers of Junior Wraiths, along with Junior Neckis on the bottom floor. Its wide platforms suit ranged classes, while melee characters can gather monsters together before using area attacks.
Fire Poison Wizards and Clerics may benefit from the relevant elemental weaknesses in this area. Junior Wraiths can also drop Mokbi throwing stars, making the map appealing to Rogues looking for an upgrade.
Cave of Evil Eye, deeper inside Ant Tunnel, is more vertical. Its Evil Eyes and recurring Junior Boogies make it a good option for classes that can attack across nearby platforms or clear grouped enemies efficiently. The nearby Ant Tunnel Park also makes potion restocking less troublesome.
Best Training Spots for Levels 40–60
At these levels, raw monster density is no longer enough to determine the best map. Enemy HP, class damage, movement efficiency, and equipment drops increasingly influence the decision.
Dangerous Valley 1
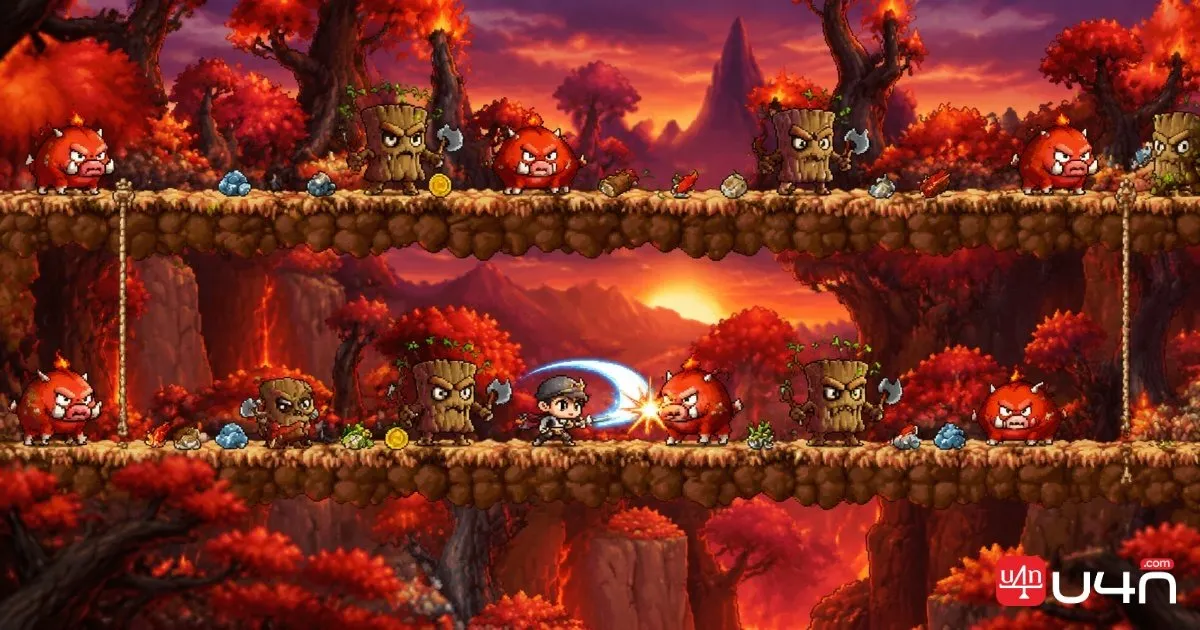
Located near Perion, Dangerous Valley 1 contains Fire Boars and Copper Drakes. Its platform arrangement allows several players to train without constantly crossing paths.
Ice Lightning Wizards have a particularly strong reason to consider this map because of the monsters' elemental weaknesses. Other classes should judge it by their actual damage output and how comfortably they can handle the enemies.
Best for: Players who can exploit the available elemental matchup or efficiently clear the map's separated platforms.
Valley of Death
This map in the Forgotten Hollow region is built around party training. Rafflesia occupy the lower floors, while Zombie Mushrooms and Zombie Lupins appear above.
Rafflesia are attractive targets because their relatively favorable EXP-to-HP characteristics can make them comfortable to fight. The upper floors offer additional reasons to stay, including Cursed Doll quest farming and potential equipment drops such as Black Napoleon.
The map is particularly interesting for parties whose members can divide the floors efficiently. Before choosing it solely for loot, however, confirm that the relevant quest requirements and drop behavior match the current game version.
Drake Hunting Grounds
The Drake map near Ant Tunnel offers several stacked platforms and a straightforward layout for a small party. Drakes are large and mobile, which can make them easier for Warriors to gather and hit with area attacks.
The drops are another reason to visit. Drake's Blood has quest and consumable uses, while Dragon Skins are associated with crafting gloves and shoes.
Players should still account for the time spent climbing and clearing upper corners. Leaving parts of the map untouched can disrupt the spawn cycle and reduce the value of an otherwise efficient route.
Wraiths and End of Fleeting Light
Wraiths in Kerning City Subway remain worth considering for more than their experience. Their signature Medicine with Weird Vibes is used in multiple Victoria Island quests, and the rare Red Whip is an important movement-speed item in the version covered by the original guide.
End of Fleeting Light, in Forgotten Hollow, provides a more structured party environment. Aquamanders, Duskmanders, and Rafflesia occupy different sections of the map, allowing players to split the platforms.
Although some monsters have elemental weaknesses, switching attacks constantly may not be worthwhile when enemies are heavily mixed together. The map's density and party layout can matter more than maximizing elemental damage against each target.
Golem's Temple
Stone Golems, supported by smaller monsters such as Blue Mushrooms and Fairies, make Golem's Temple a satisfying option for characters strong enough to handle the area comfortably.
Their large hitboxes allow some attacks to connect across platform edges, improving the practical value of certain single-target and area skills. Ranged classes may also find useful attack angles from safer positions.
The major prize is the Toby throwing star, which can be valuable to Assassins. However, rare drops should be treated as a bonus rather than guaranteed compensation for slower EXP gains.
Best for: Players who can kill Stone Golems efficiently and want a chance at valuable equipment.
Levels 60–70: EXP Grinding or Loot Farming
The final stretch on Victoria Island requires a different mindset. Stronger monsters do not automatically offer better experience efficiency, particularly when their HP increases faster than the EXP they provide.
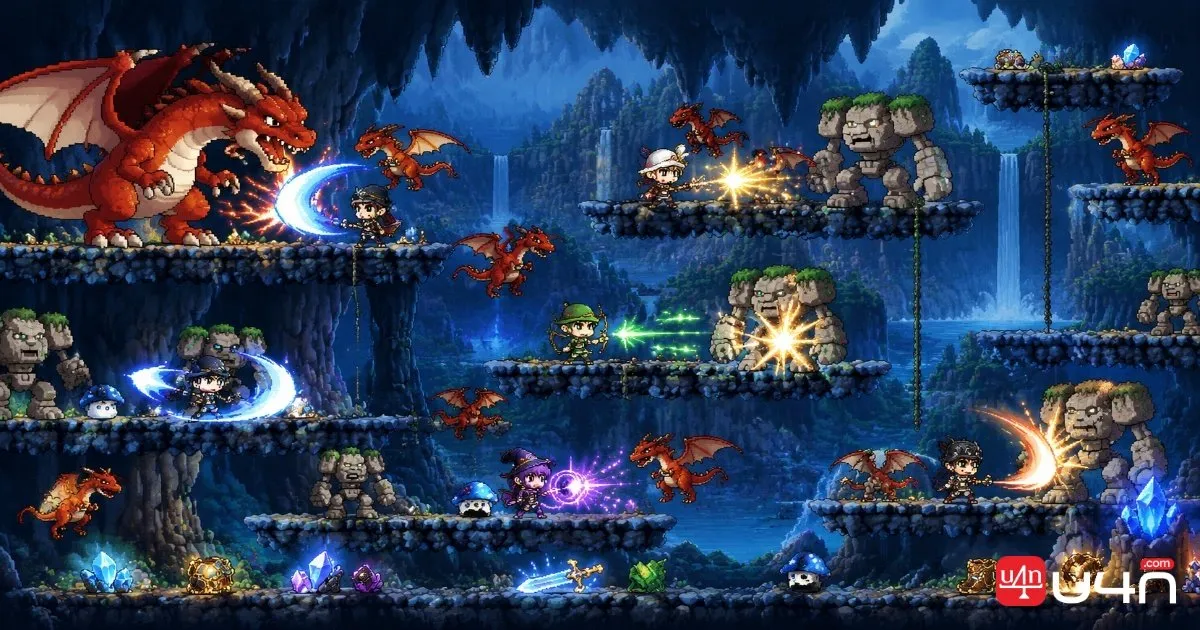
Sanctuary
Sanctuary, in Forgotten Hollow, contains Rotten Mushrooms, Spore Woods, and Golden Sturgeons. The divided platform layout gives parties room to spread out, while the monsters' weaknesses can make Clerics especially useful.
The area is also associated with higher-level equipment drops. However, the original guide notes uncertainty around some drop tables, so we would not treat every reported item as a confirmed or dependable source of income without current-version verification.
For players prioritizing pure EXP, returning to a more efficient level 50 training map may be the better choice. For players who want to pursue equipment and are comfortable sacrificing some leveling speed, Sanctuary remains worth evaluating.
Dangerous Valley 2
Dangerous Valley 2, beyond the Copper Drake area near Perion, offers stronger Drakes and the chance to pursue Steely throwing stars.
These enemies can hit hard, including with magic attacks, so potion use and survival time become important parts of the calculation. A rare drop may be attractive, but the expected value depends on the actual drop rate, market demand, and how long you spend farming.
Is High-Level Farming Worth It?
Use the following decision guide before committing to a late-game map:
| Your priority | Recommended approach |
|---|---|
| Leveling as quickly as possible | Compare EXP gained over a fixed period; do not assume stronger monsters are better. |
| Farming rare equipment | Choose a map with a relevant drop table and manageable kill times |
| Earning through common materials | Favor consistent drops, short restocking trips, and low downtime |
| Training with a party | Choose maps where members can cover separate platforms without competing |
| Saving potions | Prefer enemies you can defeat safely and efficiently |
A practical rule is to track your EXP before and after a consistent training session, then compare the result with your potion costs and valuable drops. This gives you a more reliable basis for choosing between an efficient grinding map and a loot-focused alternative.
Summary
The best training route depends on your level, class, party setup, and whether you prioritize EXP or item value. Rather than following a single rigid route, use the recommendations below as a starting point and move when your kill speed or map access deteriorates.
| Level range | Maps worth considering | Main reason to visit |
|---|---|---|
| 1–20 | Henesys Hunting Ground 1, Slime Tree, Pig Beach | Accessible monsters and early materials |
| 20–30 | Caution: Falling Down, Line 1 Area 1, Ant Tunnel 1 | Dense spawns and flexible party options |
| 30–40 | Burnt Land 2, Line 2 Area 1, Cave of Evil Eye | Class matchups, equipment, and crafting drops |
| 40–50 | Dangerous Valley 1, Valley of Death, Drake maps | Party efficiency and useful drops |
| 50–60 | End of Fleeting Light, Golem's Temple, Sanctuary | Stronger monsters and equipment opportunities |
| 60–70 | Dangerous Valley 2, Sanctuary, efficient level 50 alternatives | Choose between rare loot and faster EXP |
The most important lesson is to reassess your route as your character grows. A map that feels excellent immediately after a job advancement may become inefficient once monsters take too many hits or your supply costs rise. Keep an alternative in mind, and judge a training spot by the results it delivers rather than its reputation.
FAQ
What is the best training map in MapleStory Classic World?
There is no universal winner. Henesys Hunting Ground 1 is convenient for early leveling, Line 1 Area 1 offers extensive Bubbling spawns, and Ant Tunnel 1 is a practical party option. Later maps depend more heavily on your class, damage output, and training objective.
Should I choose a map based on monster level or EXP efficiency?
Prioritize actual EXP efficiency. A monster's level alone does not tell you how long it takes to kill, how much damage it deals, or how much time you spend moving between platforms. Compare the experience you gain over a consistent period before switching to a stronger target.
Are rare drops worth farming while leveling?
They can be, especially when the item has a clear use or strong player demand. However, a rare drop is not guaranteed income. Consider drop reliability, expected farming time, potion costs, and whether the same time would produce more value on another map.
How should I manage Mesos while training?
Keep your potion costs under control, collect useful quest and crafting materials, and sell equipment selectively rather than assuming every drop is valuable. Players comparing farming routes should also evaluate their net gains, not just the headline price of a rare item. A sensible approach to MSCW Mesos management starts with choosing maps that match your damage, supply budget, and intended rewards.
Should I stay on Victoria Island after level 60?
Not necessarily. The maps discussed here offer options for continued leveling and loot farming, but late-game EXP efficiency can decline. If leveling is your main goal, compare your results with the best available alternatives before committing to a higher-level monster solely for its equipment drops.