


Urugugu Canyon is one of the group dungeons worth exploring when you want to collect Epic equipment and useful upgrade materials in Aion 2. Built around the Aullaeu tribe and its worship of Ishtar, the Crimson Dragon Lord, this dungeon combines several boss encounters with a final team-based fight. For players working on their character progression and collecting better Aion 2 Items, understanding its mechanics can make repeated runs much more rewarding.
The dungeon features three main bosses: Guardian Captain Raur, Judge Urahum, and Divine Auldor. Each encounter contributes to the final reward pool, with drops including Divine Canyon equipment, Faith set pieces, Balaur materials, and Amplify Stone Fragments. Before entering, however, it is worth understanding the difficulty requirements, route, and mechanics that can make the final encounter challenging.
Urugugu Canyon Entry Requirements and Difficulty
Urugugu Canyon supports parties of two to five players, with a 60-minute time limit. It offers two difficulty options, and the difference between them is significant enough that players should check their equipment before entering.
| Difficulty | Required Level | Required Item Level |
|---|---|---|
| Exploration | 28 | 300 |
| Conquest | 45 | 1,400 |
Exploration is the more accessible option for players who want to learn the dungeon layout, practice boss mechanics, and collect its lower-level rewards. Conquest requires considerably more character progression and introduces a more demanding final encounter.
One detail we would not overlook is the minimum player requirement for Divine Auldor. Although experienced players may handle much of the earlier content alone, the final boss has a group-damage mechanic that makes solo completion impractical.
For that reason, we recommend bringing at least two players and making sure everyone understands the basic boss mechanics before starting the final fight.
Urugugu Canyon Route and Important Checkpoints
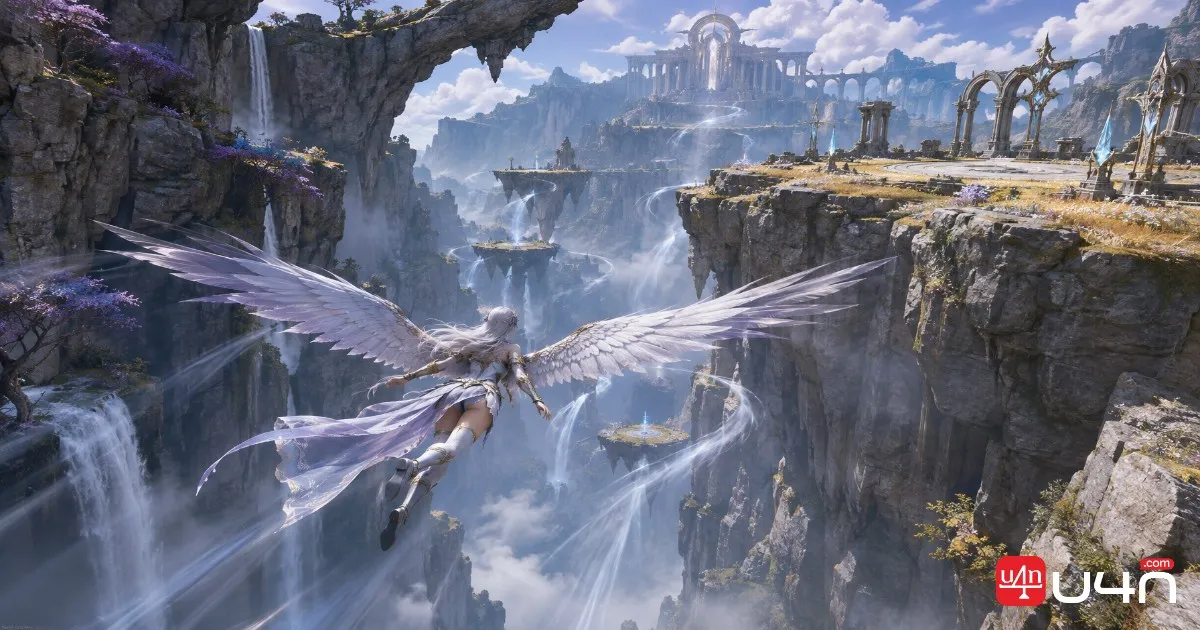
The dungeon route begins at Urugugu Village, continues through Windy Valley and Urugugu Temple, and eventually leads to Auldor's Sanctum.
Rather than rushing through every section, our recommendation is to pay attention to the Kibelisks and the enemies controlling the wind currents. Both are important for maintaining a smooth run.
| Stage | Location | Main Objective |
|---|---|---|
| 1 | Urugugu Village | Activate the first Kibelisk and clear the opening enemies |
| 2 | First Arena | Defeat Guardian Captain Raur and Judge Urahum |
| 3 | Windy Valley | Defeat wind mages and totems to unlock wind currents |
| 4 | Upper Canyon | Use the updrafts to cross toward the temple |
| 5 | Urugugu Temple | Clear the gladiators and activate the temple Kibelisk |
| 6 | Auldor's Sanctum | Defeat the Gatekeeper in Exploration and remove the seal |
| 7 | Final Chamber | Gather the party and defeat Divine Auldor |
Important Checkpoints Along the Route
Why Kibelisks matter
Kibelisks function as important respawn and teleport checkpoints. Activating them along the route gives your group more flexibility if someone gets defeated or needs to return to a previous area.
We recommend interacting with each available Kibelisk instead of treating it as an optional object. It is a small step that can save time when a run does not go exactly as planned.
Understanding the wind currents
The canyon's vertical sections require players to use windstreams and updrafts to reach higher platforms. However, these routes are connected to encounters with wind mages and totems.
Clear the enemies controlling these areas before attempting to glide across the gaps. If the current is unavailable, check whether the required enemies have been defeated rather than repeatedly attempting the jump.
In Exploration, the Auldor Sanctum Gatekeeper also needs to be defeated to open the route toward the final chamber.
Three Bosses and Their Combat Mechanics
The three main bosses provide different rewards, but their importance is not limited to their loot tables. Understanding their encounters helps reduce unnecessary deaths and makes repeated dungeon runs more consistent.
Guardian Captain Raur
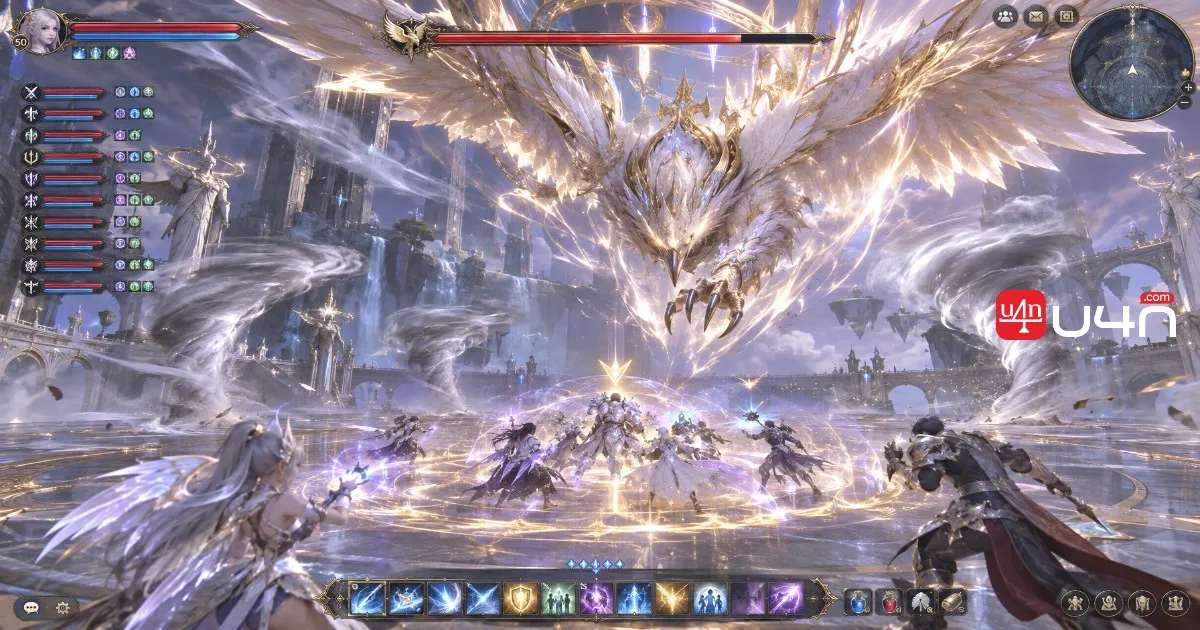
Guardian Captain Raur is one of the first major encounters in the dungeon. His delayed shockwave is the attack players should pay particular attention to.
When he begins winding up, avoid staying directly within the affected area. Rushing damage during the preparation animation is rarely worth taking an unnecessary hit.
For groups with less experience, we recommend prioritizing safe positioning over trying to finish the encounter as quickly as possible.
Judge Urahum
Judge Urahum is the second major boss and shares the same main loot table as Guardian Captain Raur.
This makes both encounters important when farming Divine Canyon equipment and Faith set pieces. Skipping one of them means giving up an additional opportunity to obtain rewards from that boss's loot pool.
Our advice is straightforward: defeat both mini-bosses during a normal clear, especially if your goal is equipment progression rather than simply reaching the final chamber.
Divine Auldor: The Most Important Group Mechanic
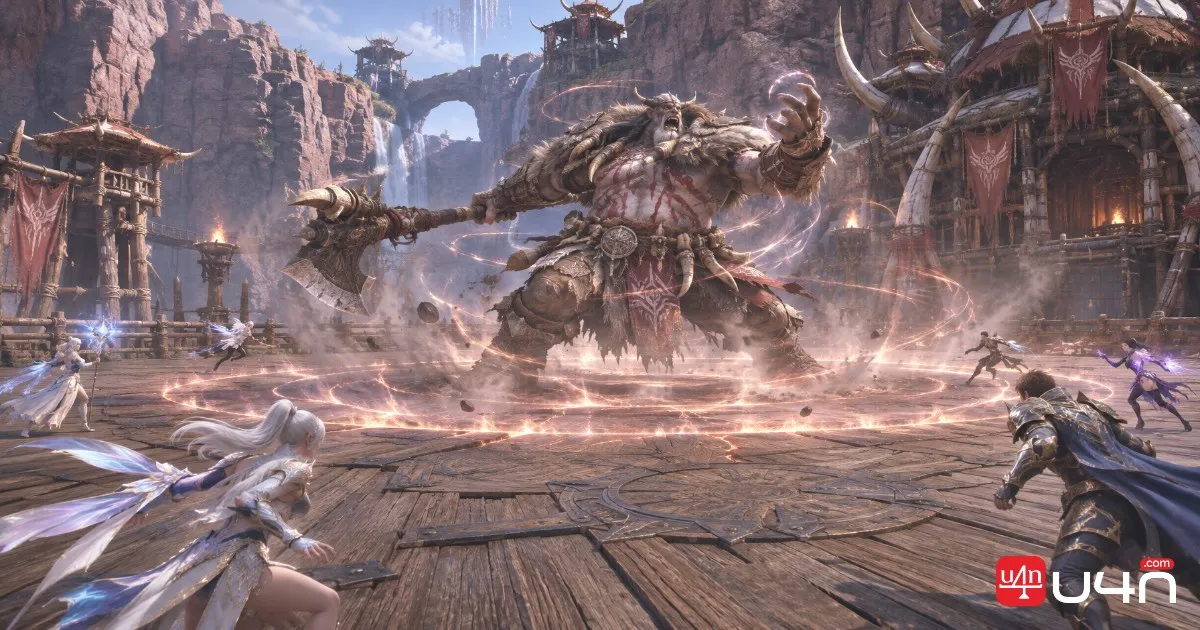
Divine Auldor is the final boss and the encounter that requires the most attention from the party.
During this attack, Auldor takes flight and places an eye marker on one player before crashing down onto the marked target.
The damage is designed to be shared. If the marked player takes the attack alone, the impact can be fatal. The correct response is to have the entire group gather around the marked player before the attack lands.
This requires everyone to recognize the marker quickly and move together rather than continuing their individual damage rotations.
There is another problem to watch for: tornadoes constantly move through the arena. Players caught by them can become bound, making it difficult to reach the group in time.
If a tornado catches you, use your crowd-control-break ability immediately when available. Waiting too long can leave you unable to reach the marked player before Tempest Strike resolves.
Conquest has an additional challenge. Divine Auldor enters an enrage state after approximately five minutes, increasing its damage and changing its behavior. Exploration does not have this enrage mechanic.
Our recommendation is to establish a simple group rule before the fight: whoever receives the eye marker becomes the gathering point, and everyone else prioritizes reaching that player.

Urugugu Canyon Boss Drops and Equipment Value
The dungeon's rewards are one of its biggest attractions. Guardian Captain Raur and Judge Urahum share an identical loot table, while Divine Auldor has a separate pool that places greater emphasis on Faith equipment and higher quantities of Balaur materials.
Mini-Boss Rewards
Both mini-bosses can drop the following items:
| Item | Grade | Drop Chance |
|---|---|---|
| Soul Codex (Bound) | Special | 60% |
| Refining Stone | Common | 53.7% |
| Amplify Stone Fragment (Bound) | Unique | 20% |
| Divine Canyon Ring | Epic | 11.4% |
| Balaur's Essence | Epic | 10% |
| Hard Balaur Scale | Epic | 8.7% |
| Hard Balaur Leather | Epic | 8.7% |
| Hard Balaur Horn | Epic | 8.7% |
| Divine Canyon Gloves | Epic | 8.5% |
| Divine Canyon Cloak | Epic | 8.5% |
| Divine Canyon Earrings | Epic | 8.5% |
| Divine Canyon Helm | Epic | 6.8% |
| Divine Canyon Pauldrons | Epic | 6.8% |
| Divine Canyon Boots | Epic | 6.8% |
| Divine Canyon Necklace | Epic | 6.8% |
| Divine Canyon Greaves | Epic | 5.7% |
| Expert's Refining Stone | Rare | 5.4% |
| Brave Warrior Earrings | Epic | 5.2% |
The Faith set also appears in their loot pool, including gloves, cloak, helm, pauldrons, boots, greaves, breastplate, and greatsword.
The most interesting detail here is that the mini-bosses are not simply stepping stones toward Divine Auldor. They provide independent opportunities to obtain useful Epic equipment.
Divine Auldor Rewards
The final boss has a different reward focus. Its loot pool includes several Faith armor pieces and weapons, alongside valuable Balaur crafting materials.
| Item | Grade | Drop Chance |
|---|---|---|
| Balaur's Essence | Epic | 30% |
| Hard Balaur Scale | Epic | 26% |
| Hard Balaur Leather | Epic | 26% |
| Hard Balaur Horn | Epic | 26% |
| Amplify Stone Fragment (Bound) | Unique | 20% |
| Faith Gloves | Epic | 11.7% |
| Faith Cloak | Epic | 11.7% |
| Faith Helm | Epic | 9.3% |
| Faith Pauldrons | Epic | 9.3% |
| Faith Boots | Epic | 9.3% |
| Faith Greaves | Epic | 7.8% |
| Faith Breastplate | Epic | 5.8% |
| Faith Greatsword | Epic | 3.9% |
| Faith Longsword | Epic | 3.9% |
| Faith Dagger | Epic | 3.9% |
| Faith Bow | Epic | 3.9% |
The final encounter also provides Silentium (Bound) and an Enhance Stone as listed clear rewards.
From a farming perspective, Divine Auldor deserves particular attention if you are looking for Faith equipment or larger quantities of Balaur materials. The mini-bosses, meanwhile, offer additional opportunities to collect Divine Canyon gear and Brave Warrior Earrings.
Which Equipment Is Worth Prioritizing?

Not every Epic item has the same long-term value. Players should consider equipment stats, available slots, and their current progression rather than focusing entirely on rarity.
The Faith set is level 30 equipment with an item level of 33. Its armor pieces have three manastone slots and become bound when obtained.
The Faith Greatsword is particularly interesting because it offers three manastone slots and an additional theostone slot. Its listed Max Attack is 191, making it a potential progression option for players who need a suitable weapon at this stage.
Brave Warrior Earrings are another worthwhile target from the two mini-bosses. They provide Attack 42 and Defense 100, giving players an additional accessory option while progressing through the dungeon.
Divine Canyon Pauldrons are also worth mentioning. Although the original level 30 encounters have their own loot pools, the item is listed across higher-level versions of the bosses as well.
| Attribute | Divine Canyon Pauldrons |
|---|---|
| Grade | Epic, Tier 2 |
| Item Level | 42 |
| Required Level | 45 |
| HP | 105 |
| Defense | 230 |
| Manastone Slots | 3 |
| Maximum Enchant | +10 |
| Binding | Bound when obtained |
The pauldrons also gain additional Defense and HP through enchantment, making them relevant to players evaluating their longer-term equipment progression.
Odyle Energy, Farming Priorities and Extra Rewards
Odyle Energy is the resource required to enter Urugugu Canyon, so managing its storage limit is part of maintaining an efficient farming routine.
The standard storage cap is 560, increasing to 840 with membership. If you regularly run the dungeon, check your remaining energy before it reaches the limit. Allowing it to stay capped for too long can prevent additional energy from accumulating.
The dungeon also has a much broader reward pool than the individual boss tables suggest. Across the available rewards, players can find 112 obtainable items, including Aulamus weapons and accessories, Earth equipment, additional refining stones, Artwork: Urugugu, and the bound Divine Auldor Mask appearance.
This broader pool gives the dungeon value beyond its three main boss encounters.
For players who are still improving their equipment, we suggest prioritizing Faith pieces, Balaur materials, and Amplify Stone Fragments. Players who already have suitable gear can pay more attention to the additional collectible rewards and crafting-related materials.
If you are balancing dungeon farming with other progression activities, it is also worth keeping your available resources in mind. Some players choose to supplement their regular farming with Aion 2 Kinah for sale when they want more flexibility in managing their in-game progression budget. However, dungeon rewards themselves remain the main reason to run Urugugu Canyon.
The best approach is to decide what you actually need before entering. Farming without a clear equipment or material target can easily turn into repeated runs with little meaningful progress.
Is Urugugu Canyon Worth Farming?
Urugugu Canyon offers a useful combination of Epic equipment, crafting materials, and additional collectible rewards. Its two mini-bosses provide repeated opportunities for Divine Canyon gear and Brave Warrior Earrings, while Divine Auldor is the main target for Faith equipment and larger Balaur material drops.
For newer players, Exploration provides an opportunity to learn the route and boss mechanics. More progressed characters can move toward Conquest, where the final boss introduces a time-sensitive enrage mechanic.
Our team recommends approaching the dungeon with three priorities:
- Activate Kibelisks and understand the windstream route before rushing forward.
- Defeat both mini-bosses instead of skipping their independent reward opportunities.
- Learn the Tempest Strike group-soak mechanic before fighting Divine Auldor.
A well-organized party will generally get more value from each run than a group focused entirely on rushing through encounters. Once you understand the route and coordinate the final boss mechanic, Urugugu Canyon becomes a much more manageable part of your equipment progression.
FAQ: Aion 2 Urugugu Canyon
How many players can enter Urugugu Canyon?
The dungeon supports parties of two to five players and has a 60-minute completion limit.
Can you solo Urugugu Canyon?
You can clear much of the dungeon alone, but Divine Auldor requires at least two players because Tempest Strike needs to be shared by the group.
Which bosses drop Divine Canyon equipment?
Guardian Captain Raur and Judge Urahum share the Divine Canyon equipment loot table. Their drops include rings, gloves, cloaks, earrings, helms, pauldrons, boots, necklaces, and greaves.
Which boss is best for farming Faith equipment?
Divine Auldor is the main target because its loot table includes multiple Faith armor pieces and weapons, with better listed drop chances for several shared Faith armor pieces than those offered by the mini-bosses.
What happens when Divine Auldor enrages?
In Conquest, Divine Auldor enrages after approximately five minutes, increasing its damage and changing its behavior. Exploration does not have this enrage mechanic.
What is the maximum Odyle Energy storage?
Players can store up to 560 Odyle Energy normally, or 840 with membership.