


Ketu is one of the encounters in Aion 2's 10-player Abyssal Forge Ludra raid, and defeating him requires more than consistent damage. Players need to understand his arena attacks, react to different orb mechanics, coordinate blocks and manage the crystals during the final phase. Our team has put together this Ketu boss guide to explain each mechanic in practical terms, helping players spend less time recovering from mistakes and more time executing the fight correctly.
Whether you are learning the encounter for the first time or helping your raid group improve its consistency, understanding positioning and timing is essential. A well-prepared team should also make sure its equipment and combat setup are ready before entering the encounter. Having suitable Aion 2 Items helps players prepare for demanding endgame content, but knowing how to handle Ketu's mechanics remains the deciding factor.
Ketu Positioning and Basic Attack Management
The opening phase is relatively straightforward, but poor positioning can create problems later. The tank should keep Ketu facing away from the rest of the raid, allowing other players to attack safely from behind.
Ketu's basic attacks deal considerable damage to the tank. Pay attention to his attack animations rather than relying entirely on health recovery. Learning when to block and when to dodge will make the opening much more manageable.
Our team recommends establishing these positioning rules before the fight begins:
- Tank: Maintain aggro and keep Ketu facing away from the group.
- Damage dealers: Stay behind the boss and avoid standing directly in front of his attacks.
- Support players: Maintain a safe position while keeping teammates within effective support range.
- Entire raid: Be ready to move toward the center when Ketu's mechanics change the arena's safe zones.
One important detail is that players should not chase Ketu whenever he moves away. Some mechanics are designed around returning him to a useful position, and unnecessary movement can make the next attack harder to manage.
Arena Attacks and the Jump Block Mechanic
Ketu has two important movement-based mechanics that require the entire group to understand where to stand and when to react.
Scythe Rotation and Arena Splits
When Ketu spins his scythe above his head, prepare for two consecutive attacks covering opposite halves of the arena.
The correct response is to:
- Move away from the first marked half before the attack lands.
- Watch for the second marked area.
- Cross into the section that has already been cleared.
- Stay reasonably close to Ketu to reduce unnecessary travel distance.
Do not assume that dodging through the damage will keep you safe. These attacks require proper positioning outside the marked area.
The biggest mistake here is moving too far away from the boss. Players who stay close generally have an easier time transitioning between the two safe areas.
Blocking Ketu's Jump Attack
This is one of the most important mechanics in the encounter.
When Ketu moves toward the far end of the arena, the group should remain near the middle. He will mark a random player with an eye before jumping toward that target.
The marked player should stay near the center rather than running away. This helps bring Ketu back into a more manageable position.
Meanwhile, the tank must enter Ketu's landing AoE and successfully block the incoming attack, even when another player has been marked.
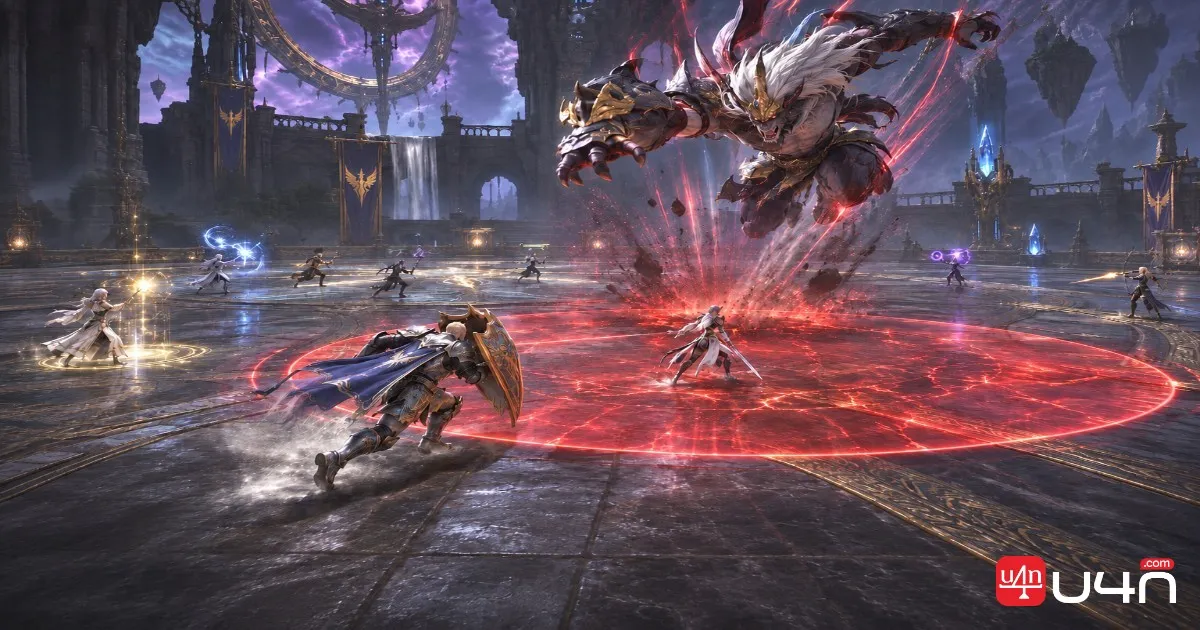
A successful block prevents the damage and stops the follow-up ring from appearing.
If the block fails and the ring appears, players must jump over it to avoid taking damage.
Our team's practical recommendation: Assign responsibility for this mechanic before pulling the boss. The marked player should focus on maintaining position, while the tank concentrates on timing the block. Having both players understand their roles is much more reliable than improvising during the attack.
Abyssal Gaze, Spirits and Laser Positioning
Abyssal Gaze introduces several overlapping mechanics. Instead of treating every attack as a separate event, players should learn how the different hazards interact.
Clear the Spirits Before They Reach Ketu
When Ketu moves to the center and begins casting Abyssal Gaze, spirits appear around the arena.
The raid needs to eliminate them before they reach the boss while avoiding the incoming ground attacks.
A useful approach is to begin on the southern side and progress toward the north, clearing spirits along the way.
During this movement, pay attention to two additional threats:
- A laser approaching from the southern side.
- A beam that gradually closes off part of the arena.
Once the spirits have been cleared on the far side, return to the center. The incoming AoE makes remaining outside the central safe area dangerous.
Read Ketu's Hand Animations
Ketu's hand gestures provide important clues about where his lasers will appear.
Watch the direction he points and move away from the corresponding attack area before the laser reaches you.
This is a recurring mechanic, so players should continue watching his animations even when the raid is dealing with smaller attacks.
If combat effects make these visual cues difficult to recognize, consider adjusting your interface and visual settings. Clearer visibility can make a noticeable difference when several effects overlap.
Orb Mechanics and Chasing Scythes
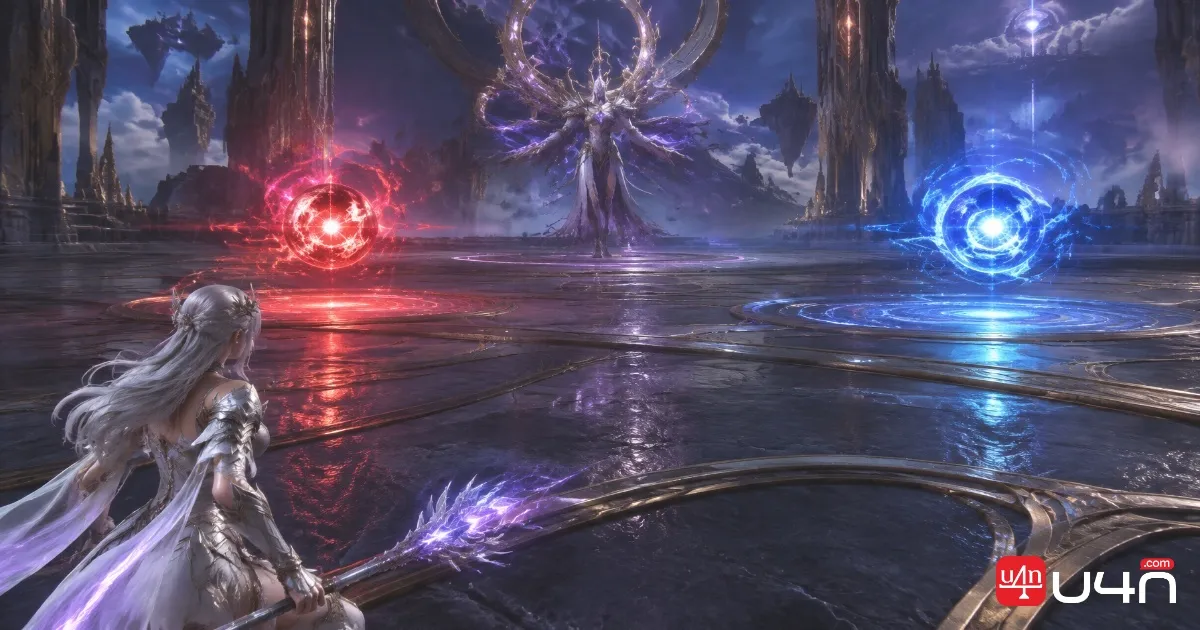
Orb mechanics become increasingly important as the encounter progresses. Players need to distinguish between collecting falling orbs and responding to colored orbs because the required actions are completely different.
Collect Falling Orbs by Jumping
When Ketu raises his hand and says, "Sink silently and perish," he summons two falling orbs.
Assigned players must move toward the orbs and jump to collect them.
This mechanic requires quick reactions because Ketu continues attacking during the collection sequence. Another arena split attack may also overlap, so players should watch the ground rather than focusing exclusively on the orbs.
The rest of the raid should continue handling incoming attacks while the assigned players complete their collection.

Understand Red and Blue Orb Directions
At approximately 50% health, Ketu performs Abyssal Gaze again. The spirit-clearing sequence returns, but players must also prepare for an additional colored-orb check.
The rule is straightforward:
| Orb Color | Required Action |
|---|---|
| Red | Face toward the orb |
| Blue | Turn your character away from the orb |
There is an important distinction here: the mechanic checks your character's facing direction, not your camera direction.
Simply rotating the camera does not satisfy the requirement. You must actually turn your character.
Colored orbs can also appear outside Abyssal Gaze, sometimes in successive sequences. Treat each orb as a separate check rather than assuming that one direction will work for the entire sequence.
After completing the mechanic, move back toward the central safe area when the next attack begins.
Destroy the Chasing Scythes
Ketu eventually summons two scythes that pursue two party members.
The targeted players should prioritize survival and avoid leading the scythes through teammates. Everyone else needs to switch targets and destroy the summoned scythes as quickly as possible.
This is a mechanic where raid awareness matters more than individual damage rotations.
If the rest of the group continues attacking Ketu without addressing the scythes, the targeted players are left dealing with an unnecessary additional threat.
Final Phase: Managing Eruption Power and Crystals
Eruption Power is one of the most important mechanics to prepare for before reaching Ketu's final health threshold.
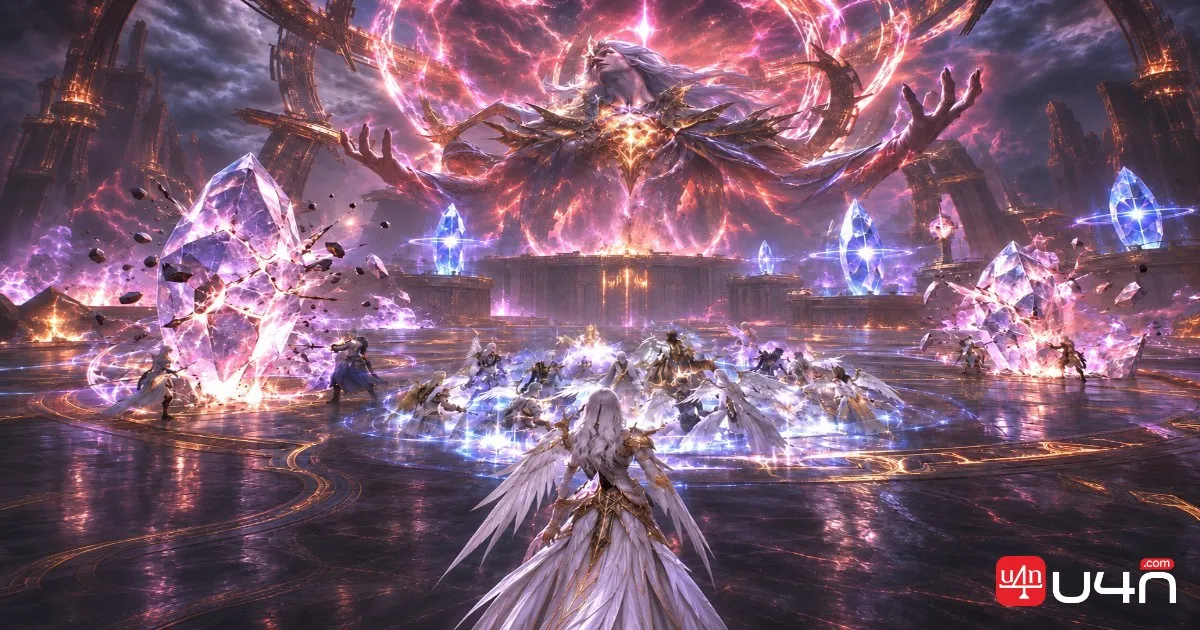
Every player receives a targeted AoE, followed by a damaging raid-wide attack. The crystals positioned around the arena provide four seconds of immunity when destroyed.
However, the crystals require two hits to break. This creates an opportunity to prepare their destruction rather than activating them immediately.
Understand the Crystal Timing
The first targeted AoEs can destroy crystals they hit. If players spread randomly across the arena, their attacks may remove too many crystals before the raid-wide damage arrives.
Our team recommends handling this sequence carefully:
Step 1: Group Together
Gather on the same side of the arena. Keep the targeted AoEs concentrated so that they do not destroy crystals scattered across different areas.
Step 2: Prepare a Crystal
Hit a nearby crystal once. Since it requires two hits to break, leave it ready for the final attack.
Step 3: Activate the First Immunity Window
Complete the second hit just before the targeted AoE lands. This timing helps preserve as much of the four-second immunity window as possible.
Step 4: Prepare the Next Crystal
Move toward another available crystal and destroy it when the next protection window is needed.
Step 5: Stagger the Remaining Breaks
Delay the third crystal's destruction by a few seconds instead of activating every crystal together.
The goal is to distribute the immunity windows across the incoming damage sequence.
Common Crystal Mistakes to Avoid
| Mistake | Why It Causes Problems |
|---|---|
| Breaking crystals too early | Wastes valuable immunity time |
| Destroying multiple crystals together | Overlaps protection windows |
| Spreading targeted AoEs everywhere | Can destroy crystals needed later |
| Ignoring crystal preparation | Leaves less time to react during the attack |
After Eruption Power, three colored orbs appear. Apply the same facing rules: turn toward red and away from blue.
Return to the available safe area afterward. Ketu will continue combining previously introduced mechanics, so players should remain alert rather than assuming the most dangerous part of the encounter is over.
How to Improve Your Ketu Clear Rate
Ketu's encounter becomes much easier once players understand the purpose behind each mechanic. Most failed attempts come from poor positioning, missed blocks, incorrect orb directions or badly timed crystal destruction.
For a quick reminder, our team recommends prioritizing these five points:
- Keep Ketu facing away from the raid and maintain sensible positioning.
- Stay near the center when he moves away, and let the tank handle the jump block.
- Clear spirits during Abyssal Gaze while watching lasers and ground attacks.
- Remember that red and blue orbs require opposite character-facing directions.
- Prepare crystals in advance and stagger their destruction during Eruption Power.
Players preparing for repeated Ludra attempts should also pay attention to their overall progression, equipment and available resources. If you are planning your next equipment upgrades or looking to reduce some of the preparation time, you can explore options to buy Aion 2 Kinah while keeping your raid strategy and character development as the main priorities.
Ultimately, Ketu is a coordination encounter. A group that understands the mechanics and communicates clearly will usually perform more consistently than one that simply relies on higher damage.
FAQ: Aion 2 Ketu Boss Fight
What is the most important mechanic in the Ketu fight?
The jump attack block and final Eruption Power crystal sequence are two particularly important mechanics. Both require correct timing and coordination rather than simply avoiding damage.
How do you stop Ketu's jump attack ring?
The marked player should remain near the center, while the tank enters the landing AoE and successfully blocks Ketu's jump. A successful block prevents the follow-up ring from appearing.
How do you handle red and blue orbs?
Face your character toward red orbs and away from blue orbs. Rotating the camera alone does not count.
How do you survive Eruption Power?
Prepare the arena crystals by hitting them once before the mechanic. Complete the second hit shortly before the relevant damage arrives, then stagger the remaining crystal breaks to extend protection across the attack sequence.
Should everyone attack the chasing scythes?
The two targeted players should focus on surviving and avoiding unnecessary damage. The remaining raid members should switch to the summoned scythes and destroy them.