


Rahu is the first boss encountered by Group 1 in the 10-player Ludra Raid in Aion 2. This fight tests more than individual damage and survival. Players need to manage positioning, pass the SOS Bomb debuff, respond to targeted attacks and stay coordinated as the arena becomes increasingly dangerous. Understanding these mechanics before entering the raid can make a significant difference, especially for groups attempting a clean clear.
In this guide, our team breaks down Rahu's major attacks, phase transitions and practical survival strategies. Whether you are preparing your character with better Aion 2 Items or joining Ludra for the first time, knowing what each player needs to do will help your group avoid unnecessary wipes.
Understand Rahu's Positioning and Opening Attacks
Before the encounter begins, establish a consistent formation. The tank should face Rahu away from the rest of the party, while the other players remain behind the boss. This is important because Rahu's basic attacks can cleave nearby targets. Standing beside the tank is therefore risky, even when you are not being directly targeted.
We recommend marking the tank's position before pulling Rahu. This gives everyone a recognizable reference point when the group needs to regroup after a mechanic.
Two opening attacks deserve particular attention:
| Attack | Recommended response | Common mistake |
|---|---|---|
| Cross-shaped attacks | Time a perfect dodge through the first hit without directional movement. A backward dodge can also help avoid the second hit. | Dodging too early or moving into the next attack |
| Close-range AoE followed by a donut | Stay close behind Rahu, dodge the initial hit and remain inside the safe center of the following donut. | Running too far away and entering the donut's damage area |
The second attack is especially important for players who instinctively move away from every AoE. Not every attack requires creating distance. Sometimes staying close to the boss is the safest option.
Our advice is to learn the difference between attacks that require a full reposition and those that reward controlled movement.
Handle the Eye Attack and SOS Bomb Correctly
These two mechanics are central to Rahu's encounter. Both require players to pay attention to teammates rather than focusing entirely on the boss.
Bait the Eye Attack Away From the Party
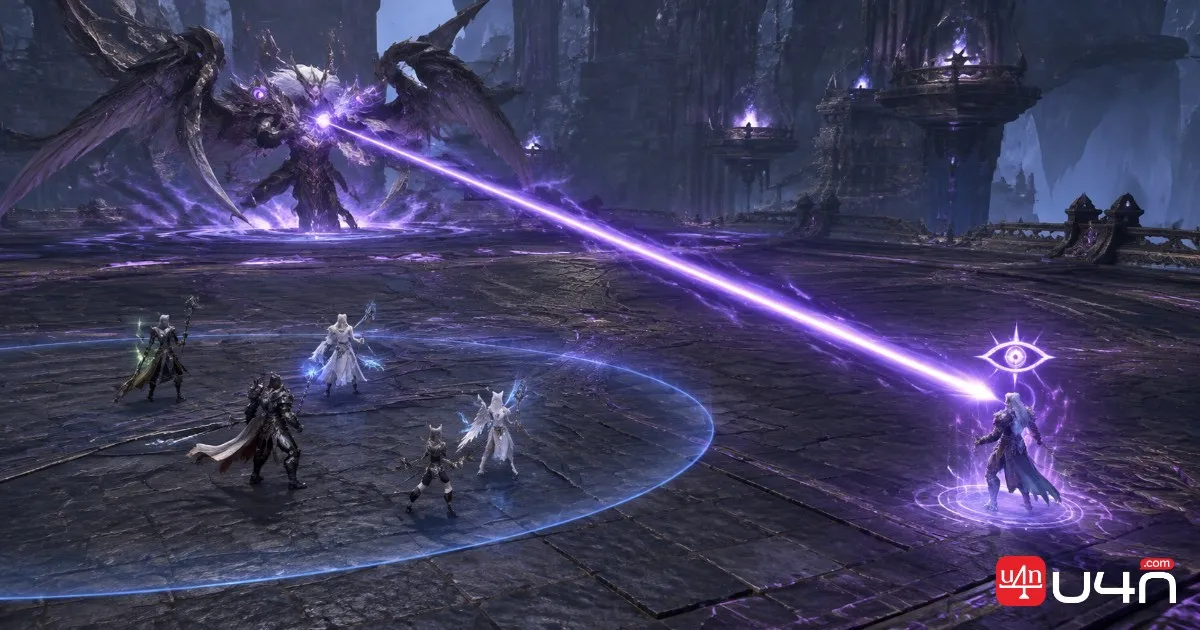
Rahu marks one player with an eye and prepares a line attack aimed at that target. The marked player is responsible for directing the attack away from the group's safe zone.
A reliable approach is to move closer to the arena's outer edge and position yourself so the incoming line does not cross your teammates.
Follow this sequence:
- Check whether you have received the eye marker.
- Move away from the party's safe area.
- Aim the line attack toward an unoccupied section of the arena.
- Dash into the safe zone before the attack resolves.
- Return to the normal formation once the mechanic finishes.
The key is to avoid dragging the attack through the group. Players who are not marked should maintain their positions instead of following the target.
The marked player must direct Rahu's Eye Attack away from the party's safe zone, then return to safety before the attack resolves. Keeping the attack away from teammates is more important than dealing extra damage during this mechanic.
Practical tip: Keep your movement ability available when possible. Reaching the safe zone reliably matters more than squeezing in one extra attack.
Pass the SOS Bomb Before the Timer Expires
Rahu applies an SOS Bomb debuff to one player. Its timer lasts 20 seconds, and the carrier must be close to another teammate when the timer expires so the bomb can transfer.
The carrier can be identified through three visual indicators:
- A green glow on their health bar.
- A countdown displayed in the party list.
- A debuff icon above their own health bar.
The biggest mistake is treating the bomb as an individual responsibility. In reality, the entire party needs to help maintain a suitable transfer position.
| Situation | What the team should do |
|---|---|
| A player receives the bomb | Identify the carrier and keep nearby teammates within transfer range |
| The timer is running low | Make sure the carrier has a reachable teammate |
| The carrier dies | Recognize that the failed transfer creates a purple puddle |
| A purple puddle appears | Keep the bomb carrier away from it |
| Three failures occur | The group wipes |
Failing to transfer the bomb creates a purple puddle. Dying while carrying it also counts as a failure. Three failures wipe the group.
One particularly dangerous mistake is walking through a purple failure puddle while carrying the bomb. This immediately detonates it and kills the carrier.
Our recommendation is to keep the party reasonably close whenever the mechanics allow it. However, stacking alone is not enough. Players must continue checking the debuff timer, especially when an Eye Attack or another mechanic forces the group to spread out.
Survive Ring Attacks and Wheel of Torment
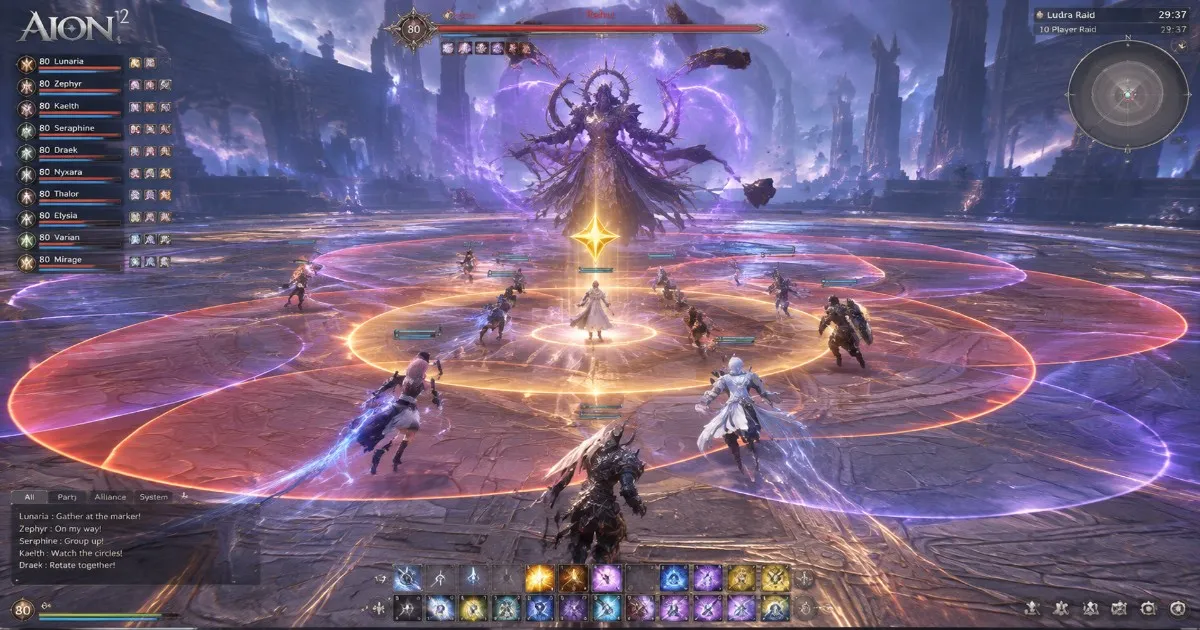
Rahu's donut-shaped ring attacks require a different approach from his line attacks. Each player receives a donut AoE, and the party should stack tightly together so everyone can occupy the overlapping safe centers.
The tank has two possible approaches:
- Stack with the party: Join the group for the ring mechanic, then prepare to react to the cleave immediately afterward. Everyone needs to watch Rahu's facing.
- Remain separate: The party and tank must jump over their respective outgoing waves rather than relying on a shared position.
The first approach is generally easier for groups that communicate well and can quickly return to their usual formation. The second requires more attention to timing and positioning.

Regroup During Wheel of Torment
After the first health threshold, Rahu teleports players to different edges of the arena. This interrupts the normal formation and creates an immediate need to regroup.
One player receives a stack marker. The rest of the party must gather on that player and rotate around Rahu together while avoiding incoming attacks.
Our team recommends handling this sequence in the following order:
- Use movement abilities to return toward the boss.
- Locate the player carrying the stack marker.
- Gather on that player instead of spreading across the arena.
- Rotate together around Rahu as the attacks continue.
- Check the SOS Bomb carrier before separating again.
Rahu also uses a close-range AoE during the return. If your character has enough health and defensive capability to survive it, taking the hit may help you reach the group sooner. However, this is a situational decision, not a general instruction to ignore the attack.
If your health is already low, use a potion and prioritize survival. Reaching the stack is important, but dying while carrying the bomb can create another failure for the entire raid.
Manage Purple Puddles and the Four-Section Arena
After Wheel of Torment, Rahu can use another Eye Attack or begin placing ground puddles. The order can vary depending on how quickly the group reduces his health, so watch his animations rather than relying on a fixed timeline.
Place Puddles Away From the Fighting Area
When Rahu raises his weapon for the puddle mechanic, move toward the arena's edge and place the puddles there.
These hazards remain on the ground, which means poor placement can make later mechanics much harder. Leaving the center and normal fighting area clear gives the team more room to handle subsequent attacks.
Once the puddles are placed, return to the established formation.
Another attack sequence threatens the area behind Rahu before following up in front of him. Dodge the large rear attack, then remain alert until the follow-up lasers have completely finished.
Do not assume the mechanic has ended just because the ground indicator disappears. The visual warning can vanish before the attack sequence is fully resolved.
Adapt to the Four-Section Arena Phase
At approximately 50% health, Rahu divides the arena into four sections. The SOS Bomb remains active, making positioning and teammate awareness even more important.
The tank should bait Rahu's initial jump toward the middle of the arena. This helps preserve space for the attacks that follow.
Afterward, Rahu applies another set of puddles. Move them toward the outer edge, then return to the standard formation.
The next major challenge is a two-part AoE that requires careful positioning.
| Player role | Positioning priority |
|---|---|
| Tank | Stand on the side with the most available room |
| Other players | Maintain enough distance to retreat safely from the second attack |
| Bomb carrier | Keep a teammate within reach without compromising the escape route |
There is also an alternative approach: the party can move behind Rahu after the first hit resolves. Whichever method your group chooses, make sure nobody gets trapped between the puddles and the arena boundary.
Another ring attack follows before Rahu returns to the center. At this point, players should prepare for the final major mechanic rather than becoming distracted by the transition.
Complete Feeding Time and Finish the Encounter
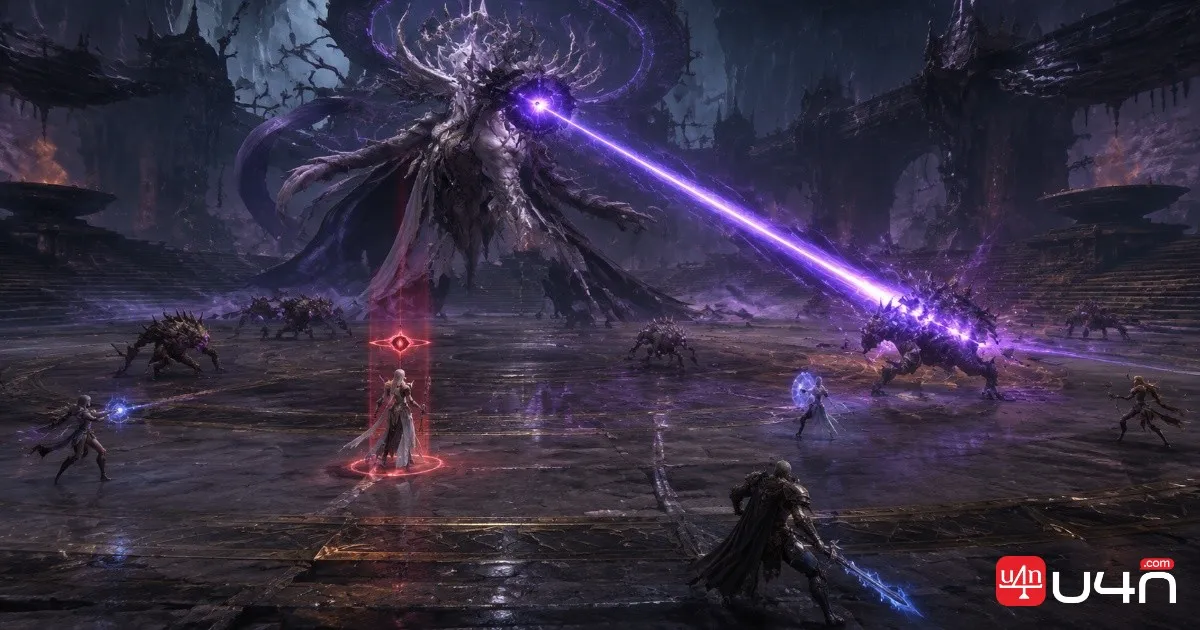
Feeding Time is one of the most important final mechanics in the Rahu fight. Monsters appear around the arena, and Rahu marks a random player with an eye.
The marked player must aim Rahu's incoming line attack through one of the monsters to eliminate it.
This is not simply another attack to dodge. The line must be used to hit the monster, so positioning and timing become especially important.
How to Handle Feeding Time
- Check where the remaining monsters are standing.
- If you receive the eye marker, position yourself so the line passes through a monster.
- Keep the attack aligned until it is committed.
- Avoid moving away too early and causing the shot to miss.
- If you are not marked, watch the remaining monsters so you are ready for the next target selection.
A last-second dodge can avoid the line's damage, but the timing is difficult. Moving too early can cause the attack to miss its intended target.
There is another important detail: every monster left alive counts toward the same failure limit as a missed SOS Bomb transfer.
This means earlier bomb mistakes reduce the group's remaining margin for error during Feeding Time. A team that has already accumulated failures needs to be especially careful with every monster.
The SOS Bomb also remains active throughout this mechanic. Do not allow everyone to focus exclusively on aiming the line attack while forgetting to keep the carrier near a teammate.
After Feeding Time, Rahu repeats mechanics from earlier stages. Continue following the established formation, transfer the bomb reliably and avoid wasting the remaining safe space.
At this point, steady execution is usually more valuable than taking unnecessary risks for additional damage.
What Your Team Should Remember
Rahu is a coordination-focused encounter. Most failed attempts come from players losing track of their positioning, mishandling the SOS Bomb or reacting too early to mechanics that have not fully resolved.
Before entering the Ludra Raid, our team recommends reviewing this checklist:
- Keep the tank in front of Rahu and the party behind him.
- Learn which attacks require dodging and which require staying close.
- Direct Eye Attacks away from the group's safe area.
- Watch the SOS Bomb timer and maintain a reachable transfer partner.
- Place purple puddles near the arena's edge.
- Regroup quickly during Wheel of Torment.
- Preserve escape routes during the four-section phase.
- Aim Feeding Time attacks through the remaining monsters.
Preparation also matters outside the encounter. Reviewing your build, upgrading your equipment and keeping enough consumables available can make recovery from mistakes easier. Players planning their next Ludra attempts should also consider their overall progression and available Aion 2 Kina when preparing for equipment upgrades.
The most reliable strategy is to make every mechanic predictable for the group. Once players understand where to stand, when to move and who needs help, Rahu becomes much easier to manage.
FAQ
How many players are needed for the Rahu encounter?
Rahu is the first boss for Group 1 in the 10-player Ludra Raid. The encounter requires coordinated positioning and mechanic handling across the group.
How do you identify the SOS Bomb carrier?
Look for the green glow on the player's health bar, the countdown in the party list and the debuff icon above their personal health bar.
What happens if the SOS Bomb is not transferred?
A failed transfer creates a purple puddle. Dying while carrying the bomb also counts as a failure. Three failures wipe the group.
Where should players place Rahu's purple puddles?
Move toward the outer edge of the arena and place them away from the center. This preserves more usable space for later mechanics.
How do you complete Feeding Time?
The player marked with the eye must direct Rahu's line attack through a monster. Each monster left alive counts toward the encounter's shared failure limit.