
Raven 2 endgame progression is about more than reaching a higher combat rating. Our team has found that equipment quality, permanent stat bonuses, resource management, and coordinated boss fights all influence how efficiently a character develops. Understanding which system to prioritize can save valuable materials and prevent unnecessary setbacks.
For players managing their progression around limited playtime, Raven 2 Crystals are also part of the wider resource-planning conversation. The key is to understand which upgrades offer meaningful improvements before committing resources, especially when several progression systems compete for the same budget.
Build a Reliable Gear Progression Path
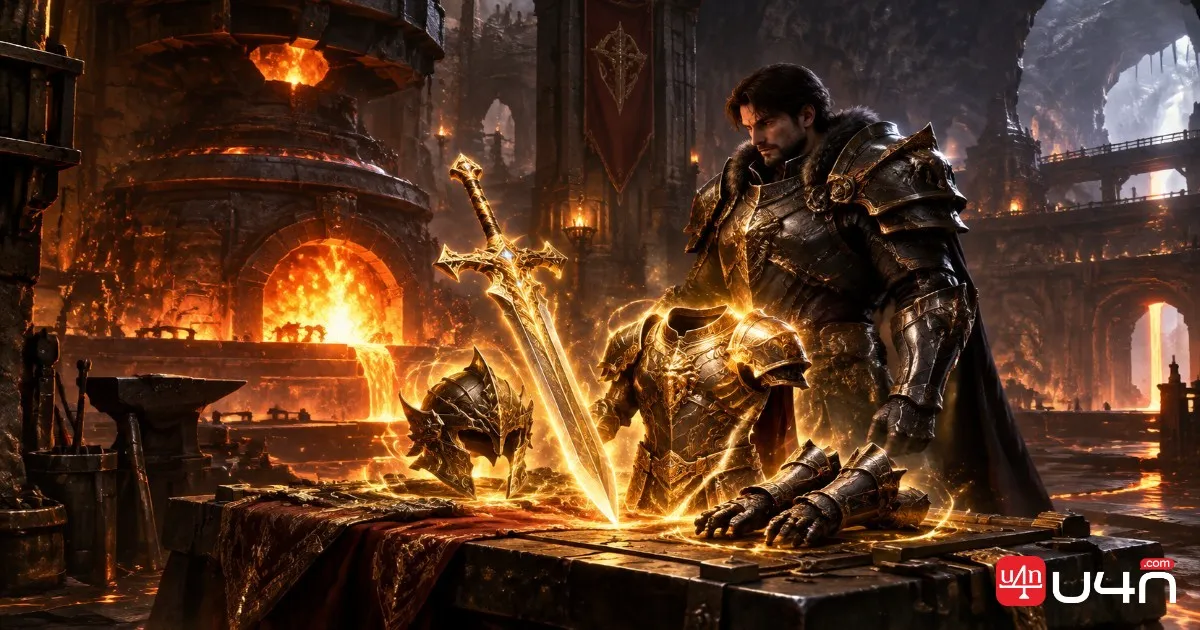
Equipment is one of the most visible parts of endgame progression, but upgrading everything as soon as possible is rarely the most efficient approach. We recommend building a dependable equipment foundation before investing heavily in individual pieces.
The general equipment hierarchy described in the original guide is Normal, Rare, Heroic, Ancient, and Legendary. Higher grades can offer stronger progression opportunities, but the quality of an item's sub-attributes and its suitability for your build also matter.
When Should You Upgrade to Legendary?
The original guide describes two routes: direct upgrading and Inheritance. Direct upgrading involves a chance of failure, while Inheritance transfers selected progression from an existing Legendary item to an Ancient item. Because the exact transfer rules and material requirements can affect the decision, check the official Raven 2 game guide and current in-game descriptions before committing valuable equipment.
| Progression stage | Our recommendation | Main consideration |
|---|---|---|
| Establish your equipment base | Build a usable set before chasing perfect sub-attributes | Consistency across your gear |
| Collect upgrade materials | Prioritize activities that provide the materials you actually need | Avoid unnecessary farming |
| Attempt direct upgrades | Use only materials you can afford to risk | Success is not guaranteed |
| Consider Inheritance | Compare the destination item's base attributes and transfer rules | Preserve useful progression |
| Refine your final setup | Improve weaker slots before polishing already strong pieces | Overall character balance |
We generally prefer a complete, functional equipment set over one exceptional item surrounded by weak pieces. Once the foundation is stable, upgrading individual slots becomes easier to evaluate, and future equipment replacements are less likely to disrupt the entire build.
Optimize Stella and Amplification

The Stella system adds another layer of character progression through AMP Points and Amplification bonuses. These systems are connected: equipping suitable Stellas helps unlock Amplification slots, while rolling those slots determines which additional stats your character receives.
Prioritize AMP Points Before Chasing Perfect Rolls
Our recommendation is to examine your available slots before spending resources on repeated stat rolls. If your current Stella setup does not unlock the Amplification capacity you need, improving that foundation may be more valuable than trying to perfect a small number of existing bonuses.
Stella rarity is an important consideration, but we would not ignore set bonuses or the attributes that directly support your build. A higher-rarity Stella is not automatically the best choice in every situation if equipping it compromises another useful benefit.
Manage Terammon and Carving Knives Carefully
Amplification uses Stella Carving Knives and Terammon. According to the original guide, locking an existing stat increases the cost of subsequent rolls, making repeated attempts progressively more expensive.
We suggest following this order:
- Unlock as many useful Amplification slots as your current Stella setup allows.
- Roll for a reasonable baseline of useful attributes across the available slots.
- Keep favorable results rather than rerolling every imperfect stat.
- Lock valuable results only when the expected improvement justifies the additional cost.
- Improve lower-grade results gradually instead of pursuing perfect rolls everywhere.
The grade bonus also deserves attention because the lowest-grade stat in a slot can affect its overall bonus. However, chasing the highest possible grade across every slot can consume resources quickly. We would rather build a balanced set of useful bonuses first and optimize the remaining weaknesses over time.
Approach Endgame Bosses with a Team Plan

High combat power helps, but it does not replace good positioning and team coordination. Boss encounters become much more manageable when everyone understands their responsibilities and reacts to the same combat cues.
Clear Surrounding Enemies First
Additional enemies can interrupt damage rotations, pressure vulnerable teammates, and make it harder to respond to boss mechanics. When surrounding mobs pose a meaningful threat, clearing them before committing to sustained boss damage can prevent a manageable encounter from becoming chaotic.
The exact priority depends on the encounter. Our team would avoid treating every additional enemy as an automatic target if doing so exposes the party to a more dangerous boss mechanic.
Coordinate Positioning and Burst Windows
Before engaging, agree on where the group should move and who is responsible for keeping track of surrounding threats. Consistent positioning makes it easier to respond to incoming attacks and maintain a stable damage rotation.
We recommend using a simple encounter sequence:
- Prepare: Identify nearby enemies, establish a starting position, and confirm the team's roles.
- Control: Deal with dangerous adds and reposition when necessary.
- Observe: Watch for major attacks and moments when the boss becomes more vulnerable.
- Commit: Coordinate stronger offensive abilities when the party can maintain pressure safely.
- Recover: If the formation breaks down, restore positioning and survival before forcing another damage push.
The original guide highlights Chapter 18-9, The Mysterious Malves, as a demanding encounter. Rather than assuming that more damage alone will solve the fight, use difficult attempts to identify whether the main problem is survivability, positioning, target selection, or insufficient sustained damage.
Manage Latent Traits Without Wasting Resources
Latent Traits can provide permanent stat improvements, but random rolls introduce a different kind of progression risk. The original guide describes Trait Essences as difficult to accumulate through ordinary play and notes that confirmed results may be costly to replace.
For that reason, we recommend treating each roll as a resource decision rather than an automatic upgrade. Before confirming a result, inspect the attribute, its relevance to your build, and the cost of changing it later. If the current result is already useful, keeping it may be more sensible than gambling on a marginal improvement.
Focus on Build-Relevant Attributes
The original guide identifies Ability Score 55 as a target associated with a Weapon Attack bonus. Because the exact thresholds and node values should be checked against the current game version, players should verify the in-game descriptions before planning an entire build around that target.
A practical priority framework looks like this:
| Decision | What we recommend |
|---|---|
| Evaluate an attribute roll | Prioritize stats that address your actual combat weakness |
| Compare two possible upgrades | Consider the benefit alongside the cost of replacing the current result |
| Decide whether to reset | Confirm the reset consequences before spending more resources |
| Plan long-term progression | Reserve rare Trait Essences for upgrades that meaningfully improve the build |
Players who choose to buy Raven 2 Crystals should still establish an upgrade budget before spending on additional progression resources. Purchasing more resources does not remove the risks of random outcomes, so a clear priority list remains important whether you progress through gameplay alone or supplement your available resources.
Establish a Sustainable Daily and Weekly Routine
A reliable routine connects equipment progression, character development, and resource collection. Rather than completing every activity without a clear purpose, we recommend choosing content according to your most immediate upgrade requirement.
| Activity | Suggested priority | Main purpose |
|---|---|---|
| Main story quests | High when progression is available | Advance the story and unlock relevant content |
| Daily Special Forces missions | Regular | Support ongoing character progression |
| Guild Raids | According to the weekly schedule | Obtain guild-related rewards and crafting resources |
| Field Bosses | When the reward fits your needs | Pursue potential equipment and materials |
| Ancient Battlefield | When prepared for its requirements | Participate in challenging group content |
| Auto-grinding | During suitable idle periods | Continue collecting experience and loot |
We would adjust this schedule as the character develops. Early in the endgame, completing progression requirements and establishing a functional gear set may be the best use of time. Later, once the equipment foundation is stable, more attention can shift toward Stella optimization, Latent Traits, and challenging group encounters.
Auto-grinding can supplement active play, but it should not replace activities that provide specific materials or unlock important progression systems. Before leaving a character to grind, consider the area's difficulty, the character's ability to survive, and whether the expected drops are useful for the next upgrade.
Summary: Prioritize the Upgrades That Matter

Successful Raven 2 endgame progression comes from making connected decisions rather than maximizing every system at once. Build a reliable equipment foundation, use Stella to unlock useful Amplification bonuses, approach boss encounters with a clear team plan, and treat Latent Traits as a long-term investment.
Our team's main recommendation is to identify your biggest current bottleneck before spending resources. If equipment is holding you back, strengthen the weakest slots. If your equipment is stable but your additional stats are underdeveloped, work on Stella and Amplification. If a boss remains difficult despite stronger gear, review your positioning, survival, and burst timing before investing further.
Consistency matters more than chasing every possible upgrade immediately. A focused progression plan helps you make better use of your time and resources while preparing your character for increasingly demanding endgame content.
FAQ
What should I prioritize first in Raven 2 endgame?
Start by establishing a reliable equipment foundation. Once your gear is reasonably balanced, assess whether Stella, Amplification, or Latent Traits offers the most useful next improvement.
Is it better to upgrade Ancient gear or wait for better equipment?
That depends on the item's quality, the cost of upgrading it, and the available Inheritance options. Avoid spending heavily on an item you expect to replace soon unless its immediate benefits justify the investment.
How can I reduce wasted resources in the Stella system?
Unlock useful Amplification slots first, establish a baseline of good attributes, and avoid locking too many stats before you have a strong starting setup. Always compare the potential improvement with the added Terammon cost.
What should our team do when an endgame boss feels too difficult?
Identify the source of the problem. Review equipment, incoming damage, positioning, additional enemies, and burst timing. Improving one specific weakness can be more effective than simply repeating the encounter with the same strategy.
Are Latent Traits worth investing in?
They can provide valuable permanent stat bonuses, but random outcomes and replacement costs make them a system to approach carefully. Verify the current attribute rules and prioritize results that directly support your build.