



The Search Containers Trial looks straightforward at first: find containers, open them, and build up your score before the Raid ends. In practice, though, getting a strong SOLO result takes more than running around and opening everything you see. We tested a container-focused route across several areas, adjusted our priorities as we went, and eventually reached 23,100 points. If you're looking to collect useful ARC Raiders Items while pushing your Trial score higher, this approach is worth studying.
The biggest lesson from this run is that container density matters more than simply covering as much of the map as possible. Some locations offer several containers within a small area, while others require a long detour for relatively few searches. The supermarket stood out as one of the most promising locations, and we believe there is still room to improve the route with better timing and a more efficient search order.
The 23,100-Point SOLO Run Quick Summary
Our main objective was to test how far we could push the Search Containers Trial without relying on a team. Instead of treating every building as equally important, we focused on areas with multiple searchable containers and adjusted our route whenever a location seemed inefficient.
The run ended with 23,100 points, beating our previous result of approximately 22,000 points on Stella. That makes this attempt a useful reference for players who want to improve their SOLO performance.
| Trial Detail | Result |
|---|---|
| Challenge | Search Containers |
| Game Mode | SOLO |
| Final Score | 23,100 points |
| Previous Comparison | Approximately 22,000 points on Stella |
| Main Focus | Searching containers efficiently |
| Most Promising Area | Supermarket |
| Main Limitation | Long travel time between some locations |
| Potential Next Target | 24,000–25,000 points |
The 24,000–25,000-point target is our estimate of what might be achievable with a more optimized run. It is not a score we have already confirmed.
Key takeaways:
- Prioritize areas with several containers close together.
- Search the supermarket carefully, including its upper floor and rooms behind doors.
- Avoid spending too much time in locations with limited container opportunities.
- Check whether unusual container types actually count toward the Trial before building your route around them.
- Adjust your search order based on your spawn location, available time, and extraction point.
The biggest lesson from this run is that container density matters more than simply covering as much of the map as possible.
Understanding the Search Containers Trial
The basic idea behind this Trial is simple: search containers to accumulate points. The difficult part is figuring out which locations provide the best opportunities and how much time you should spend reaching them.
During our run, we checked different container types and questioned whether certain objects, including ARC Husks and gray containers, contributed to the score. We also tested containers in areas where we weren't sure whether they were worth the extra time.
However, the run did not establish a complete scoring breakdown for every container type. We would avoid assuming that all searchable-looking objects provide identical points or even count toward the Trial.
Before committing to a route, it helps to understand three things:
| Factor | Why It Matters |
|---|---|
| Container Type | Not every object should automatically be treated as a valid Trial target |
| Search Location | Dense areas allow more searches without long detours |
| Time Available | Travel and interaction time both affect your final score |
For now, the most reliable strategy is to prioritize containers you can clearly identify and search efficiently. Treat unusual objects as secondary opportunities until their scoring behavior has been confirmed.
Best SOLO Search Route: Area-by-Area
We changed our plans several times during the run, but the experience revealed a useful search pattern. The following stages organize the route around the areas discussed in the test, rather than treating every stop as equally important.
Stage 1: Clear the Starting Buildings and Service Rooms
Start by checking the buildings close to your initial position. The kitchen and nearby rooms are worth a quick search, especially when they contain multiple cabinets or other searchable containers.
We found that some rooms had fewer useful containers than expected. Rather than spending too long checking every corner, finish the obvious search points and move on.
The service room area is another location to consider. However, keep Raid conditions in mind: not every checkpoint or locked area is necessarily available during a Night Raid.
Our recommendation is to confirm access before making a locked room a major part of your route. If the area is unavailable, move on instead of wasting valuable Trial time.
Stage 2: Check the Railway Yard and Industrial Areas
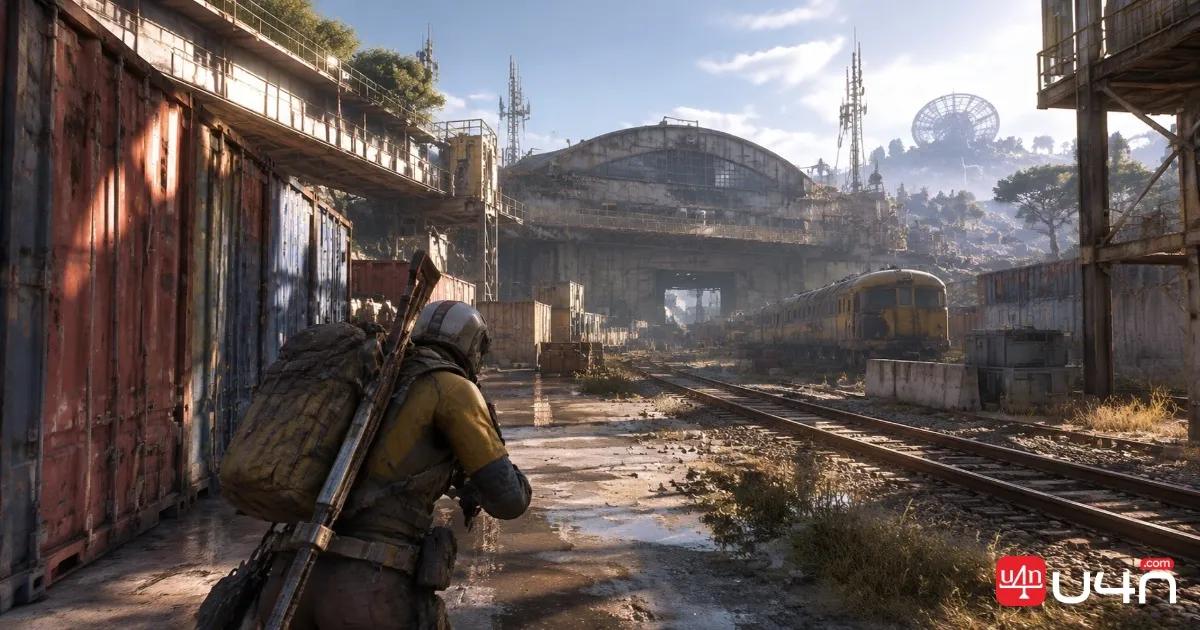
The Railway Yard is worth considering because it contains containers and may provide additional search opportunities along the way. However, we weren't completely convinced that a dedicated detour was always worthwhile.
The deciding factor should be how many containers are available relative to the travel time. If the train or nearby structures are directly along your route, checking them makes sense. If reaching them requires a long trip, the supermarket may be a better destination.
We would treat the Railway Yard as a flexible stop rather than a mandatory part of every run.
Stage 3: Prioritize the Supermarket
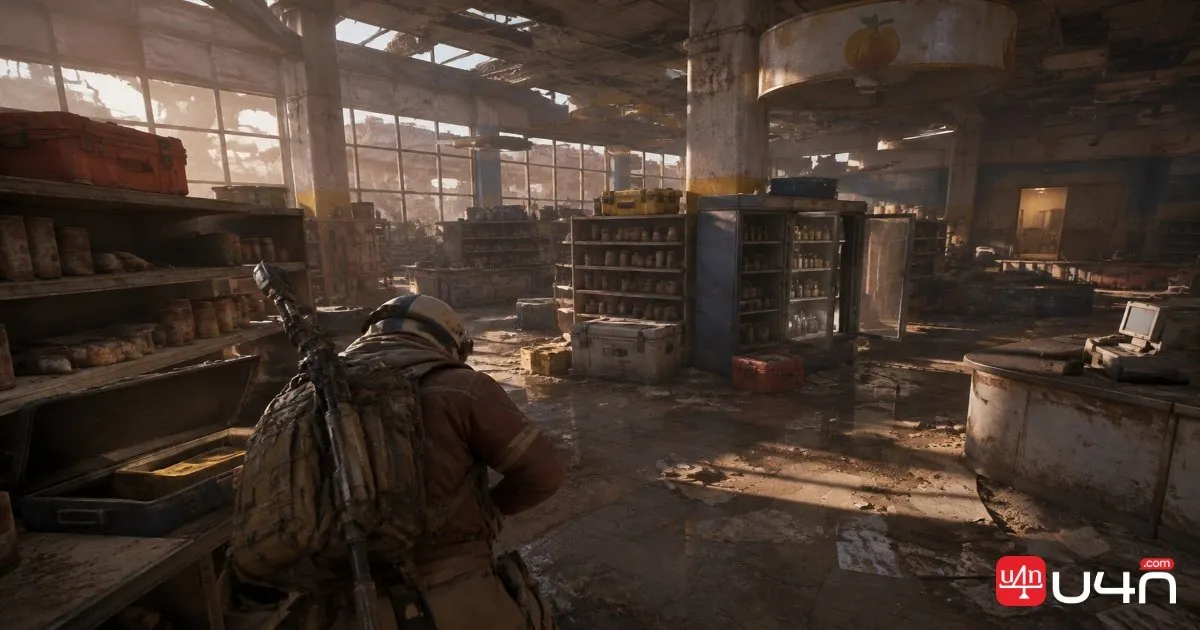
The supermarket was the standout location during our test. It has multiple searchable containers, and some of the easier-to-miss ones are not immediately visible when entering the building.
We recommend checking:
- Containers and cabinets on the main floor.
- Searchable objects on the upper floor.
- Containers behind interior doors.
- Gray containers around the building.
- Additional search points near the surrounding structures.
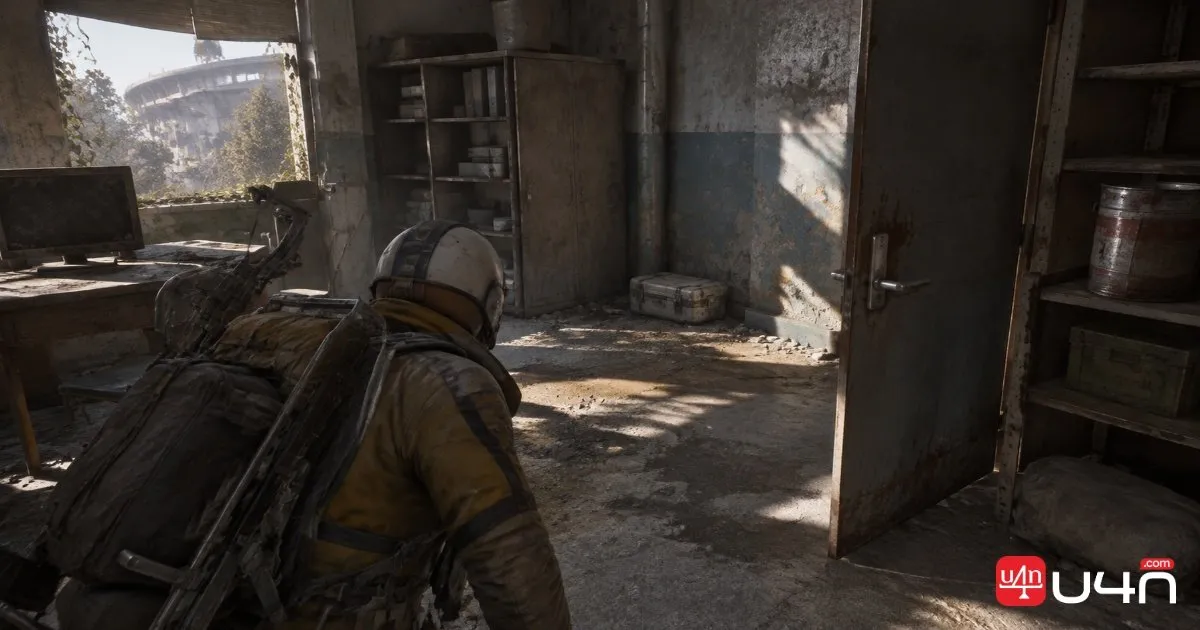
One useful detail is to check behind doors when entering rooms. Some containers are positioned out of your normal line of sight, so a quick look around the entire room can prevent missed searches.
The upper floor also deserves attention. We initially overlooked some of its potential search points, which is exactly the kind of mistake that can cost valuable Trial progress.
That said, don't spend too long trying to interact with an object that repeatedly fails to register. Some containers can be awkward to reach or interact with, and a small amount of extra positioning is reasonable. A prolonged attempt is not.
Stage 4: Search the Parking Garage and Nearby Buildings
After the supermarket, continue toward the parking garage and nearby structures if the remaining time allows.
The garage offers another opportunity to search containers, but the exact value of this stop depends on your current position and how much time you have left.
We would prioritize containers that are immediately accessible. If you need to make a long detour for a single search, consider whether another nearby building could offer more opportunities.
The same rule applies to surrounding structures: search visible containers first, then check less obvious spots only when the route allows it.
Stage 5: Finish With a Final Container Sweep
As the Raid approaches its final minutes, stop following a rigid route. Instead, check the nearest areas you have not fully searched.
During our run, we continued looking for containers in less familiar locations and found additional opportunities. This helped push the final score higher, although it also showed how much time can be lost when you don't know an area well.
Before extraction, quickly review the remaining nearby search points. Don't cross the entire map for a low-confidence container when you could use that time to search several closer ones.

Best Areas and Easy-to-Miss Containers
The biggest advantage of this route is its focus on container density. The following comparison summarizes what we learned from the run.
| Area | What We Observed | Recommended Priority |
|---|---|---|
| Supermarket | Multiple containers, including upper-floor and room-based searches | High |
| Parking Garage | Additional containers and nearby search opportunities | Medium to High |
| Railway Yard | Containers available, but the detour may not always be worthwhile | Situational |
| Service Rooms | Useful when accessible, but availability can vary by Raid conditions | Situational |
| Cable-Related Area | We found fewer reasons to spend extended time here | Low |
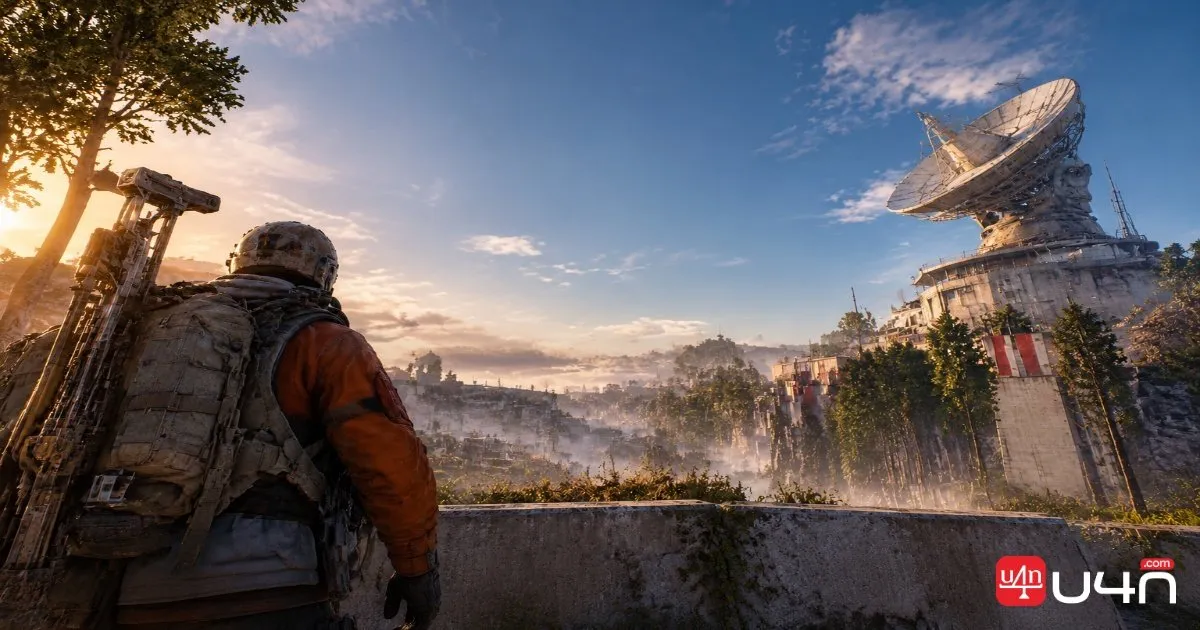
| Observation Area | Gray containers and other potential search points | Check when nearby |
The supermarket deserves the most attention because it combines several search opportunities within one area. The Railway Yard and parking garage can also be useful, but their value depends more heavily on your starting position and remaining time.
Container Locations Worth Checking Twice
Some of the easiest opportunities to miss are not necessarily hidden behind complicated routes. They are simply placed where players may not look during a quick pass.
Keep an eye out for:
- Containers on the supermarket's upper floor.
- Objects behind interior doors.
- Containers close to the ground.
- Gray containers around buildings.
- Searchable objects near parking structures.
- Containers tucked into the edges of rooms.
We also recommend adjusting your position when an interaction prompt does not appear immediately. Some containers require you to move closer, crouch, or approach from a slightly different angle.
Don't confuse a difficult interaction with a guaranteed high-value target, though. If repeated attempts are not working, move on and protect your remaining time.
How to Maximize Your SOLO Trial Score
Reaching 23,100 points is a strong result, but we believe the route still has room for improvement. The main opportunity is not necessarily finding a completely new location. It is reducing wasted movement and getting more searches done within the same Raid.
Prioritize Container Density Over Map Coverage
A common mistake is trying to visit every named area on the map. That sounds thorough, but it can be inefficient when locations are far apart.
Instead, look for clusters of containers. A building with several searchable objects is usually a better use of time than a long trip for one isolated container.
Don't Waste Time on Unconfirmed Targets
We tested unusual objects because we wanted to understand what counted toward the Trial. That kind of experimentation is useful, but it should not become the main strategy during a score-focused run.
Once you know which container types count, prioritize those confirmed targets. Keep uncertain objects as optional searches when they are directly along your route.
Adjust for Night Raid Availability
Night Raid conditions can change which checkpoints and locked rooms are accessible. A route that works during the day may not be equally effective at night.
Before heading toward a service room or locked area, check whether it is available. If not, move toward the next container cluster instead of forcing the original route.
Account for Spawn and Extraction Locations
Your starting position and extraction point can change how efficient a route feels. A long-distance search may be worthwhile when it is close to your path, but inefficient when it requires crossing a large part of the map.
We recommend treating the route as a priority system rather than a fixed sequence. Keep the supermarket high on your list, then choose the next area based on your actual position and remaining time.
What Could Push the Score Beyond 23,100?
We believe a more familiar route could produce a better result. Our next target would be around 24,000 points, with 25,000 as an ambitious possibility under favorable conditions.
The main improvements to test are:
- Searching the Railway Yard more efficiently.
- Finding every accessible container inside and around the supermarket.
- Reducing time spent in low-density areas.
- Learning the less familiar buildings before attempting another score run.
- Adjusting the route to avoid unnecessary backtracking.
These are potential improvements, not guaranteed ways to reach a specific score. A more favorable spawn, accessible containers, and efficient movement would all matter.
Our 23,100-point run showed that this map has strong potential for the SOLO Search Containers Trial, but reducing travel time and prioritizing dense container areas are essential to pushing the score higher.
Summary: Is This Map Worth Using for SOLO Trials?
Our 23,100-point run showed that this map has strong potential for the SOLO Search Containers Trial. Its biggest strength is the number of containers available across several areas, particularly around the supermarket and nearby buildings.
The main drawback is the distance between some of the search locations. You can lose a surprising amount of time moving from one container cluster to another, so route familiarity and flexible decision-making are essential.
We would recommend this approach to players who are comfortable navigating the map and want to push their Trial scores beyond the low-20,000 range. It is also a useful example of why container density and movement efficiency matter more than simply visiting every location.
If you're preparing for more Trial runs, keeping your loadout practical and your supply of ARC Coins ready can help you spend less time on preparation and more time refining your route.
FAQ
How Many Points Did This SOLO Search Containers Run Achieve?
The run finished with 23,100 points. This was higher than the approximately 22,000 points achieved during the previous Stella test.
Is the Supermarket the Best Area for Container Searches?
It was the most promising area in our test because it contains multiple searchable objects across its main floor, upper floor, and surrounding rooms. We recommend giving it high priority.
Should You Always Visit the Railway Yard?
No. The Railway Yard is worth checking when it is close to your route, but a long detour may not be efficient. Compare the available containers with the time required to reach them.
Do Gray Containers Count Toward the Trial?
We tested gray containers during the run, but the available footage does not establish a complete scoring rule for every container type. Confirm their behavior before relying on them as a major source of points.
Does ARC Husk Count as a Searchable Container?
This was raised during the run, but we did not establish a definitive answer. It is better to prioritize confirmed container targets until the scoring behavior is verified.
Can You Reach 24,000 or 25,000 Points Solo?
We believe 24,000 points is a realistic next target to test, while 25,000 would require a particularly efficient run. Neither score was confirmed in this attempt.
Does Night Raid Change the Best Search Route?
It can. Some checkpoints and locked areas may not be accessible during Night Raid conditions. Check availability before committing to those locations and be ready to use an alternative route.