

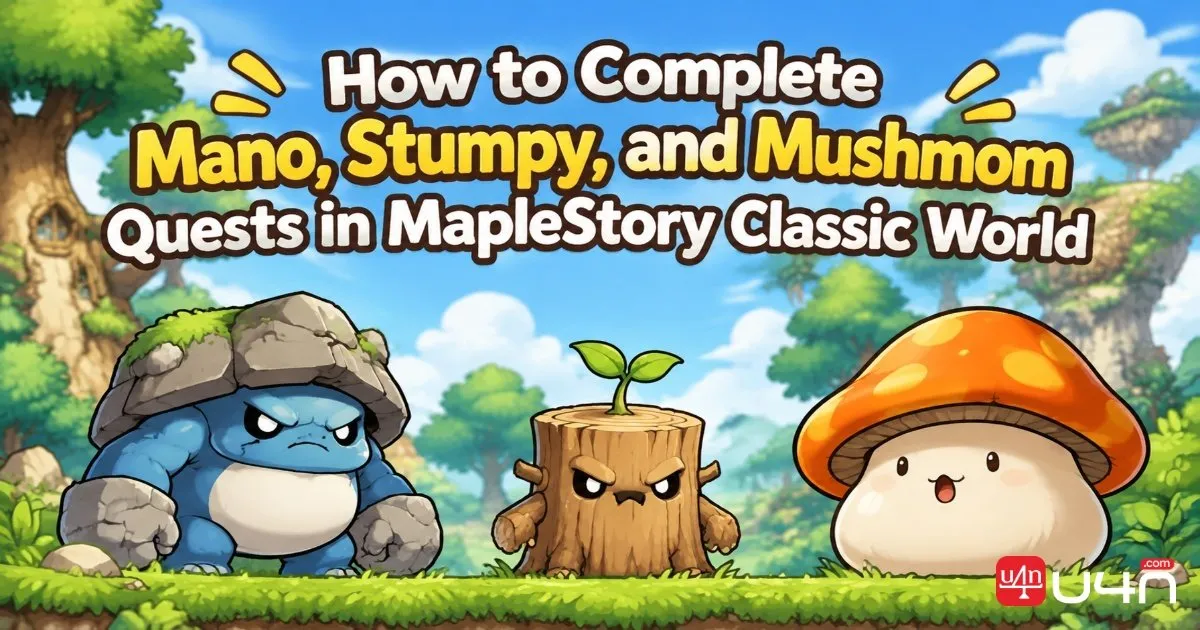
Field boss quests in MapleStory Classic World can be surprisingly frustrating. You may spend an hour waiting for a boss, only to watch a higher-level player defeat it before you can secure the item or quest credit you need. The problem is that Mano, Stumpy, and Mushmom all require different approaches.
Our team breaks down the three encounters, including their quest requirements, locations, rewards, and practical strategies. If you're working toward better equipment or building your MapleStory Classic World Mesos reserves, understanding which boss to prioritize can save you a lot of unnecessary waiting.
Quick Overview: Three Bosses, Three Different Objectives
Although these encounters are often grouped together as boss quests, their completion requirements are not interchangeable. Mano requires a specific personal drop, Stumpy is primarily about getting the kill registered, and Mushmom provides an item needed for Jane's follow-up challenge.
| Boss | Quest NPC | Minimum Quest Level | Main Objective | Key Difficulty |
|---|---|---|---|---|
| Mano | Pia, Henesys Park | 20 | Obtain Rainbow Snail Shell | Personal, untradeable drop |
| Stumpy | Winston, East Rocky Mountain 2 | 34 | Defeat Stumpy | Securing kill credit |
| Mushmom | Jane, Lith Harbor | 44 | Obtain Mushmom Spore | Contested boss and rare quest item |
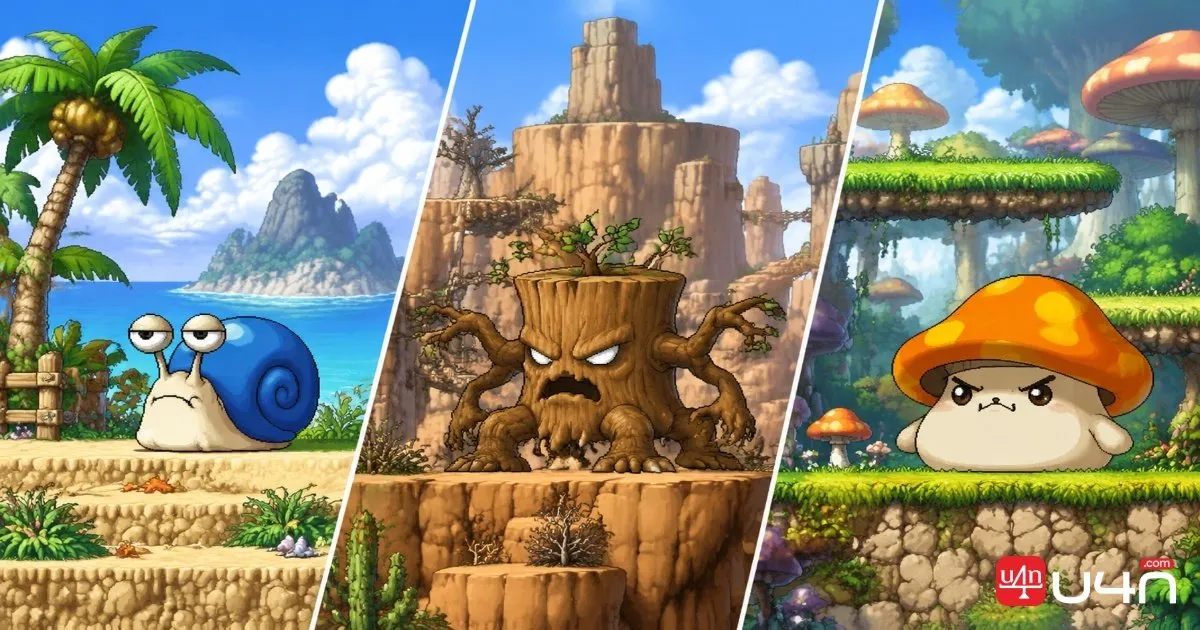
Our recommendation is to approach each encounter according to its actual objective:
- Mano: Track the spawn and make sure you personally obtain the shell.
- Stumpy: Find a suitable party and focus on getting the kill registered.
- Mushmom: Complete Jane's other requirements first, then secure the Spore or check whether it is available through player trading.
The biggest mistake is treating all three as ordinary boss hunts. Knowing exactly what your quest requires should determine how you prepare.
How to Complete the Mano Quest
Quest Requirements and Location
Mano is part of Pia's snail quest chain in Henesys Park. You can access the relevant quest at Level 20, but completing it requires a Rainbow Snail Shell.
The important detail is that the shell is an untradeable quest item. Mano is its required source, so another player cannot simply hand you one to finish the objective.
Mano appears in Thicket Around the Beach 3, with a spawn point on the upper floor.
There are two convenient approaches:
- From Lith Harbor, travel inland through Thicket Around the Beach 1 and Thicket Around the Beach 2.
- From Henesys, head west through the hunting grounds toward the three-way intersection, then continue to the nearby map.
Mano is a Level 20 boss with approximately 7,420 HP. However, its level doesn't necessarily make the encounter easy. Its snail summons can slow you down, and players report that returning around Level 40 makes securing the shell more manageable.

How to Secure the Rainbow Snail Shell
Mano is particularly frustrating when stronger players are competing for the same spawn. Since the shell cannot be traded, buying one from another player is not a reliable shortcut.
We recommend the following preparation:
- Track the channel and approximate time of Mano's previous defeat.
- Arrive before the expected spawn window.
- Check whether stronger players are already waiting.
- Clear enough inventory space for the Rainbow Snail Shell.
- Coordinate with anyone offering assistance before Mano appears.
Some players report that pets may automatically collect the shell. If you're relying on a group or another player's help, agree on the loot arrangement beforehand. Make sure everyone understands who is supposed to collect the quest item.
Mano is usually the least urgent of the three objectives if your main goal is reaching Jane's valuable follow-up reward. If the waiting time becomes unreasonable, it is perfectly reasonable to return later.

How to Complete the Stumpy Quest
Quest Requirements and Location
Stumpy's quest comes from Winston at East Rocky Mountain 2, outside Perion. You can accept it at Level 34, but there is an important prerequisite: you must first collect 100 Very Dry Branches.
Once that requirement is complete, the objective becomes much simpler. You only need to defeat Stumpy and receive the necessary quest credit. Unlike Mano, you don't need to secure a specific boss drop.
Stumpy appears in Parched Land, a dead-end map connected to East Rocky Mountain 5.
From Perion, travel east through Street Corner and continue along the East Rocky Mountain maps until you reach the fifth area. Parched Land is the destination.
| Detail | Information |
|---|---|
| Quest NPC | Winston |
| Required Level | 34 |
| Prerequisite | 100 Very Dry Branches |
| Boss Level | 35 |
| Boss HP | Approximately 19,220 |
| Location | Parched Land |
| Elemental Weakness | Fire |
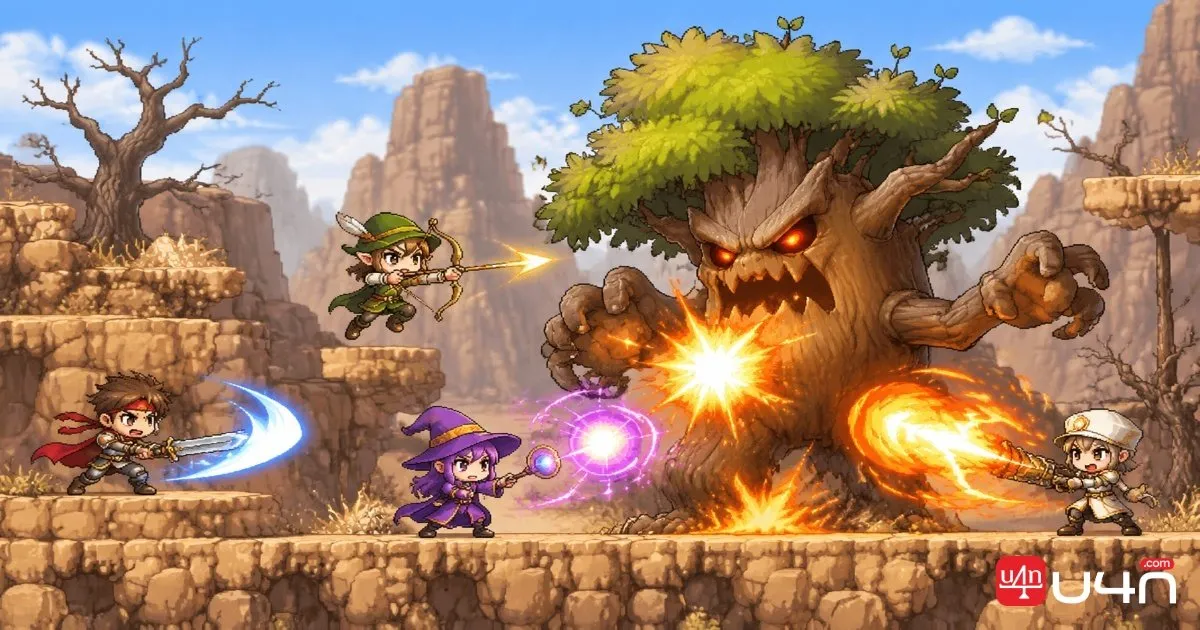
Stumpy is weak to Fire, so characters with effective fire-based attacks can have an advantage. A party can also make the encounter more manageable for players who are close to the quest's minimum level.
Why Party Hunting Works Better
For Stumpy, the main objective is not collecting an item but getting the kill registered.
This makes party hunting a sensible approach. One group of six players reportedly waited around 40 minutes and completed the quest together. However, this is a player-reported experience, not a guarantee that every party member will receive credit under all circumstances.
The main risk is competition from a stronger player outside your group. If another player contributes enough damage to affect the encounter, your party may not get the result it expects.
Our advice is to check the channel before committing to a long wait. Choose an instance where your group has a reasonable chance of completing the encounter, and make sure everyone understands the quest objective before the fight begins.
How to Complete the Mushmom Quest
Mushmom Is Part of Jane's Challenge
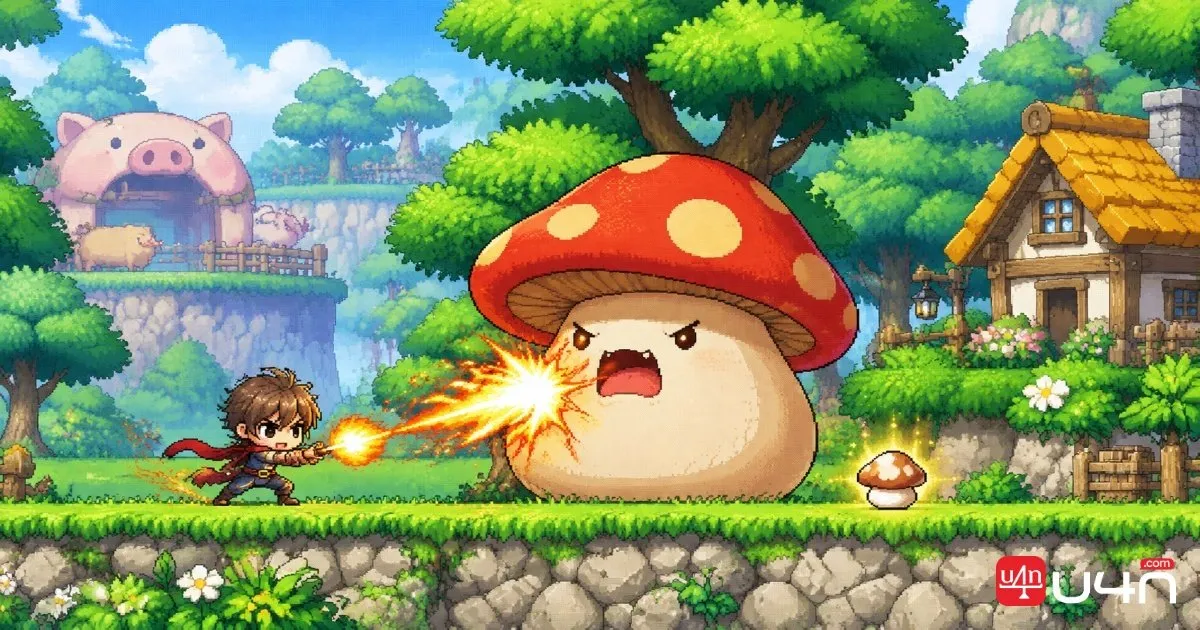
Mushmom is the most easily misunderstood encounter in this guide. There isn't a separate quest that simply asks you to defeat Mushmom. Instead, the boss is connected to Jane's challenge in Lith Harbor.
At Level 44, Jane's quest requires several materials and monster objectives, including:
- 50 Wraiths.
- 50 Maladies.
- Drake Blood.
- Various medicinal materials.
- Malady Frogs.
- A Mushmom Spore.
Mushmom appears in the house area near Pig Park 2. From Henesys, the route described by players passes through an empty house and then continues through Pig Park toward Pig Park 2.
Mushmom is a Level 40 boss with approximately 34,440 HP and is weak to Fire. Players who report successfully obtaining the Spore often recommend being around Levels 40–50 before attempting the encounter.
The Mushmom Spore and Jane's Final Challenge
The Spore is important because it unlocks the next stage of Jane's quest chain. This is where the real reward opportunity begins.
Jane's Final Challenge has its own lengthy list of objectives, but the reward is considerably more attractive than simply completing the Spore collection step. The reported reward is a random intermediate-or-higher Glove ATT or Magic ATT Scroll.
| Quest Stage | Main Requirement | Purpose |
|---|---|---|
| Jane's Challenge | Complete the listed monster and material objectives | Progress through the quest |
| Mushmom Spore | Obtain the Spore | Unlock the follow-up stage |
| Jane's Final Challenge | Complete the additional objectives | Receive a random Glove Scroll |
For most players, we recommend finishing every other requirement before starting a serious Mushmom hunt. That way, the Spore is the only major objective left, and you won't have to return to the boss later.
There is also a practical alternative: check the Free Market for a Mushmom Spore. Players report that it may be available through trading. Unlike Mano's Rainbow Snail Shell, this can potentially save you from competing for a difficult boss spawn.
However, check the item's trading eligibility and current market availability before relying on this option.
Boss Spawn Timers, Loot Rules, and the Best Hunting Strategy
Knowing where a boss appears is only half the challenge. The other half is understanding when it might spawn and how quest items are distributed.
Understanding Boss Respawn Times
A one-hour base timer, while players report that actual field boss respawns can take roughly one to two hours. These figures should not be treated as a guaranteed schedule
Each of the 40 channels reportedly has its own boss instance. This gives players multiple opportunities to track spawns rather than waiting in just one location.
A simple tracking method is more useful than repeatedly switching channels without a plan:
- Record the channel where you see a boss defeated.
- Write down the approximate time.
- Return near the expected one-hour mark.
- Continue monitoring the channel if the boss has not appeared.
- Repeat the process across other channels when practical.
Groups that hunt bosses regularly may keep shared notes for several channels. This can reduce wasted waiting time, especially when multiple players are working toward the same quest.
Some players also recommend staying on a boss map before scheduled maintenance and logging in immediately afterward. However, reports are inconsistent about whether maintenance resets boss timers. Treat this as an experiment rather than a dependable strategy.
Who Gets the Boss Drop?
This is one of the least clearly understood parts of field boss hunting.
Many players believe that the person who deals the most damage receives the drop, while others suggest that party damage may not be combined. Reports also disagree about whether the first attack or final hit has any influence.
There is no reliable confirmation in the available reports that establishes one universal loot ownership rule.
In practice, we recommend planning around the uncertainty:
- Don't assume that landing the first hit guarantees the item.
- Don't rely on the final hit as a guaranteed way to secure the drop.
- Discuss loot arrangements with your party before the boss appears.
- Avoid competing against a significantly stronger player when the quest requires a specific item.
- Make sure your inventory has enough free space before the encounter.
The distinction between a kill-credit quest and a personal-drop quest matters here. Stumpy is mainly about completing the kill objective, while Mano and Mushmom require specific items. Your preparation should reflect that difference.
Recommended Strategy for Each Boss
| Boss | Best Practical Approach | What to Avoid |
|---|---|---|
| Mano | Track spawns, prepare inventory, and secure your own shell | Assuming another player can trade you the item |
| Stumpy | Join a party and choose a manageable channel | Fighting alone against a much stronger competitor |
| Mushmom | Finish Jane's other requirements first and check the market | Spending hours hunting before preparing the rest of the quest |
One more option is worth watching for: players report that GMs sometimes summon field bosses in towns and announce them through chat. Some players have obtained boss quest items during these events. These opportunities are occasional, so they should be treated as a bonus rather than part of your regular plan.
If you cannot spend two hours waiting for a boss tonight, leave the quest for another session. The quest will still be there, and spending that time on leveling or other objectives may be more productive.
Complete the Right Boss Quest First
Mano, Stumpy, and Mushmom may look like similar field boss objectives, but each requires a different plan. Mano is about securing an untradeable personal drop, Stumpy is about getting the kill registered, and Mushmom is a gateway to Jane's more valuable follow-up challenge.
Our recommendation is to prioritize Stumpy when you have a suitable party, prepare Jane's other requirements before hunting Mushmom, and leave Mano for a session when you can properly track its spawn.
The most useful habit is keeping a record of boss deaths by channel and time. Every spawn you witness gives you information that can make your next visit more efficient.
And when a specific item is tradable, checking the market can sometimes save more time than another long boss hunt. Whether you're saving for equipment upgrades or looking to buy MSCW Items, understanding which quest drops are valuable and which ones must be collected personally will help you make smarter decisions.
FAQ
Which Boss Quest Should I Complete First?
Stumpy is a good option if you can find a suitable party, since its objective is simply to defeat the boss and obtain quest credit. Mushmom is worth prioritizing when you're ready to progress through Jane's challenge and pursue its scroll reward.
Can I Buy the Rainbow Snail Shell From Another Player?
No. The Rainbow Snail Shell required for Mano's quest is described as untradeable. You need to obtain it personally from Mano.
Does Stumpy Require a Party?
A party is not necessarily a formal quest requirement, but group hunting can make the encounter easier. The important part is making sure the kill registers for your quest.
Can I Buy a Mushmom Spore?
Players report that Mushmom Spores may be available through the Free Market. Check current listings and trading restrictions before relying on this option.
How Often Do Mano, Stumpy, and Mushmom Respawn?
The source describes a one-hour base timer, while player reports suggest actual respawns may take around one to two hours. These are not guaranteed intervals, so tracking each channel's previous boss defeat is more practical than relying on an exact schedule.
Does the Player Who Deals the Most Damage Get the Boss Drop?
That is a common player theory, but the available reports are contradictory. There is no reliable confirmation that the most serious damage, first hit, or final hit always determines item ownership.
What Is the Best Way to Avoid Wasting Time on Boss Quests?
Prepare all other quest requirements first, record boss spawn times, check multiple channels when possible, and make sure your inventory is ready. For tradable materials such as the Mushmom Spore, checking the Free Market may also be worthwhile.