


You've got one evening to play and six classes staring back at you. Our team would start with Archer for ranged solo questing, Knight if you like controlling a fight from the front, or Scholar if you already want to heal for friends. If those jobs sound too tidy, Berserker gives you a greatsword and an excuse to get close, Assassin puts the emphasis on your opener, and Mage gives you a reason to look for enemies standing shoulder to shoulder.
Once you've made a character, give your first Astel a job. Maybe you keep burning potions on the same quest loop. Maybe you're clearing safely but wish each fight ended a little sooner. Those are two different problems, and they give you two different ways to judge a companion. We'd settle that question on a normal route before spending anything on a new setup.
All Six Astellia 2 Classes at a Glance
We've turned Astellia 2 roles - Knight, Berserker, Assassin, Archer, Scholar, and Mage - into a first-session checklist. Pick the class whose ordinary fights sound fun, then try the early test in the last column before you judge the character on a boss fight or a highlight clip.
| Class | Pick it if you enjoy | Try this early |
|---|---|---|
| Knight | Leading pulls with a sword, shield, and stuns. | Use a stun when a second enemy joins and see how easily you regain control. |
| Berserker | Pressing the attack in melee with a greatsword. | Clear several pulls back to back and count how often you stop to recover. |
| Assassin | Opening from stealth and dealing damage in a short burst with twin blades. | Fight a tougher enemy that survives your opener and see how the follow-up feels. |
| Archer | Using a bow and debuffs to fight from range. | Try an open stretch and a cramped path where enemies can close in quickly. |
| Scholar | Healing and shielding allies. | Run a solo quest and a party fight. See which one makes you want to queue up another. |
| Mage | Using elemental area damage against clustered enemies. | Start with small packs and check how much time you spend setting up each pull. |

Which Class Should You Pick for Solo Leveling?
We'd start with Archer if your first instinct is to get a little space before a fight. Try a quest that sends you through a narrow path as well as an open field. If you enjoy finding room for another shot even when a pull gets messy, that tells you more about your fit with Archer than a clean kill on a stationary target.
Choose Knight if you get more satisfaction out of putting a messy fight back in order. A single enemy may take longer than you'd like, yet you may spend less of the route recovering from a bad pull. For Mage, we'd watch the setup time. If gathering a bigger pack takes so long that you could have already cleared two smaller ones, stick with smaller pulls until you find a stretch where area damage pays off.
Berserker and Assassin both put you close to the action, but they ask different questions. With Berserker, how comfortably can you keep attacking across a string of ordinary fights? With Assassin, what do you do when the target survives your first burst? We'd try both a routine quest pack and one sturdier mob. A class can feel great for one big opener and still feel awkward across a half hour of questing.
Time the whole route, including recovery, repositioning, and failed pulls. A slower kill can still get you to the quest turn-in sooner.
Picking a Class When You Play With Friends
Ask your friends which jobs they actually want. If nobody wants to lead pulls, Knight gives one player a clear role. If you like watching health bars and getting a shield on someone before a hit lands, Scholar gives your group a reason to build around you. We'd make that choice with your usual week in mind. If you spend four nights questing alone and one night with the group, try enough solo fights to know how that routine feels.
In an early party run, agree on who starts the pull and which enemy everyone hits first. That gives a Knight a chance to establish the front line, a Scholar a clearer read on who needs help, and a Mage time to see where the pack settles. An Archer or Assassin can use the same target call to focus on the enemy the group wants gone. If the group keeps losing people in the opening seconds, try one cleaner pull before you start swapping classes or companions.

How the Astel Companion System Works
Find and use your first Astel summon ticket
Astels are companions you collect. If you have a summon ticket, start by reading its full name in your inventory. Check your mailbox and available rewards if you're still looking for one. Astel and Avatar tickets can sound similar at a glance, so confirm the item type and open the summon pool that accepts it. Read the pool and its published odds before using a ticket for a specific companion, especially if the ticket has an event label.
Read the effect and see when it applies
Open your Astel roster and read the effect on a companion you own. If the description names a condition, keep that condition in mind when you test it. Check which Astel the interface shows as active after you change your setup. If the client lists a collection reward separately, note that in your comparison. A bonus that stays active across both runs belongs in the baseline, even if you first noticed it on a companion you just obtained.
Start with the problem your class runs into most often. An Archer who keeps getting crowded can test an available defensive effect on a cramped route. A Scholar who clears safely but slowly can compare an offensive effect, if one is in the roster. A Mage can test a defensive option on the same small packs to see whether it cuts interruptions. Keep the pull size steady for the first comparison so you can tell what the Astel changed.
Give your Astel one job for the route you're running. Pick an effect you can measure, then let the route tell you how much that effect is worth.

When to Upgrade or Summon Again
We'd use the companions you already own on ordinary quests before chasing a particular rarity. A farming bonus can be the more useful pick on a safe gold route, where extra damage may save very little time. If the listed effect increases gold gains, record gold earned over equal runs. If it raises carry capacity, test it on a session long enough for inventory stops to matter. That same companion may have little to offer on a tough pull where you're running out of healing items.
If you're weighing an upgrade or synthesis option in your client, read the cost and the listed result before confirming. Check whether the action previews a specific improvement or a range of possible outcomes. We'd hold scarce materials until we know what we'd do with the result. If you've been browsing Astellia 2 Diamonds while planning a summon budget, run the free comparison below before deciding how much room to leave for another pull.
A Ten-Minute Astel Test You Can Run Tonight
Pick a short loop with familiar enemies and a clear starting point. Give your current setup five minutes, swap one Astel, and give the second setup five minutes on the same loop. Start with similar health, keep your gear and buffs steady, and pull about the same number of enemies at a time. If a crowd clears the route ahead of you, repeat that leg when the area is comparable.
- For leveling: Count quest progress or kills in five minutes. Use the same measure for both runs.
- For safer solo play: Count healing items used and note any pull you had to abandon.
- For gold farming: Record the change in your gold balance and note any stop to clear inventory.
Suppose you clear roughly the same number of mobs both times, but the second setup uses one potion and the first uses three. We'd keep the second setup for that route and see if the difference holds on another lap. If the results are close, reverse the order. By run two, you may remember exactly where the next pack spawns, and that alone can make a swap look better than it felt.
Keep the client version in mind if you're comparing your results with an older video. The November 17, 2026 maintenance notice listed a fix for declining attack speed during prolonged hunting in one location. An older farming clip may reflect that issue. Use your own current-client runs to compare setups and write down the route if you want to revisit the result after an update.
Astellia 2 Beginner FAQ
Is Archer the best Astellia 2 class for beginners?
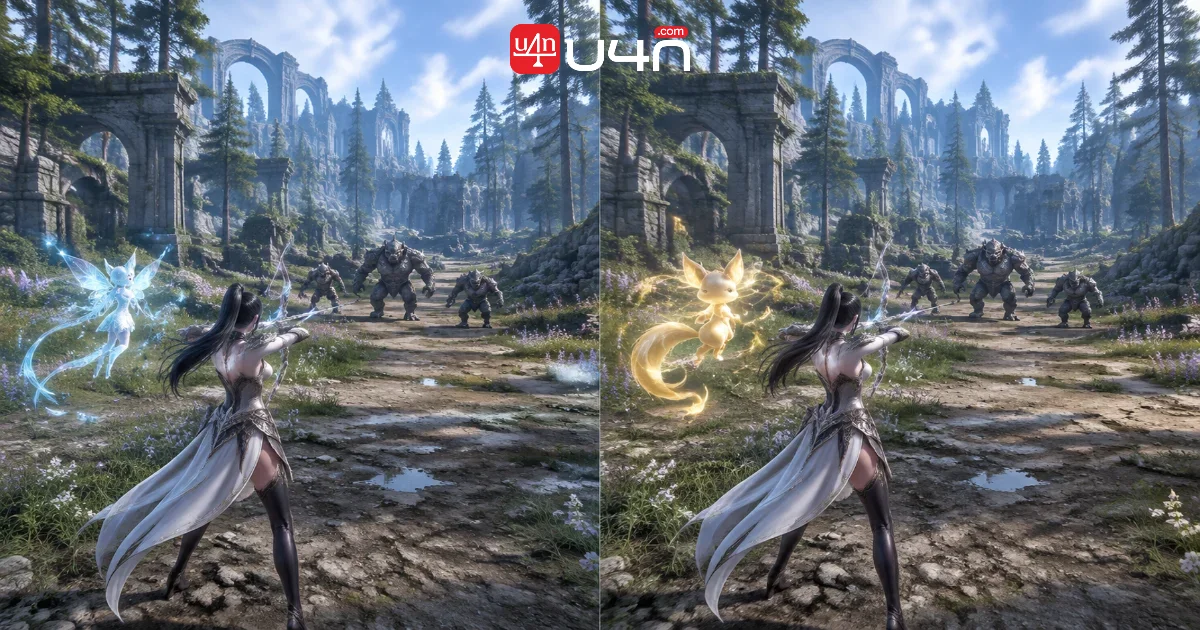
Archer is our first suggestion if you want to level solo from range. If you find yourself wishing you could stand your ground and control the pull, start with Knight. If your main reason for signing up is to heal for friends, start with Scholar and give yourself a short solo session to learn how it handles routine quests.
Can the same Astel work for solo and party play?
Yes, if its effect still helps with the job you're doing. A defensive effect you appreciate while questing alone may matter less in a party that already keeps you safe. Before swapping, pay attention to what costs your group time. If the real issue is that everyone hits a different target, a shared target call will give you a better first test than a companion change.
Which Astel should I invest in first?
We'd start with the companion that has already helped on a route you run often. Keep a note with the route, the active Astel, and one result you care about. When you get a new companion or consider an upgrade, take it back to that same route. You'll have a comparison that reflects how you actually play.