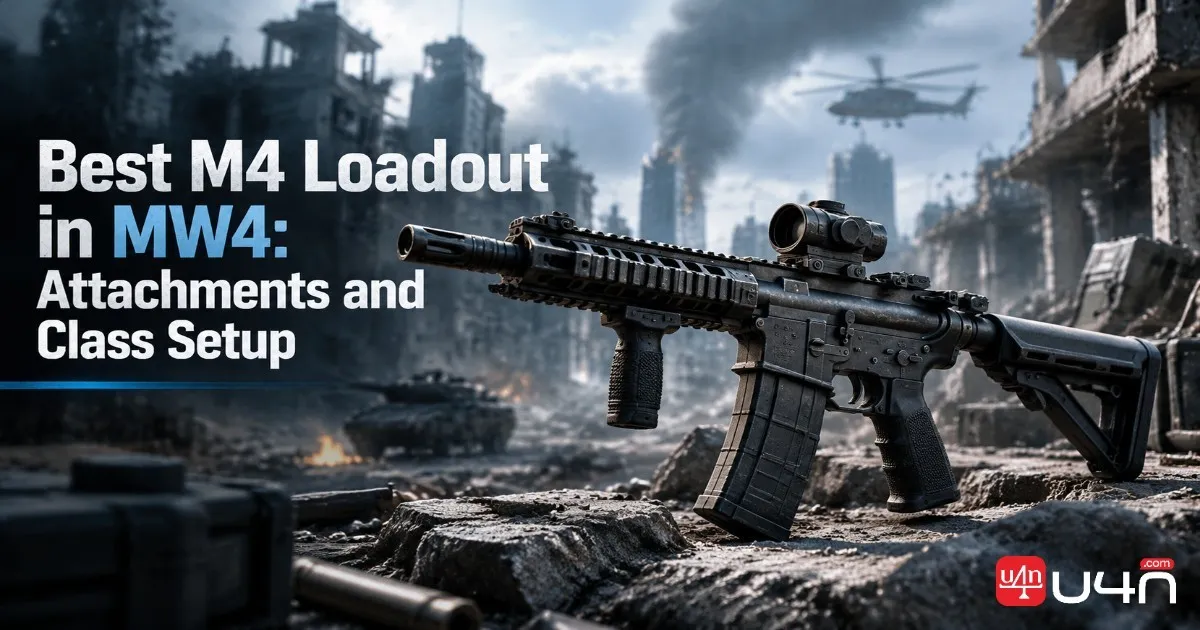
The M4 is a dependable assault rifle in Call of Duty: Modern Warfare 4, especially for players who want consistent performance without struggling with complicated recoil patterns. With the right attachments, it can balance aiming speed, recoil control, and mobility, making it a practical choice for standard 6v6 multiplayer matches. Our team recommends starting with a balanced build before adjusting the weapon to suit your preferred engagement range.
A good M4 loadout should do more than improve one weapon stat. It needs to help you win the first shots of a gunfight, track moving targets, and stay mobile when the fight shifts to another lane. Players working through weapon levels or preparing for competitive matches can also benefit from a more efficient progression routine, including MW4 Boosting when appropriate. Here is how we would build the M4, choose the supporting class equipment, and get more consistent results in actual matches.
Best M4 Attachments in MW4
Our recommended M4 build focuses on manageable recoil, responsive aiming, and enough range to remain effective beyond close quarters. The goal is not to maximize every stat independently, but to create a weapon that feels predictable during repeated engagements.
| Attachment Slot | Recommended Attachment | Main Purpose |
|---|---|---|
| Muzzle | FSS IS300 | Sound suppression, muzzle velocity, and damage range |
| Underbarrel | FSS Fireline Grip | Improved recoil control while aiming |
| Rear Grip | ZLR Phase Grip | Faster aim-down-sight and sprint-to-fire speeds |
| Stock | ZLR ASP50 Stock | Improved movement speed |
| Laser | SA LAZ-500 | Faster aim-down-sight speed |
Why These Attachments Work Together
The FSS IS300 provides a useful combination of suppression and range-related benefits. For players who prefer controlled engagements rather than constantly rushing into close-range fights, this makes it a sensible starting point.
The FSS Fireline Grip complements the muzzle by helping manage recoil while aiming down sights. When tracking an opponent across a longer sightline, predictable weapon movement can make it easier to keep shots on target. We recommend testing the combination in a private match or against predictable targets before taking it into more demanding multiplayer lobbies.
The ZLR Phase Grip and SA LAZ-500 focus on handling speed, while the ZLR ASP50 Stock supports a more mobile playstyle. These choices help prevent the M4 from feeling unnecessarily sluggish when an enemy appears unexpectedly.
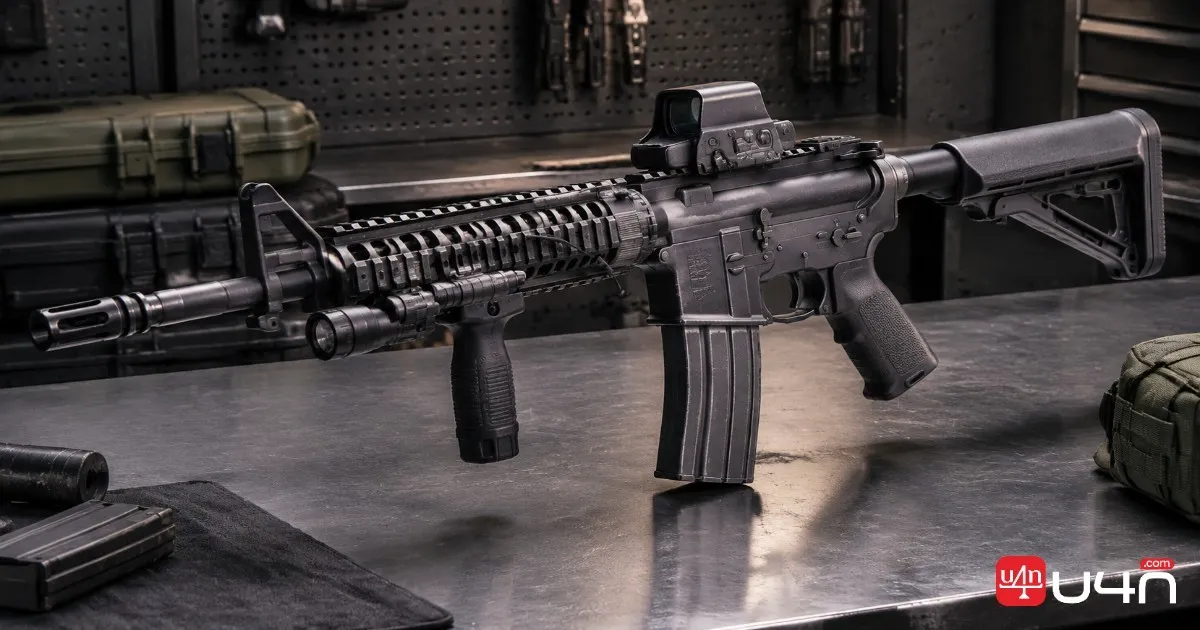
There is one important trade-off to consider: prioritizing handling does not automatically produce the best recoil control, and a faster aim-down-sight time does not guarantee a faster kill. If you regularly lose long-range gunfights because your shots drift off target, test whether a more control-oriented setup suits you better.
Best M4 Class Setup in MW4
A strong primary weapon is only one part of a reliable class. Your secondary weapon, equipment, and Perks should help you survive situations in which the M4 is less comfortable to use.
| Class Slot | Recommended Choice | Why Use It? |
|---|---|---|
| Secondary | Krait P68 | Provides a backup when switching weapons is more practical than reloading |
| Melee | FSS Carbon Edge 1095 | A close-range utility option |
| Tactical | Flash Grenade | Creates an opportunity to push an occupied position |
| Lethal | Semtex | Applies pressure to enemies and contested areas |
| Field Upgrade | Seeker Drone | Helps locate nearby opponents and support team awareness |
| Perk 1 | Ghost | Supports a less detectable playstyle when its effects apply |
| Perk 2 | Fast Hands | Speeds up weapon and equipment handling when supported by the current perk rules |
| Perk 3 | Battle Hardened | Reduces the impact of applicable enemy tactical equipment |

How to Use the Class Effectively
We recommend using the Flash Grenade before entering a room or challenging an opponent holding a tight angle. The objective is to disrupt the enemy long enough to gain a positional advantage, rather than throwing equipment without a clear follow-up plan.
Semtex works well when opponents are holding predictable positions or contesting objectives. However, do not rely on explosives to replace accurate gunfire. Once the enemy is displaced, use the M4's manageable handling to clear the angle and prepare for the next engagement.
The Seeker Drone can provide additional information about nearby threats. When playing with teammates, coordinate its use with an objective push instead of deploying it after your team has already committed to a fight.
Perks should reflect your actual problems in a match. If enemy reconnaissance repeatedly exposes your position, prioritize the appropriate anti-detection option. If you struggle to recover after switching weapons or using equipment, handling-focused choices may offer more practical value. Always confirm the exact effects and availability of each perk in the current game build before finalizing the class.
Best M4 Builds for Different Playstyles
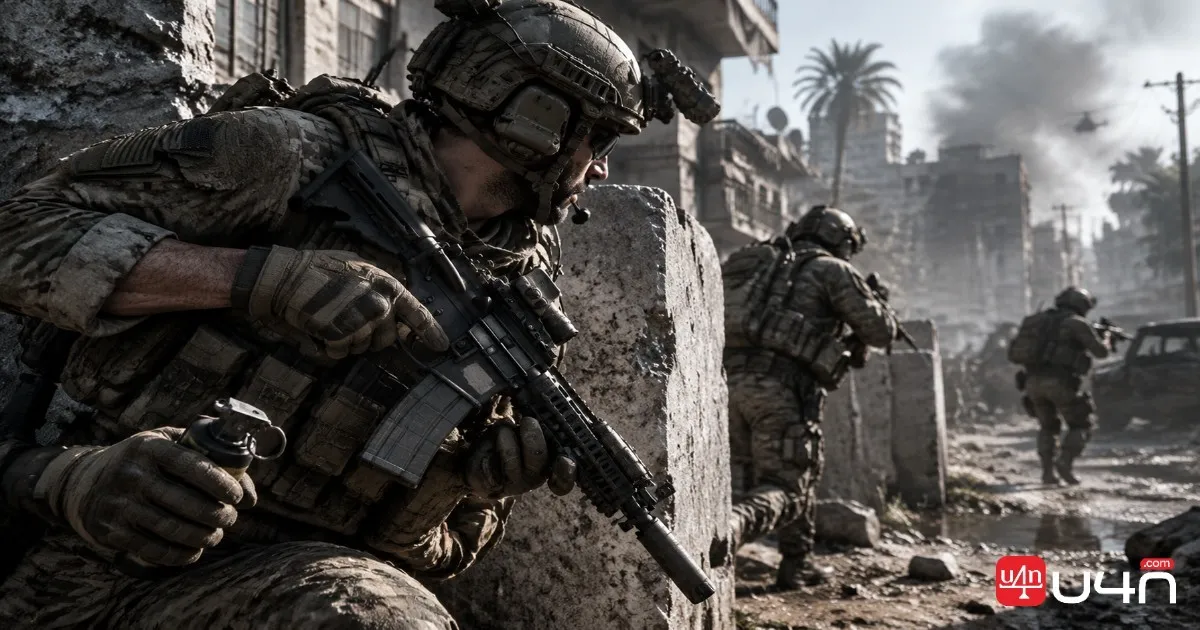
The balanced configuration above is a useful starting point, but experienced players should not assume that one build performs equally well in every situation. We would evaluate the following three approaches before committing to a single setup.
| Build Type | Main Priority | Best Fit |
|---|---|---|
| Balanced M4 | Recoil control and handling | General multiplayer and mixed-range fights |
| Aggressive M4 | Aim-down-sight and sprint-to-fire speed | Players who frequently push and reposition |
| Recoil-Control M4 | Consistent aiming during sustained fire | Players who prefer holding lanes and fighting at medium range |
Balanced Build: The Best Starting Point
The balanced setup is the option we would recommend to most players. It avoids committing too heavily to either movement speed or recoil control, giving you room to learn the weapon before making adjustments.
It is particularly useful when you are still learning a map's common engagement distances. Instead of changing several attachments after every difficult match, identify the specific problem first. If you are consistently losing the opening exchange, handling speed may be the issue. If you land the first shots but struggle to finish the target, recoil control or your firing discipline may deserve more attention.
Aggressive Build: Prioritize Responsiveness
For players who push objectives, clear rooms, and challenge enemies immediately after sprinting, a faster-handling configuration may be more effective. The rear grip and stock are logical places to begin experimenting, provided their actual stat changes support your intended playstyle.
The trade-off is that a build optimized for quick reactions may feel less comfortable during sustained medium-range fire. Avoid sacrificing too much stability just to make the weapon feel faster in the first second of a fight.
Recoil-Control Build: Stay Consistent at Range
If your preferred position is a longer sightline, prioritize predictable recoil and the ability to track targets without excessive correction. Test whether a more control-focused underbarrel or another compatible attachment offers a better result than the mobility-oriented alternative.
Use short bursts when the target is distant, especially if your shots begin drifting away from the intended point of impact. The best configuration is the one that helps you land follow-up shots consistently, not necessarily the one with the most impressive weapon stats on paper.
How to Use the M4 More Effectively
Even a well-built rifle cannot compensate for poor positioning. In our experience, the biggest improvement often comes from changing how you approach a gunfight rather than repeatedly rebuilding the weapon.
- Pre-aim likely enemy positions. When approaching a doorway, corner, or common objective entrance, bring your sights toward the expected target area before exposing yourself. This reduces the amount of adjustment needed when an opponent appears.
- Use cover between engagements. Avoid crossing open sightlines without a reason. Move between pieces of cover, expose yourself only when you have a useful angle, and retreat when multiple opponents can engage you simultaneously.
- Control your firing at longer distances. Sustained fire can become harder to manage when your target is far away. Try shorter bursts and reassess your aim after each one. At close range, a more continuous burst may be appropriate when you can reliably track the target.
- Reposition after securing a kill. Enemies often check the location of a recent gunfight. Move to another angle when possible rather than challenging the next opponent from exactly the same position.
- Review the reason behind each lost fight. If you were eliminated before bringing up your sights, consider handling speed and pre-aiming. If you lost while already aiming, examine recoil control, hit placement, and whether the engagement distance favored the other weapon.
These adjustments matter in objective-based modes, where staying alive and controlling an approach can contribute more to your team's success than chasing individual eliminations.
Best Game Modes and M4 Alternatives in MW4
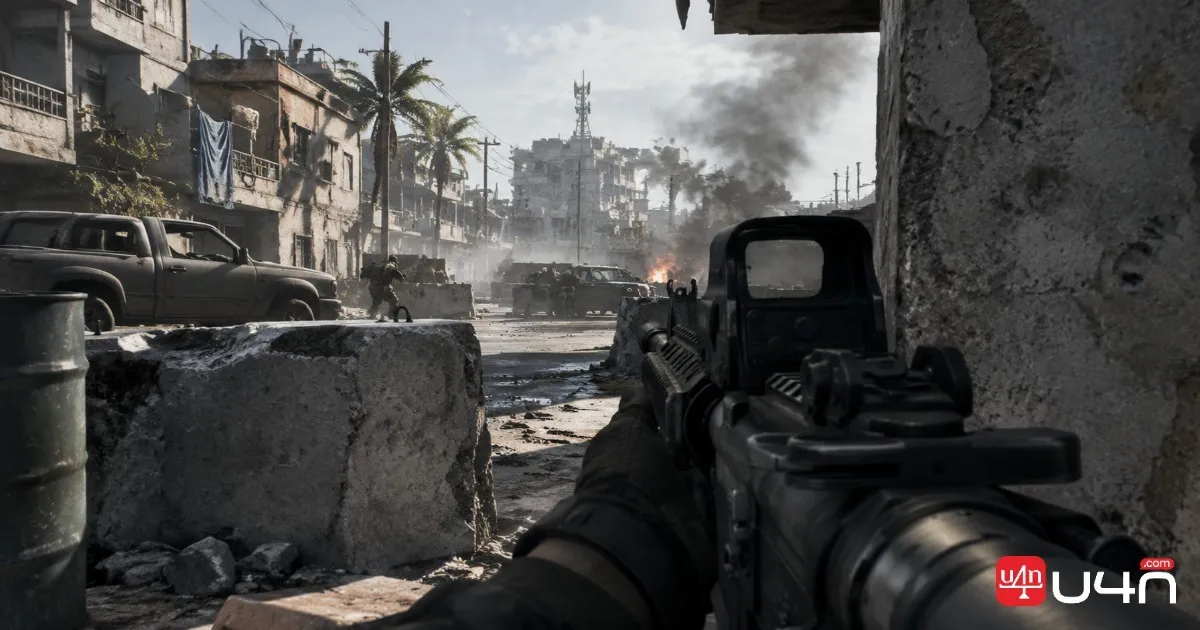
The M4 is a versatile choice for Hardpoint, Domination, Team Deathmatch, and Search & Destroy, although the best approach changes with each mode.
In Hardpoint and Domination, use the rifle to cover objective approaches and challenge enemies moving through predictable lanes. You should still rotate when necessary rather than staying in one position simply because the weapon performs well at range.
Team Deathmatch rewards players who can identify favorable engagements and reposition quickly. A balanced build helps you transition between open sightlines and closer encounters without completely specializing in either.
Search & Destroy places greater emphasis on information, patience, and positioning. Pre-aim common routes, avoid unnecessary exposure, and use tactical equipment to create a safer opportunity before challenging a defended position.
M4 vs. Han 86 vs. Kastov 762
The Han 86 and Kastov 762 are worth considering if the M4 does not suit your preferred approach. Rather than assuming one rifle is universally superior, compare their actual damage profiles, recoil behavior, handling, and performance at the distances you encounter most often.
The M4 is a sensible starting point for players who value flexibility. A different assault rifle may be preferable if testing reveals a more suitable combination of damage output and controllability for your individual playstyle.
Players who also spend time in extraction-based modes should evaluate their equipment priorities separately. Modern Warfare 4 DMZ Items can serve different purposes from standard multiplayer equipment, so do not assume that a class optimized for 6v6 automatically translates into the best setup for every DMZ deployment.
Summary
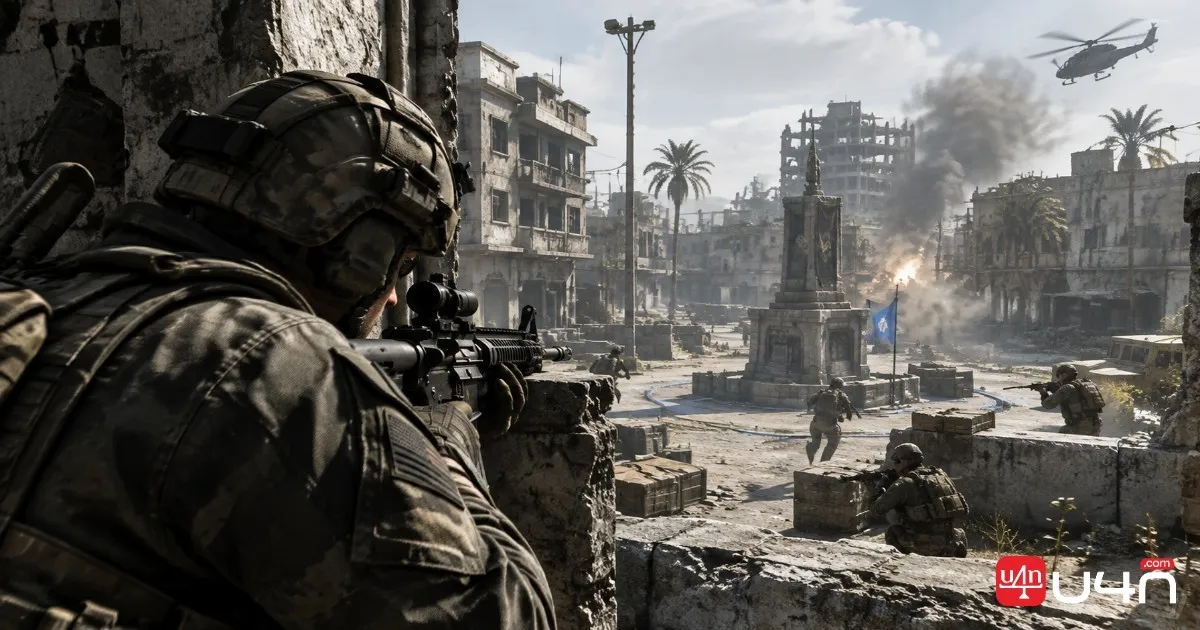
The M4 is worth building around if you want an adaptable assault rifle that can handle a variety of multiplayer situations. Our recommended configuration combines the FSS IS300, FSS Fireline Grip, ZLR Phase Grip, ZLR ASP50 Stock, and SA LAZ-500 to balance recoil control, handling, and mobility.
Start with the balanced build, then adjust individual attachments according to the problems you encounter in actual matches. Use tactical equipment to create openings, pre-aim likely enemy positions, and reposition after engagements instead of relying on attachments alone to win fights.
Ultimately, the best M4 loadout is the one that matches your engagement distance and helps you land shots consistently. A few deliberate changes based on observed performance are more useful than repeatedly copying a new build without understanding why it works.
FAQ
What is the best M4 loadout in MW4?
The recommended balanced setup uses the FSS IS300 muzzle, FSS Fireline Grip underbarrel, ZLR Phase Grip rear grip, ZLR ASP50 Stock, and SA LAZ-500 laser. Confirm attachment availability and current effects before using the build.
Which M4 attachments improve recoil control?
The FSS Fireline Grip is the main recoil-control choice in this setup. If recoil remains difficult to manage, test compatible alternatives and compare performance under the same conditions.
Is the M4 good for aggressive play?
Yes, provided you adapt the build to faster engagements. Prioritize responsive handling where appropriate, but retain enough control to track targets when fights extend beyond close range.
Should I use the M4 in every multiplayer mode?
No single weapon is ideal for every situation. The M4 is a flexible starting point, but map layout, engagement distance, team strategy, and personal aim consistency should guide your final choice.