
Zikel's Apparition is the final Nightmare boss in Aion 2, and defeating it requires more than consistent damage. Our team recommends focusing on three things from the start: managing Bleed, recognizing attack timing, and moving between safe zones without rushing. Preparing your Aion 2 Items and consumables before entering also helps you avoid unnecessary mistakes when the fight becomes more demanding.
The encounter becomes much easier to understand once we separate its mechanics into clear steps. Basic attacks punish poor positioning, falling swords create delayed danger, and Shatter Ground demands a well-timed jump. The extended safe-zone sequence near the end is the biggest movement test, especially if we waste Stamina or use a dash at the wrong moment.
For another overview of the encounter, read Aion 2 Zikel Guide: How to Defeat Zikel's Apparition.
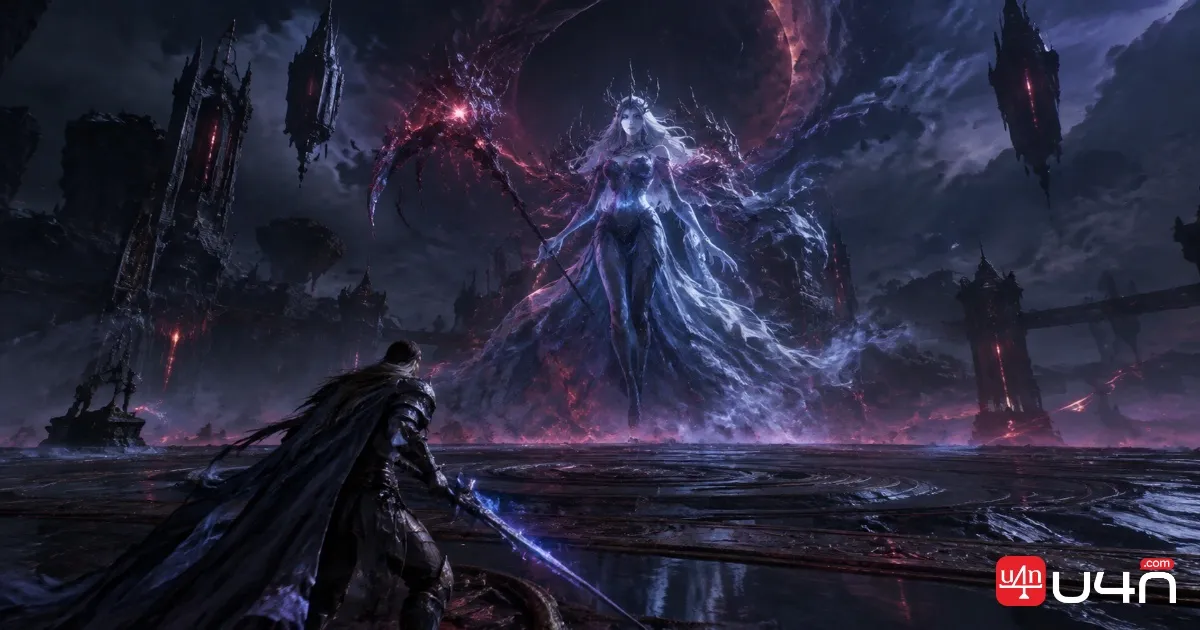
Prepare Your Consumables and Combat UI
Before starting the encounter, we should arrange our hotbar so that cleansing, healing, and movement tools are easy to access. Having the right consumables is useful, but knowing which problem each item solves matters just as much.
| Item or setting | Purpose | Our recommendation |
|---|---|---|
| Healing Potion | Removes a status effect, including the Bleed described in this encounter | Keep it accessible and cleanse promptly |
| Life Potion or Life Serum | Restores lost HP | Use it to recover health after taking damage |
| Running Scroll | Increases movement speed | Activate it before the longer movement sequence |
| Stamina food | Provides additional Stamina | Maintain the buff before the fight begins |
| Boss cast bar | Shows the timing of Shatter Ground | Position it where it remains visible during combat |
We also recommend activating available movement and food buffs before engaging the boss. The later mechanics leave less room for hesitation, so spending time on preparation is more reliable than trying to compensate for missing buffs halfway through the fight.
Manage Basic Attacks and Remove Bleed Quickly
Zikel's Apparition starts with basic attacks that can deal significant damage. We should avoid treating every opening as an invitation to attack continuously. Instead, dodge incoming hits and use the brief opportunities between attacks to maintain damage.
Bleed is particularly important because its damage continues after the original hit. If we focus only on restoring HP, the ongoing effect can keep draining health and make the next mistake more dangerous.
Our approach is straightforward:
- Watch the debuff bar after being hit.
- Use the Healing Potion to remove Bleed as soon as practical.
- Restore lost HP when needed, without confusing healing with cleansing.
- Resume attacking when the immediate danger has passed.
A common mistake is to react only when health becomes critically low. We recommend treating Bleed as a separate problem: remove the effect first when possible, then assess how much health needs to be recovered.

Avoid Falling Swords and Delayed Explosions
Falling swords are dangerous because their impact is not the end of the mechanic. After a sword lands, its location explodes roughly two seconds later, damaging and stunning players caught in the blast.
This creates a simple but important rule: avoid the landing point, then give the follow-up explosion time to resolve. Dodging the initial impact does not automatically make that location safe to cross.
Avoid the falling sword, stay clear of its delayed explosion, and only cross the area after the follow-up blast has finished.
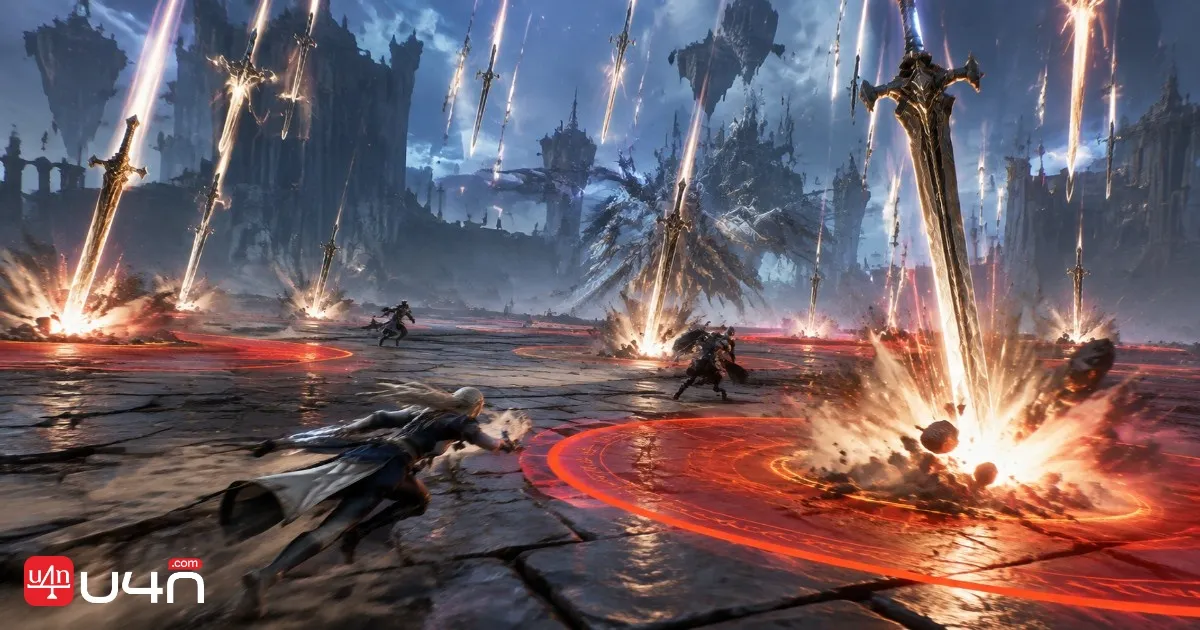
We recommend watching the arena while keeping the boss in view whenever possible. If a sword lands near the route you intended to take, adjust your path rather than running straight through the danger zone. A stun at the wrong moment can prevent you from reaching the next safe area in time.
The key is to avoid tunnel vision. Managing Bleed or preparing for Shatter Ground should not make us ignore hazards appearing elsewhere in the arena.
Time Your Jump for Shatter Ground
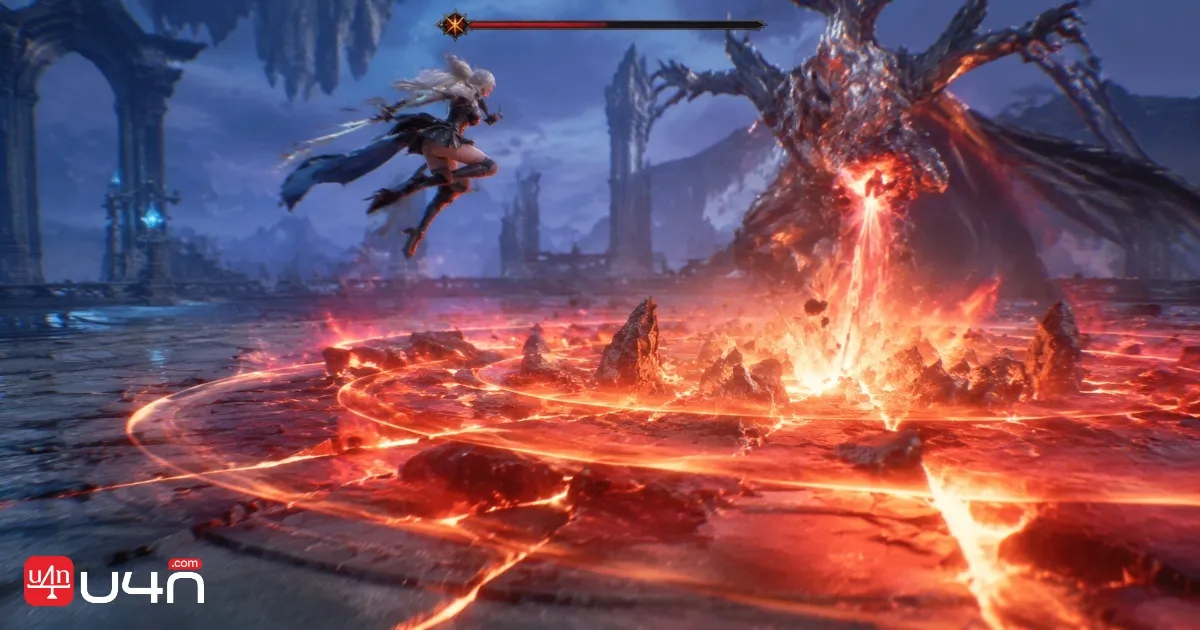
Shatter Ground is one of the mechanics where timing matters more than movement speed. When Zikel's Apparition begins casting the attack, watch its cast bar and prepare to jump.
Our team recommends jumping just before the cast completes, so the character is airborne when the attack lands. Jumping too early can cause the character to touch the ground again before the damaging moment, making the attempt ineffective.
Use the following sequence:
- Notice the start of the Shatter Ground cast.
- Shift your attention to the cast bar rather than guessing from the animation alone.
- Jump shortly before the cast finishes.
- Resume your damage rotation after the attack has resolved.
Keep the cast bar visible throughout the encounter. If your interface makes it difficult to read the timing while tracking the boss, adjust its position before attempting another run. A clear visual cue is more dependable than trying to remember the rhythm while handling several mechanics at once.
Follow the Safe-Zone Sequence Without Rushing
The safe-zone mechanic becomes more demanding as the fight progresses. In the earlier version, the boss jumps to one side of the arena and performs a line attack. After the initial hit, we need to enter the safe area created by the attack, wait for the explosion to resolve, and then move to the next safe zone on the opposite side.
The important part is the order of operations. Moving too early can expose us to the previous explosion, while waiting too long can leave insufficient time to reach the next position.
| Stage | What to do | What to avoid |
|---|---|---|
| Initial line attack | Evade the attack and identify the safe area | Standing in the attack path |
| First safe zone | Move into the opening after the attack | Crossing before the area is safe |
| Explosion resolution | Wait until the explosion finishes | Assuming the initial hit was the only danger |
| Second safe zone | Move across as soon as the route is safe | Hesitating until the opening is nearly gone |
During the earlier version, a suitable dash attack may help us reach the boss and the second safe area. However, the dash should support the mechanic rather than dictate our timing. We should move after the previous explosion resolves, not rush forward simply because the ability is available.
Near the end of the fight, the boss repeats the mechanic with additional steps and tighter movement windows. This is where copying the earlier dash timing can cause trouble. We need to follow the new sequence instead of assuming that the previous pattern will work unchanged.
The extended version follows this order:
- Avoid the initial line attack and enter the first safe zone.
- Wait for the explosion to resolve, then cross to the second safe zone.
- Follow the next opening into the third safe zone.
- Move or dash directly beneath the boss for the final attack.
The final attack is a large donut-shaped AoE. The safe position is directly underneath Zikel's Apparition, so we should finish close to the boss rather than remain at the edge of the arena.
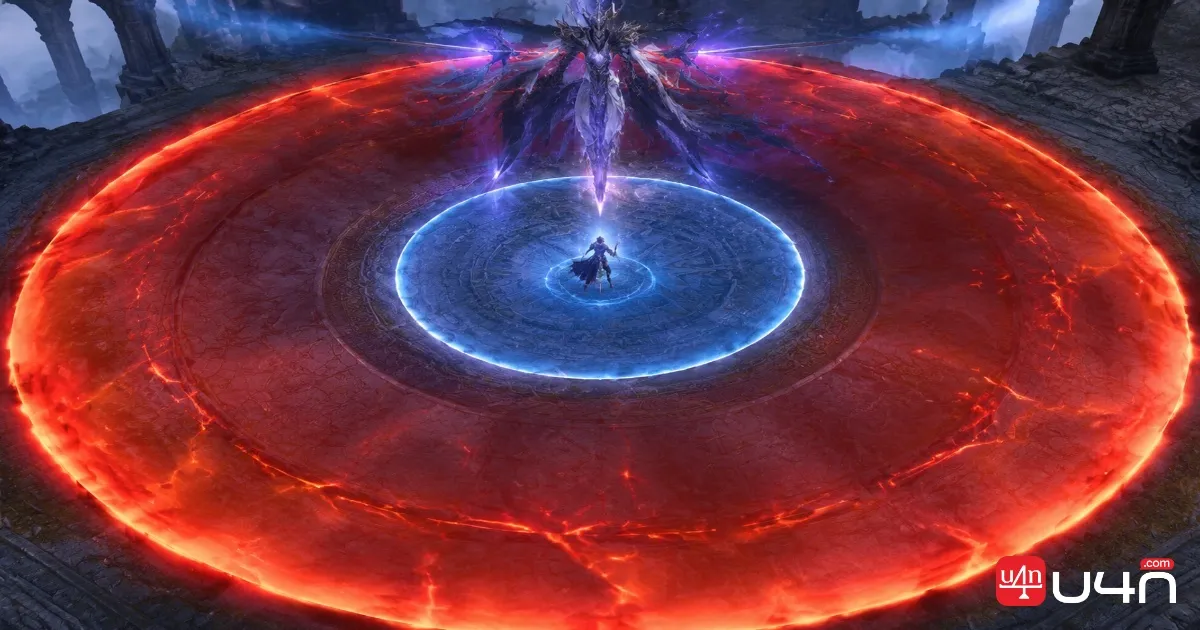
Running Scrolls help with the crossings, while Stamina from food gives us more room to dodge. If we repeatedly fail to reach the next safe zone, review our route and activation timing before assuming that we simply need more damage. Players reviewing their progression and Aion 2 Items for sale should still treat movement preparation as a separate priority; better equipment does not replace correct mechanic execution.
What Matters Most in This Fight
Our team recommends approaching Zikel's Apparition as a sequence of manageable mechanics rather than one long damage check. Cleanse Bleed before it becomes a continuing problem, stay clear of falling swords until their explosions finish, and use the cast bar to time Shatter Ground correctly.
The most important improvement is disciplined movement. Enter each safe zone only when the route is safe, wait for the explosion to resolve, and follow the extended sequence in order. Save your dash for the movement window where it helps, and finish the final donut attack directly beneath the boss.
FAQ
What should we bring to Zikel's Apparition?
Bring a Healing Potion for removing Bleed, a Life Potion or Life Serum for restoring HP, a Running Scroll for movement speed, and Stamina food. Keep the relevant consumables easy to reach on your hotbar.
How do we avoid Shatter Ground?
Watch the boss's cast bar and jump just before the cast finishes. Jumping too early may leave you back on the ground when the attack lands.
Why do we keep getting hit during the safe-zone mechanic?
The most likely issue is moving before the previous explosion has resolved or delaying the crossing until the next opening is nearly gone. Follow the sequence carefully and avoid reusing the earlier dash timing during the extended version.
Where is the safe position for the final donut attack?
Move directly underneath Zikel's Apparition. The safe area is at the center of the donut-shaped AoE, not at the outer edge of the arena.