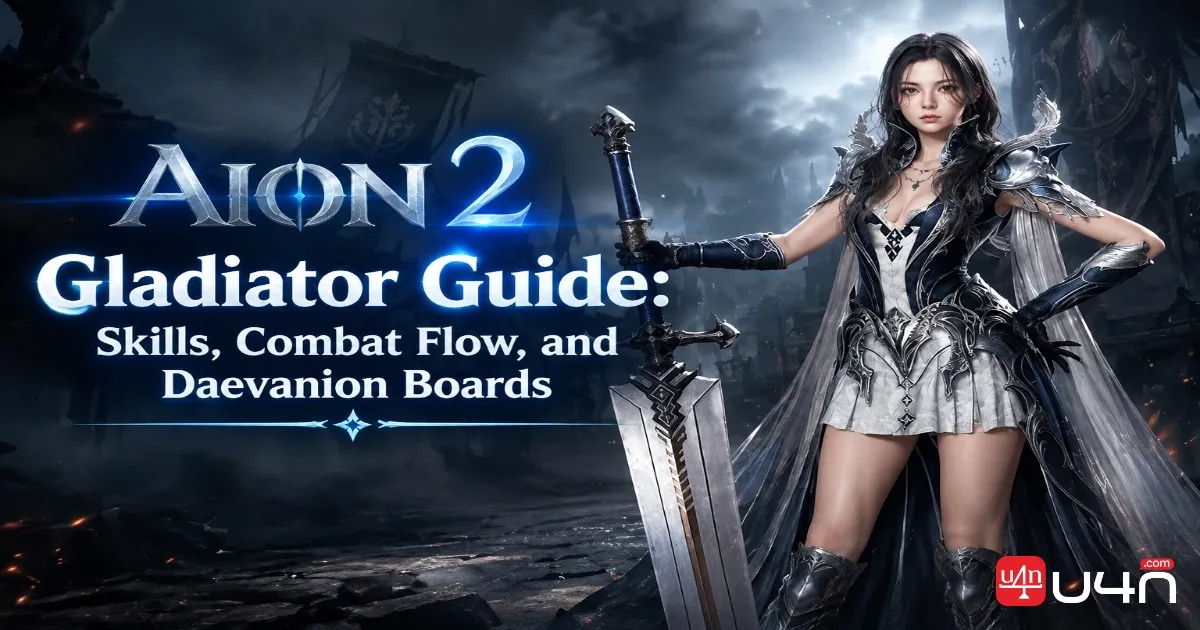
For players looking for a melee class that can stay in the middle of a fight without constantly backing away, the Gladiator is one of the most straightforward choices in Aion 2. It fights with a greatsword and combines sustained damage, crowd control, mobility, and defensive tools. That makes Aion 2 Items especially relevant to Gladiator progression, because weapon upgrades and offensive stats directly affect how well the class converts its long melee uptime into damage. NC's official Aion 2 presentation also features the Gladiator among the game's playable classes.
Gladiator Overview
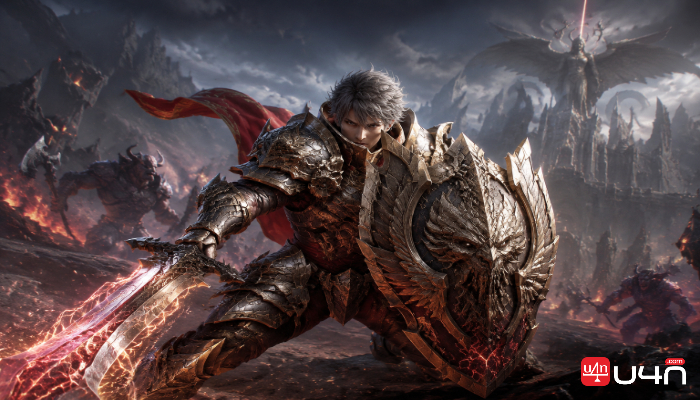
The important thing to understand about Gladiator is that it is not simply a character that presses the biggest attack whenever it comes off cooldown. Its kit is built around staying close, controlling enemy movement, exploiting stagger or knockdown states, and using defensive abilities at the right moment.
The class uses a greatsword, and Gladiator equipment as greatsword gear, while showing offensive attributes such as Attack, Accuracy, Critical Hit, and PvE Damage Boost on high-level weapons.

| Category | Gladiator |
|---|---|
| Role | Melee DPS |
| Main Weapon | Greatsword |
| Combat Range | Close |
| Strength | Sustained melee pressure |
| Utility | Knockdown, Root, Airborne, Stagger |
| Defense | Strong defensive and recovery tools |
| Difficulty | Relatively easy to understand, harder to optimize |
The result is a class that feels comfortable in longer encounters. You have enough defensive options to survive mistakes, but your damage potential still depends on maintaining good positioning and attack uptime.
How to Play Gladiator
Build Your Opening Around Buffs and Positioning
One important correction when using older or mixed class guides is to make sure the skills actually belong to Gladiator. Some descriptions circulating with Gladiator guides contain abilities from other classes. For Gladiator, the practical opening should instead revolve around its own melee tools, especially Ruinous Blow, Keen Strike, Rending Blow, and its Stigma choices.
Ruinous Blow deserves particular attention. The skill charges, rushes toward a target within range, and grants Prepare for Battle for five seconds. According to the supplied skill data, that effect increases PvE Damage Boost, PvP Damage Boost, Critical Hit, and Status Effect Chance. In other words, it is not merely another damage button—it can establish the conditions for the attacks that follow.
That makes the basic combat rhythm fairly simple:
Engage → establish pressure → exploit control effects → maintain melee uptime → use defensive tools when necessary.
Save Gap Closers for Real Movement
Gladiator has several ways to close distance, including Leaping Slam and Rush Strike. Both are easy to waste.
Leaping Slam can reach a target from considerable distance, while Rush Strike follows Dodge and can potentially inflict Knockdown. In PvE, these skills are particularly useful when an enemy moves away or a mechanic temporarily breaks melee range.
I generally prefer treating gap closers as positioning tools rather than instant damage buttons. If the target is already standing directly in front of you, spending your mobility skill simply because it is available can leave you with fewer options when the boss actually moves.
Gladiator's Core Skills
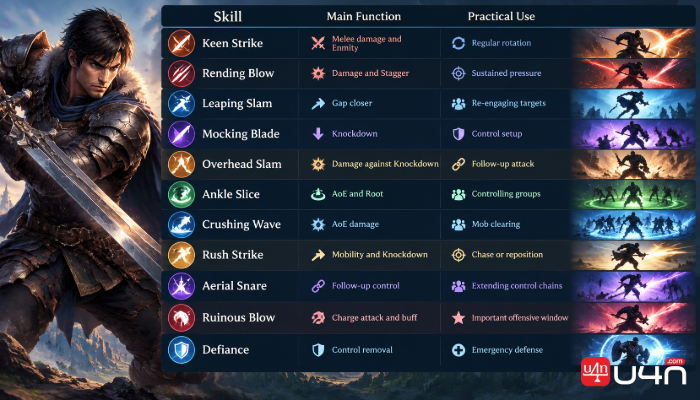
The Gladiator's active skills can be understood by their battlefield function rather than memorizing the entire list at once.
| Skill | Main Function | Practical Use |
|---|---|---|
| Keen Strike | Melee damage and Enmity | Regular rotation |
| Rending Blow | Damage and Stagger | Sustained pressure |
| Leaping Slam | Gap closer | Re-engaging targets |
| Mocking Blade | Knockdown | Control setup |
| Overhead Slam | Damage against Knockdown | Follow-up attack |
| Ankle Slice | AoE and Root | Controlling groups |
| Crushing Wave | AoE damage | Mob clearing |
| Rush Strike | Mobility and Knockdown | Chase or reposition |
| Aerial Snare | Follow-up control | Extending control chains |
| Ruinous Blow | Charge attack and buff | Important offensive window |
| Defiance | Control removal | Emergency defense |
The interaction between Mocking Blade → Overhead Slam is especially easy to understand. Mocking Blade can knock down the target, while Overhead Slam specifically benefits from attacking a knocked-down target. This is the kind of relationship that makes Gladiator more interesting than simply following a damage-per-second priority list.
Rending Blow and other attacks also contribute Stagger Gauge damage, so learning when enemies are vulnerable to control can make a noticeable difference in real encounters.
Defensive Skills Matter More Than They Look
Gladiator's survivability is one of the reasons the class can remain aggressive.
Defiance removes several forms of crowd control and grants Tenacity, giving the class an answer to situations where Stun, Knockdown, Airborne, Frost, or Fear would otherwise interrupt the fight.
Its passive skills also reinforce this durable playstyle. Protection Armor improves Block and provides HP recovery on Block, while Blood Absorption gives attacks a chance to restore HP and includes additional recovery at lower health.
Then there are the Ascension Stigma choices.
Tenaciousness is particularly notable because it provides temporary immunity to damage and status effects. The skill also grants additional PvE or PvP Damage Tolerance after the effect ends. It should not be treated as permission to ignore mechanics, however. The supplied description specifically notes that certain powerful attacks cannot be blocked by it.
That distinction matters. Good Gladiator play is not about absorbing every mechanic—it is about knowing which dangerous moments justify using your defensive cooldown.
Stigma Skills and Build Direction
At Ascension, Gladiator gains access to a much wider selection of Stigma skills. Options include Lifestealing Blade, Rage Burst, Zikel's Blessing, Blade Toss, Lunge Stance, Wrath Wave, Assault Strike, Fracturing Rush, and Tenaciousness.
The right selection depends on what you are doing.
For sustained PvE damage, offensive effects and skills that improve damage uptime are natural choices. For difficult encounters, defensive or recovery-oriented options can provide more practical value than another small damage increase.
The important point is not to copy a build blindly. Look at what the encounter is asking you to do. If you are constantly being forced away from a boss, mobility and uptime may matter more than theoretical burst. If the fight has dangerous control mechanics, defensive Stigma skills can become much more valuable.
Daevanion Boards
Daevanion Boards add another layer to Gladiator progression. The early boards provide a mixture of Orange, Blue, and Green nodes, with later boards becoming increasingly specialized.
| Board | Unlock | Main Direction |
|---|---|---|
| Nezekan | Lv. 12 | Combat Speed, Attack, Cooldown, Defense |
| Zikel | Lv. 20 | Damage, Accuracy, Damage Tolerance |
| Vaizel | Lv. 30 | Critical Damage |
| Triniel | Lv. 40 | Multi-Hit |
| Ariel | Lv. 45 | PvE Damage / Boss performance |
| Azphel | Lv. 45 | PvP performance |
| Marchutan | Lv. 45 | Weapon damage and mixed stats |
| Yustiel | Lv. 45 | Attack, Defense, Perfect-related stats |
The early boards are particularly useful for shaping how your Gladiator actually feels in combat. Nezekan offers a broad mixture of offensive and defensive improvements, while Zikel leans further toward damage, accuracy, and survivability. Vaizel then pushes more heavily toward critical damage.
At level 45, the boards become more specialized. Ariel is clearly oriented toward PvE and boss-related performance, while Azphel focuses on PvP. That gives players a reason to think about their actual content rather than trying to create one universal setup.
Gear and Stat Priorities
For a Gladiator, offensive progression should not be viewed separately from survivability. The class already has several defensive and recovery mechanics, which means improving damage can also improve the practical value of staying in melee range.
Critical Hit and Attack are obvious offensive priorities from the supplied class information, while Accuracy, PvE Damage Boost, and weapon-related damage bonuses can become increasingly relevant depending on your gear and content.
Official Aion 2 item data also demonstrates how endgame greatswords can combine Attack, Accuracy, Critical Hit, PvE Damage Boost, Block, and additional soul-engraving options, showing why gear evaluation should involve more than simply comparing one Attack number.
Summary
The Gladiator's strength comes from consistency rather than complicated ranged setup. Get into melee range, use your control tools intelligently, maintain pressure, and save mobility and defensive skills for moments when they actually solve a problem. Mocking Blade into Overhead Slam, Ruinous Blow's offensive window, and the class's recovery and control tools form the backbone of the playstyle.
As progression becomes more demanding, pay attention to the difference between general-purpose and specialized Daevanion Boards. PvE-focused players can eventually build around Ariel and boss-related bonuses, while PvP players have a separate Azphel path. Gear should follow the same logic: improve the offensive stats that increase your damage without sacrificing the survivability needed to remain in melee range.
For players who want to spend less time waiting for progression systems to catch up with their build, it is worth planning your equipment path carefully before deciding whether to buy Aion 2 Items. The goal should still be a coherent Gladiator setup rather than simply collecting higher numbers, because the class performs best when its weapon, stats, skills, and Daevanion Board all support the same close-range combat style.